

Let’s be honest, when the temperature drops, the only thing that truly hits the spot is a mug of thick, warming chocolate. But those dusty packets lurking in the pantry? No thank you! We deserve better than that powdery stuff. That’s why I’m sharing my recipe for the absolute best homemade hot cocoa you will ever taste. It’s unbelievably rich and creamy, and the best part is we make it hot cocoa from scratch right on the stovetop in less than ten minutes. This drink is a perfect example of our philosophy here: taking super simple pantry staples and treating them just right to get something completely exceptional and comforting. Forget the store-bought hassle; this is real cozy in a cup!
- Why This Homemade Hot Cocoa Recipe Beats the Packets
- Gathering Ingredients for Your Homemade Hot Cocoa
- Step-by-Step Instructions for Rich and Creamy Cocoa
- Tips for the Best Homemade Hot Cocoa Success
- Serving Suggestions for Your Homemade Hot Cocoa
- Making a Homemade Hot Cocoa Mix Recipe for Pantry Storage
- Storage and Reheating Instructions for Homemade Hot Cocoa
- Frequently Asked Questions About Homemade Hot Cocoa
- Nutritional Estimate for This Cozy Winter Drink
Why This Homemade Hot Cocoa Recipe Beats the Packets
I’ve tried nearly every instant mix on the market, and trust me, the difference between those and our homemade hot cocoa is night and day. If you’re wondering how to make hot cocoa better than packets, it really comes down to ingredients you can actually see and pronounce. You get control over everything!
Here’s why we never go back to the box:
- A Truly Rich and Creamy Cocoa: We use real milk, not powdered fillers. That makes the texture luxuriously velvety instead of thin and watery.
- Flavor Depth: Cocoa powder, when bloomed with hot water (we do that little trick later!), has a deep, intense chocolate flavor that sweetness alone can’t cover up.
- Ingredient Control: You choose the sugar! If you want a darker, more gourmet homemade hot cocoa, you can use brown sugar or less white sugar. Simple as that!
Honestly, spending an extra five minutes on the stovetop is the easiest upgrade you can make to your winter routine. If you want to see how decadent this gets, check out this amazing resource for getting that signature rich texture right here.
Gathering Ingredients for Your Homemade Hot Cocoa
The beauty of making homemade hot cocoa from scratch is how few things you actually need! Seriously, most of this is probably sitting in your kitchen right now. We follow a foundational recipe that guarantees that deep chocolate flavor you’re craving.
Here’s what you’ll need for about three cozy servings:
- 1/4 cup unsweetened cocoa powder (Don’t reach for the sweetened stuff, we control the sweetness!)
- 1/4 cup granulated sugar
- 1/4 teaspoon salt (Crucial for balancing the sweetness!)
- 1/4 cup hot water (This is part of the secret, trust me!)
- 3 cups milk (I always insist on whole milk for that creamy richness, but oat milk works wonders if you’re dairy-free.)
- 1 teaspoon vanilla extract
That’s it! See? So simple, yet it makes the absolute best hot chocolate recipe.
Step-by-Step Instructions for Rich and Creamy Cocoa
This is where the magic happens so fast! We’re talking about a finished mug of stovetop hot cocoa in about eight minutes total, and that’s including prep time! The biggest mistake people make when making hot cocoa from scratch is dumping everything into the pot at once. We are not doing that! We are making a paste first, and this guards against that gritty texture nobody wants. I found the trick to truly superior results when I read through some tips on making simple cocoa dishes at Small Town Scratch, and it really works!
First, grab a medium saucepan. Whisk together your cocoa powder, sugar, and salt right there in the dry pot—make sure they look totally combined. Now for the crucial part: pouring in that small bit of hot water. Whisk that into a thick, smooth paste. This process, called blooming, dissolves everything beautifully, so your final drink is silky, not sandy.
Once you have that smooth chocolate block, slowly whisk in all three cups of milk. Turn the heat to medium. You need to stir this frequently—don’t walk away! We want it hot and steamy, just below a simmer. Seriously, do not let it boil, or it changes the texture of the milk. The second it’s steaming happily, pull it off the heat and stir in your vanilla extract. That’s it! Pour it into your favorite mug and enjoy the best homemade drink you’ve ever made. It’s truly just that simple when you follow that paste step. If you want even more detail on making quick, fantastic cocoa, check out this great guide over here.
Tips for the Best Homemade Hot Cocoa Success
Now that you know the basic process for incredible homemade hot cocoa, let’s talk about moving this from great to truly unforgettable. We want that deep, decadent experience, right? It’s all in the tiny tweaks!
If you want to level up the richness, skip the extra milk call-out and stir in about one ounce of finely chopped dark chocolate right at the end while the cocoa is still hot. The melted chocolate melts right into the drink and adds a fantastic, luxurious depth. It’s my go-to move when I want something truly indulgent.
Don’t be afraid of spices! This is where you make the cocoa yours. I love taking a basic cup of this drink and adding a tiny pinch of cinnamon to warm up the flavor profile. If you’re feeling adventurous, a whisper of cayenne pepper turns this into a fantastic Mexican-style spiced treat. You barely taste the heat, but it makes the chocolate flavor pop. When you’re done sipping, you should try my recipe for Hot Chocolate Cookies—they are the perfect pairing!
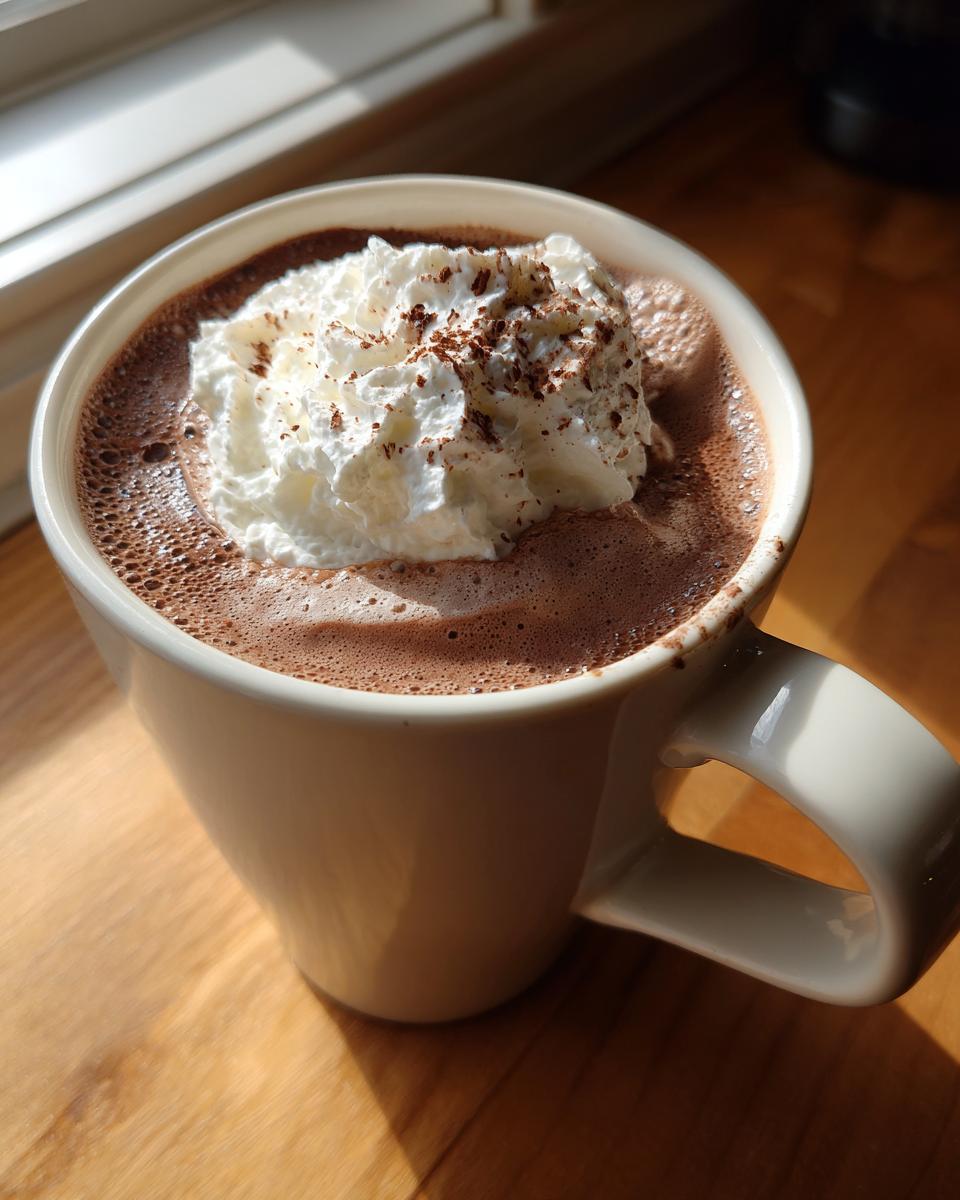
Serving Suggestions for Your Homemade Hot Cocoa
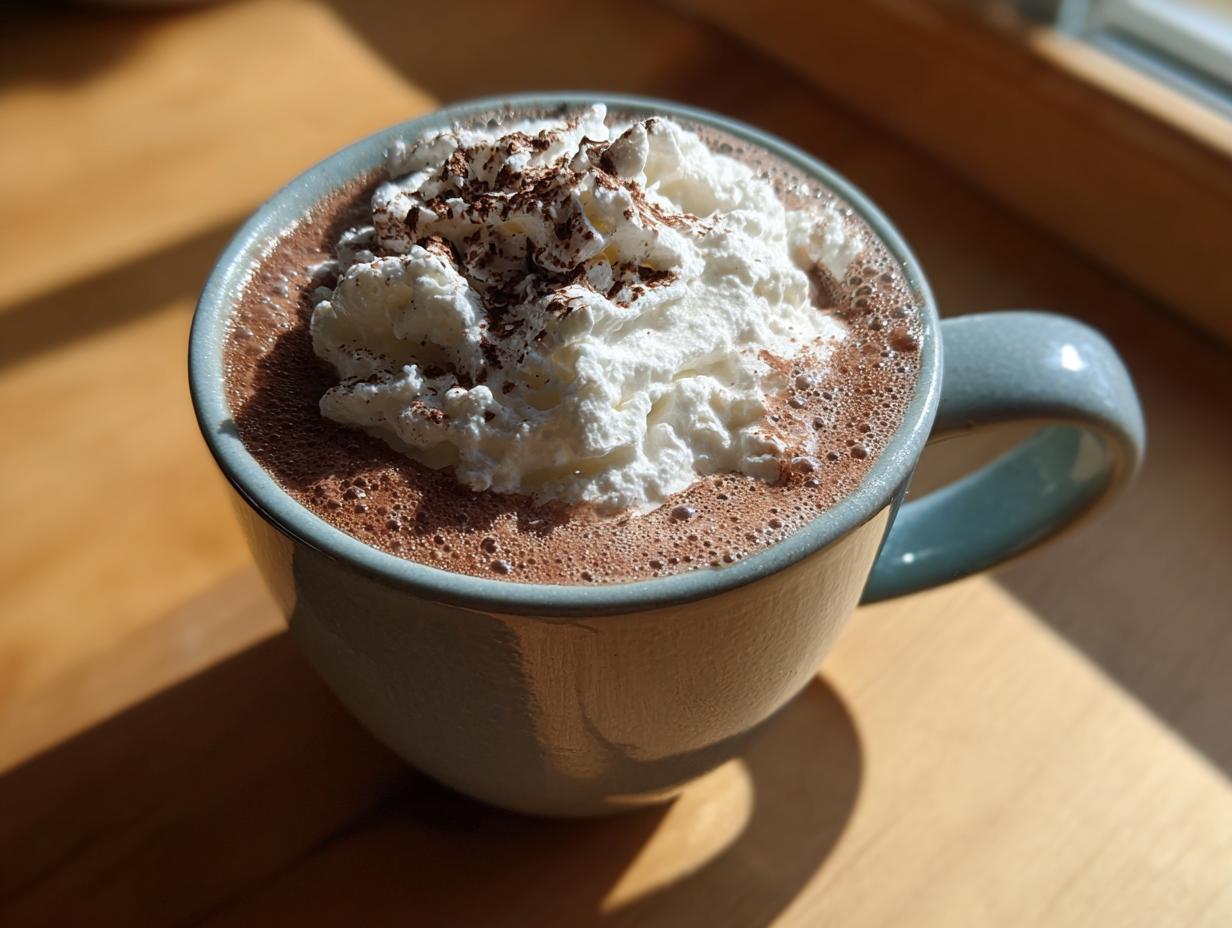
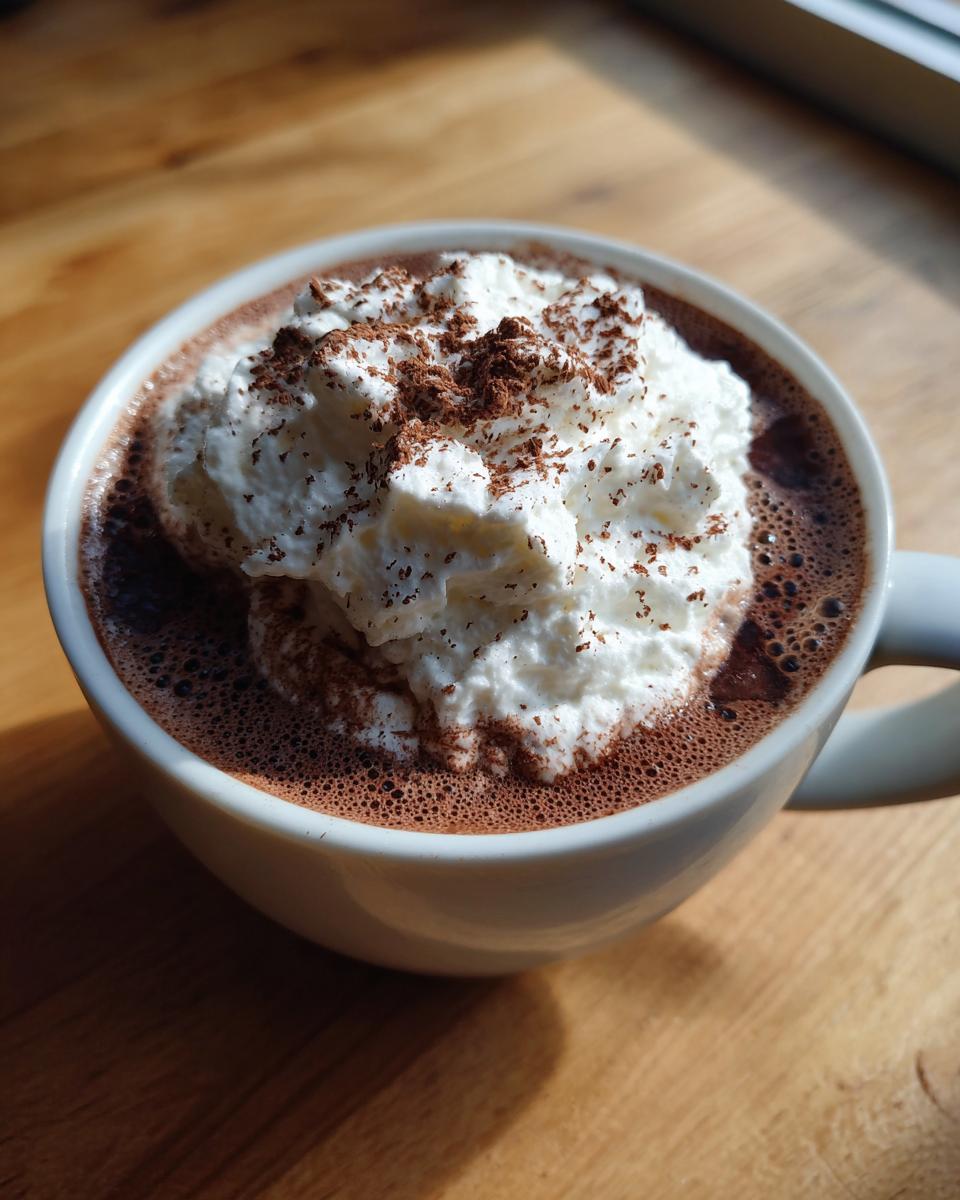
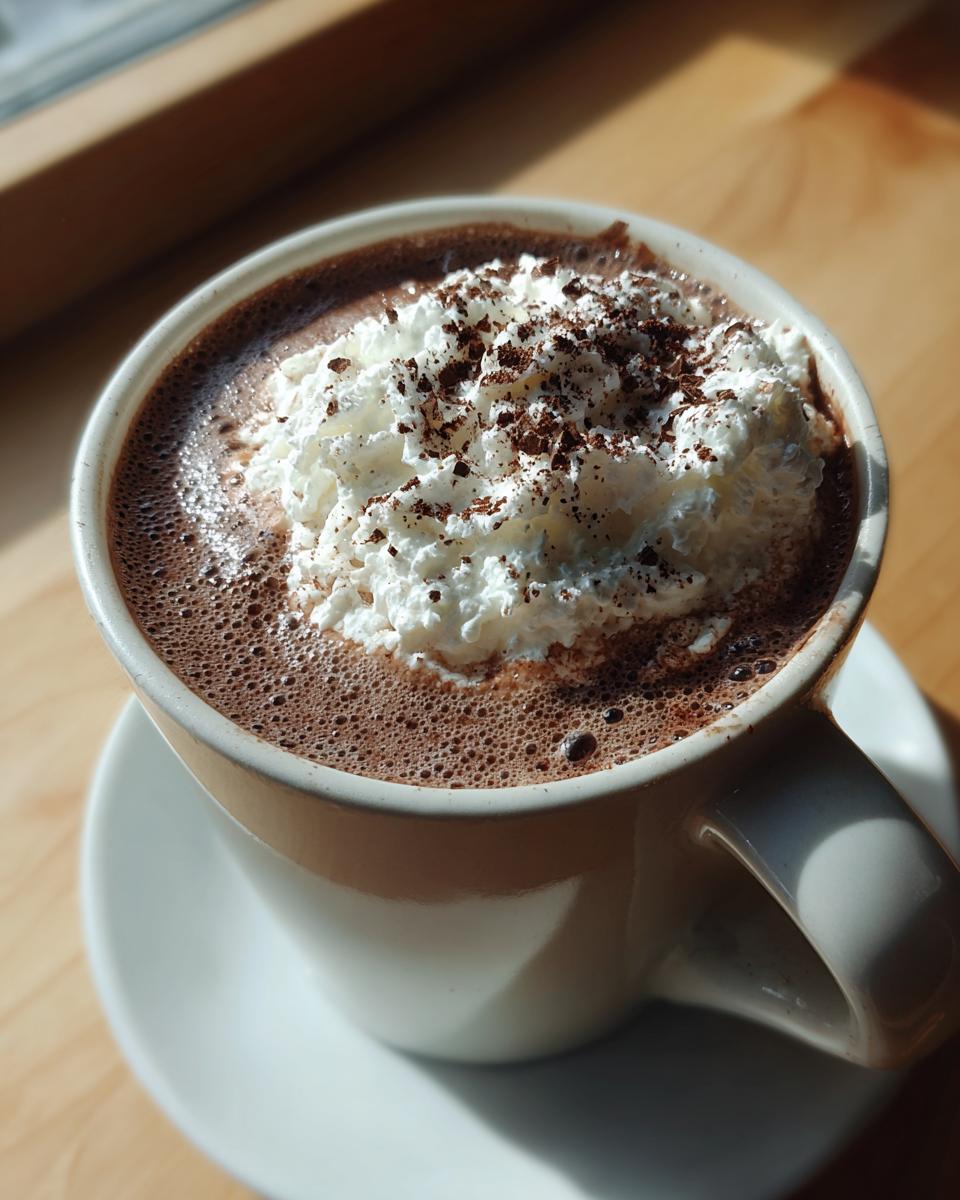
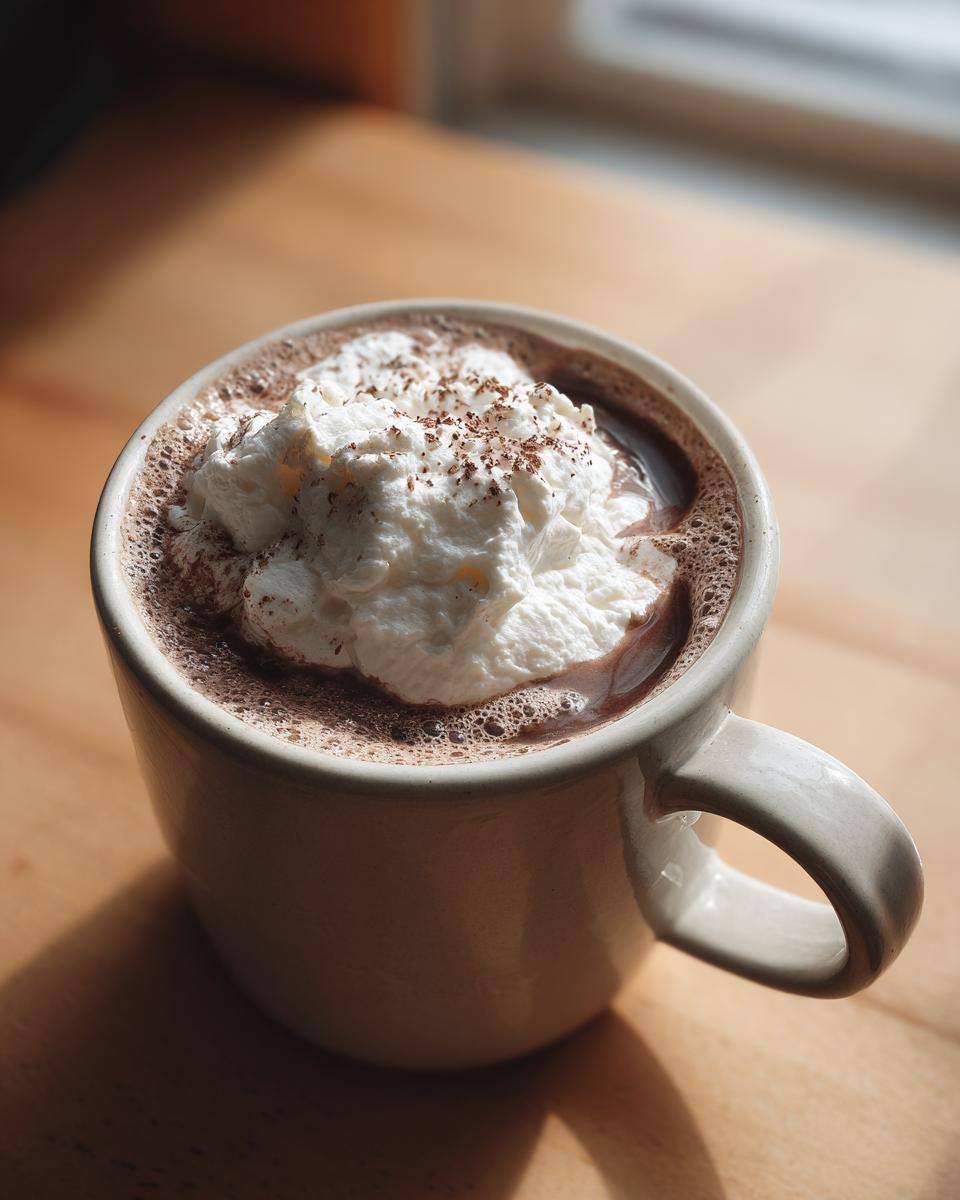
A mug of perfect homemade hot cocoa deserves an equally perfect send-off! This is how we turn a simple drink into a truly cozy winter drink experience. Forget those sad, wilted mini marshmallows. We go big on the toppings!
When thinking about hot chocolate toppings ideas, always start with a mountain of fluffy whipped cream if you can manage it. A dusting of ground cinnamon or chocolate shavings goes on top of that. If you’re making this for the kids, use fun rainbow sprinkles—why not?
And honestly, the best pairing? Something slightly tart or crumbly to dip. I find my Lemon Scones are the perfect counterbalance to this rich chocolate. You can find that recipe when you need a little citrus break!
Making a Homemade Hot Cocoa Mix Recipe for Pantry Storage
Okay, I know we just made the most amazing liquid homemade hot cocoa, but what happens when you don’t have five minutes to heat milk but you absolutely need that comfort *right now*? That’s where the dry mix comes in handy! This isn’t just a hack; it’s preparation for those inevitable lazy mornings or last-minute gift needs. You basically take all the dry elements from the liquid recipe—the cocoa, the sugar, and the salt—and treat them like gold.
Just whisk those three ingredients together really well, and boom, you have an instant base. When you want a mug, scoop about three heaped tablespoons into your cup, then pour in almost a cup of steaming hot milk or water. The trick to making this mix taste great is making sure that initial bloom step (mixing the powder with just a tiny splash of hot liquid first) still happens somehow!
It stores beautifully in an airtight jar on the counter, and I love having it ready to go for quick comfort drinks. If you want to see a fantastic setup for making this mix in a big batch, especially if you’re thinking about hot cocoa mix for gifting, definitely swing over and check out the instructions at Scotch and Scones!
Storage and Reheating Instructions for Homemade Hot Cocoa
While this homemade hot cocoa definitely tastes best right off the stove, sometimes you make too much, or you just want leftovers for later—I get it! If you have extra liquid cocoa, pour it into an airtight container and keep it chilling in the fridge. It should happily last for about three days. That milk base means you can’t keep it forever, unlike the dry mix we talked about.
When you’re ready to reheat, please be gentle! Never nuke the entire thing in the microwave. Instead, pour the amount you want into a small saucepan over low heat. Whisk it constantly until it’s warm and steamy again. Slow and steady wins the race here to avoid scalding the milk or creating any crusty burn spots on the bottom. This ensures your reheat tastes almost as good as the fresh batch!
Frequently Asked Questions About Homemade Hot Cocoa
I know once you taste this rich, cocoa powder hot chocolate recipe, you’ll have a few burning questions! It’s always easy to customize, but I’ve been asked the same things over and over again. I want to clear those up right now so you can keep enjoying the best winter warmers.
Q1: I only have 2% milk or skim milk, can I still use it?
You totally can! That’s the beauty of making your own homemade hot cocoa—it’s flexible. However, I have to warn you, the texture won’t be quite as wonderfully thick and luxurious. If you use lower-fat milk, you absolutely need to add that chopped dark chocolate trick we talked about to compensate for the missing creaminess. For dairy-free lovers, full-fat oat milk is my absolute favorite substitute.
Q2: How do I make this *even* thicker and richer?
If you want that thick, almost pudding-like texture that qualifies as decadent hot chocolate, you have two paths. First, use less milk than the recipe calls for, or use a little more cocoa powder in the paste stage. Second, and my favorite way: stir in that ounce of chopped dark chocolate right at the end. It melts in completely, giving you that heavy, silky mouthfeel that instant mixes can never copy.
Q3: Can I swap the cocoa powder for bar chocolate entirely?
Yes, you certainly can make a classic European-style hot chocolate this way! If you want to do that, skip the cocoa powder and sugar in the first step. Instead, melt about 2 to 3 ounces of high-quality chopped baking chocolate directly into your hot water/milk mixture. Just be careful heating it, as melted chocolate is more prone to burning on the bottom of the pan.
Q4: How long does the liquid batch of homemade hot cocoa last in the fridge?
Because we use fresh milk, this liquid version isn’t meant for long-term storage, unlike the dry mix. Once cooled, keep it tightly covered in the fridge. It’s usually best enjoyed within three days. After that, the flavor starts to dull a little. Reheat gently on the stove, as I mentioned earlier, to keep that lovely smooth quality!
If you are looking for more great ways to use milk in fun recipes, you might enjoy checking out my guide for Easy Homemade Chocolate Milk!
Nutritional Estimate for This Cozy Winter Drink
When we’re making something this comforting, we aren’t really focusing on the numbers, but I know some of you like to keep track! Since flavor is my main focus, remember these numbers are just estimates based on using standard whole milk in the recipe. If you swap to skim milk or a different specialty milk, the fat and calorie counts will change, of course!
This estimate is for one generous serving of our rich and creamy cocoa:
- Calories: 210
- Sugar: 28g
- Fat: 7g
- Protein: 8g
- Sodium: 110mg
See? It’s a small indulgence! It has way less sugar than most store-bought mugs and gives you a nice little protein boost from the milk. Enjoy your homemade hot cocoa guilt-free—you’ve earned this cozy winter drink treat!
PrintRich and Creamy Homemade Hot Cocoa (Stovetop)

Make rich and creamy homemade hot cocoa from scratch on your stovetop in minutes. This recipe tastes better than any store-bought mix and uses simple pantry ingredients for a truly decadent winter drink.
- Prep Time: 3 min
- Cook Time: 5 min
- Total Time: 8 min
- Yield: 3 servings 1x
- Category: Beverage
- Method: Stovetop
- Cuisine: American
- Diet: Vegetarian
Ingredients
- 1/4 cup unsweetened cocoa powder
- 1/4 cup granulated sugar
- 1/4 teaspoon salt
- 1/4 cup hot water
- 3 cups milk (whole milk recommended for best results)
- 1 teaspoon vanilla extract
Instructions
- In a medium saucepan, whisk together the cocoa powder, sugar, and salt until combined.
- Pour in the hot water and whisk constantly until the mixture is smooth and forms a thick paste. This step dissolves the cocoa and sugar, preventing graininess.
- Gradually whisk in the milk, ensuring no lumps remain.
- Heat the mixture over medium heat, stirring frequently, until it is hot and steaming. Do not let it boil.
- Remove the saucepan from the heat and stir in the vanilla extract.
- Pour the rich and creamy cocoa into mugs. Serve immediately with your favorite toppings.
Notes
- For an extra decadent hot chocolate, stir in 1 ounce of chopped dark chocolate along with the milk.
- You can substitute any milk, but whole milk provides the best creamy texture. For a dairy-free option, use full-fat oat milk.
- Customize your drink by adding a dash of cinnamon or a pinch of cayenne pepper for a Mexican hot chocolate flavor.
Nutrition
- Serving Size: 1 cup
- Calories: 210
- Sugar: 28g
- Sodium: 110mg
- Fat: 7g
- Saturated Fat: 4g
- Unsaturated Fat: 3g
- Trans Fat: 0g
- Carbohydrates: 33g
- Fiber: 3g
- Protein: 8g
- Cholesterol: 20mg