

If you’ve ever stared down a perfect, undecorated sugar cookie and felt totally intimidated about what comes next, trust me, I get it! Decorating cookies can feel like an art form reserved for pros, but it doesn’t have to be. That’s why I spent forever perfecting this royal icing recipe—it’s my absolute foolproof guide, especially for those of you new to the game or just trying to avoid using raw egg whites.
Felix, who started this whole journey because she was too busy for complicated cooking, designed this icing to be reliable. We need that beautiful, glossy finish that dries hard, and this meringue powder royal icing delivers it every single time. You get professional decorating results without the guesswork. It’s simple, stable, and exactly what you need to make those cookies party-ready!
- Why This Royal Icing Recipe Works Every Time (The Secret to Glossy Cookie Decorating Icing)
- Gathering Supplies for Your Royal Icing Recipe
- Precise Ingredients for the Perfect Royal Icing Recipe
- Step-by-Step Instructions: How to Make Royal Icing
- Royal Icing Tips and Tricks for Success
- Storage and Reviving Your Royal Icing Recipe
- Frequently Asked Questions About This Easy Royal Icing Recipe
- Estimated Nutritional Data for this Royal Icing Recipe
- Share Your Masterpiece Royal Icing Creations
Why This Royal Icing Recipe Works Every Time (The Secret to Glossy Cookie Decorating Icing)
Look, baking should be fun, not scary! That’s why I stick strictly to this meringue powder royal icing formula. The biggest secret here is stability. When you’re decorating dozens of cookies, the last thing you want is your icing cracking or weeping an hour later. This mixture creates that gorgeous, rock-hard, almost porcelain-like shell when it dries, which is why I trust it for every cookie I make. Remember, Felix built this whole brand on reliability for busy people—and that means dependable decorating icing!
It’s designed to give you that beautiful, crisp, glossy cookie icing finish that looks straight out of a bakery window. For anyone setting cookies out at a party or trying to stack them, this is your go-to hardening icing recipe. You just don’t get that same reliable perfection when you try to wing it. You can even read more about why we focus on simplicity over complexity over on our About Page story.
Meringue Powder Royal Icing Versus Traditional Methods
People always ask about raw egg whites, and honestly, I skip the worry! Using meringue powder is just so much safer and easier for the everyday home baker. It acts like dehydrated egg white, giving you incredible structure without the food safety fuss. It also incorporates much easier and stays brilliantly white, which is perfect if you plan on dyeing your colors. It gives you that superior consistency you need for detailed sugar cookie icing tutorials.
Gathering Supplies for Your Royal Icing Recipe
Okay, so before we even touch the sugar, let’s get your tools ready. If you get your setup right, the mixing goes super fast! You absolutely need an electric mixer, preferably a stand mixer with that good old whisk attachment. It helps incorporate all that air we need for the right texture.
Besides the mixer, grab a large bowl, a sturdy rubber spatula to scrape down the sides—don’t lose any of that precious mix!—and your finer tools. You’ll want piping bags handy, maybe some coupler sets, and definitely your favorite decorating tips since this is going to be such an Easy Royal Icing Recipe!
Precise Ingredients for the Perfect Royal Icing Recipe
Now for the good stuff! Getting these amounts right is honestly half the battle when you are making this royal icing recipe. It might look like a small list, but every single item plays a huge role in getting that signature glossy, hard finish we want for treating our sugar cookies like tiny canvases. Don’t skip the sifting—seriously, I learned that the hard way!
You’ll need four tablespoons of meringue powder whisked with six tablespoons of warm water first to get it frothy. Then, we add a full four cups of confectioners’ sugar that’s been sifted well. I also love adding just a teaspoon of vanilla extract for flavor; use clear vanilla if you are making bright white icing. Don’t forget the optional quarter teaspoon of cream of tartar; it’s my little insurance policy against crystallization. You can see what other bakers use for their icing on their sugar cookies, but I come back to this mix every time!
Step-by-Step Instructions: How to Make Royal Icing
Time to mix! We’re going to use that whisk attachment we talked about. First things first, get your meringue powder and warm water together in the mixer bowl. Whisk that until it gets a little frothy—just about a minute. Don’t worry, it won’t be stiff yet, but we are waking up the powder!
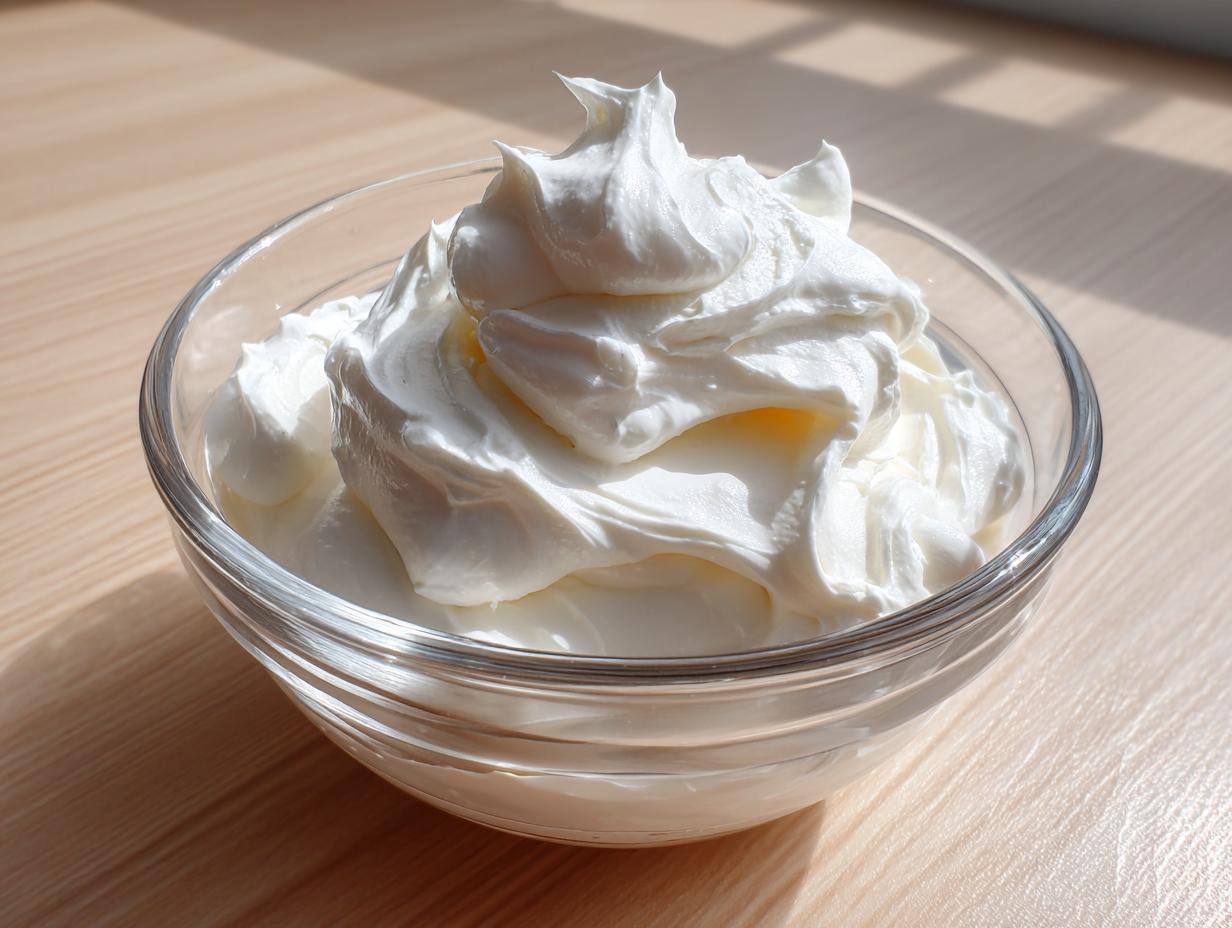
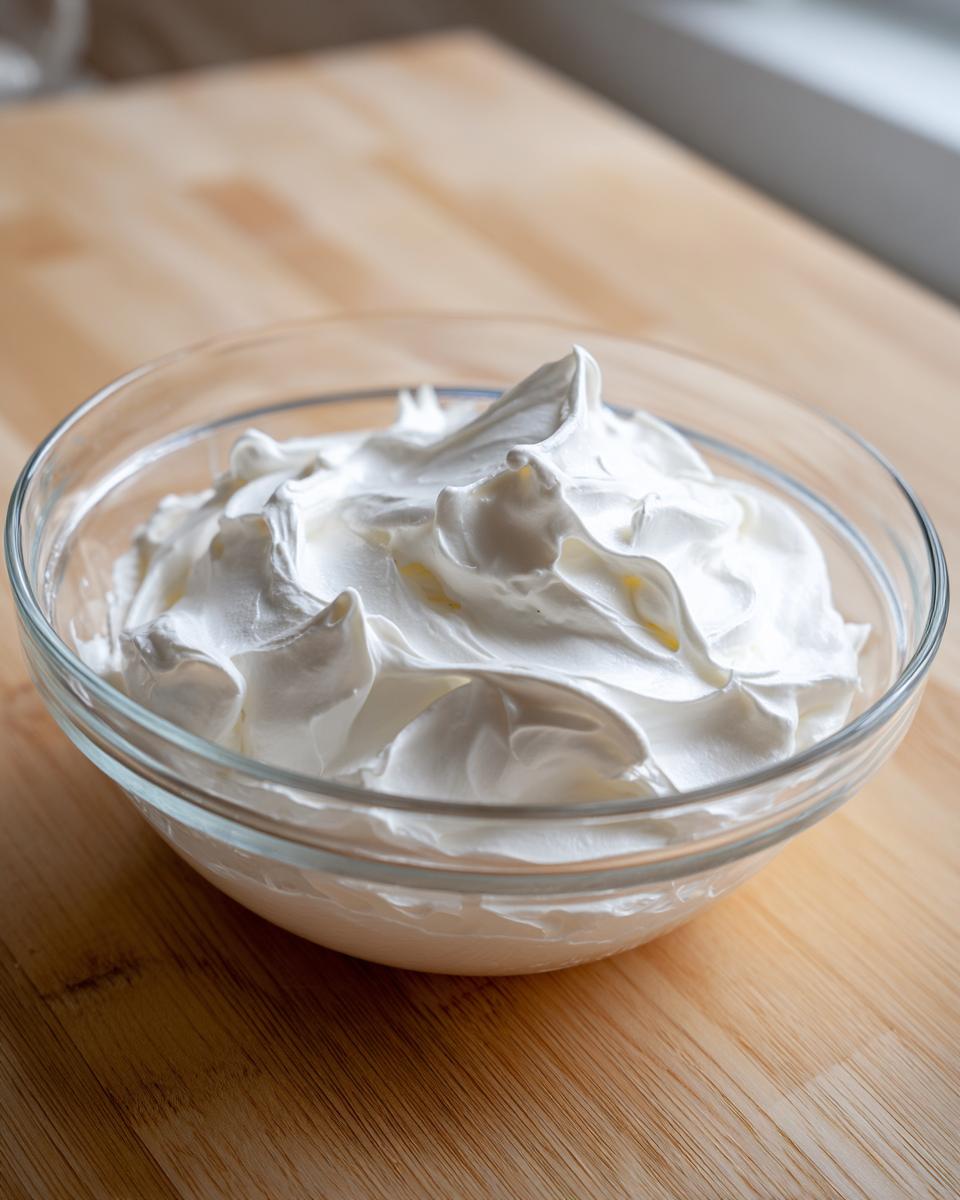
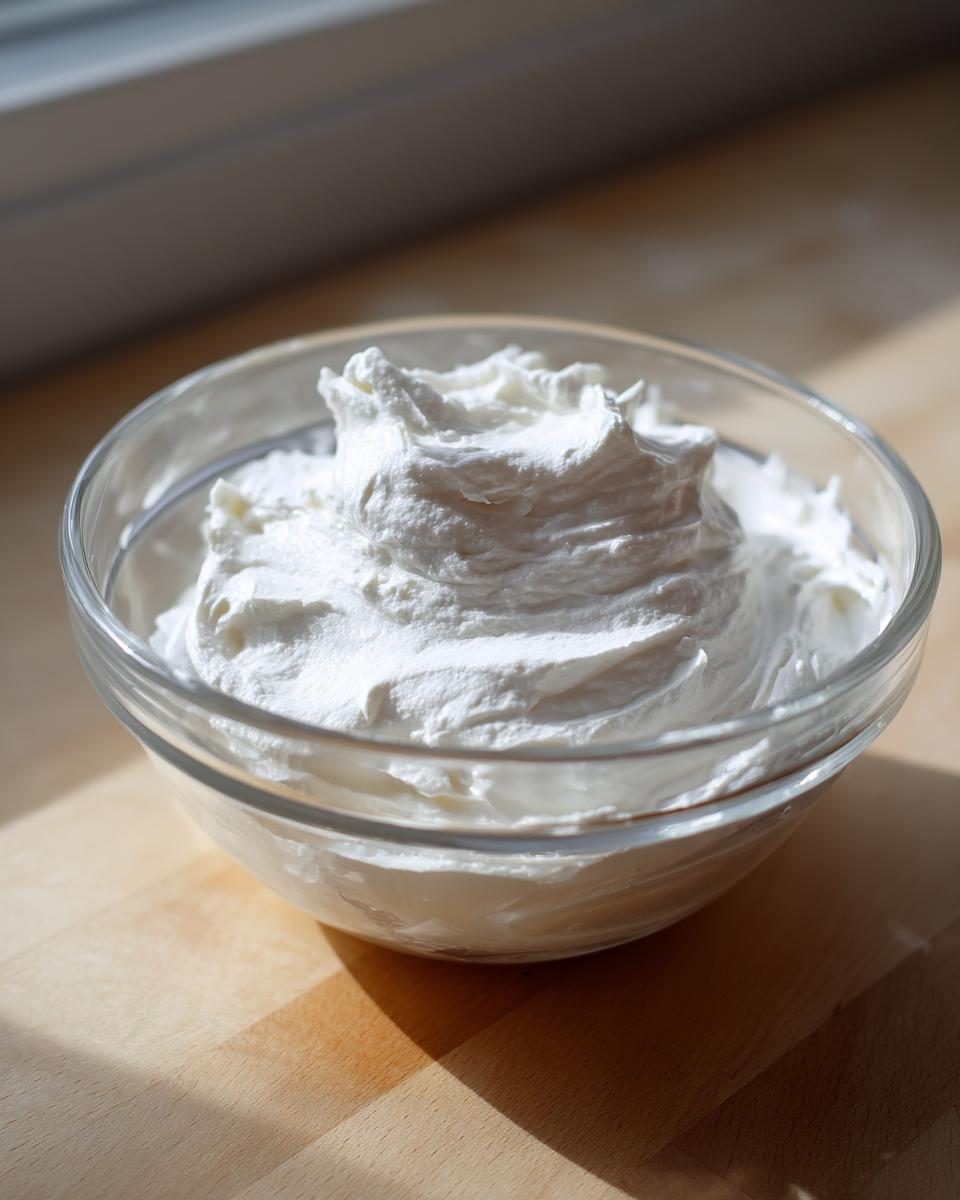
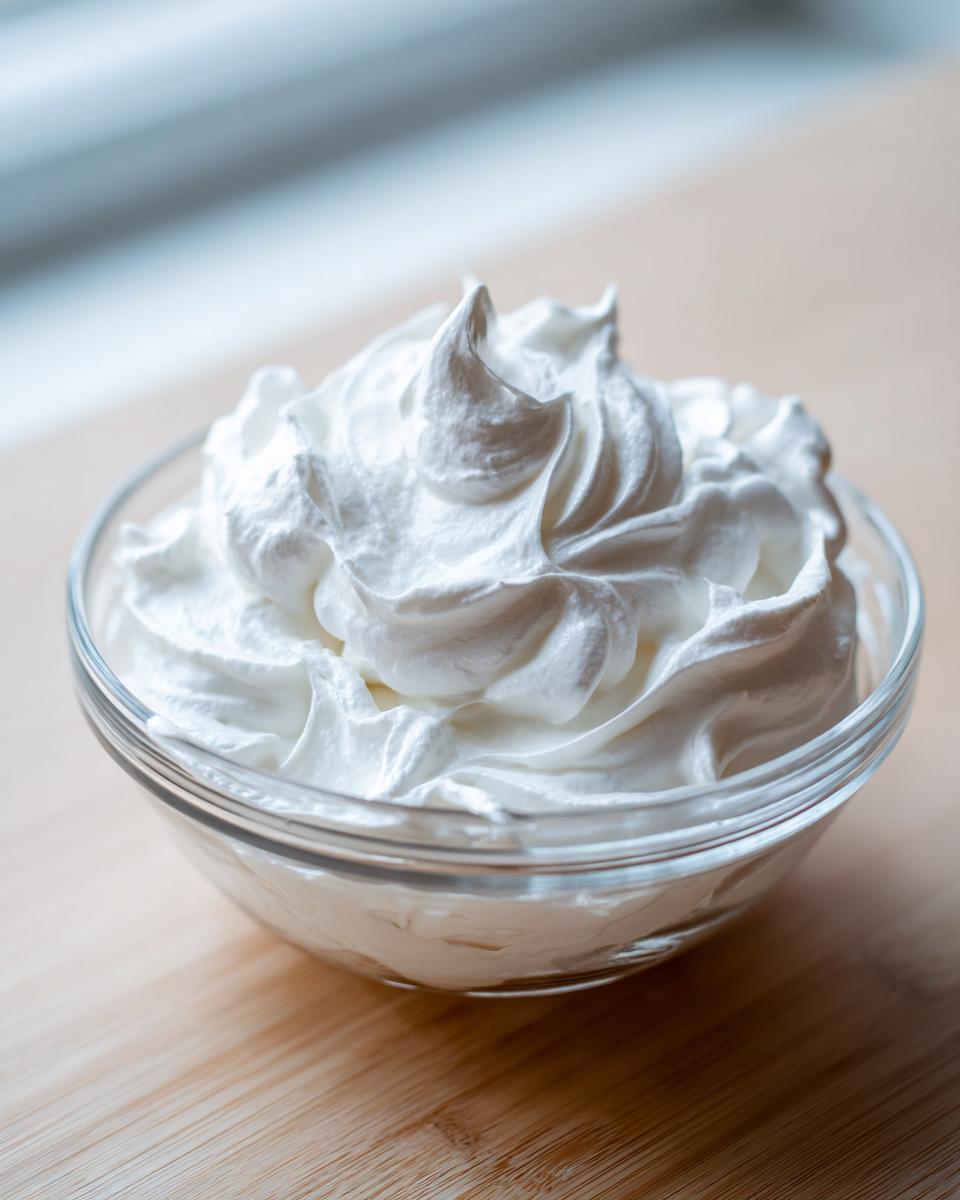
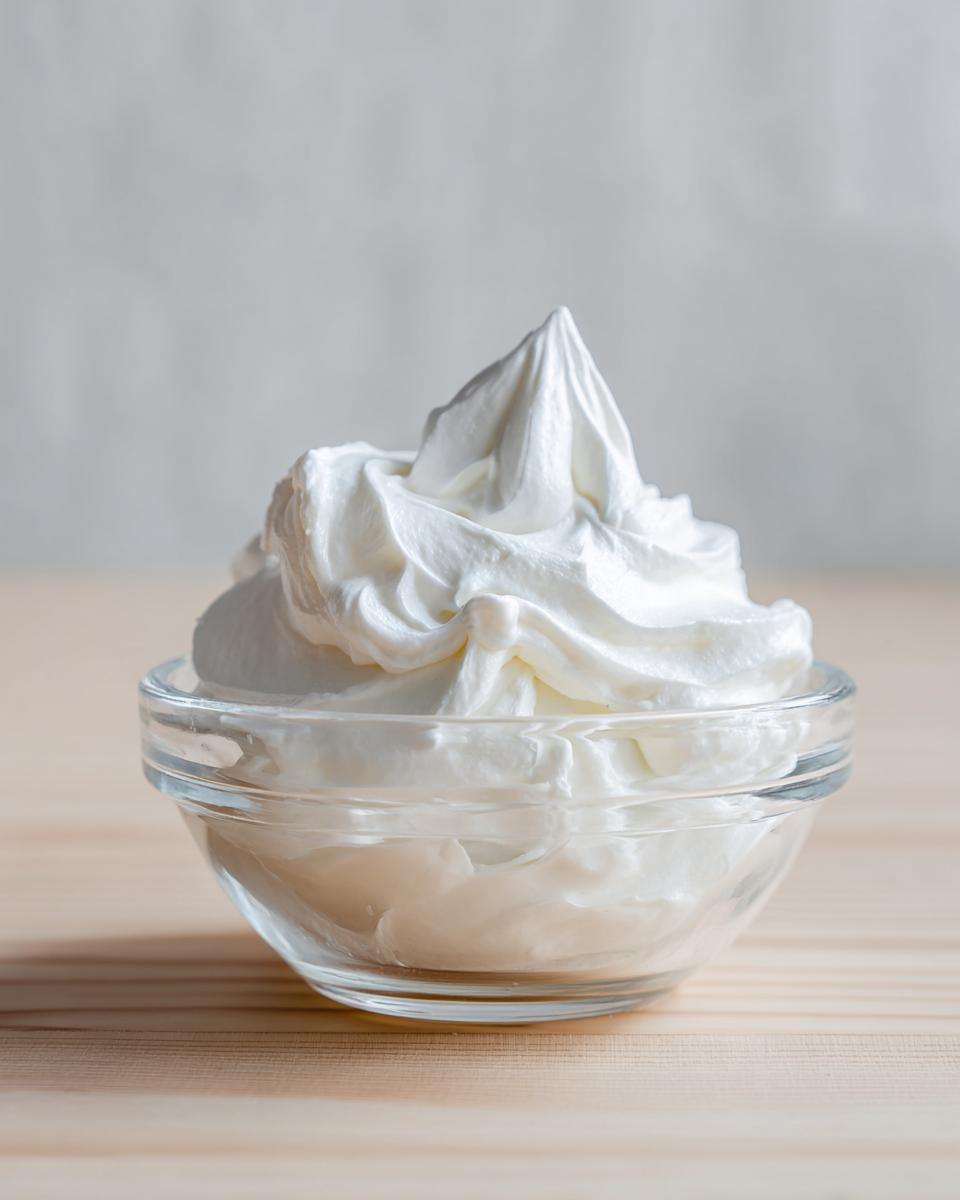
Now, dump in all that sifted sugar and the cream of tartar if you’re using it for extra insurance. Start the mixer on the absolute lowest speed. You want to incorporate the sugar slowly so it doesn’t create a powdered sugar cloud that coats your entire kitchen—trust me on that mess! Once everything looks combined, crank that speed up to medium-high. This is where the magic happens, folks. You need to beat this mixture for a solid 5 to 7 minutes. Yes, that long! This process whips in maximum air, which is what gives you that beautiful, thick look and guarantees it will dry hard later. Beat until it holds stiff, bright white peaks. Finally, mix in your vanilla extract.
Achieving Piping Icing Consistency
Once you hit those stiff peaks, your icing is perfect for borders, writing, and detailed work. This is what we call the Piping Icing Consistency. If it feels just a hair too stiff—like it’s fighting your piping bag—start adding water, one single teaspoon at a time. Mix slowly after each addition. You want icing that holds its shape clearly but droops just a tiny bit when you lift the whisk out. That little bit of droop means it will settle beautifully without cracking.
Adjusting to Flood Consistency Icing
Now, for covering those cookies smoothly, we need it thinner—that’s the flood stage! Keep adding water, teaspoon by tiny teaspoon, mixing well between each drop. We are aiming for a specific texture here: when you lift your whisk and let the trail of icing run back into the bowl, that trail should disappear completely in about ten seconds. That’s the 10-second rule for perfect Flood Consistency Icing. This thin mix flows beautifully over the cookie but still dries hard, giving you that stunning, professional look. If you have any questions about the process once you get started, feel free to reach out to us!
Royal Icing Tips and Tricks for Success
Mastering this royal icing recipe is all about knowing the little details that make the big difference in your decorations. Don’t just mix, *manage* the mixture! You’ll find that for outlining cookies, you want what we call the ‘outlining consistency.’ This means it’s thick enough to hold a sharp, defined line when you pipe it, but not so thick it looks chunky—it needs to settle just a bit without spreading out of control. This recipe is great because you can tweak it right where you need it.
We mentioned that this icing dries firm, and that’s key! It means your decorated cookies, whether they’re for holiday tins or wedding favors, will stack up beautifully without smudging. If you see a skin starting to form on the batch waiting to be colored, don’t panic! Just grab a few drops of water, tap them in, and mix very gently by hand to bring it back smoothly. These are the little survival secrets of a successful decorator. For more expert advice, you can check out these tips from a professional cookie decorator, but remember to always check our policy if you ever have concerns!
Making Royal Icing Flowers and Intricate Designs
If you’re trying to move beyond just flooding cookies and want to make those beautiful dimensional pieces, like blossoms or delicate leaves, you need something much thicker. This is where we lean into the Thick Consistency Icing territory. It should hold a stiff peak that doesn’t droop at all! This stiffness is essential for Making Royal Icing Flowers because those small details can’t collapse under their own weight while they air dry. Just remember to keep it tight and covered when you aren’t using it!
Storage and Reviving Your Royal Icing Recipe
This is arguably the most important part for keeping your easy royal icing recipe usable across multiple decorating sessions! As soon as you’re done mixing any batch—whether it’s piping consistency or flood consistency—you have to cover it right away. I mean *immediately*. Grab a piece of plastic wrap and press it directly onto the surface of the icing in the bowl. Don’t just cover the bowl; press the plastic right onto the icing itself.
If you skip that step, you get that awful, hard crust forming on top, and nobody wants scraped-off crystals in their perfectly smooth glaze! If, despite your best efforts, the icing gets a little stiff while you’re working, don’t throw it out! Just add a couple of drops of water right into the bowl and mix it *very* gently by hand with a spatula until that texture pops back to life. It rarely needs more than a few drops!
Frequently Asked Questions About This Easy Royal Icing Recipe
I know when you’re trying a new royal icing recipe, all sorts of little questions pop up that aren’t covered in the main instructions. That’s totally normal! I wanted to gather some of the things people ask me most often after they mix up their easy royal icing base. Getting these small details right makes all the difference!
Can I color this Royal Icing Recipe?
Oh yes, you absolutely can! That beautiful white base is just the starting point! The trick is timing. Always make sure you’ve got the desired thickness—whether it’s piping or flood consistency—*before* you start adding color. I strongly recommend sticking to gel food coloring; the liquid drops you usually grab for cakes add way too much moisture and can thin out your perfect mix. Add the color one drop at a time, mixing slowly, until you reach the shade you love. A little color goes a really long way!
How long does this cookie decorating icing take to dry completely?
This is where the meringue powder shines because it really encourages that hardening! If you’ve made a thin flood icing layer, it might be totally dry to the touch in about four to six hours, depending on how warm and dry your kitchen is. But if you’ve done thick borders or piping, you should plan on leaving those cookies out overnight—maybe even 12 hours—for them to dry completely hard. You want them solid before you stack them or put them in a tin, so patience really pays off here!
Is this the best royal icing recipe for gingerbread houses?
It really is fantastic for gingerbread houses! When you are building a little sugary structure, you need something that acts like strong cement, right? For putting walls and roofs together, you want to use the icing at its thickest—what we called the outlining or piping consistency. It will hold those angled pieces together while they dry, and once it sets, that cookie decorating icing is rock solid and ready to hold up to snowy weather (or just the chaos of the holidays!). For more help, you can always check out beginner tips like the ones found here!
Estimated Nutritional Data for this Royal Icing Recipe
I have to be upfront here—unless you’re running a commercial kitchen, tracking the exact nutrition for something like royal icing recipe can feel a little extra! But for those of you who like to keep track, I put together an estimate based on the ingredients in this base recipe. Remember, the yield is about four cups total, so these numbers are for a standard 1/4 cup serving size.
Here’s what the math works out to, generally speaking. This is for the basic icing before adding any extra flavorings or food dyes, since those can change things up!
- Calories: About 190 per serving
- Total Fat: 0g (That’s right, no fat here!)
- Sodium: Around 15mg
- Total Carbohydrates: 49g
- Total Sugar: 48g (Yep, it’s mostly sugar, that’s what makes it icing after all!)
- Protein: Just about 1g
Please remember, these numbers are just a ballpark figure. The exact values can definitely shift a little bit depending on the specific brand of confectioners’ sugar or meringue powder you grab off the shelf. If you’re concerned about what’s in your finished cookies, you should always check the specific labels on your ingredients. You can review our terms and conditions right here too, just in case you have questions about using the site: Terms of Use.
Share Your Masterpiece Royal Icing Creations
Now that you have mastered this royal icing recipe and you’ve got that perfect glossy finish, I want to SEE what you made! Seriously, nothing makes my day more than seeing how you all decorated your cookies or finished off those gingerbread houses.
Once you’ve let your beautiful creations dry hard, please jump down to the comments section below. Let me know which consistency you struggled with the most—or maybe which one came easiest! I love hearing which tricks worked best for you.
And if you’re snapping pictures (and I know you are!), please tag us on social media so I can share your amazing work. Seeing your flawless, hard-set icing on your sugar cookies proves that busy home cooks like us can absolutely make professional-looking treats. Go on, show off your hard work—you earned it!
PrintThe Best Foolproof Royal Icing Recipe Using Meringue Powder
Make smooth, glossy royal icing perfect for decorating sugar cookies and gingerbread houses using stable meringue powder. This recipe provides clear steps for achieving piping and flood consistencies.
- Prep Time: 10 min
- Cook Time: 0 min
- Total Time: 10 min
- Yield: About 4 cups 1x
- Category: Baking
- Method: Mixing
- Cuisine: American
- Diet: Vegetarian
Ingredients
- 4 tablespoons meringue powder
- 6 tablespoons warm water
- 4 cups confectioners’ sugar, sifted
- 1 teaspoon vanilla extract or clear vanilla extract
- 1/4 teaspoon cream of tartar (optional, for stability)
Instructions
- In a large bowl, whisk together the meringue powder and warm water until the mixture is frothy, about 1 minute.
- Add the sifted confectioners’ sugar and cream of tartar (if using) to the bowl.
- Using an electric mixer with a whisk attachment, start mixing on low speed until the sugar is incorporated.
- Increase the speed to medium-high and beat for 5 to 7 minutes until the icing is very thick, white, and holds stiff peaks.
- Beat in the vanilla extract.
- To achieve piping consistency, add water one teaspoon at a time until the icing holds a soft peak that droops slightly.
- To achieve flood consistency, add water one teaspoon at a time until the icing flows smoothly off the whisk and the trail disappears into the bowl within 10 seconds.
- Use immediately or cover tightly with plastic wrap pressed directly onto the surface to prevent drying.
Notes
- For outlining consistency, the icing should be thick enough to hold a defined line without spreading.
- For a glossy finish, avoid over-mixing once the desired consistency is reached.
- If the icing dries out, add a few drops of water and mix gently to restore the texture.
- This icing dries firm and hard when left at room temperature for several hours.
Nutrition
- Serving Size: 1/4 cup
- Calories: 190
- Sugar: 48g
- Sodium: 15mg
- Fat: 0g
- Saturated Fat: 0g
- Unsaturated Fat: 0g
- Trans Fat: 0g
- Carbohydrates: 49g
- Fiber: 0g
- Protein: 1g
- Cholesterol: 0mg