

I get asked all the time what dessert screams “I actually know what I’m doing in the kitchen,” and honestly, it’s the creme brulee. Seriously! People think this classic French custard is some impossible feat reserved only for fancy chefs, but that’s just not true. As someone who gets how busy life is, I promise that this recipe proves elegance doesn’t need hours of fuss. We focus on turning simple ingredients, like good cream and vanilla, into something pure luxury. Since we started Cooking by Felix, my entire goal has been taking those show-stopping desserts and breaking them down into steps that actually fit into a busy night. This recipe is the perfect example of that promise in action—simple ingredients, maximum dinner party impact. You can read more about why we focus on achievable elegance over on our About page!
- Why This Classic Creme Brulee Recipe Delivers Elegance and Ease
- Gathering Ingredients for Your Perfect Creme Brulee
- Step-by-Step Instructions to Master the Creme Brulee Technique
- Tips for Success When Making Creme Brulee
- Serving Suggestions for Your Elegant French Dessert
- Storage and Reheating Instructions for Creme Brulee
- Frequently Asked Questions About Making Creme Brulee
- Understanding the Nutrition of Your Creme Brulee
- Share Your Perfect Creme Brulee Experience
Why This Classic Creme Brulee Recipe Delivers Elegance and Ease
I know you’re looking at this recipe thinking, “Am I making scrambled eggs?” Don’t you worry about that for one second! When you use my gentle tempering method, you get a stunningly silky vanilla custard dessert every time. It’s the contrast that makes it magical—that cold, smooth cream base against that warm, snapping, glass-like sugar crust you make right before serving. Wow! It’s the ultimate restaurant experience brought right to your counter.
Key Benefits of Our Creme Brulee
- The ingredients list is ridiculously short. Seriously, you probably have most of it already!
- You get that incredible textural contrast: cold, rich custard meeting warm, shattering caramel.
- Success is practically guaranteed because we focus on gentle heat, which prevents the dreaded curdling.
- It’s so simple to assemble; the chilling time does most of the heavy lifting for you.
Gathering Ingredients for Your Perfect Creme Brulee
Before we dive into the technique, we need to talk about what goes into this beautiful vanilla custard dessert. Because this recipe has so few components, every single ingredient really gets a chance to shine! Trust me, precise measurements here are absolutely crucial. Mess with the ratios too much, and you mess with the perfect wobble we’re aiming for in that final, glorious creme brulee.
Essential Components for the Vanilla Custard Dessert
- 6 large egg yolks
- 2 cups heavy cream
- 1/2 cup granulated sugar, plus extra for topping
- 1 teaspoon vanilla extract
- Pinch of salt
Ingredient Notes and Substitutions for Creme Brulee
I always say use the best vanilla extract you can afford. Since it’s one of the main flavor notes here, that high-quality stuff really makes a huge difference in the final taste of your custard. Now, about the cream: we have to use heavy cream. You just can’t swap it for whole milk! The fat content in heavy cream is necessary for that signature luscious texture that sinks in your mouth. If you use milk, you’ll end up with something thin that sets fragile—not the rich, decadent experience of a true, classic creme brulee.
Step-by-Step Instructions to Master the Creme Brulee Technique
Okay, this is where the magic happens—and where you have to slow down just a tiny bit! Don’t rush the next few steps, because precision is the secret to avoiding soup or scrambled eggs. Following these steps exactly will give you that perfect, creamy custard that everyone expects from a creme brulee.
Preparing the Custard Base and Water Bath for Creme Brulee
First things first, get your oven warming up to 300°F (150°C). While that’s happening, set your six little ramekins inside your large baking pan—this is where the water bath comes in later! Next, we heat the cream gently. You only want it to start simmering around the edges, so keep an eye on it and pull it off the heat right away. In another bowl, whisk those egg yolks and sugar until they look pale and smooth. Now for the critical part: tempering! You have to pour that warm cream into the yolks incredibly slowly, just a thin stream, while whisking non-stop. If you dump it, you’re making sweet scrambled eggs, trust me! Once it’s all mixed, stir in the vanilla and salt, and then strain the whole thing through that fine-mesh sieve. This straining step is non-negotiable; it gets rid of any little bits that might have cooked oddly.
Baking the Vanilla Custard Dessert Perfectly
Carefully pour the silky custard mixture into your prepared ramekins. Then, you need that water bath, or *bain-marie*. Add hot water to the outside baking pan until it comes about halfway up the sides of your little custards. This hot water cushions the heat so your vanilla custard dessert cooks evenly and gently. Pop the whole assembly into the oven for about 30 to 40 minutes. How do you know it’s done? Watch closely! The edges should look firm, but the very center needs to retain a slight jiggle when you nudge the pan. That slight wobble means it’ll set up perfectly once it chills. Once they pass the jiggle test, carefully fish them out of the hot water and move them to a cooling rack. They need to chill completely—four hours minimum, but overnight is truly best.
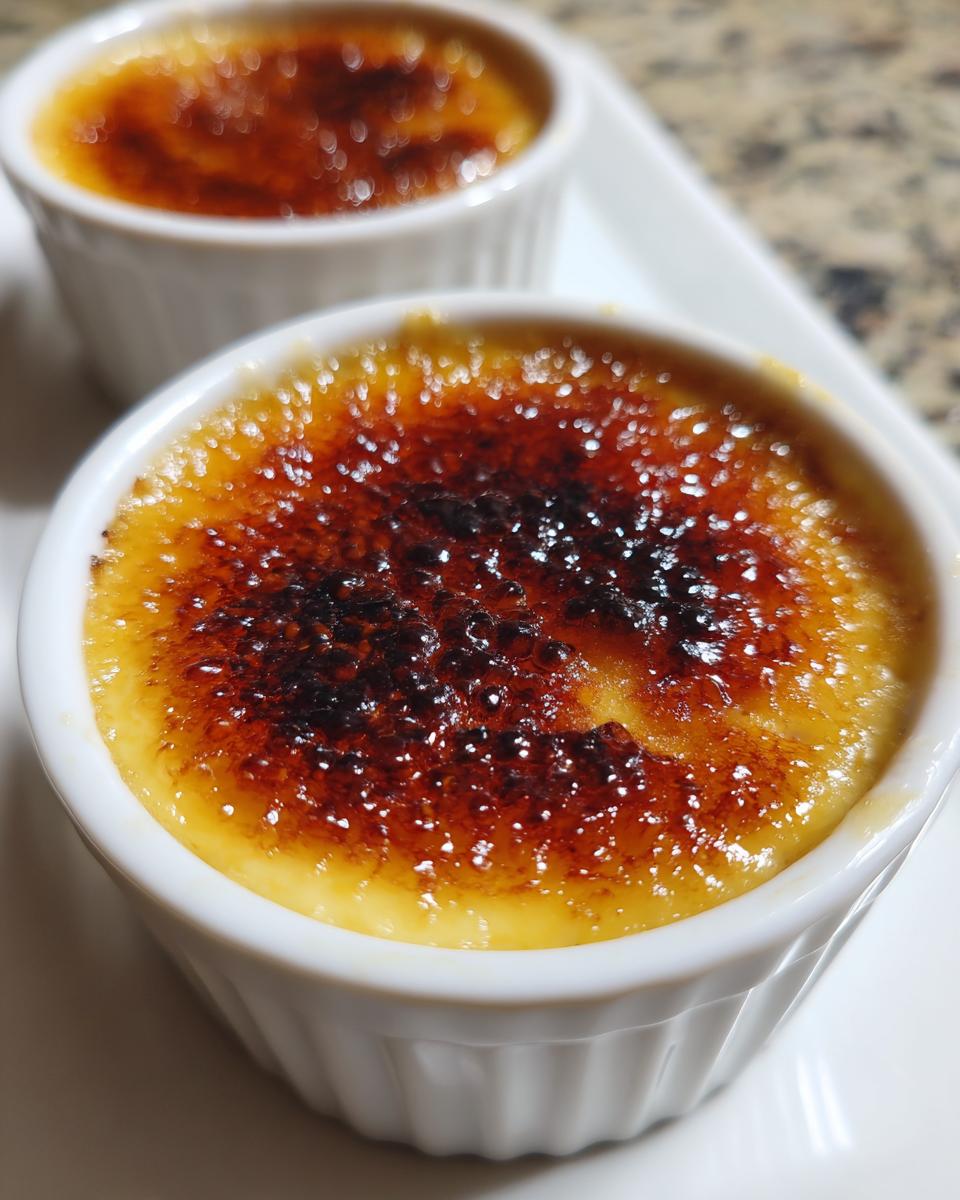
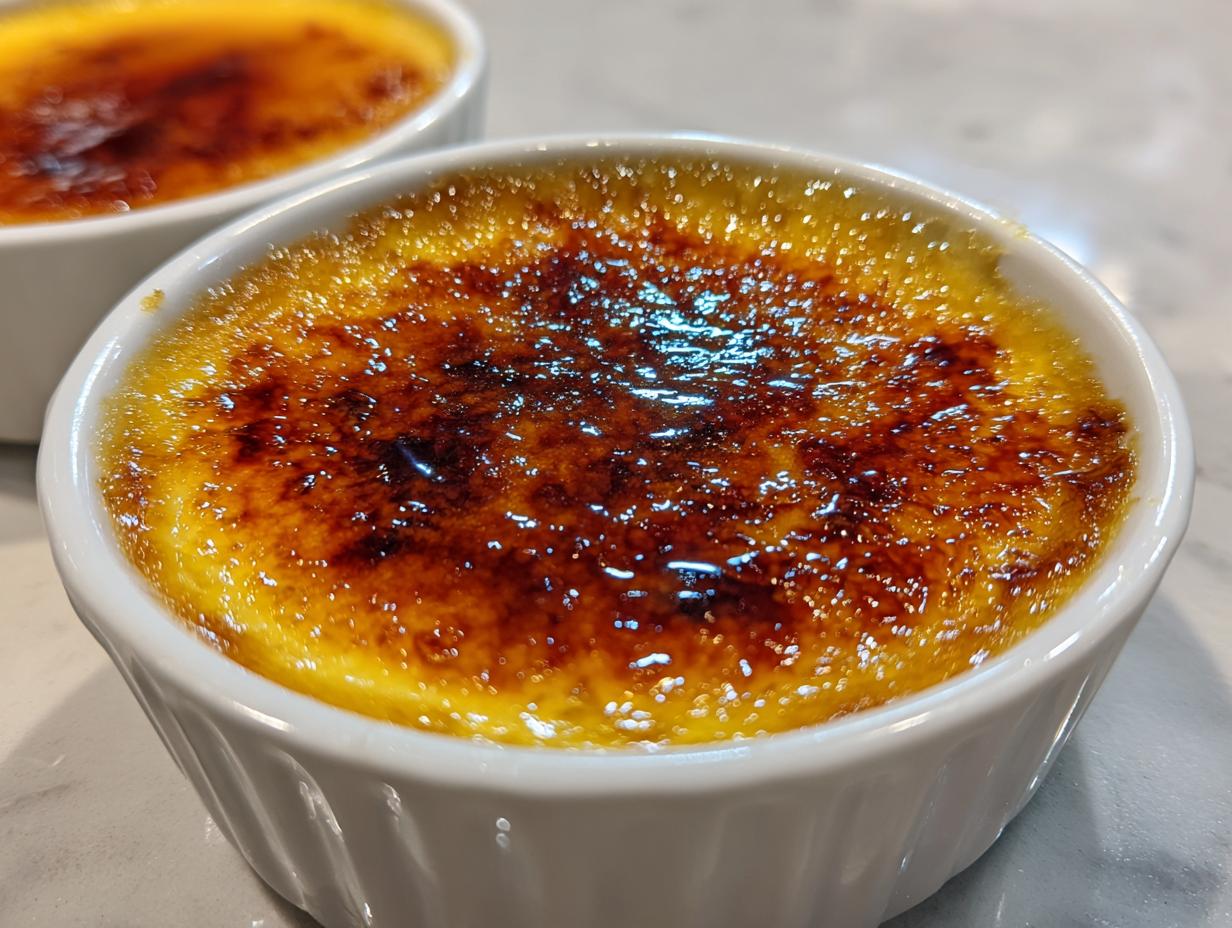
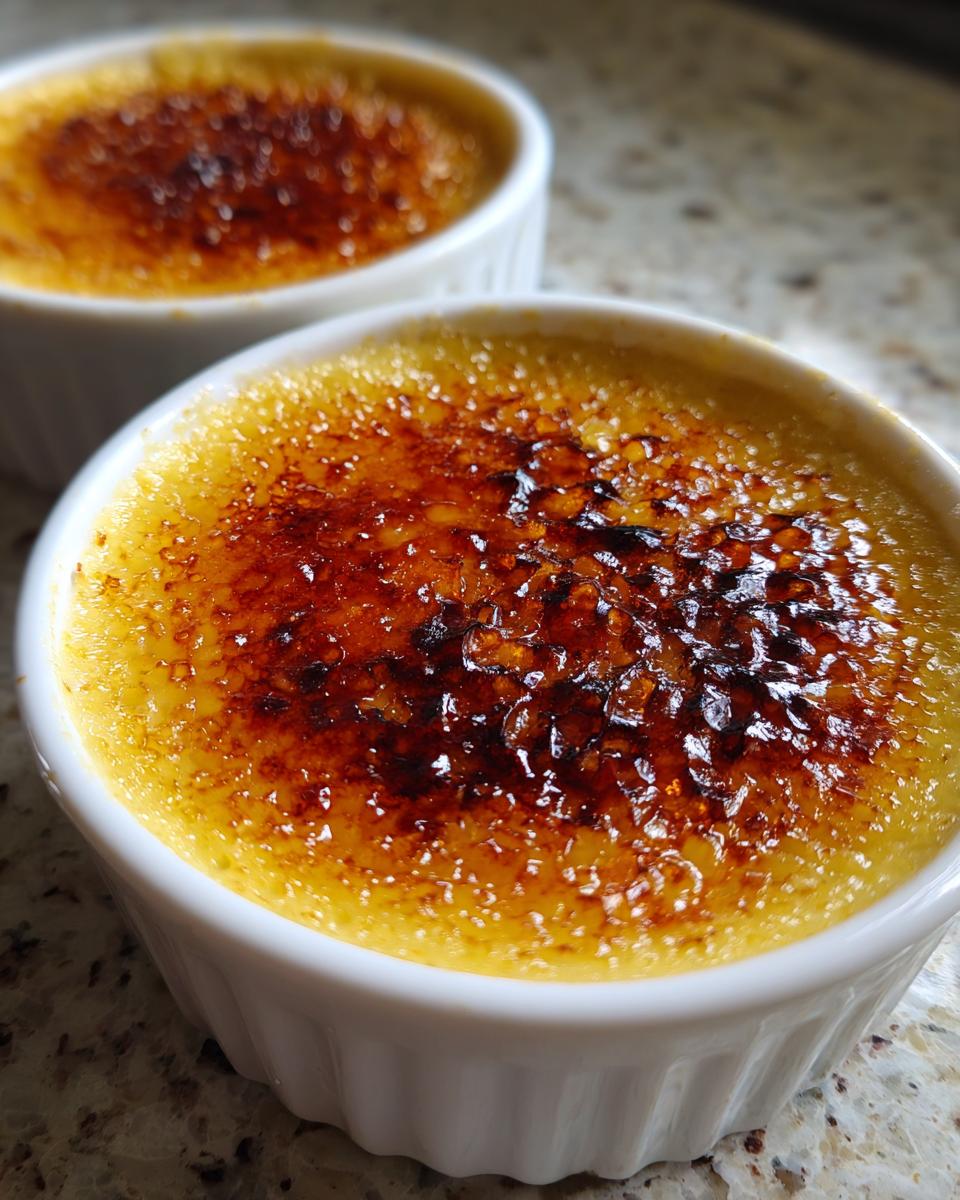
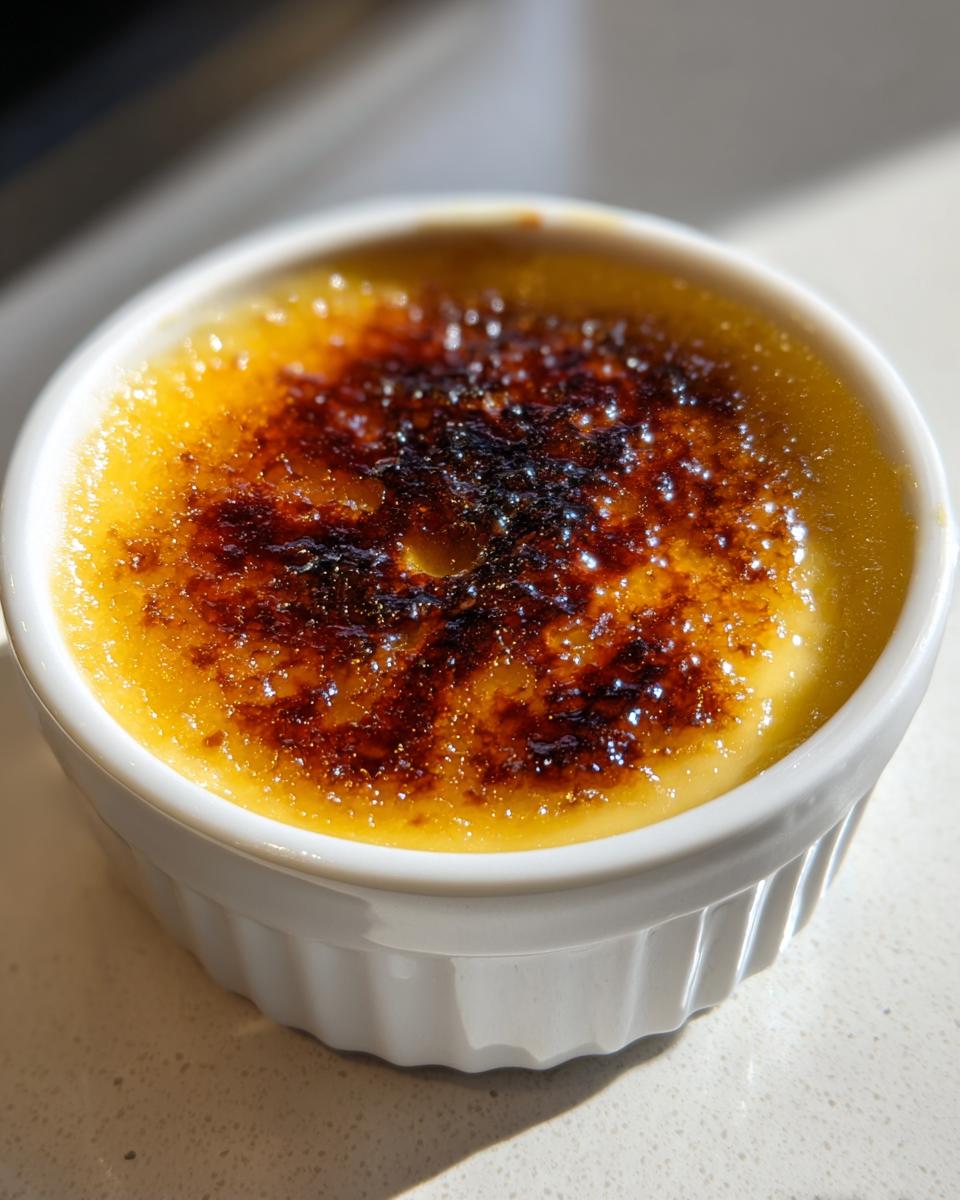
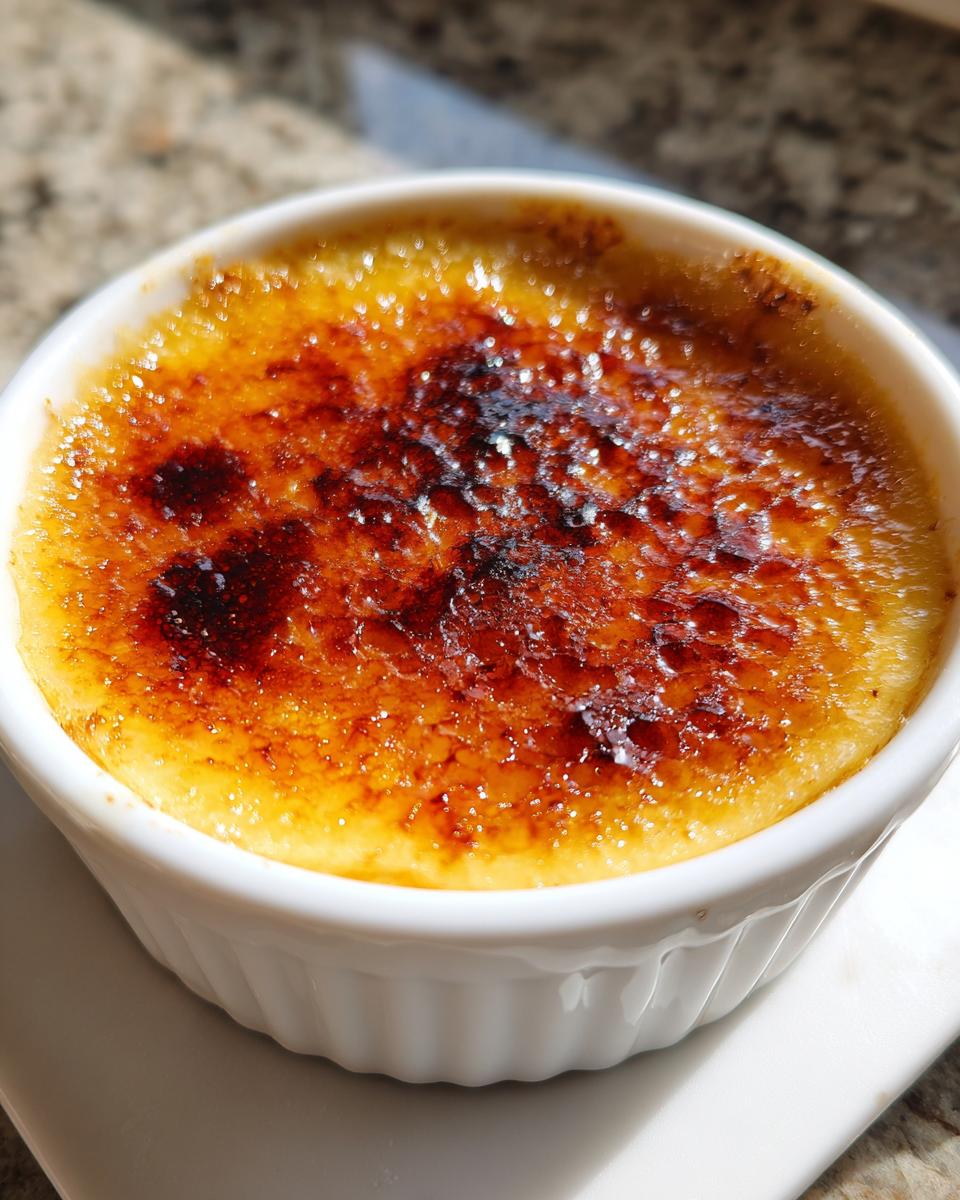
Achieving the Signature Caramelized Sugar Topping on Your Creme Brulee
This is the grand finale, the part everyone claps for! Once your custards are ice cold, sprinkle an even, thin layer of sugar over the top of each one. Don’t use a massive pile; thin layers melt beautifully. Then, grab your kitchen torch! Move the flame constantly in small circles over the sugar layer until it melts into that beautiful, hard, amber-colored crust. You’re looking for deep color, but work quickly so you don’t warm up the cold custard underneath. If you absolutely do not have a torch (and I highly recommend getting one!), you can put them briefly under a broiler, but you must stand there and watch every single second—broilers move fast! Let that perfect caramelized sugar topping cool down for just a few minutes so it hardens into a shell, and then serve immediately!
Tips for Success When Making Creme Brulee
Mastering this beautiful dessert comes down to handling a few key moments with care. Don’t stress if your first attempt isn’t perfect; we all had to learn the delicate dance of temperature control, which is the real secret to an elegant French dessert like this creme brulee.
Avoiding Common Pitfalls in Your Creme Brulee Recipe
The single biggest mistake is curdling the yolks. That’s why tempering must be slow and steady—pour that warm cream in like you’re whispering sweet nothings to the eggs! Also, please do not skip straining the mixture; it catches any tiny bits of cooked egg white or unincorporated sugar, guaranteeing that luxurious, silky texture. And seriously, don’t rush the chill time. If you try to torch a warm custard, you’ll just end up with melted cream and sticky sugar. Patience pays off, even at this stage!
Serving Suggestions for Your Elegant French Dessert
Now that you have that perfectly cracked shell on your creme brulee, it’s time to make it look as stunning as it tastes! For presentation, I love keeping things really clean, leaning into that elegant French dessert vibe. A single fresh raspberry or a delicate mint leaf placed right on top of the amber crust adds just the right pop of color. If you’re feeling extra fancy, a light dusting of cocoa powder around the rim of the ramekin is divine. This rich vanilla custard dessert pairs wonderfully with strong black coffee or maybe a crisp, chilled champagne!
Storage and Reheating Instructions for Creme Brulee
This is the best part about making these little beauties: you can definitely make them ahead of time! Once the custard is completely cooled, cover each ramekin tightly with plastic wrap—I like to press the wrap right onto the surface of the vanilla custard dessert to stop those tiny skin bubbles from forming. Chill them away in the fridge for up to two days.
But here’s the crucial rule for that glorious crack on your creme brulee: you absolutely must wait to sprinkle and torch the sugar until the very moment you are ready to serve. If you sugar them too soon, the sugar will pull moisture from the cold custard and turn into a gummy mess. Nobody wants a sticky top!
Frequently Asked Questions About Making Creme Brulee
I know you have questions, because tackling a classic creme brulee for the first time can feel nerve-wracking! It’s those little technical moves, like getting that perfect sugar crust, that trip people up. Don’t worry, I’ve gathered all the things folks ask me most often about getting that perfect crack and silky finish.
Can I make the vanilla custard dessert ahead of time?
You absolutely can, and I highly encourage it! The baked custard base keeps beautifully in the fridge, covered tightly, for up to two days. In fact, chilling overnight really helps develop that deep, creamy flavor in your vanilla custard dessert. The one thing you can never do ahead of time? That wonderful caramelized sugar topping. That needs to be done right before you serve it, or it gets sticky. Timing is everything for that final crack!
What causes the caramelized sugar topping to be sticky instead of hard?
Ugh, the sticky situation! That’s usually a sign that you didn’t get the sugar hot enough, or you held the torch too far away beneath the necessary temperature. You need steady, intense heat to caramelize it properly into brittle glass. Another common issue is that the custard underneath wasn’t cold enough. If the custard starts warming up while you torch, the sugar melts right back into the cream instead of hardening on top. Keep that torch moving, but keep it close!
We take privacy seriously here at Cooking by Felix, so you can check out our Privacy Policy any time you want!
Understanding the Nutrition of Your Creme Brulee
Look, when you’re making something this rich and lovely, it tends to lean toward the indulgent side, right? So, I just wanted to give you a quick heads-up here. The figures we put together for this amazing creme brulee—the calories, the fat, all that—are just solid estimates based on standard ingredients. They aren’t exact science. If you’re watching macros super closely, maybe grab the full sheet, but mostly, enjoy this treat! For all the fine details, make sure you check out our Terms of Use page.
Share Your Perfect Creme Brulee Experience
I am truly dying to know how your creme brulee turned out! Did you get that perfect, clean *crack* on the sugar shell? Please, leave a comment below and tell me all about your results and any twists you added. Your success stories really help build our kitchen community! If you made something gorgeous, feel free to send photos our way through the contact form. Happy baking, everyone!
PrintClassic Crème Brûlée Recipe

Make an elegant French dessert with a rich vanilla custard base and a crisp, caramelized sugar topping.
- Prep Time: 15 min
- Cook Time: 40 min
- Total Time: 55 min
- Yield: 6 servings 1x
- Category: Dessert
- Method: Baking and Torching
- Cuisine: French
- Diet: Vegetarian
Ingredients
- 6 large egg yolks
- 2 cups heavy cream
- 1/2 cup granulated sugar, plus extra for topping
- 1 teaspoon vanilla extract
- Pinch of salt
Instructions
- Preheat your oven to 300°F (150°C). Place six 6-ounce ramekins in a large baking pan.
- In a medium saucepan, heat the heavy cream over medium heat until it just begins to simmer around the edges. Do not let it boil. Remove from heat.
- In a separate bowl, whisk the egg yolks and 1/2 cup of sugar together until the mixture is pale yellow and smooth.
- Slowly temper the egg mixture by pouring the warm cream into the yolks in a thin stream while constantly whisking. This prevents the eggs from scrambling.
- Stir in the vanilla extract and salt.
- Strain the custard mixture through a fine-mesh sieve into a large measuring cup or bowl to remove any solids.
- Divide the custard evenly among the six ramekins.
- Carefully pour hot water into the baking pan until the water reaches halfway up the sides of the ramekins. This creates a water bath (bain-marie).
- Bake for 30 to 40 minutes, or until the edges are set but the center still has a slight jiggle when gently nudged.
- Carefully remove the ramekins from the water bath and let them cool completely on a wire rack. Once cool, cover and chill in the refrigerator for at least 4 hours, or preferably overnight.
- Before serving, sprinkle an even, thin layer of granulated sugar over the top of each chilled custard.
- Use a kitchen torch to melt and caramelize the sugar until it forms a hard, amber-colored crust. Work quickly to avoid heating the custard underneath.
- Let the caramelized sugar cool and harden for a few minutes before serving.
Notes
- For the best texture, do not overbake the custard; the center should remain slightly soft.
- If you do not have a kitchen torch, you can place the sugared custards under a preheated broiler for 1-2 minutes, watching constantly to prevent burning.
- Use high-quality vanilla extract for the best flavor in your vanilla custard dessert.
Nutrition
- Serving Size: 1 ramekin
- Calories: 350
- Sugar: 25
- Sodium: 40
- Fat: 28
- Saturated Fat: 17
- Unsaturated Fat: 8
- Trans Fat: 1
- Carbohydrates: 26
- Fiber: 0
- Protein: 7
- Cholesterol: 250