

Oh, the eternal quest for the perfect cut out cookie! We’ve all been there, right? You get all excited for holiday baking, mix up the dough, cut out the cutest little shapes, and then—disaster. They puff up like little pillows, or worse, they spread out into sad, unrecognizable puddles. It’s frustrating when you want to decorate them beautifully.
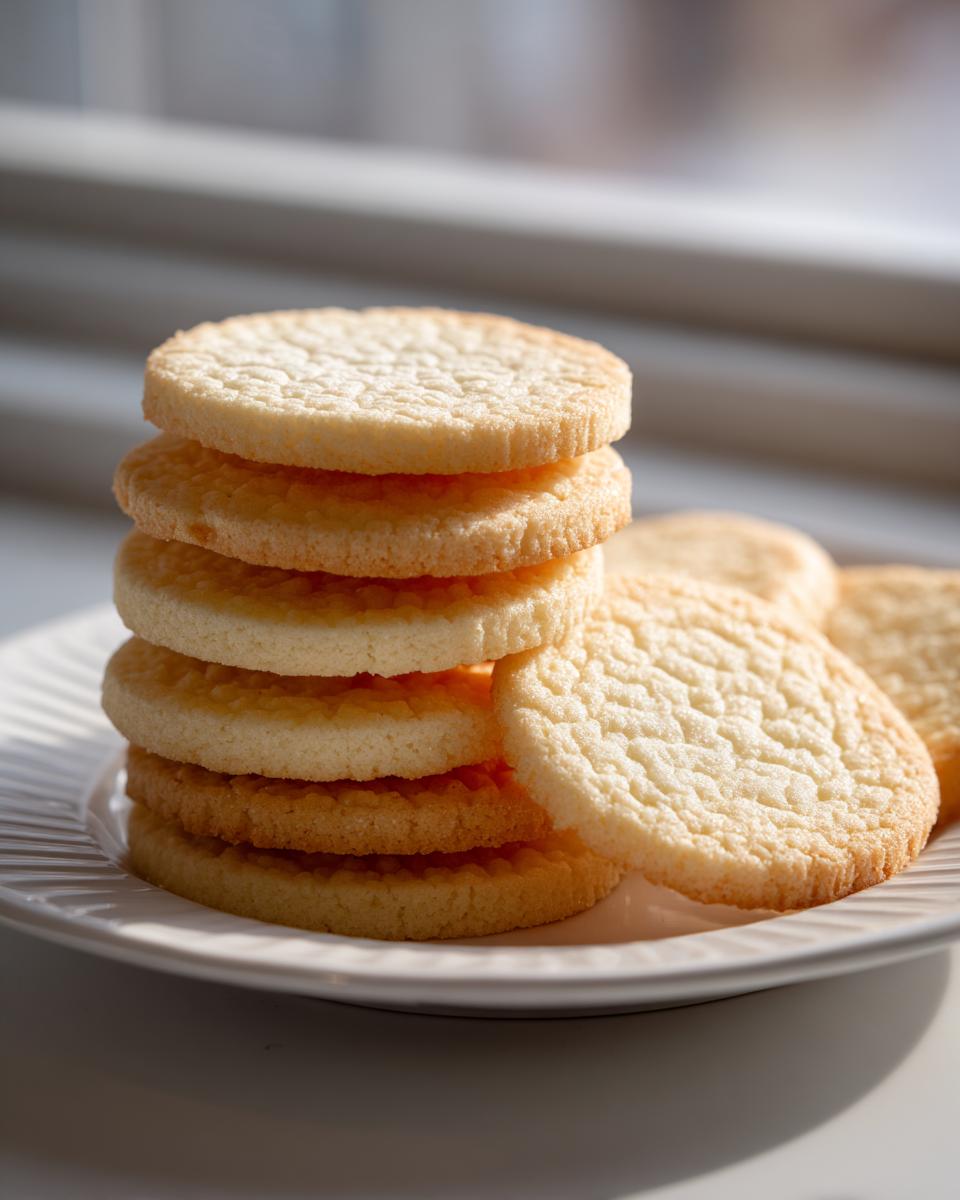
That’s why I poured my whole heart into perfecting this recipe. I promised myself that for every busy person out there, we would create rock-solid, reliable recipes. These aren’t just any sugar cookies; these are the absolute best soft and chewy cut out versions you’ll ever meet. They are buttery, they practically melt in your mouth, but somehow, they hold their shape perfectly when they hit the oven. Trust me, this recipe is the answer to all your sweet treat prayers, and it’s coming straight from my kitchen to yours, ready for the busy cook. If you’re looking for other simple, delicious desserts, you should check out my collection of easy recipes!
- Why This is The Best Sugar Cookie Recipe Ever
- Ingredients for Soft and Chewy Cut Out Sugar Cookies
- How to Make Sugar Cookies: Step-by-Step Instructions
- Tips for Perfect Cut Out Sugar Cookies That Hold Their Shape
- Storage and Reheating Instructions for Homemade Sugar Cookies
- Serving Suggestions for Your Delicious Sugar Cookies
- Frequently Asked Questions About Making Sugar Cookies
- Estimated Nutritional Data for These Sugar Cookies
- Share Your Sweet Treat Recipes
Why This is The Best Sugar Cookie Recipe Ever
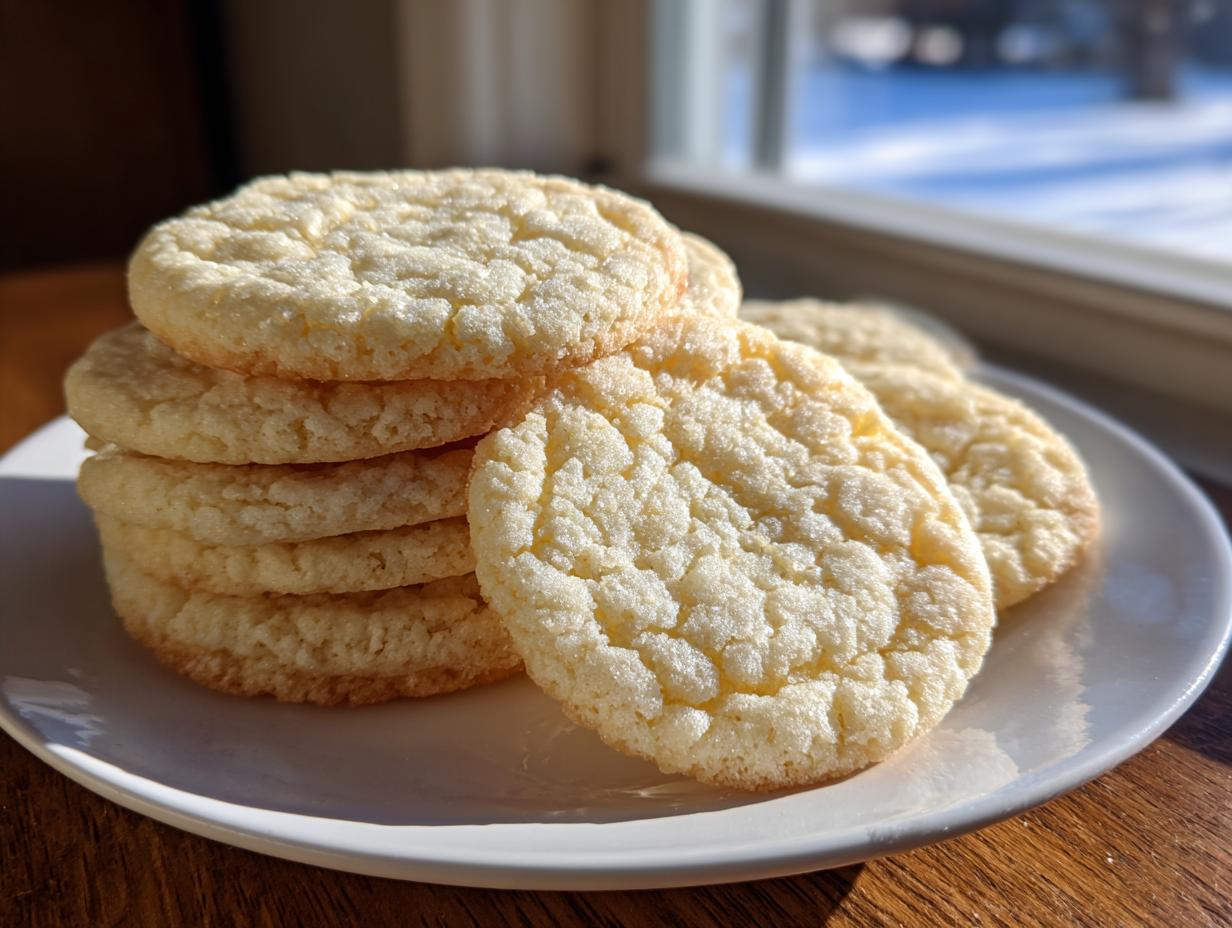
Honestly, finding a sugar cookie that has the perfect texture *and* doesn’t spread is like finding buried treasure. That’s what we’ve achieved here! This isn’t just another standard batch; this is truly the best sugar cookie recipe I have ever documented. Why? Because it gives you that bakery-style chewiness—those irresistible melt in your mouth cookies—without turning into a flat mess on the baking sheet.
I know you’re busy, so I designed this recipe to be straightforward. We achieve that beautiful shape retention simply through thorough chilling, which is an easy step you absolutely cannot skip! It’s all about delivering exceptional results without complicated steps. This recipe proves that homemade sugar cookies can be both easy and genuinely outstanding.
Ingredients for Soft and Chewy Cut Out Sugar Cookies
Okay, let’s talk about what goes into these magnificent treats. For the absolute best results in our soft sugar cookies, you really need to stick to what’s listed. If you don’t follow the details, you might end up with something that spreads, and trust me, we want those perfect shapes!
- 2 1/4 cups all-purpose flour
- 1 teaspoon baking soda
- 1/2 teaspoon salt
- 1 cup unsalted butter, softened
- 1 1/2 cups granulated sugar
- 1 large egg
- 1 teaspoon vanilla extract
That’s it! Simple, accessible ingredients that, when mixed right, give you a wonderfully buttery base. Remember, the success of these homemade sugar cookies really comes down to how you prepare these items.
Ingredient Notes and Substitutions for Perfect Sugar Cookies
There are a couple of tiny things here that make a massive difference across the board for all easy sugar cookies. First, that butter—please, please ensure it is genuinely softened, not melted! When you cream room-temperature butter with sugar, you are whipping air into the dough. That air expands in the oven, which helps keep our sugar cookies thick and soft, instead of flat and crispy.
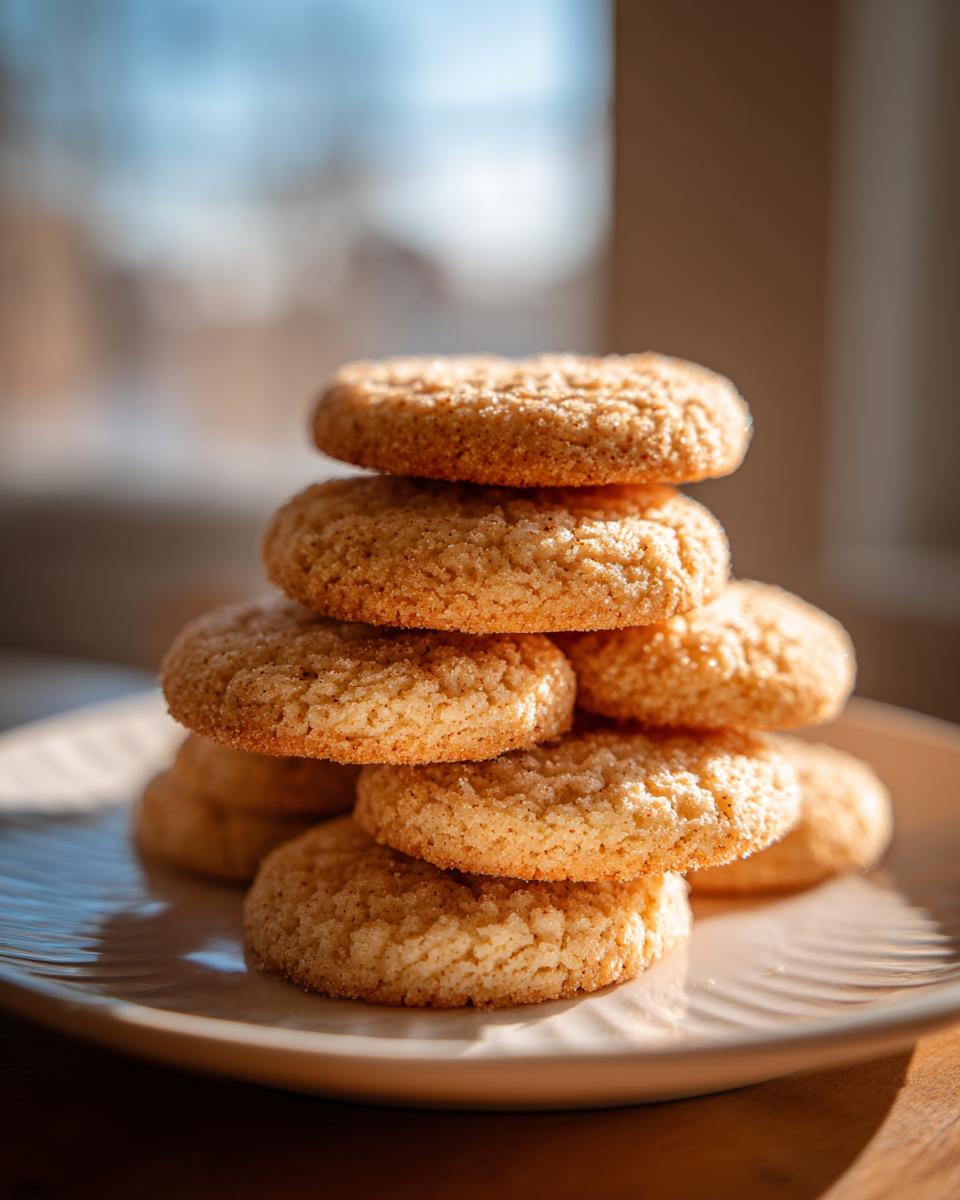
Also, while vanilla is fantastic, if you are making these special for Christmas or a winter event, swap that vanilla out for 1 teaspoon of almond extract when you’re mixing. It gives these holiday sugar cookies such a lovely, warm fragrance that just sings of celebration. It’s one of my favorite little tricks!
How to Make Sugar Cookies: Step-by-Step Instructions
This is where the magic happens, but it’s also where you have to pay attention! We are going for ultimate success with these batch of cut out sugar cookies, which means following the process exactly. Remember, we want these to be soft and chewy, not thin and crisp, so temperature and timing matter!
Mixing the Dough for Fluffy Sugar Cookies
First, get your dry ingredients—the flour, baking soda, and salt—whisked together in a separate bowl and just set them aside. Don’t worry about them for a minute.
Now, grab your big bowl for the wet stuff. Beat that softened butter and sugar together—this is step two, and it’s critical for fluffiness. You need to whip it until it looks light and pale; I usually give it a good three minutes with the mixer. It should look airy, not just combined. Next, toss in the egg and vanilla, beat until they just disappear. Scrape down the sides of the bowl—always scrape down the sides! Finally, add your flour mixture gradually. Seriously, add it slowly! As soon as you stop seeing streaks of dry flour, stop mixing. Overmixing the flour develops gluten, and that’s how you get tough cookies. We want tender sugar cookies!
Chilling and Rolling Out Your Cut Out Sugar Cookies
This next step is Non-Negotiable if you want cookies that hold their shape when you decorate them. Divide that lovely dough in half. I wrap each half tightly in plastic wrap and flatten it into a disk—about an inch thick is perfect. Then, they need a deep chill. I insist on at least two hours in the fridge, but honestly, if you let them go overnight, you’ll thank me later! Cold dough is your best friend against spreading.
When it’s time to bake, preheat that oven to 375 degrees. Roll out one chilled disk on a lightly floured surface. We’re aiming for about 1/4 inch thickness for a good, soft bite. Use your cutters to stamp out your shapes, place them on parchment-lined sheets with an inch of space between them, and get them into the oven. For that soft texture, bake for maybe 8 or 9 minutes. If you see the edges just barely starting to turn golden, pull them out! They’ll keep cooking a tiny bit on the pan. If you’re heading to another resource for ideas, check out this sugar cookie guide.
Tips for Perfect Cut Out Sugar Cookies That Hold Their Shape
Even with the best recipe, sometimes things don’t go exactly as planned, right? That’s why I always keep a few troubleshooting tricks in my back pocket. When it comes to cut out sugar cookies, there are three main enemies: spreading, crumbling, and sticking!
Let’s tackle spreading first, even if you chilled the dough. If your cut outs still seem to melt a little too much in the heat, wrap the shapes on the cookie sheet again and pop them in the freezer for about 15 minutes before they go into the preheated oven. A little extra cold shock really locks those edges in place. It’s one of my favorite quick fixes for achieving that bakery look when I need easy baking ideas that look complicated!
Now, what about crumbling? That usually happens because the dough is too dry or you’ve overworked it when rolling. If the edges are cracking when you lift the cutter, it means your dough is too dry. Gently knead in just a tiny bit more butter—maybe half a tablespoon for the whole batch—and then re-chill it. You want it pliable, not crumbly!
Finally, preventing sticking when you get ready to decorate sugar cookies is crucial, especially after all that hard work cutting them out. If you plan on using royal icing, make sure the cookies are completely, totally room temperature—I mean, fully cooled—before applying any decoration. If there’s any residual warmth, the icing won’t set right. Also, I always lightly dust my cutters with flour, or even better, a tiny bit of cornstarch, before cutting. It releases like a dream!
Storage and Reheating Instructions for Homemade Sugar Cookies
Okay, you’ve baked these gorgeous, soft sugar cookies, and they look perfect. Now, how do we keep them tasting like they just came out of the oven tomorrow, or next week?
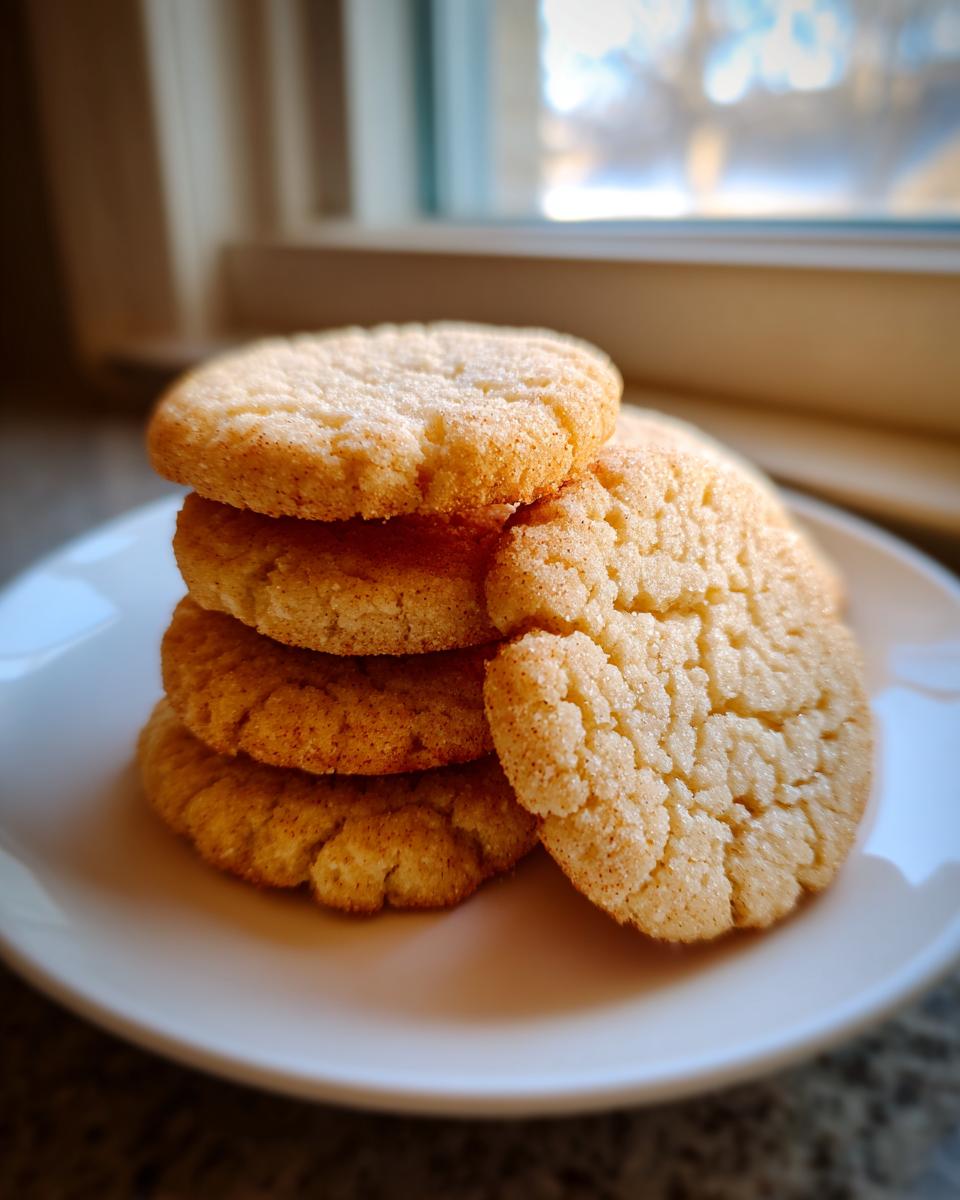
If you haven’t decorated them yet, storage is super simple. Keep your unfrosted cookies in an airtight container at room temperature. I find that if you layer them between sheets of wax paper, it helps keep them from sticking together while preserving that lovely texture. Honestly, these homemade sugar cookies will stay perfectly soft and chewy for a good four or five days this way. Don’t even think about reaching for the fridge—cold air is the enemy of soft cookies, it makes them stiff!
Now, once you add icing, things change a little, depending on what you used. If you’re using simple powdered sugar glaze, you can usually keep them airtight for about three days at room temperature. If you have used heavy buttercream or royal icing, I recommend storing them in a single layer or separating layers with parchment, and they are usually good for three days on the counter too.
If you have a massive batch of holiday sugar cookies and you know you won’t get to them fast enough, you can absolutely freeze them! For the best freshness, wrap the *unfrosted* cookies tightly in plastic wrap—twice—and then place them snugly in a freezer-safe bag. They hold up beautifully for about three months this way. When you want to bake them, just thaw them overnight right in the container. It helps trap any moisture so they don’t dry out on you!
Serving Suggestions for Your Delicious Sugar Cookies
So, you’ve got the perfectly soft, beautifully decorated sugar cookies ready to go. They look incredible, but now what? You need the right moment to enjoy them!
Honestly, my favorite way to eat any of my holiday baking essentials is usually the simplest. Just grab one of these buttery cut out sugar cookies (no coffee required!) and eat it standing over the sink while you’re cleaning up. It’s the baker’s secret reward, I swear!
But if you’re planning on serving them to guests or pairing them up for a real treat, here are a few ways I love to present them. For an afternoon treat, they go perfectly with a strong, hot cup of coffee or maybe a nice, cold glass of milk. That creamy richness just balances the simple sweetness of the cookie so well.
If you’re using these for a huge holiday cookie exchange or platter—like that big display you see in magazines—don’t feel pressured to have everything else be complicated! These cookies are the star. Pair them simply with some classic shortbread or maybe a fudgy brownie for texture contrast. Sometimes people go overboard with pairings, but when you have the best sugar cookie recipe, you don’t need a lot of dressing up!
Another way I love to use them, especially when I make extra simple, unfrosted batches, is to serve them alongside a bowl of fresh berries, like raspberries or sliced strawberries. The tart brightness of the fruit is a wonderful counterpoint to the sweet, melt-in-your-mouth flavor of the cookie base. Keep it simple; that’s my motto for serving sweet treats!
Frequently Asked Questions About Making Sugar Cookies
I know that even with the best, most tested recipes, sometimes questions pop up when you’re elbow-deep in flour. That’s totally normal! Baking is science, but it also requires a little bit of kitchen intuition. Here are the things I get asked most often when folks try out this recipe for the first time!
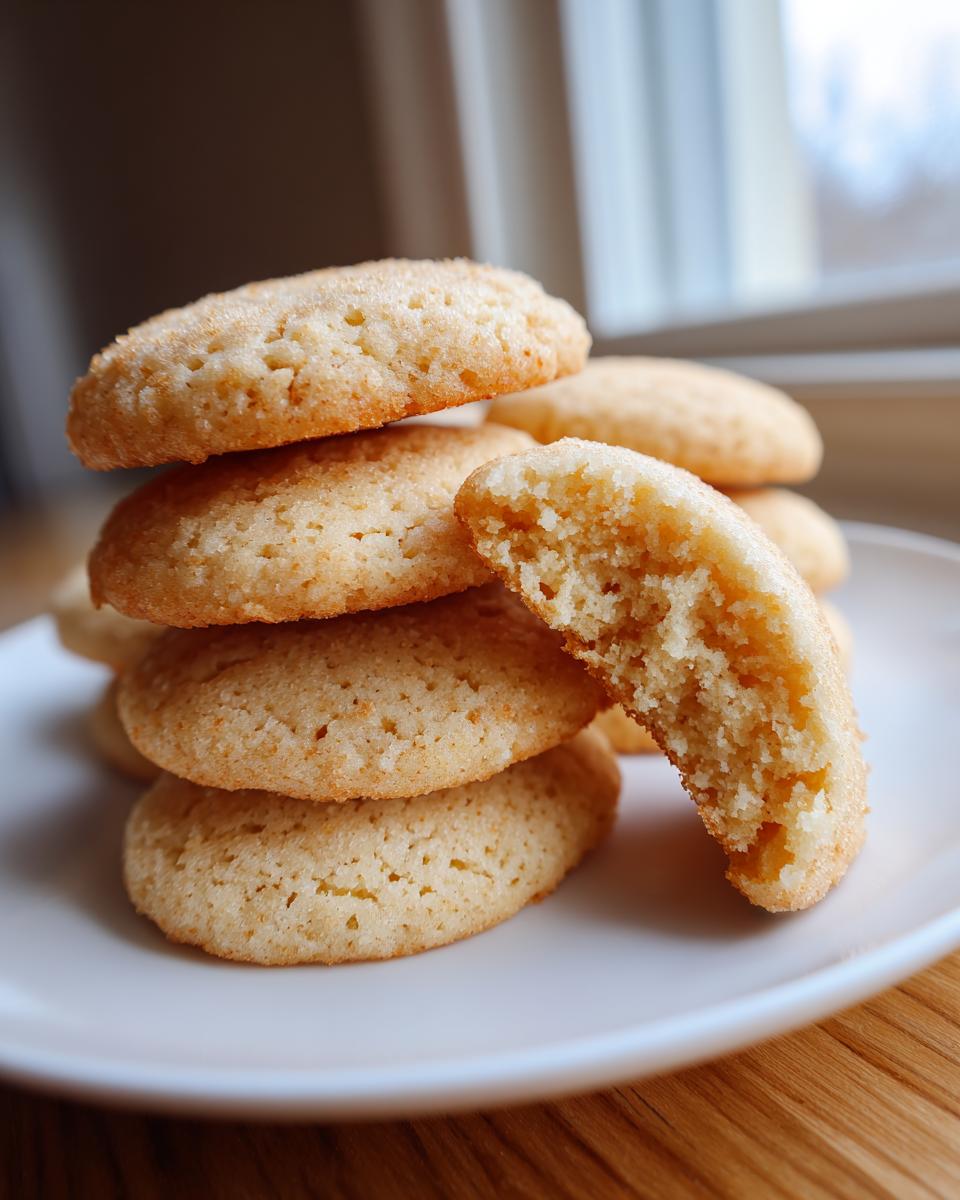
What makes these sugar cookies soft and chewy?
That glorious texture is a two-part answer, honestly. First, it’s the ratio of fat (butter!) to flour—we keep that nice and rich, which contributes to the chew. Second, and this is the technique part, you have to listen to your oven and pull them just before you think they are done. If you bake them until they look perfectly brown, they’ll be crisp tomorrow. For soft sugar cookies, look for edges that are just barely turning golden, then let residual heat do the rest of the work on the pan. It’s a subtle difference, but flavor-wise, it’s everything!
Can I skip chilling the dough for these cut out sugar cookies?
Oh, please, no! If you skip chilling, you are inviting disaster upon your beautiful cookie cutters. I really can’t stress this enough, especially if you want crisp edges for when you decorate sugar cookies. When the dough is cold, the fat molecules are firm. When they hit the hot oven, they take longer to melt and spread out. If the dough is warm or room temperature when it goes in, the butter melts instantly, and your perfect star shapes turn into greasy blobs before the flour even has a chance to set.
What is the secret to making sugar cookies that don’t spread?
It really boils down to two main secrets, both of which we cover in the recipe, but let’s emphasize them again! Secret number one is chilling—yep, we’re back to that—but make sure you chill it for the full two hours, minimum, or better yet, overnight. Secret number two is oven temperature. Use an oven thermometer to check that your oven is actually hitting 375 degrees Fahrenheit. Sometimes our ovens lie to us! If the oven isn’t hot enough when the cold dough goes in, the butter melts before the cookie sets, causing spread. A hot, preheated oven is vital for locking in those custom shapes for your holiday baking essentials!
Estimated Nutritional Data for These Sugar Cookies
Now, I know most of us aren’t tracking every single bite when we’re deep into a batch of delicious, buttery sugar cookies, especially around the holidays! But because I believe in transparency and because some of you ask, I ran the numbers based on the ingredients list.
Keep in mind, this is a **serious estimate**, okay? This assumes the yield is exactly 3 dozen cookies and your cuts are roughly the same size. This isn’t medical advice; it’s just giving you a general idea of what’s in one of these melt-in-your-mouth treats.
- Serving Size: 1 cookie
- Calories: 145
- Fat: 7g
- Carbohydrates: 20g
- Protein: 2g
- Sugar: 12g
See? Not bad for something so ridiculously delicious! That 12g of sugar comes mostly from the granulated sugar we use to get that perfect sweet profile. It’s a small price to pay for a cookie that holds its shape so well, I think. These are designed for joy, not for counting points, so feel free to enjoy a couple—you deserve it after all that careful chilling and decorating!
Share Your Sweet Treat Recipes
Alright, you’ve done the hard part: you mastered the chilling, you rolled them perfectly, and now you have a tray full of beautiful, soft sugar cookies ready for icing! I truly hope you love how these turned out. They are truly a classic cookie recipe staple in my house, and I hope they become one in yours too.
Now I need your help! Once you’ve decorated them—whether you went for simple sprinkles or elaborate royal icing masterpieces—I absolutely need to see them. Seriously! Take a quick snap and share your decorating results in the comments below. I love seeing how everyone makes this recipe their own. Did you try the almond extract trick?
If you baked these and they came out just the way you dreamed, please do me a huge favor and leave a rating right under the recipe card! Those stars and comments really help other busy cooks feel confident enough to try these out for their own celebrations. If you’re looking for more easy baking ideas that free up your time, promise me you’ll come back soon!
PrintThe Best Soft and Chewy Cut Out Sugar Cookies for Decorating
You need a reliable recipe for soft, chewy sugar cookies that hold their shape for cutting and decorating. This simple recipe delivers buttery, melt-in-your-mouth results every time.
- Prep Time: 20 min
- Cook Time: 10 min
- Total Time: 2 hours 30 min
- Yield: 3 dozen 1x
- Category: Dessert
- Method: Baking
- Cuisine: American
- Diet: Vegetarian
Ingredients
- 2 1/4 cups all-purpose flour
- 1 teaspoon baking soda
- 1/2 teaspoon salt
- 1 cup unsalted butter, softened
- 1 1/2 cups granulated sugar
- 1 large egg
- 1 teaspoon vanilla extract
Instructions
- In a medium bowl, whisk together the flour, baking soda, and salt. Set this dry mixture aside.
- In a large bowl, use an electric mixer to beat the softened butter and granulated sugar together until the mixture is light and fluffy, about 3 minutes. This step is key for soft sugar cookies.
- Beat in the egg and vanilla extract until just combined. Scrape down the sides of the bowl as needed.
- Gradually add the dry ingredient mixture to the wet ingredients, mixing on low speed until just combined. Do not overmix the dough.
- Divide the dough in half. Wrap each half tightly in plastic wrap and flatten into a disk. Chill the dough in the refrigerator for at least 2 hours, or up to 2 days. Chilling prevents spreading.
- Preheat your oven to 375 degrees Fahrenheit. Line baking sheets with parchment paper.
- On a lightly floured surface, roll out one disk of chilled dough to about 1/4 inch thickness. Use your favorite cookie cutters to cut out shapes.
- Place the cut out sugar cookies onto the prepared baking sheets, leaving about 1 inch between them.
- Bake for 8 to 10 minutes, or until the edges are lightly golden. For soft sugar cookies, err on the side of underbaking slightly.
- Let the cookies cool on the baking sheet for 5 minutes before transferring them to a wire rack to cool completely before you decorate them.
Notes
- For the best cut out sugar cookies, chill the dough thoroughly. Cold dough prevents the shapes from spreading while baking.
- If you want a thicker, bakery-style cookie, roll the dough to 3/8 inch thickness and reduce the baking time by 1 minute.
- If you are making holiday sugar cookies, you can add 1 teaspoon of almond extract with the vanilla for a different flavor profile.
Nutrition
- Serving Size: 1 cookie
- Calories: 145
- Sugar: 12g
- Sodium: 65mg
- Fat: 7g
- Saturated Fat: 4g
- Unsaturated Fat: 3g
- Trans Fat: 0g
- Carbohydrates: 20g
- Fiber: 0g
- Protein: 2g
- Cholesterol: 25mg