

Oh, that smell! If you’ve got a haul of ripe blackberries and want to bottle up that perfect burst of summer before the season slips away, you need a recipe you can trust. I totally get it—life moves fast, and nobody wants to spend a whole day messing around with finicky preserves. That’s why I’m sharing my go-to **blackberry jam** recipe. It’s a reliable small batch jam that uses the classic water bath canning method, so you get beautiful, safe homemade preserves. I designed this formula, much like Felix designs all her recipes, to be incredibly straightforward for when you’re juggling a million things but still demand incredible flavor.
- Why This Small Batch Blackberry Jam Recipe Works for Summer Canning
- Gathering Ingredients for Your Blackberry Jam
- Essential Equipment for Water Bath Canning Blackberry Jam
- Step-by-Step Instructions for Making Blackberry Jam
- How to Can Jam Safely Using Water Bath Canning
- Tips for Success with Homemade Preserves
- Storing and Serving Your Blackberry Jam
- Frequently Asked Questions About Blackberry Jam
- Estimated Nutritional Information for Blackberry Jam
Why This Small Batch Blackberry Jam Recipe Works for Summer Canning
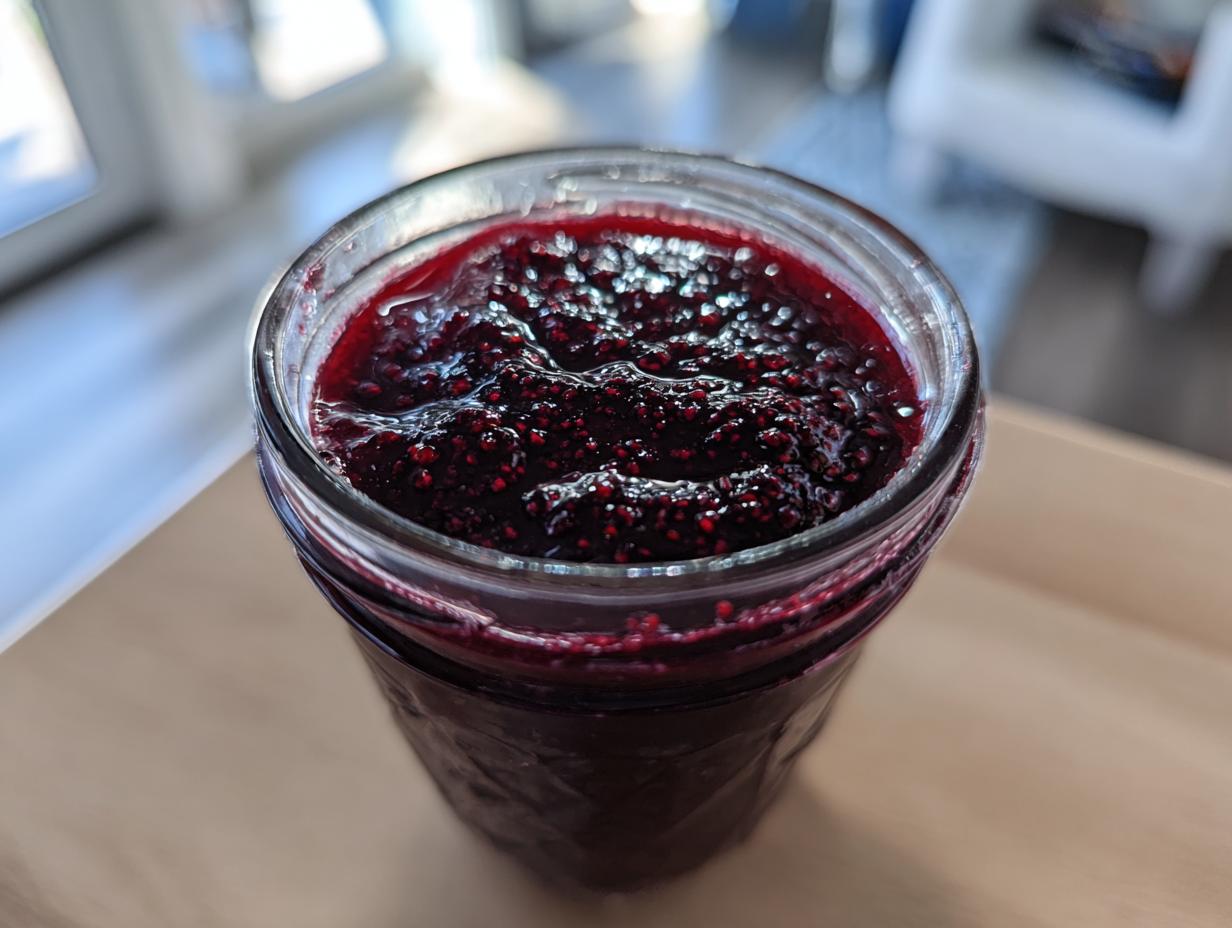
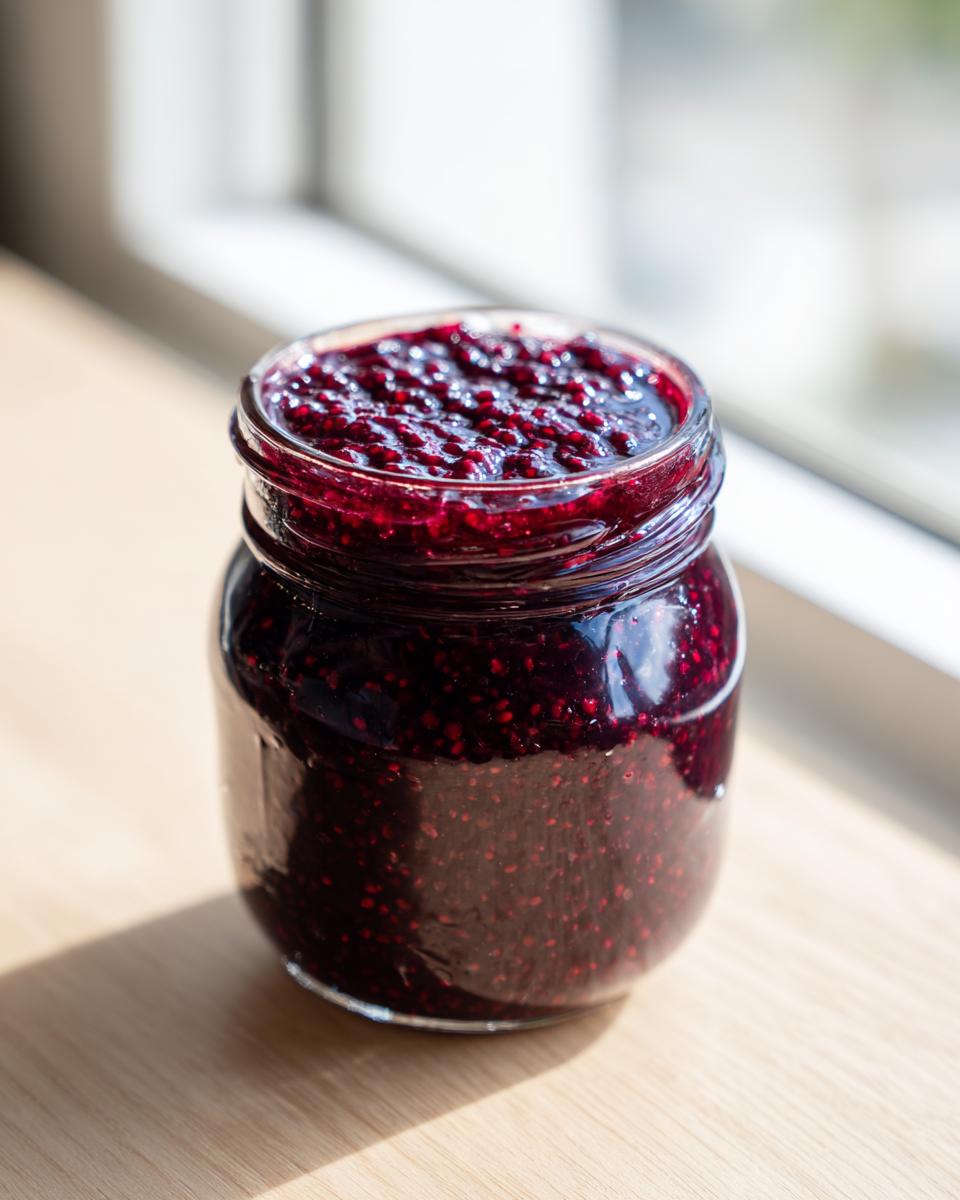
When those peak-season berries hit, you want to capture that flavor fast! This recipe keeps things manageable. Since it’s a **small batch jam**, you aren’t wrestling with huge pots of bubbling fruit, which is perfect for keeping your kitchen cool during **summer canning**. You get about five half-pint jars, which is just the right amount to enjoy now and save some for later!
Achieving the Perfect Set with Pectin Jam Recipe Tips
I lean hard on the powdered pectin here because frankly, it takes the guesswork out of the setting process, which is vital for safe **blackberry jam**. This isn’t the time to hope the natural pectin shows up! When we add it, you absolutely have to hit that rolling boil and boil hard for exactly one minute. Trust me, following that precise timing is the secret handshake for a perfect set every single time.
Gathering Ingredients for Your Blackberry Jam
Okay, let’s talk about what you need! When you’re making **homemade preserves** destined for the shelf, precision matters. Every measurement in this **pectin jam recipe** is exact because we need the chemistry to work perfectly for the seal. Grab your ingredients—we aren’t making a simple breakfast topping here; we are preserving summer flavor!
Ingredient Notes and Substitutions for Blackberry Jam
You can absolutely use blackberries that came straight from the freezer—no need to thaw them first! Just make sure you use the specific powdered fruit pectin listed. If you try to swap it for low-sugar pectin or liquid pectin, the science of this recipe changes completely, and you’ll end up with runny jam. If you must substitute pectin, please read that package instructions to the letter; they tell you exactly how much sugar to use!
Essential Equipment for Water Bath Canning Blackberry Jam
Before we even think about boiling those berries, we have to get our gear ready. If you’re new to **water bath canning**, don’t panic! It seems serious, but once you have the right tools, you’re set for life. Think of this as gathering your supplies before starting any big project.
You’ll want to make sure your equipment is spotlessly clean. Here is exactly what you need on hand before you turn on the stove:
- A large water bath canner with a rack. This needs to be big enough for your jars to sit freely without touching each other.
- Canning jars, lids, and bands. Make sure they are all jar-approved and sterilized!
- A jar lifter – this is non-negotiable! You do *not* want to fish hot jars out of boiling water with tongs.
- A wide-mouth funnel. This keeps the jar rims clean, which prevents seal failures.
- A jar wand or magnetic lid lifter is super handy for scooping lids out of the hot water bath.
- A non-metallic utensil, like a chopstick or plastic spatula, for removing air bubbles once the jam is in the jar.
- A ladle and a small metal spoon for skimming foam off the top later.
Having all this laid out prevents frantic searching when your **blackberry jam** hits a rolling boil. Trust me, when that timer starts ticking on the processing step, you want everything ready to go!
Step-by-Step Instructions for Making Blackberry Jam
Alright, it’s time to turn those pretty berries into beautiful **homemade preserves**! This seems like a lot of steps, but honestly, once you get going, it flies by, especially since this is a **small batch jam**. My best advice? Read through the whole process once, then put on some good music and just follow the heat levels. Remember, we are making firm, spreadable jam here, so we can’t rush the boil!
First things first—make sure that canner is warming up toward 180°F so your jars stay nice and hot. Then, we focus on the jam itself. We cook the blackberries with just the water first until they melt down and release all those gorgeous juices. Don’t mash them too much; a light mash with a potato masher gives you more texture, which I love!
Cooking the Fruit and Activating the Pectin Jam Recipe
This part is where the magic of the **pectin jam recipe** kicks in. Before anything else, stir that powdered pectin into about a quarter cup of your sugar first. Mixing it with sugar stops it from clumping when it hits the liquid—a classic mistake if you toss the plain powder in!
Next, you need to bring that berry mixture—still without most of the sugar—to a *rolling boil*. I mean a boil that is so vigorous you cannot stir it down, you hear me? Once you hit that hard boil, whisk in the pectin and sugar mixture and stir like crazy for exactly sixty seconds. That one minute is crucial for activation! Then, you toss in the rest of your sugar and the lemon juice. Bring it right back up to that hard, rolling boil again and hold it there for precisely one minute more. That’s your setting point!
Now, here’s a little trick I learned so I never have to guess with the thermometer: Before I even start cooking, I put a tiny saucer plate in the freezer. When I think the jam is done cooking (after that one-minute boil), I drop a teaspoon of the hot jam onto that icy cold plate, pop it back in the freezer for about 60 seconds, and then push it with my finger. If it wrinkles up, honey, it has reached the gel stage! If it’s still watery, keep boiling for another 30 seconds and test again.

Once it’s ready, kill the heat and skim off any foamy stuff on top—it makes your final **blackberry jam** look so much cleaner on the shelf!
How to Can Jam Safely Using Water Bath Canning
Okay, we’ve hit the perfect texture, so now we move to perhaps the scariest part for beginners: making sure this delicious **blackberry jam** keeps all year long! If you’ve never learned **how to can jam** before, this **water bath canning** process is straightforward, but you must be precise about the details. Safety first, always!
Once you’ve skimmed the foam, you need to fill those hot jars immediately. Ladle the hot jam into your hot, sterilized jars, but stop filling when you have exactly 1/4 inch of empty space at the top—that’s your crucial headspace. Too much jam, and it can bubble out and mess up your seal. Too little, and it might not seal properly either.
Wipe those rims clean with a damp cloth—any smudge of sugar or jam could compromise the seal, so make sure they are spotless! Center the lids and screw the bands on until they are just fingertip tight—don’t wrench them down hard!
Carefully place these filled jars onto the rack in your simmering canner. Make sure the water is already simmering, not cold, when you drop them in. Once the jars are loaded, the water needs to cover them by at least one full inch. Bring that water up to a full, rolling boil and start your official processing time. For this recipe, you process for 10 minutes. A big word of caution: if you live above 1,000 feet in elevation, you need to add one minute of processing time for every 1,000 feet you climb! That small adjustment is key to safe preservation!
When the 10 minutes are up, turn the heat off, take the canner lid off, and just let the jars sit in that hot water for five more minutes before you pull them out. This prevents temperature shock! Then, place them on a towel-lined counter, and don’t touch them for a full 12 to 24 hours while they seal up!
Tips for Success with Homemade Preserves
We’ve talked about hitting that perfect boil, but let’s really focus on the visual cues for success with your **blackberry jam**. Making jams that stay bright and clear is what separates a good batch from a truly fantastic batch of **homemade preserves**.
That little freezer plate trick I mentioned earlier? That’s truly the best way to know you’ve reached the gel stage without relying on a fussy thermometer floating around in your boiling sugar. Remember: the jam needs to wrinkle when you push it. If it’s shiny and slides around like maple syrup, it needs another thirty seconds on the boil. Don’t pull it out early, or you’ll be sad when you open a jar weeks from now and it runs right off your pancake!
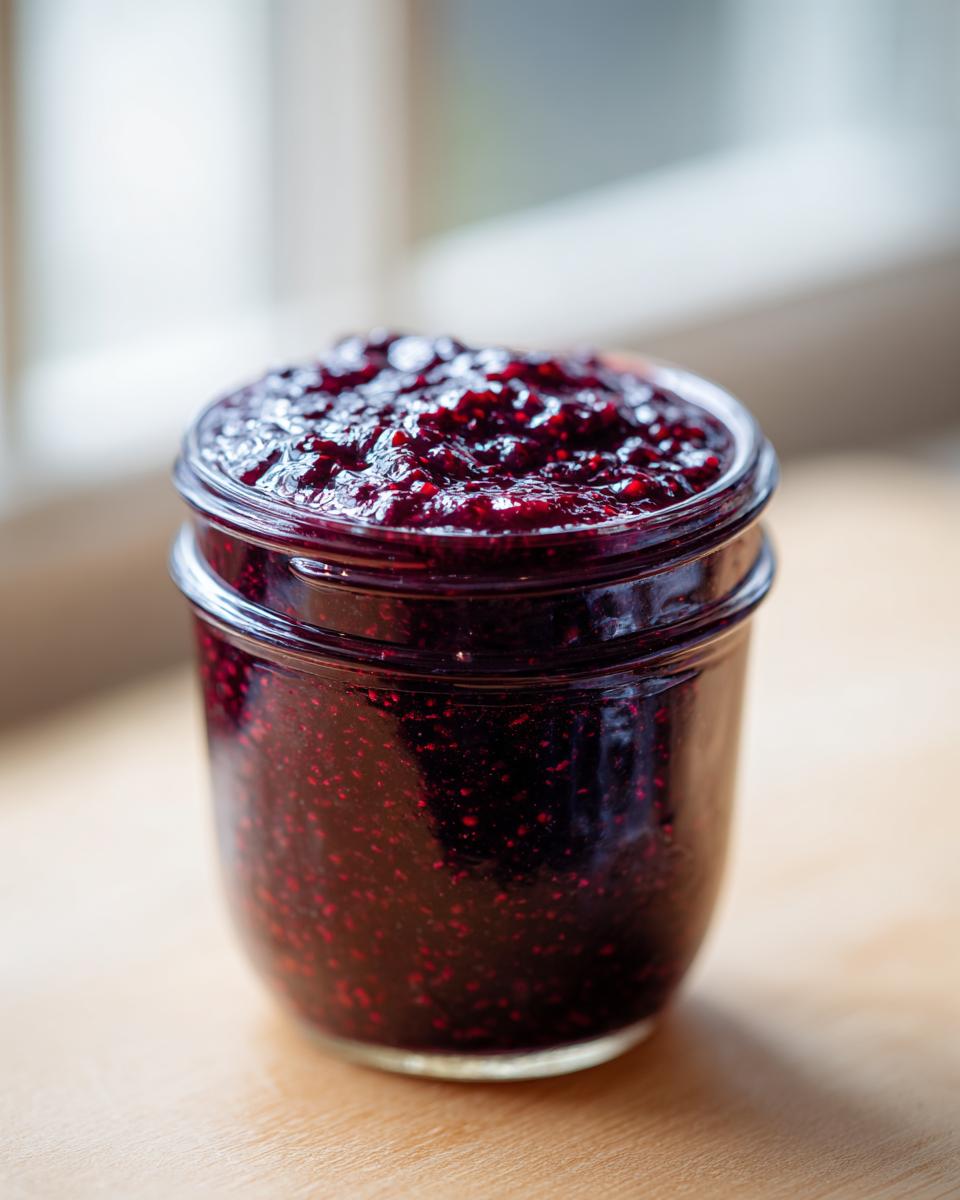
Also, if you don’t want your **blackberry jam** to look murky, you absolutely must skim off the foam before you ladle it into the jars. That foam—it’s just air bubbles and small solids that got knocked up during that hard boil. It’s harmless, but it settles on top and makes the jam look cloudy. A quick pass with a metal spoon just before filling takes care of that unsightly stuff, giving you that beautiful, clear jewel-tone jar of preserve!
One last thing: if you prefer a less-sweet jam but you’re using this method, be aware that you might need to use special low-sugar pectin. If you do that, toss out my recipe notes on the sugar amounts and follow that pectin package exactly. Those specialized products are formulated differently, and messing with the balance can seriously impact the **water bath canning** seal!
Storing and Serving Your Blackberry Jam
The waiting part is always the hardest, right? After you’ve carefully set out those jars, you need to let them sit completely still for at least 12 to 24 hours. Don’t fiddle with them! Once they’ve cooled down, you check the seal—the center of the lid should be sucked down firmly and shouldn’t give when you press it. If it hasn’t sealed (or ‘pinged’), pop that jar in the fridge and eat it up soon!
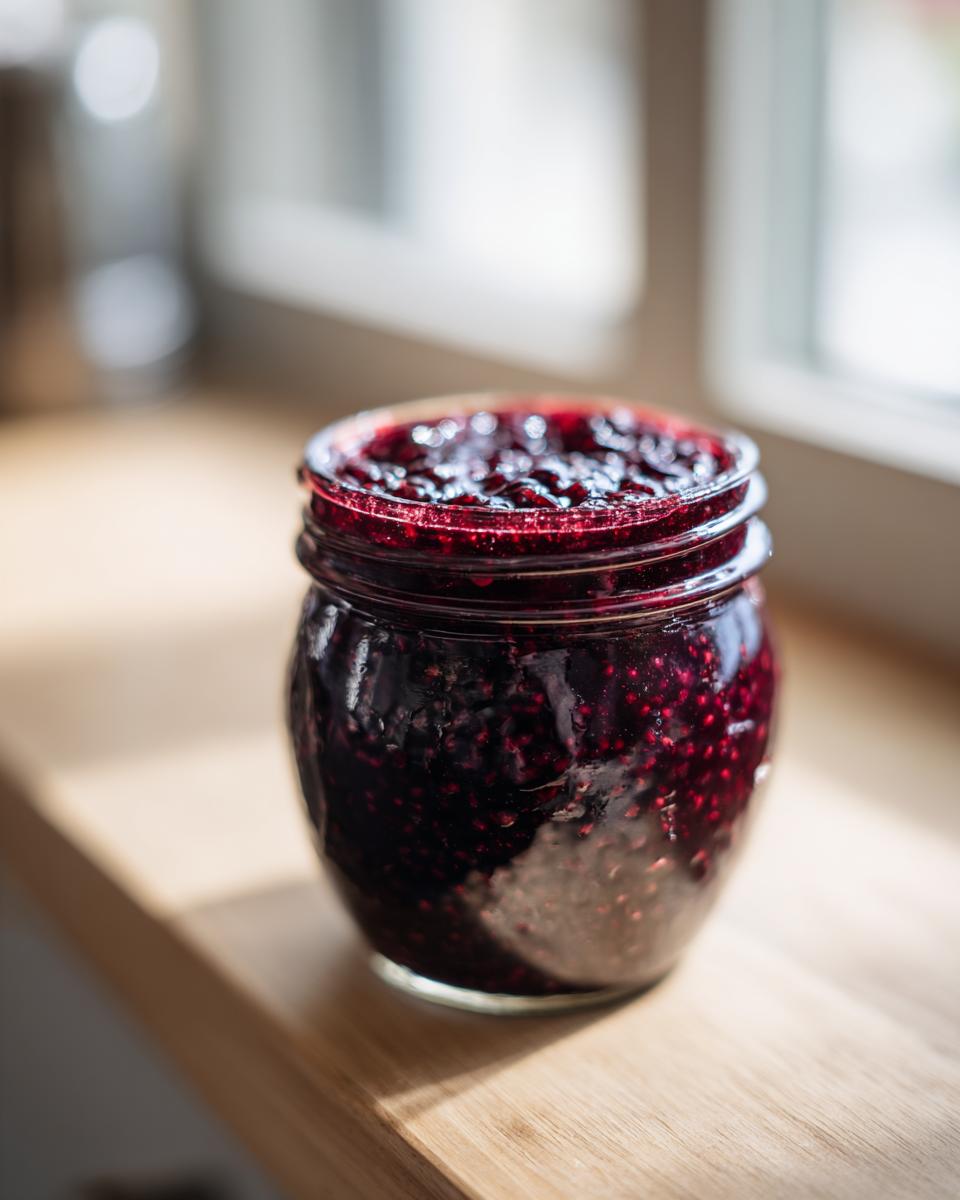
For the sealed **homemade preserves**, store them in a cool, dark pantry away from any heat sources. They’re good for up to a year, but honestly, they never last that long around here! Sometimes I make a double batch just because having jars of bright, summery jam ready is the best feeling. Slather this on a warm scone or swirl it into plain yogurt—it tastes like sunshine!
Frequently Asked Questions About Blackberry Jam
It happens! When you try **how to can jam** for the first time, you might have questions pop up that weren’t covered already. Don’t worry about that; we’ve all been there! Here are the main things I always get asked about making this **blackberry jam** using the **water bath canning** method.
Can I make this small batch jam recipe without pectin?
That’s a classic question! You absolutely can make jam without added pectin, but you have to change things up quite a bit because you’re relying on the natural pectin in the berries and heat concentration. If you ditch the box, you usually need to significantly increase the sugar content—often doubling it—and then cook the jam much, much longer until it reduces down heavily. This long heating time concentrates everything, but it also dulls the bright summer flavor we are trying to save! Plus, without the reliable set from the powder, you risk ending up with runny **blackberry jam**. I suggest sticking to this **pectin jam recipe** for consistent results, especially if you want clear jars on your shelf!
What is the correct headspace for water bath canning?
Headspace is one of those non-negotiable details when learning **how to can jam** safely. For this recipe, you must have exactly 1/4 inch of space between the surface of the hot jam and the rim of the jar. If you have too much space, the vacuum seal won’t form correctly because there isn’t enough jam mass on top to pull the lid down tightly as it cools.
If you overfill the jar—say, you only leave 1/8 of an inch—the jam gets pushed out under the lid during the boiling process, leaving gunk on the rim which also prevents a proper seal. So, always measure that tiny gap before putting on the lids!
My jam did not set. What went wrong with my pectin jam recipe?
This is frustrating, but usually, it points back to hitting that boiling point precisely. For this specific powdered pectin, the jam *must* hit a full, hard, rolling boil that you absolutely cannot stir down. If your boil was weak, the pectin hasn’t activated its thickening power!
Another common issue with any **pectin jam recipe** is adding the sugar at the wrong time. You *have* to wait until the pectin is mixed in and boiling before you add the remaining sugar, or the sugar interferes with the pectin’s ability to gel. If you followed everything and it’s still runny after cooling, it means you didn’t cook it long enough after that final sugar addition. Sometimes, the easiest fix is to just dump the runny batch back in the pot, add a little more pectin (check the box directions for adding a double batch!), bring it to the proper boil again, and reprocess it!
Estimated Nutritional Information for Blackberry Jam
Now, let’s look at what’s in these beautiful jars of **homemade preserves**! Since canning involves cooking down fruit and sugar, we know there will be sugar, but it’s wonderful to see how good these **blackberry jam** jars look calorically.
- Serving Size: 2 tablespoons
- Calories: 105
- Sugar: 27g
- Carbohydrates: 27g
- Protein: 0g
Just remember, because we are using specific amounts of sugar and fruit for the **water bath canning** process, these numbers are very close, but they might shift around slightly depending on how tart your berries were or the exact brand of pectin you used. But honestly, for this much summer flavor, I think the trade-off is worth it!
PrintSmall Batch Blackberry Jam with Water Bath Canning
Make this simple blackberry jam recipe using water bath canning for long-term storage. This guide includes pectin options and clear steps for achieving the gel stage.
- Prep Time: 15 min
- Cook Time: 25 min
- Total Time: 40 min
- Yield: About 5 half-pint jars 1x
- Category: Preserves
- Method: Water Bath Canning
- Cuisine: American
- Diet: Vegetarian
Ingredients
- 4 cups fresh or frozen blackberries
- 3 cups granulated sugar
- 1 box (1.75 oz) powdered fruit pectin
- 1/2 cup water
- 1 tablespoon lemon juice
Instructions
- Prepare your water bath canner by filling it with water and bringing it to a simmer (180°F). Sterilize your canning jars and keep them hot.
- In a large, heavy-bottomed pot, combine the blackberries and water. Cook over medium heat, stirring often, until the berries soften and release their juices, about 10 minutes. Mash the berries lightly with a potato masher for a smoother texture.
- In a separate small bowl, mix the powdered fruit pectin with 1/4 cup of the sugar until no lumps remain.
- Bring the berry mixture to a rolling boil that cannot be stirred down. Quickly stir in the pectin-sugar mixture. Stir constantly for one minute.
- Add the remaining sugar and the lemon juice. Stir until the sugar is completely dissolved. Return the mixture to a full, rolling boil. Boil hard, stirring constantly, for exactly 1 minute. This is the setting point.
- Remove the pot from the heat. Skim off any foam from the surface using a metal spoon.
- Ladle the hot jam into the hot, sterilized jars, leaving 1/4 inch headspace. Wipe the rims clean with a damp cloth. Center the lids and screw on the bands until fingertip tight.
- Place the filled jars into the simmering water bath canner, ensuring they are covered by at least 1 inch of water. Bring the water to a full, rolling boil.
- Process the jars for 10 minutes, adjusting for altitude if necessary (add 1 minute for every 1,000 feet above sea level).
- Turn off the heat, remove the canner lid, and let the jars stand in the hot water for 5 minutes before removing them. Place the jars on a towel-lined counter to cool completely, undisturbed, for 12 to 24 hours. Check seals.
Notes
- To test for gel stage without a thermometer, place a small plate in the freezer before starting. When you think the jam is done, drop a teaspoon of jam onto the cold plate. Return it to the freezer for one minute. Push the jam with your finger; if it wrinkles, it has reached the gel stage.
- If you prefer a lower-sugar jam, you may need to use a specialized low-sugar pectin, which requires different measurements and processing times. Follow the pectin package directions exactly if substituting.
- For the best flavor and color, use fresh, ripe blackberries for this small batch jam.
Nutrition
- Serving Size: 2 tablespoons
- Calories: 105
- Sugar: 27g
- Sodium: 2mg
- Fat: 0g
- Saturated Fat: 0g
- Unsaturated Fat: 0g
- Trans Fat: 0g
- Carbohydrates: 27g
- Fiber: 1g
- Protein: 0g
- Cholesterol: 0mg