

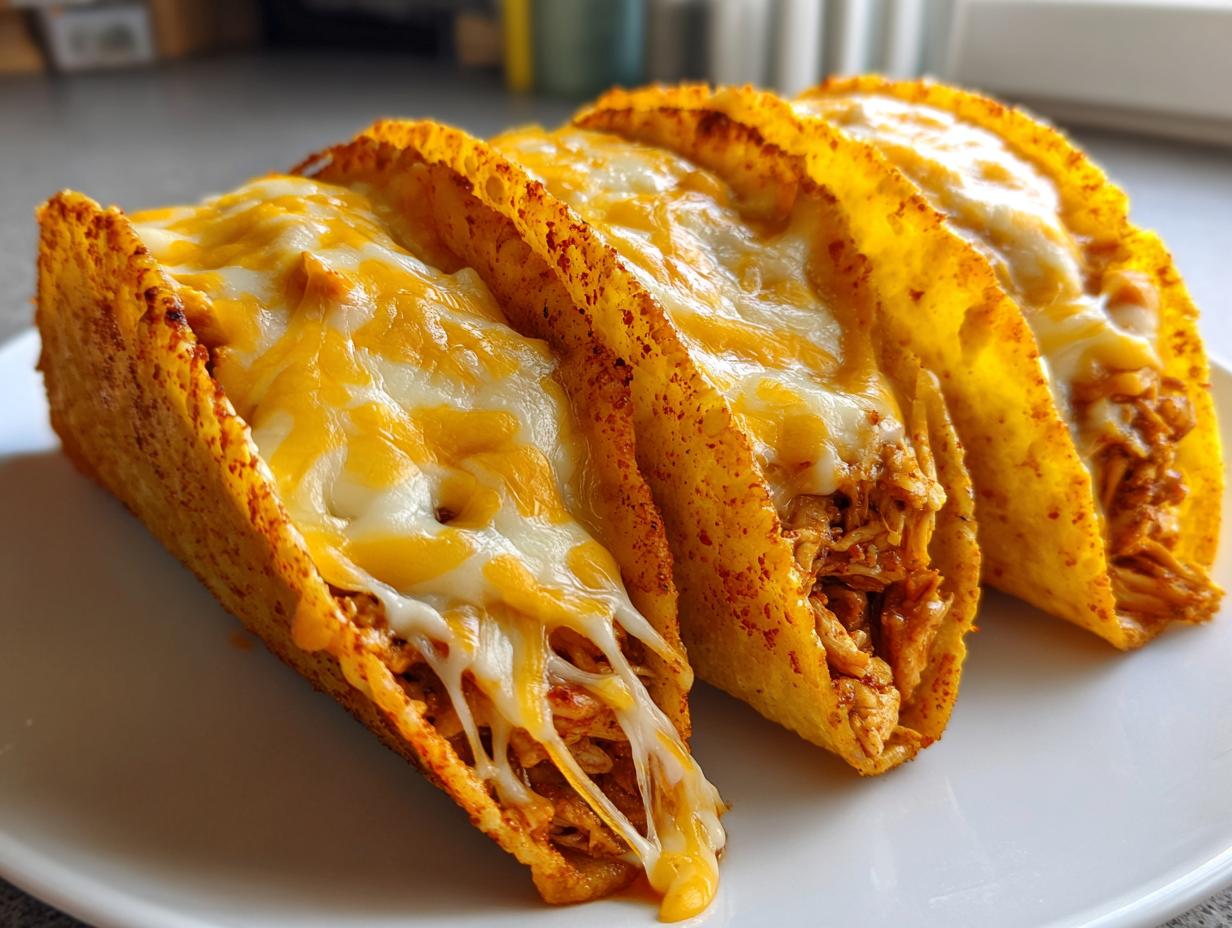
Oh, I know that feeling! The clock is ticking past five, the kids are bouncing off the walls, and the idea of making a complicated meal feels impossible. That’s why I am absolutely obsessed with these quick **chicken tacos**. Seriously, they are my secret weapon for those crazy evenings when I still want something fresh and crunchy but only have minutes to spare.
We aren’t messing around with slow cooking here; we’re aiming for that perfect snap! These are baked, easy, and loaded with savory seasoning. The whole idea behind Cooking by Felix, which I started because my marketing job left me zero time, was proving that amazing food doesn’t need to take all evening. I learned from my mom and dad how to combine big flavor with speed, and these crispy baked chicken taco shells show off that philosophy perfectly. Trust me, these will be your new go-to.
- Why You Will Make These Crispy Chicken Tacos Every Week
- Essential Ingredients for Perfect Oven Baked Tacos
- Step-by-Step Instructions for Quick Chicken Tacos
- Expert Tips for Next-Level Shredded Chicken Tacos
- Serving Suggestions for Your Family Taco Night
- Storage and Reheating Instructions for Leftover Chicken Tacos
- Frequently Asked Questions About Oven Baked Chicken Tacos
- Estimated Nutritional Data for These Chicken Tacos
- Share Your Family Taco Night Success
Why You Will Make These Crispy Chicken Tacos Every Week
I promise you’re going to be pulling this recipe out repeatedly. It hits that sweet spot where maximum crunch meets minimum effort. It’s genuinely satisfying!
- They are the ultimate **easy weeknight tacos**—ready in about 20 minutes total time.
- We get that amazing brittle crunch without any messy deep frying. Baking is just better!
- This recipe simplifies **family taco night**! Everyone can customize their own shells.
- Using pre-cooked chicken means cleaning up is ridiculously fast. You barely dirty any dishes!
Essential Ingredients for Perfect Oven Baked Tacos
Okay, let’s look at what you need. Since we are moving fast, every ingredient has to pull its weight, right? I’ve kept this list short, simple, and focused on getting that beautiful texture.
You’ll need:
- 2 cups cooked **shredded chicken**—and yes, that means the meat you pulled off a store-bought bird!
- 1 tablespoon of olive oil, just enough to help the spices cling.
- 1 teaspoon chili powder, 1/2 teaspoon cumin, and 1/4 teaspoon garlic powder for that classic flavor combo.
- Just 1/4 teaspoon of salt.
- 12 hard taco shells—make sure they look sturdy!
- 1 cup of nicely shaven **Monterey Jack cheese**. It melts like a dream.
- 1/2 cup of plain water. Don’t skip this; it has a secret job later!
Ingredient Spotlight: Choosing the Best Shredded Chicken for Chicken Tacos
When I say shredded chicken, I mean *pre-cooked* shredded chicken. Honestly, if you are doing these on a Tuesday night, you buy a rotisserie chicken and pull the meat off. That’s how we get these delicious **rotisserie chicken tacos** on the table so quickly!
Mixing the chicken with the spices right in the bowl before it hits the shell is crucial. That little bit of oil helps everything toast up nicely without drying out. It’s simple seasoning, but it makes all the difference for flavor in these speedy **chicken tacos**!
Step-by-Step Instructions for Quick Chicken Tacos
Now for the fun part! Since everything is prepped, this assembly really flies. You just need to follow the sequence exactly to make sure your shells bake up perfectly without collapsing when you pick them up. We are aiming for maximum crunch here, folks!
- First things first, crank that oven up to 400 degrees Fahrenheit. Get it hot so the cheese melts fast.
- Take your seasoned chicken mix—that’s the meat, oil, and spices—and spoon it evenly into those 12 hard shells. Don’t overfill them, or the shells will just split when they bake!
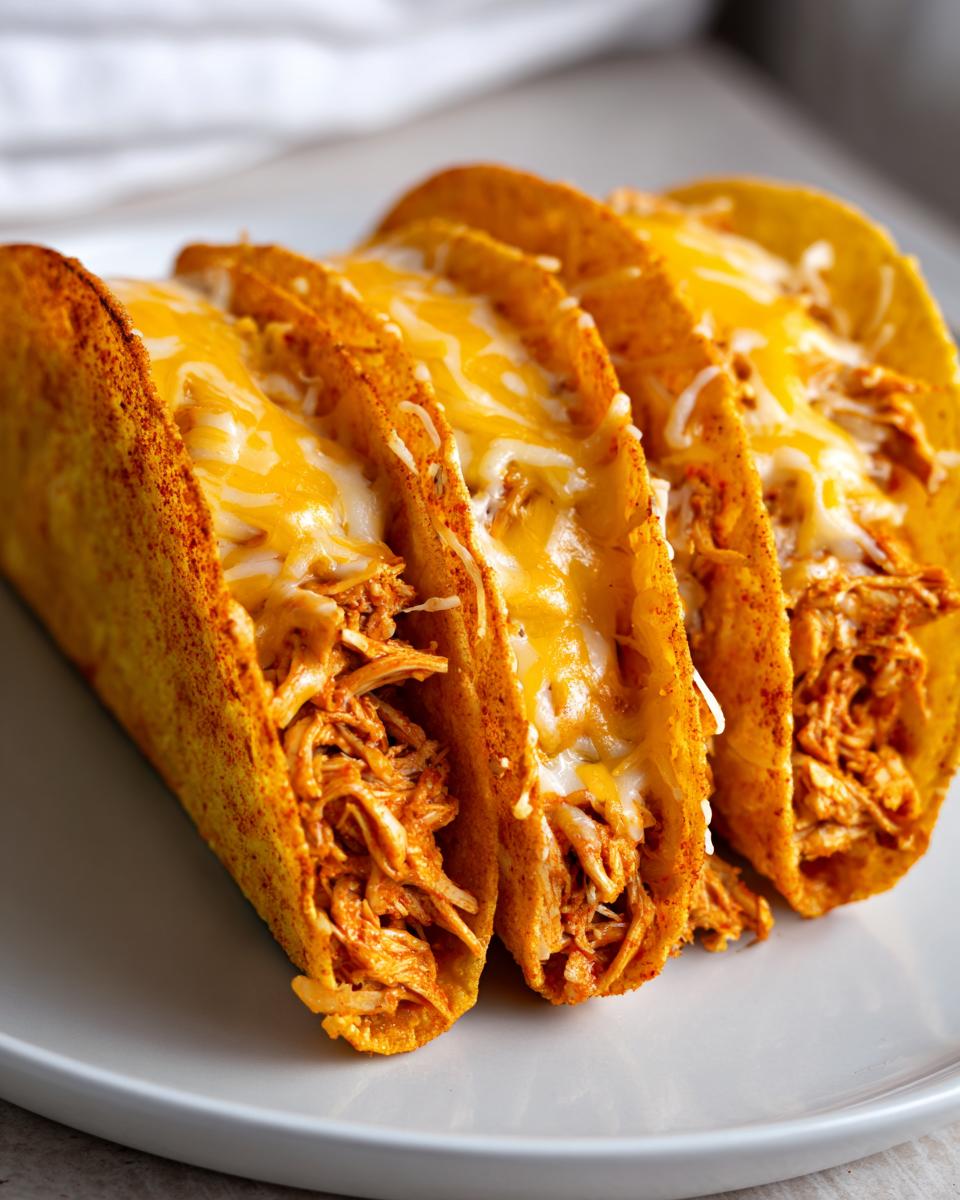
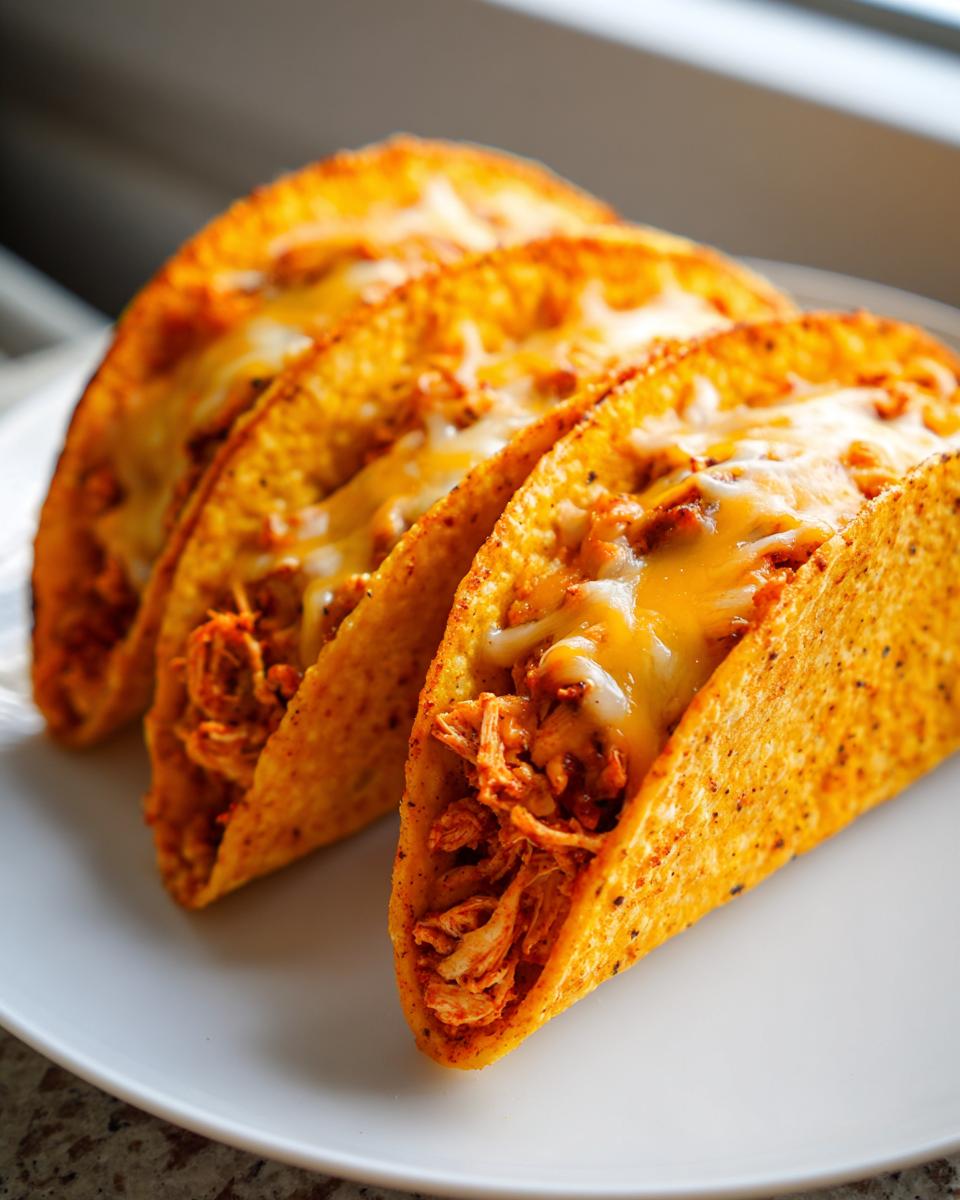
- Now, sprinkle that beautiful Monterey Jack cheese right over the top of the chicken mixture in every single shell.
- Pop them in the oven and set a timer for 10 to 12 minutes. You are waiting for the cheese to get all bubbly and melted and for those shells to smell hot and toasty.
If you want to get the full backstory on how I got so fast in the kitchen, you can read all about my marketing background and how it led to these simple recipes over on my About Page. It’s all about making time for good food!
The Secret to Crispy Chicken Tacos: Shell Preparation
Listen up, this is critical for achieving the **crunchy taco shells** you are dreaming of. Before you even put the seasoned chicken in, grab your 9×13 inch baking dish. Pour that 1/2 cup of plain water right into the bottom of the dish.
Why the water? It creates steam! That little bit of moisture in the bottom of the pan protects the shells from immediately drying out and snapping when you try to handle them. They bake nice and hot in that steam bath for the first part of the cook time, and *then* they crisp right up. It’s a balancing act that keeps our **crispy chicken tacos** intact!
Expert Tips for Next-Level Shredded Chicken Tacos
Okay, now that you have the basic assembly down, let me tell you the real game-changers for making these truly shine. Since we are often rushing when making **shredded chicken tacos**, planning ahead is not cheating—it’s smart cooking! This is how you guarantee that amazing flavor combination without stressing out when dinner time hits.
My biggest advice is always to use the filling prep to your advantage. That seasoning mix we made? It tastes even better the next day once those spices have really settled into the chicken. Don’t worry; the shells stay crispy because we assemble them right before baking, but the filling can totally wait for you!
Make-Ahead Strategy for Easy Weeknight Tacos
You can mix up that beautifully spiced chicken, oil, and seasonings, and store the whole thing in an airtight container in the fridge. I test this all the time, and honestly, it lasts great for up to three days. That means on Monday morning, you can have your entire filling ready to go.
When you get home from work, it’s just grab, scoop, cheese, and bake! That preparation trick is what officially turns this into one of my favorite **easy weeknight tacos**. It cuts your hands-on time down to literally five minutes before they hit the oven. It’s a lifesaver, trust me.
Serving Suggestions for Your Family Taco Night
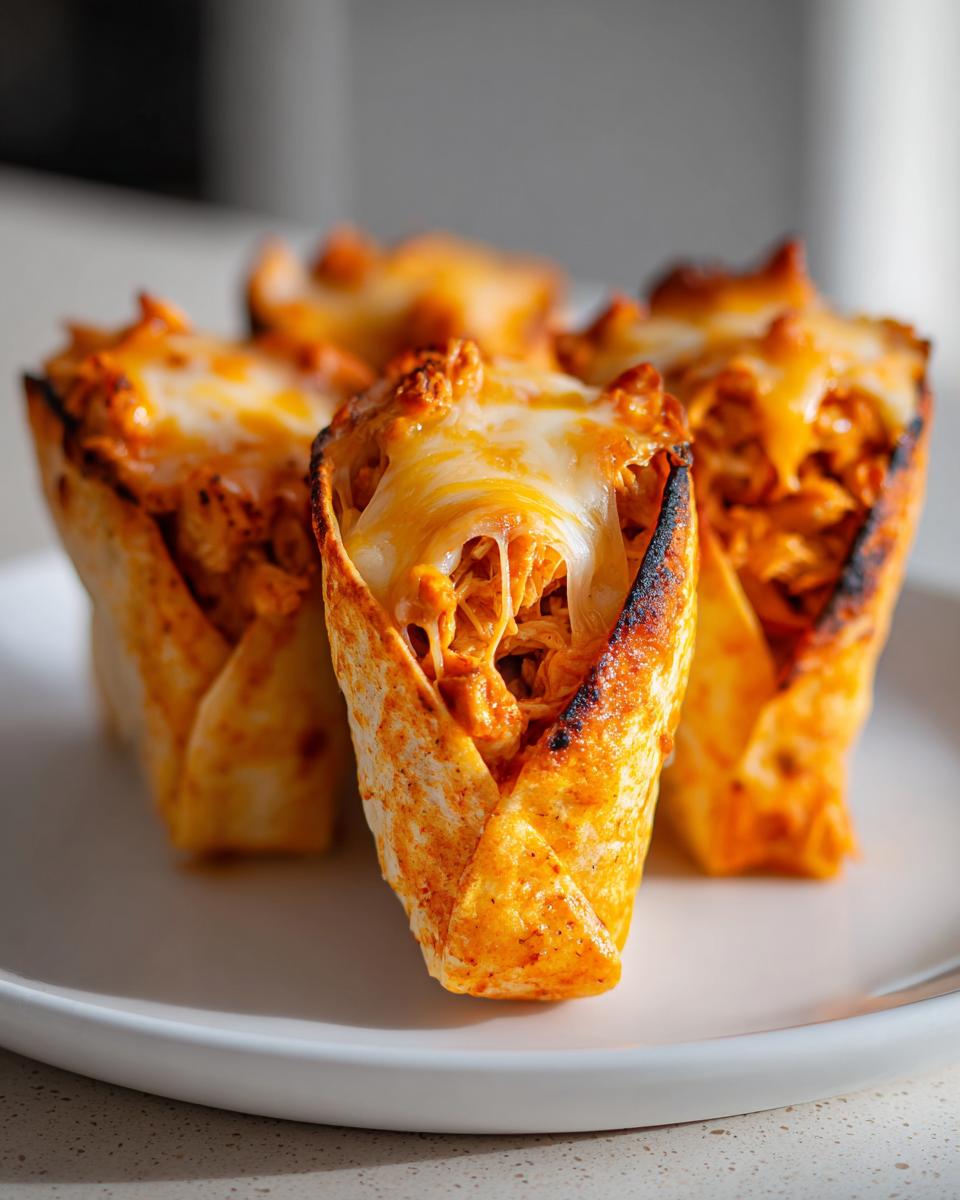
The tacos are hot and crunchy straight from the oven—yay! But now we need toppings! The trick here, especially when serving a family, is keeping everything fresh and cool so it doesn’t immediately steam up those perfect, crispy shells we worked so hard for. We’re already using that fantastic melting Monterey Jack cheese, so we want textures that contrast that gooey goodness.
Think bright! A little finely diced white onion and some chopped romaine lettuce add a necessary crunch. A squeeze of fresh lime juice right before eating wakes up the chili powder flavor dramatically. And nobody complains when there’s a bowl of creamy guacamole nearby, either!
Creating a Party Taco Bar with These Chicken Tacos
If you decide to scale this up for a gathering—which you absolutely should, because these are fantastic for a crowd—setting up a simple **party taco bar** is the way to go. It takes all the pressure off of you!
Simply put the hot chicken tacos on a big platter, and then arrange all your toppings in small bowls around them. I like to use little labels so people know exactly what everything is—classic move, but it helps! Having bowls of salsa, sour cream, diced tomatoes, and shredded lettuce lets everyone build their own masterpiece. It feels way fancier than the five minutes of assembly time these require, I promise!
Storage and Reheating Instructions for Leftover Chicken Tacos
So, you made a double batch because, let’s be honest, they are that good. Or maybe you just had a small family and have a few perfect shells left over. We need to handle those leftovers correctly, or you lose that satisfying crunch we worked hard for!
The absolute number one rule for storing these **chicken tacos** is to keep the components separate. If you leave the filling in the shells, that warm chicken and melted cheese are going to turn your crispy shells into sad, soggy little boats overnight. Nobody wants that!
Keep the seasoned shredded chicken mixture in a sealed container in the fridge. It stays good for about three days, which is perfect for another super quick lunch later in the week. The shells, however, need totally separate storage.
- For Unfilled Shells: Store leftover **crunchy taco shells** in a zip-top bag or back in their original box, sealed tight. Keep them away from any moisture—no opening up the bag to peer at them every hour! They need to stay bone dry to reheat properly.
- Reheating for Crispness: When you are ready to bring them back to life, forget the microwave entirely; it’s the enemy of crispness! Set your oven back to 375 degrees Fahrenheit.
Lay those leftover shells directly onto the middle oven rack—no baking dish needed this time. Bake them for about 4 to 6 minutes. You are just looking for them to get hot and regain that snap. Once they feel nice and stiff again, pull them out.

Then, you quickly scoop in the cold, already seasoned filling, top with a fresh sprinkle of cheese, and pop them back under the broiler forjust 1 or 2 minutes until the cheese is bubbly. That 5-minute revival process brings these **oven baked tacos** back to life! It’s my favorite way to handle the leftovers and keep that freshness coming back, time after time.
Frequently Asked Questions About Oven Baked Chicken Tacos
I always get a ton of questions after I post these because they are such a staple for busy families! That’s totally normal because we all want to make sure we get that perfect snap on our **chicken tacos** every single time we try them. Don’t sweat it if you’re unsure about swaps; let’s clear up the most common things people ask me about.
Can I use soft tortillas instead of hard shells for these chicken tacos?
That is a great question, but for this specific recipe—the 20-minute, steam-protected, baked version—the answer has to be no, not if you want them crispy! This method relies completely on the structure of a hard shell to hold up during the baking process thanks to that little bit of water we add.
If you use soft corn or flour tortillas, they will end up steaming rather than crisping up under these baking conditions. If you want soft tacos, you should absolutely pan-fry those tortillas quickly in a little bit of oil until they are softened but slightly pliable. But to get the **crispy chicken tacos** we are focused on here? You need the hard shells for this **oven baked tacos** method.
What is the best way to make this a quick Mexican inspired meal?
The name of the game for a truly **quick Mexican inspired meal** is eliminating any cooking time for the chicken itself. If you follow the recipe and rely on my suggestion—using a pre-cooked rotisserie chicken—you already cut a minimum of 30 minutes off your prep time!
The only chopping you really have to do is opening your spice jars. That’s it! My advice is to have your cheese shredded already, or buy pre-shredded **Monterey Jack tacos** cheese, even if it’s just for this one meal. When the filling is seasoned and ready to go, the entire process moves from the fridge to the dinner table in about 15 minutes total. If you pre-seasoned the chicken the day before, you’ve already won the dinner rush!
If you ever have questions while you’re working through a recipe, please don’t hesitate to reach out via my Contact Page. I love hearing from fellow home cooks!
Estimated Nutritional Data for These Chicken Tacos
I always like to give you an idea of what you’re dealing with nutritionally, even with these super quick meals. Because we are using lean shredded chicken and Monterey Jack cheese, these come out tasting rich but they aren’t too heavy!
Here’s the breakdown for the recipe, based on the ingredients listed up above:
- Serving Size: 2 Tacos
- Calories: About 350
- Protein: A solid 28 grams! That’s great for a quick dinner.
- Fat: Around 18 grams total, with 8 grams saturated.
- Carbohydrates: Roughly 20 grams, with 2 grams of fiber.
- Sodium: About 450mg.
- Sugar: Practically none, just 1 gram.
Now, I have to give you the required disclaimer because I am just a home cook sharing what works for my family! This information is an estimate based on the specific amounts in the recipe guide. If you swap out your brand of hard **crunchy taco shells** or use different seasonings, those numbers will shift a little bit. But generally, this gives you a fantastic idea of where we stand for a satisfying **easy weeknight taco**!
Share Your Family Taco Night Success
See? That wasn’t hard at all! I truly hope these **chicken tacos** bring you that wave of relief on a busy evening. When you make them, I want to know how they turned out! Did the shells get perfectly crunchy? Did the kids actually eat them without complaining?
Please take a second to leave a rating right here on the recipe card. It genuinely helps me know which simple, fast meals are working for your busy life, just like they work for mine. My whole goal with Cooking by Felix is proving that a hectic schedule shouldn’t mean sacrificing that warm, connected feeling of a home-cooked meal, even if that meal is just 20-minute **oven baked tacos**!
If you snap a picture of your spread—maybe you went all out with toppings for a **party taco bar** setup—please tag me on social media! Seeing your happy family gathered around a platter of these crunchy shells really makes my day. It shows me we are all succeeding at taking the stress out of dinner time and putting the joy back in.
And hey, if you’re ever curious about how I handle your data privacy while you browse through all these quick meals, you can always review my policy updates right here on the Privacy Policy page. Knowing your information is handled responsibly lets you focus on what matters: enjoying your **shredded chicken tacos**!
PrintQuick Crispy Baked Chicken Tacos

Make fast, crunchy chicken tacos using shredded chicken and Monterey Jack cheese. Bake them for a simple family taco night or party meal.
- Prep Time: 10 min
- Cook Time: 12 min
- Total Time: 22 min
- Yield: 6 servings 1x
- Category: Dinner
- Method: Baking
- Cuisine: Mexican Inspired
- Diet: Low Lactose
Ingredients
- 2 cups cooked shredded chicken (rotisserie chicken works well)
- 1 tablespoon olive oil
- 1 teaspoon chili powder
- 1/2 teaspoon cumin
- 1/4 teaspoon garlic powder
- 1/4 teaspoon salt
- 12 hard taco shells
- 1 cup shredded Monterey Jack cheese
- 1/2 cup water
Instructions
- Preheat your oven to 400 degrees Fahrenheit.
- In a medium bowl, combine the shredded chicken, olive oil, chili powder, cumin, garlic powder, and salt. Mix until the chicken is evenly coated.
- Pour the 1/2 cup of water into the bottom of a 9×13 inch baking dish. This creates steam to help keep the shells from breaking immediately.
- Arrange the hard taco shells open-side up in the prepared baking dish.
- Spoon the seasoned chicken mixture evenly into each taco shell.
- Sprinkle the Monterey Jack cheese over the chicken in each shell.
- Bake for 10 to 12 minutes, or until the cheese is melted and bubbly and the shells are hot.
- Serve immediately with your preferred fresh toppings.
Notes
- Prepare the shredded chicken filling ahead of time and store it in the refrigerator for up to three days.
- For extra crispiness, place the shells directly on the oven rack for the last 3 minutes of baking, watching closely to prevent burning.
- Use pre-cooked rotisserie chicken to save time on weeknights.
Nutrition
- Serving Size: 2 tacos
- Calories: 350
- Sugar: 1
- Sodium: 450
- Fat: 18
- Saturated Fat: 8
- Unsaturated Fat: 10
- Trans Fat: 0.5
- Carbohydrates: 20
- Fiber: 2
- Protein: 28
- Cholesterol: 85