

When it’s game day or you’re hosting an impromptu gathering, the pressure to whip up something amazing but fast is real. I totally get it. That’s why, drawing on the philosophy Felicia Hayes built Cooking by Felix on—that amazing flavor doesn’t need hours—I always rely on the ultimate crowd-pleaser: chili cheese dip. This chili cheese dip is so easy; I often keep the ingredients stocked just in case someone drops by unexpectedly. It goes from pantry to piping hot in minutes, proving you don’t have to sacrifice satisfaction for speed. If you need a simple appetizer that delivers big, check out my easy slow cooker Reuben dip for another great option, but for now, this cheesy one is pure, savory perfection ready before kickoff!
- Why This 3-Ingredient Chili Cheese Dip Is Your New Favorite Party Appetizer
- Gathering Ingredients for the Ultimate Chili Cheese Dip
- How to Prepare This Simple Dip Recipe on the Stovetop
- Tips for Success When Making Warm Cheese Dip
- Serving Suggestions for Your Perfect Chili Cheese Dip
- Storage and Reheating Instructions for Leftover Chili Cheese Dip
- Frequently Asked Questions About Making Chili Cheese Dip
- Nutritional Estimates for This Creamy Cheese Dip Recipe
- Share Your Experience Making This Chili Cheese Dip
Why This 3-Ingredient Chili Cheese Dip Is Your New Favorite Party Appetizer
Honestly, I almost feel guilty how simple this recipe is. When I need foolproof quick appetizers, this is where I land every single time. Forget complicated layering or hours of simmering; this chili cheese dip utilizes just three everyday components to create something truly special. It’s the definition of maximum impact with minimal effort. People always ask for the recipe because they assume it has ten secret ingredients, but nope! It’s magic, I tell you! This is the definitive Game Day Dip for any gathering. If you want something similar but with a little kick, you should definitely check out my notes on making my jalapeño popper dip!
Key Benefits of Our Easy Chili Cheese Dip
- Speed: You are looking at a total time commitment of about 15 minutes start-to-finish. Crazy, right?
- Simplicity: Just three ingredients means grocery shopping is a breeze, and cleanup is even faster.
- Crowd-Pleasing Flavor: It’s warm, it’s unbelievably cheesy, and it hits that perfect savory spot everyone looks for in a dip.
Gathering Ingredients for the Ultimate Chili Cheese Dip
You won’t believe shopping for this chili cheese dip is this easy! We only grab three things, and you probably have two sitting in your fridge right now. Accuracy matters here, especially with the cheese, so make sure you grab exactly what I list below. It’s set up perfectly for a satisfyingly smooth, cheesy dip.
For the full measure, you’ll need:
- One 15-ounce can of chili (and listen closely, this one specifies *without* beans unless you’re feeling rebellious!).
- One standard 8-ounce package of cream cheese, and please, make sure it’s fully softened before you start mixing.
- One cup of sharp cheddar cheese, and it must be shredded—don’t use the pre-grated stuff if you can help it!
Ingredient Notes and Substitutions for Your Cheesy Dip Recipe
A quick word on the cream cheese: if it’s cold, your dip will be lumpy, trust me. It needs to be softened to room temperature so it melts evenly into that wonderful base. If you want a little heat—turning this into a fantastic spicy cheese dip—swap out half the cheddar for pepper jack. That adds just the right amount of zing without overwhelming the savory chili flavor.
For another appetizer idea that uses quality dairy, take a peek at my recipe for marinated cheese appetizer; it’s delicious cold!
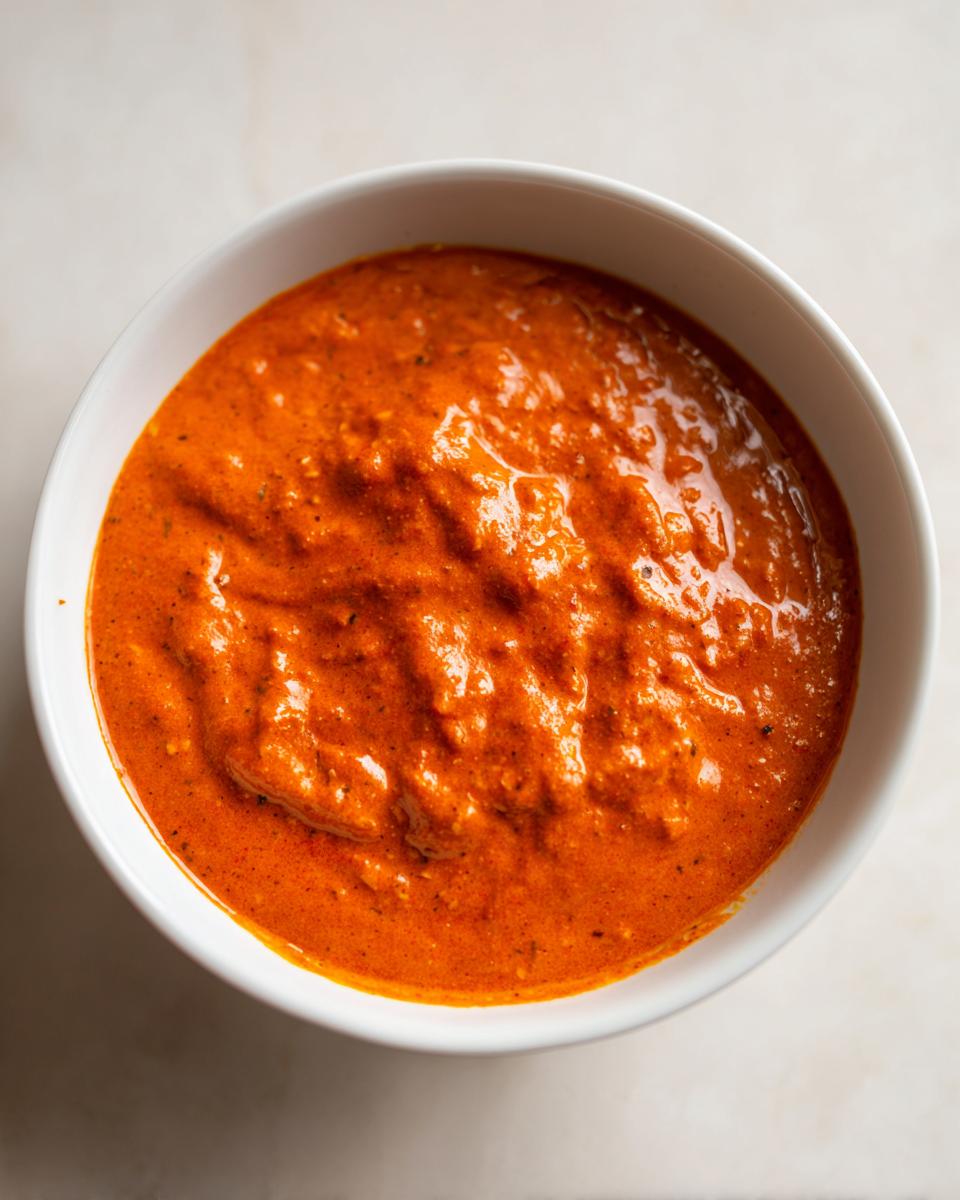
How to Prepare This Simple Dip Recipe on the Stovetop
Okay, we’re moving fast from gathering to dipping, which is why I adore this recipe! Since the prep time is only five minutes (seriously!), we can focus all our attention on that quick 10 minutes of simmering time for the stovetop method. This is how you get that gorgeous, perfectly smooth Creamy Cheese Dip Recipe texture without any fuss. Grab a medium saucepan—nothing too deep, we need easy stirring!
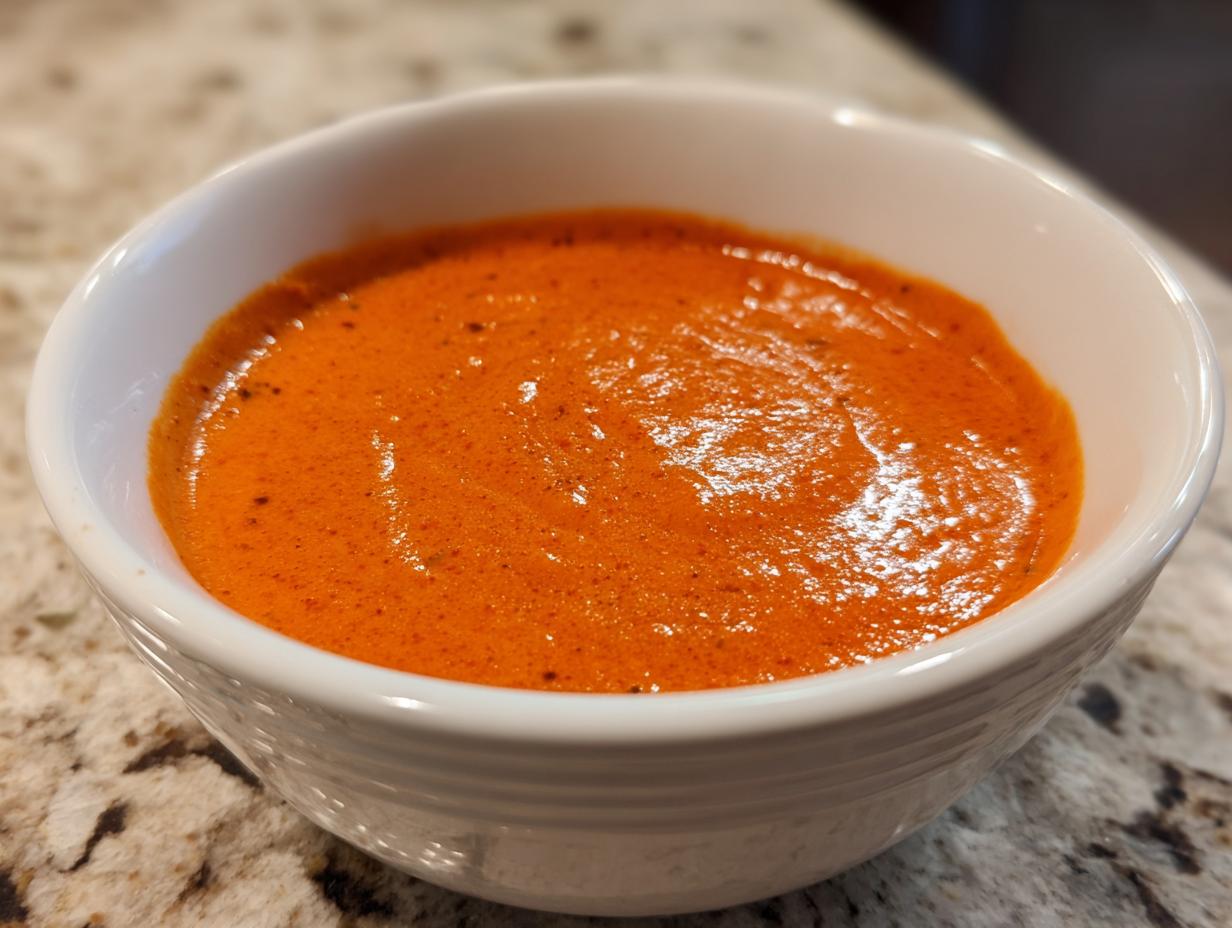
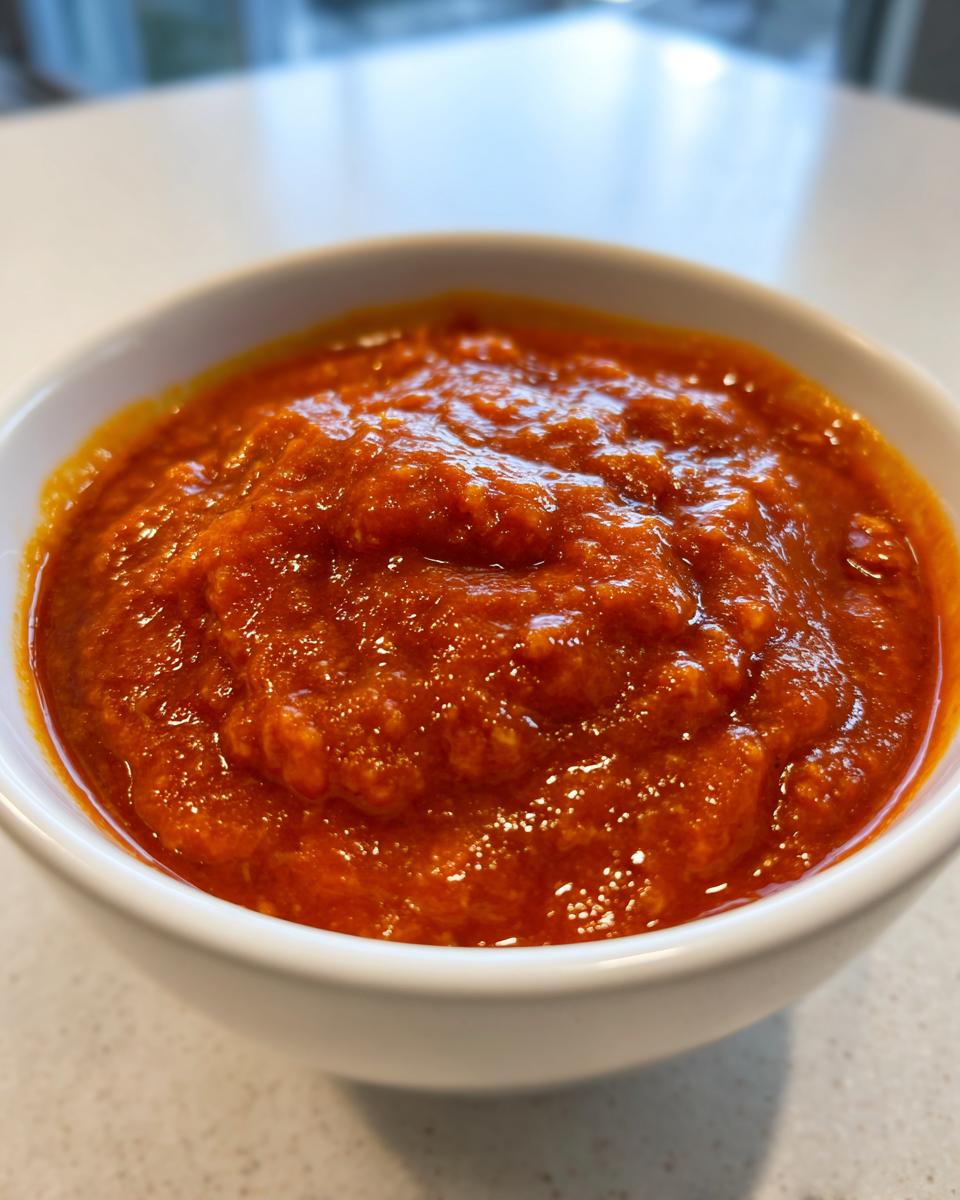
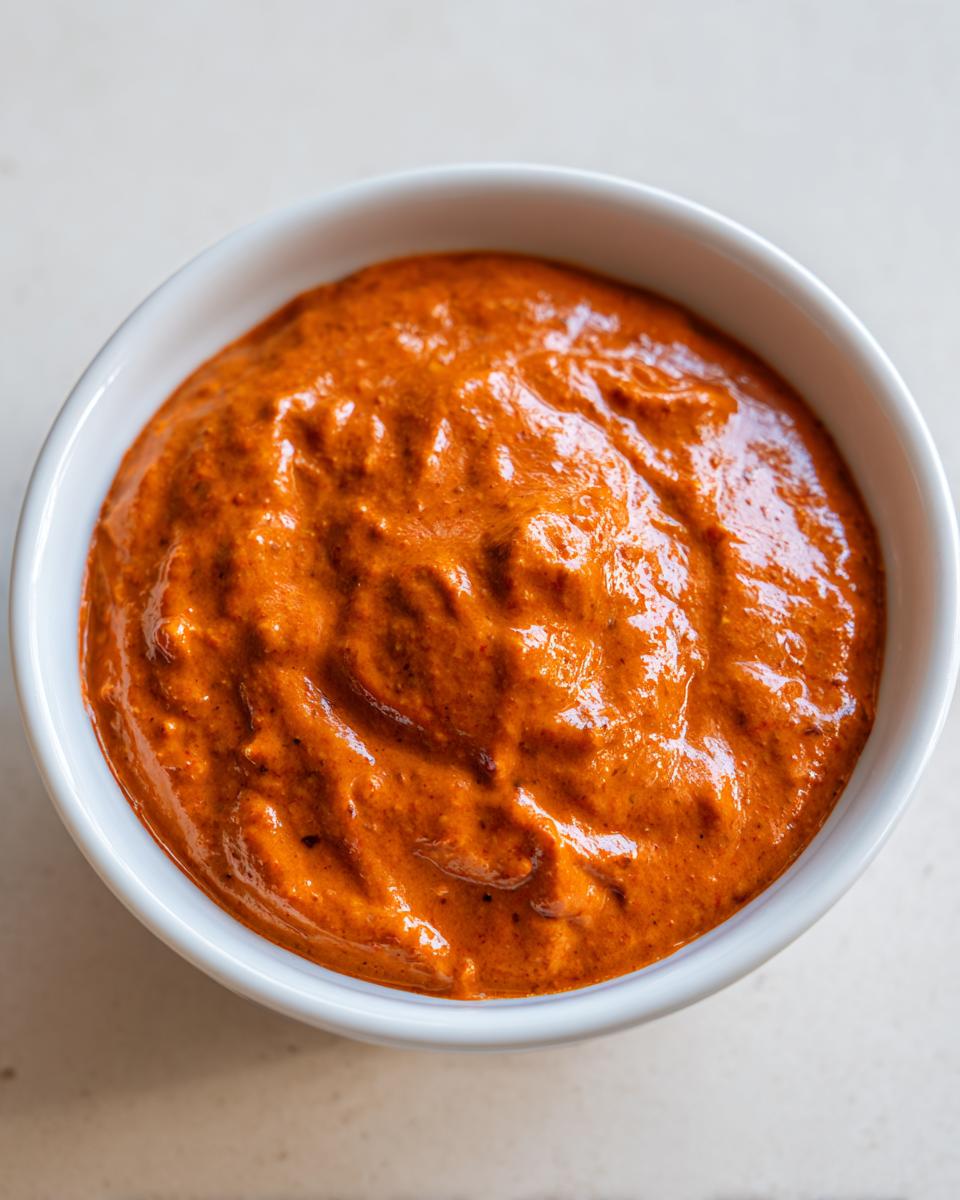
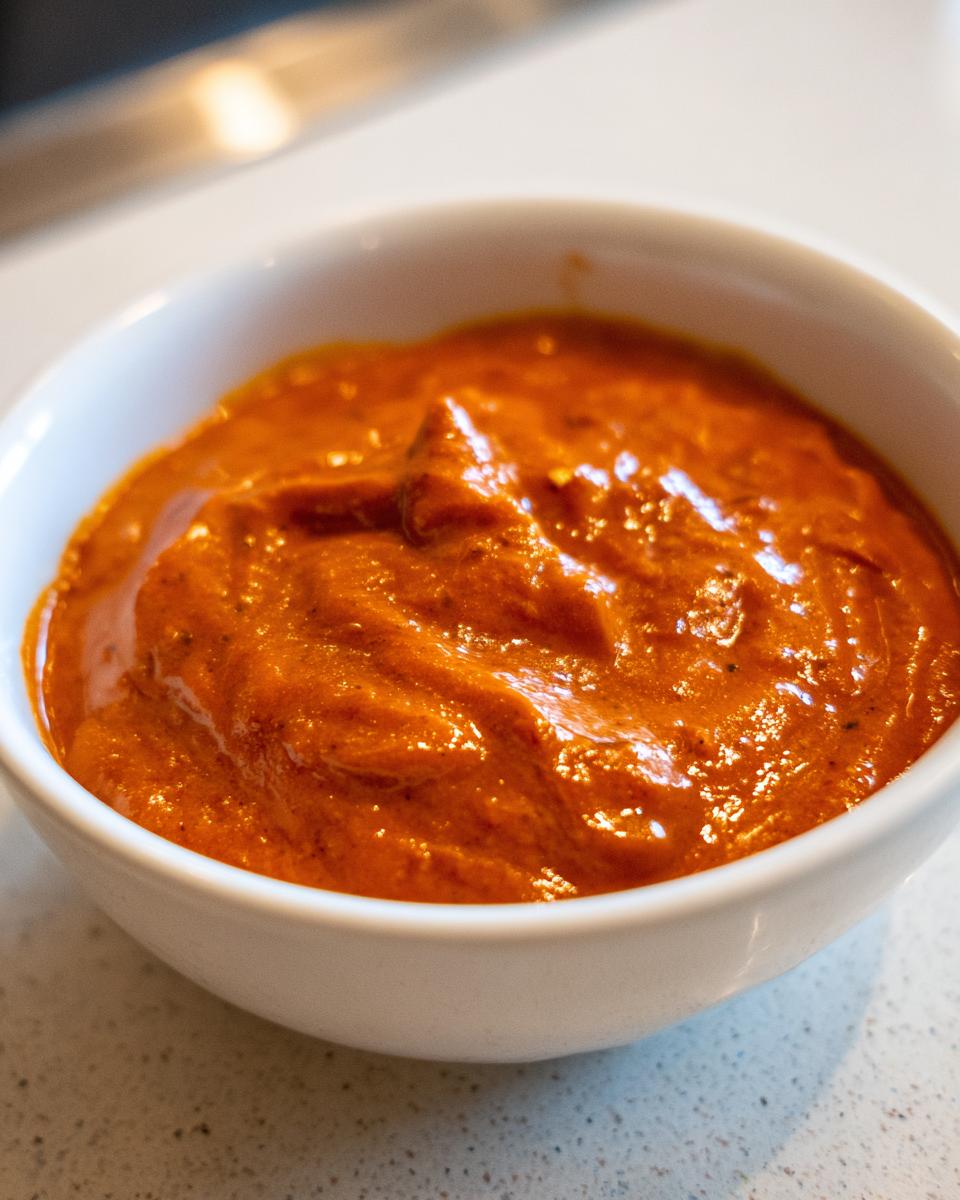
First things first: drop in your canned chili (no beans, remember?) and your softened cream cheese. Turn the heat to medium-low. This is critical! You need stirring consistency here, constant movement is key, so don’t walk away! Whisk it gently, making sure that cream cheese totally disappears into the chili. We are aiming for smooth, blended warmth, not a bubbly, burnt mess at the bottom. Once that base is silky, toss in the sharp cheddar. Stir that in until it’s completely melted into the mixture. That’s it! Your delicious chili cheese dip is ready to serve warm!
Feeling rushed or maybe you’re already doing all the slow cooker things for the party? Check out my amazing whipped feta dip for inspiration, but let’s look at how easy the Crockpot version is for this dip, too.
Making Chili Cheese Dip in the Slow Cooker (Crockpot Dips)
If you are prepping for a longer bash, like a full tailgating session, the slow cooker is your best friend for making this a true set-it-and-forget-it taco cheese dip alternative. Just toss all three ingredients right into a small slow cooker. You don’t even need to soften the cream cheese first, though I usually stir it a bit before setting the dial.
Set that beauty on LOW heat. It usually takes about one to two hours for everything to melt completely and combine beautifully. You do need to stir it every 20 or 30 minutes just to keep things incorporated. That way, when guests arrive, you already have a fantastic batch of warm cheese dip waiting for them!
Tips for Success When Making Warm Cheese Dip
Getting this chili cheese dip melted is one thing, keeping it looking perfect for an hour while people are shoveling chips in is another! The biggest thing I learned (the hard way, naturally) is that once you transfer it to your serving dish, don’t let it sit too long without stirring. If it starts setting up, just give it a quick, gentle swirl right in the bowl—this brings that beautiful, smooth texture right back to the surface.
Also, pay attention to the heat right before you serve it! If you’re not putting it in the Crockpot, keep your stovetop setting very low—think “simmer,” not “boil.” A high temperature is what separates the oil from the cheese, and we want unity here! For serving on the side, remember to have some nice crackers ready, or try my easy bruschetta dip sometime for variety.
Serving Suggestions for Your Perfect Chili Cheese Dip
Now that you have this ridiculously good chili cheese dip ready, what are you going to eat it with? That’s almost as important as the dip itself! For me, this is pure, unadulterated comfort food dip perfection. Obviously, sturdy tortilla chips are a must—none of those flimsy ones that snap instantly! But don’t stop there. Thick, buttery crackers work wonderfully if you want something a little different.
I strongly recommend having some fresh, crisp vegetables on hand, too. Carrot sticks or celery are great for scooping and balancing out all that richness. If you’re hosting, maybe throw together a batch of easy chicken tortilla soup as another hearty option for the table. For more dip inspiration that pairs well with chips, check out what my friends are serving over at Simply Home Flavors!
Storage and Reheating Instructions for Leftover Chili Cheese Dip
It rarely happens, right? We usually polish off every bit of this cheesy goodness while watching the game. But if, by some miracle, you have leftovers of this fantastic dip, don’t toss it! We need to treat this creamy mixture right so it tastes just as good the next day.
The best way to store it is letting it cool down slightly on the counter first, then transferring it to an airtight container. If you seal it up tight, it stays fresh in the fridge for about three to four days. Because it’s packed with cream cheese and cheddar, it will get pretty firm once chilled—that’s normal!
Reheating only takes a minute or two longer than making it fresh. I have two favorite ways. If you only have a small amount left, just microwave it in short 30-second blasts, stirring vigorously between each blast so the heat distributes evenly and keeps that texture smooth. If you have a bigger batch, the stovetop is better.
Pop the refrigerated dip into a saucepan over low heat. You must stir constantly and slowly, adding maybe a tablespoon of milk or water if it seems too stiff. Keep stirring until it’s completely melted and smooth again. This method prevents any scorching and keeps the integrity of the dip intact. It’s nearly impossible to tell the difference from the original batch! If you are looking for another easy meal that stores well, check out my recipe for quick and easy one-pot beans and rice—it’s a lifesaver!
Frequently Asked Questions About Making Chili Cheese Dip
I get so many questions about this recipe because everyone wants their chili cheese dip to be absolutely flawless for their game night snacks! Here are the things I hear most often from folks trying to nail this simple recipe down.
Can I use canned chili that already has beans in it?
Oh, honey, I know sometimes you just grab the closest can! Technically, yes, you *can* use chili with beans, but I really advise against it for this specific recipe. The structure of this **creamy cheese dip recipe** relies on that smooth cream cheese base blending perfectly. Beans tend to absorb the liquid differently and can make the finished product a bit chunky and less luscious. Sticking to bean-free chili gives you that better texture!
What cheese melts best for this warm cheese dip?
Sharp cheddar is my go-to because it has the best flavor profile to cut through the richness of the cream cheese. However, if you want to experiment within the realm of simple dip recipes, pepper jack is amazing for heat, or even Monterey Jack works if you want something milder. The most important thing is to grate it yourself! Pre-shredded cheese is coated in anti-caking agents that make your cheesy dip grainy instead of smooth.
Is this guaranteed to be an easy chili cheese dip the next day?
It’s one of the best leftovers, but it will firm up significantly once it chills because of all that cheese! To bring it back to life, you absolutely need low, slow heat and a little bit of liquid—a splash of milk or even water works. Reheating it slowly on the stovetop (like we talked about!) re-emulsifies everything beautifully. If you’re looking for other ways to upgrade chili flavor in general, you should have a look at my post on developing deep flavor in chili!
Nutritional Estimates for This Creamy Cheese Dip Recipe
I always try to keep things simple in the kitchen, and that includes how we look at nutrition. Now, I need to get real with you for a second: because this recipe is so dependent on what brand of canned chili you grab—some are higher in sodium than others—these numbers are just estimates! When I whip up a batch of this decadent dip, I rely on an average serving size, which breaks down to about 1/6th of the recipe.
Keeping that disclaimer in mind, here is what you can generally expect per serving:
- Calories: Around 320
- Fat: About 24 grams total, which includes 14 grams of saturated fat.
- Carbohydrates: Roughly 12 grams, with about 2 grams of fiber.
- Protein: A solid 16 grams per scoop!
- Sugar: Usually hovering around 6 grams.
- Sodium: This is the tricky one; expect around 750mg, which is why checking your chili can label is a good idea for this warm cheese dip.
It’s rich, it’s comforting, and it definitely falls squarely into the indulgence category for a party appetizer! If you’re looking for hearty meal ideas instead, you should check out how I manage big flavor with my chicken alfredo lasagna recipe. But for game days, this dip delivers!
Share Your Experience Making This Chili Cheese Dip
So, you’ve made the ultimate chili cheese dip—that’s fantastic! I genuinely want to hear how it turned out for your crowd. Did the sharp cheddar melt perfectly? Were you able to stick to just three ingredients, or did you sneak in some extra spice?
Please let me know in the comments below! Rate this recipe with five stars if it saved your party planning this week! And while you’re at it, tell me: what’s your absolute favorite Game Day snack to pair with a warm dip like this? I’m always collecting new ideas for my next gathering! You can learn more about my mission at the Cooking by Felix about page.
PrintUltimate 3-Ingredient Creamy Chili Cheese Dip

Make this easy chili cheese dip for your next gathering. It uses only three simple ingredients and comes together fast, making it a perfect game day dip or party appetizer.
- Prep Time: 5 min
- Cook Time: 10 min
- Total Time: 15 min
- Yield: 6 servings 1x
- Category: Appetizer
- Method: Stovetop
- Cuisine: American
- Diet: Vegetarian
Ingredients
- 1 (15 ounce) can chili without beans
- 1 (8 ounce) package cream cheese, softened
- 1 cup shredded sharp cheddar cheese
Instructions
- Combine the canned chili and softened cream cheese in a medium saucepan.
- Heat over medium-low heat, stirring constantly until the cream cheese is completely melted and the mixture is smooth. Do not let it boil.
- Stir in the shredded cheddar cheese until it melts into the mixture and the dip is fully combined and creamy.
- Transfer the chili cheese dip to a serving bowl. Serve warm with tortilla chips or crackers for the best experience.
Notes
- For a slow cooker version, combine all ingredients in a small slow cooker and cook on low for 1 to 2 hours, stirring occasionally until smooth.
- If you prefer a spicier cheese dip, substitute half of the cheddar cheese with pepper jack cheese.
- This recipe is excellent served as a warm cheese dip alongside cut vegetables.
Nutrition
- Serving Size: 1/6 of recipe
- Calories: 320
- Sugar: 6
- Sodium: 750
- Fat: 24
- Saturated Fat: 14
- Unsaturated Fat: 10
- Trans Fat: 1
- Carbohydrates: 12
- Fiber: 2
- Protein: 16
- Cholesterol: 65