


Oh my gosh, you guys! Is there anything better than walking into your kitchen and being hit with the smell of fresh, hot bread baking? I swear it instantly makes everything feel cozy and right. If you’ve ever thought that making amazing, golden, crusty italian bread was reserved for professional bakers or those with endless time, you have to try this recipe. Trust me, Felix designed this for us—the busy folks. It proves that even when life is hectic, you can still achieve bakery-style perfection right on your own counter. We’re keeping it simple, just like we always aim to do here at Cooking by Felix, so you can reclaim that joy without adding hours to your day. You can read more about why I believe in this philosophy here!
- Why This Easy Crusty Italian Bread Recipe Works for You
- Ingredients for Homemade Italian Bread Recipe
- How to Prepare Bakery Style Italian Loaf: Step-by-Step Instructions
- Tips for Success When Making This Italian Bread
- Ingredient Notes and Substitutions for Your Loaf
- Serving Suggestions: Making the Most of Your Italian Bread
- Storage & Reheating Instructions for Leftover Italian Bread
- Frequently Asked Questions About Homemade Italian Bread
- Share Your Crusty Italian Bread Creations
Why This Easy Crusty Italian Bread Recipe Works for You
I know you want that crackly, golden exterior you see at the fancy bakeries, but you don’t want to spend all day fussing over it, right? That’s the whole point of this italian bread recipe! We get fantastic results without needing a giant bread mixer or overly complicated steps. Here are the big wins you’ll get when you bake this:
- It’s totally beginner-friendly—if you can stir and knead for a few minutes, you’ve got this!
- It uses basic pantry staples, so there’s no scrambling to the specialty store.
- The method guarantees that fantastic bakery-style crunch we all crave for dinner.
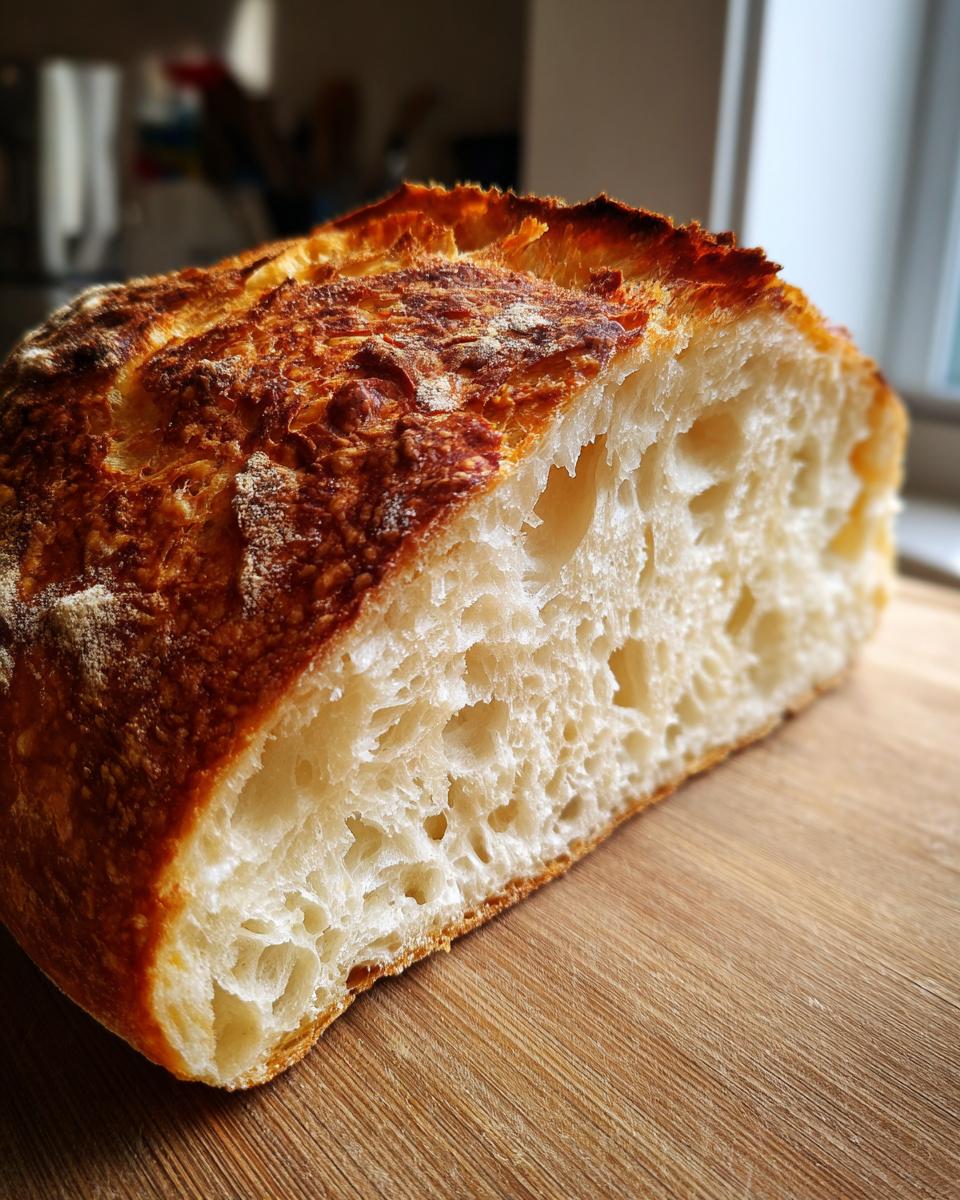
Achieving That Golden Brown Crust Bread Texture
This is my favorite trick, and it takes zero effort! Remember in the instructions where I told you to put a shallow pan of water on the bottom rack while preheating? That’s our secret weapon for steam. When the dough hits that steamy environment, it slows down that initial crust formation just enough. It lets the loaf really expand beautifully before the crust sets hard. That steam is what gets you that perfect, shatteringly crisp, golden brown crust bread texture every single time. It’s pure magic!
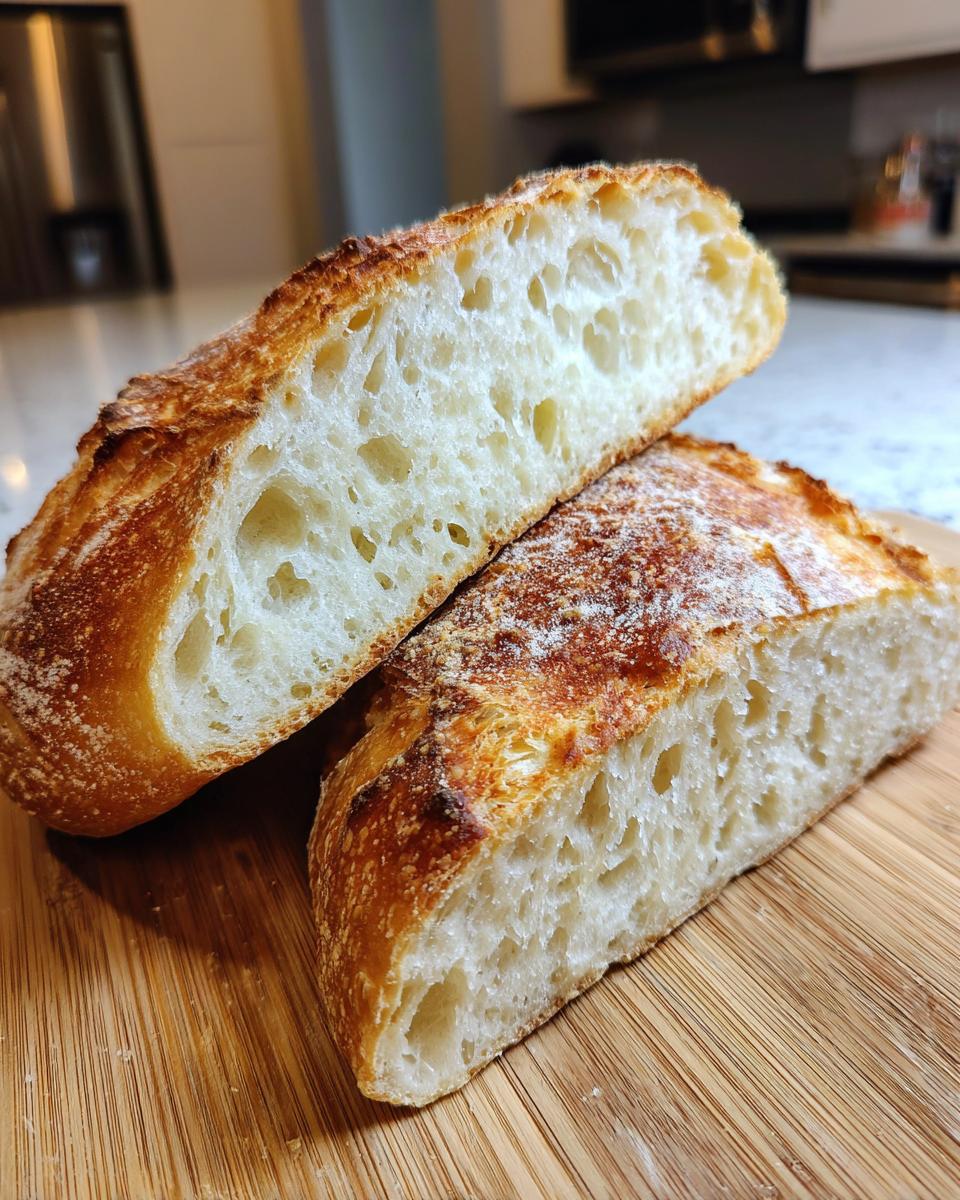
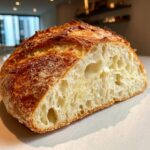
Soft Inside Crusty Outside Bread: The Perfect Balance
The interior crumb is just as important as the outside! This recipe is specifically designed to deliver that amazing soft inside crusty outside bread experience. The light kneading we do—just enough to build structure but not too much to make it tough—keeps the crumb airy and wonderfully chewy once baked. This texture means it’s sturdy enough for a big sandwich but tender enough to soak up every last drop of olive oil.
Ingredients for Homemade Italian Bread Recipe
Okay, time for the easy part! This is that *simple sandwich bread* you’ve been waiting for. I have everything listed out below, but look closely at the yeast and water. Getting those temperatures right is the difference between a loaf that doubles and one that stays stubbornly flat. I’ve learned that lesson the hard way!
- 3 1/2 cups all-purpose flour
- 1 1/2 teaspoons salt
- 1 teaspoon granulated sugar
- 2 1/4 teaspoons active dry yeast (that’s one standard packet, folks!)
- 1 1/2 cups warm water (this is crucial: about 105-115°F)
- 1 tablespoon olive oil (just for brushing the outside later)
Flour, Yeast, and Water Specifics
Let’s talk yeast activation, because it’s key for that beautiful rise we need. When you add the yeast to the water, you *must* aim for that 105 to 115 degree Fahrenheit range. If it’s too cold, the yeast just sleeps; if it gets too hot—say, over 130—it actually dies! I use my little instant-read thermometer, but if you don’t have one, the water should feel pleasantly warm to your wrist, but not hot at all. That perfect little bath wakes up the yeast so it can do its job creating those lovely air pockets in your homemade Italian bread recipe.
How to Prepare Bakery Style Italian Loaf: Step-by-Step Instructions
This is where the dough starts turning into that gorgeous, bakery style Italian loaf you’ve been dreaming about. We start slow, then things really get moving! Be patient here; the rising takes a bit of time, but you can kick your feet up and relax while the yeast does the heavy lifting. Just trust the process, okay? If you want that amazing crust, check out this great guide on crust perfection! They have some excellent tips on getting a crunchy exterior.
Mixing and Initial Kneading for Your Italian Bread
First, get your dry stuff mixed—flour, salt, sugar. Then pour in that foamy yeast water and olive oil. Don’t whisk it! Just mix it until you have what I call a ‘shaggy dough.’ Honestly, it’s going to look messy and awkward, and that’s perfect. Now, turn it out onto a lightly floured counter. We need to knead this for about 5 to 7 minutes. You’re looking for it to transform from sticky and rough to beautifully smooth and elastic. When you pat it, it should feel resilient, not sticky.
First Rise: Creating Volume in Your Dough
Grab a clean bowl and give it a light coat of oil—just prevents sticking, makes cleanup easier! Tuck your kneaded dough ball inside and turn it over once so it gets a little slick coat everywhere. Cover it tightly—I use plastic wrap, but a damp kitchen towel works too. Find your warmest spot in the kitchen. This first rise usually takes between 60 to 90 minutes. Don’t guess! Wait until that dough has physically doubled in size. If your kitchen is chilly, it might take closer to the 90-minute mark, so don’t rush it!
Shaping and Second Rise for the Final Italian Bread Loaf
Once it’s puffy, gently punch the air out—it sounds aggressive, but we just need to deflate it slightly. Now, you can shape it into your classic loaf shape, or maybe you want a rustic oval. Lay it on parchment paper or in your greased loaf pan. Cover it back up again! This second rise is shorter, maybe just 30 to 45 minutes. It’s just puffing up after being tucked in from the shaping. Keep an eye on it; it won’t double this time, but it should definitely look airy and much lighter than when you shaped it.
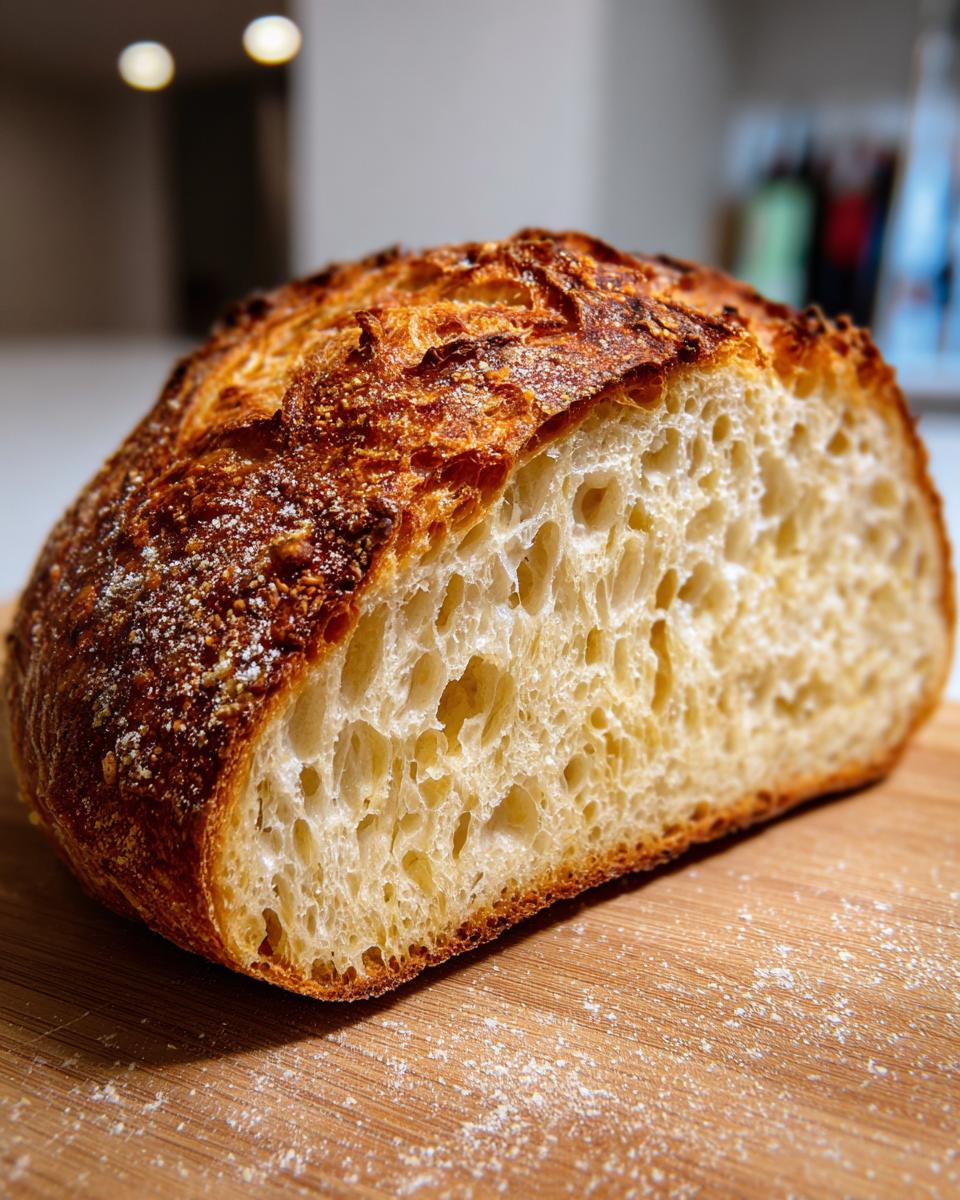
Baking Techniques for a Golden Brown Crust Bread
Time to preheat that oven to 400°F! While it heats, get that shallow pan of water sitting on the bottom rack. That steam is non-negotiable for that gorgeous crunch, okay? Before it goes in, you can brush the top lightly with water, and if you want those classic bakery lines, use a sharp knife to score the top. Bake it for 30 to 35 minutes. I always pull out my thermometer—you want the center of your Golden Brown Crust Bread to hit 200°F. That’s how you know your italian bread is done clear through!
Tips for Success When Making This Italian Bread
Baking your very first loaf of italian bread can feel a little intimidating, but honestly, most problems pop up for the same classic reasons. Don’t panic if things look weird! I remember one time, years ago, I thought my dough wasn’t rising fast enough because I was baking on a rainy, cool day. I got impatient and put the bowl right next to the oven vent. Big mistake! The edges got dry before the center could rise properly, and I ended up with a beautiful looking, but dense, brick! Learn from my error—patience pays off more than heat does.
Troubleshooting Common Issues in Bread Making
If your dough just won’t budge during the first rise, stop and check two things immediately: your water temperature (was it warm enough to wake up the yeast?) and the quality of your yeast. If your yeast is old, it might be dead, and you’ll need to start over with a new packet. On the flip side, if you notice your crust is getting dark brown way too fast but the inside still sounds hollow when tapped, your oven might be running hot, or, and this is common, you didn’t have enough water creating steam! Make sure that shallow pan is full right before you slide that loaf in. A good, steamy bake is the secret sauce for that ultimate crusty exterior. For more great handling tips, check out this source on crusty bread techniques!
Ingredient Notes and Substitutions for Your Loaf
Since this recipe keeps things super straightforward—you know, because we are *busy*—we don’t call for a million fancy things. We use all-purpose flour because it’s what everyone has handy. But let’s talk about flour for a minute, because it makes a difference if you want to level up next time!
If you are chasing that deeply satisfying, slightly more structured, Chewy Italian Loaf texture, you absolutely should try swapping out some of the all-purpose flour for bread flour next time. Bread flour has more protein, which means more gluten development when you knead it. More gluten equals a stronger, chewier crumb that really stands up well to soaking up soup!
I used AP flour here because it’s reliable, easier for beginner bread making, and gives you that lovely soft inner crumb that’s fantastic for simple sandwiches. If you use bread flour right from the start, just watch your water intake a little because bread flour is thirstier. You might need just a tiny splash more water, or you might find it’s perfect as is. It’s all about testing what works in your specific kitchen environment!
Also, notice we use granulated sugar. It’s just there to feed the yeast, not really for flavor. If you happen to be out of white sugar, you could technically use a tiny bit of honey or maple syrup instead, but be careful! Those sugars can brown faster, so keep a close eye on your oven so your loaf doesn’t look dark before it’s baked through!
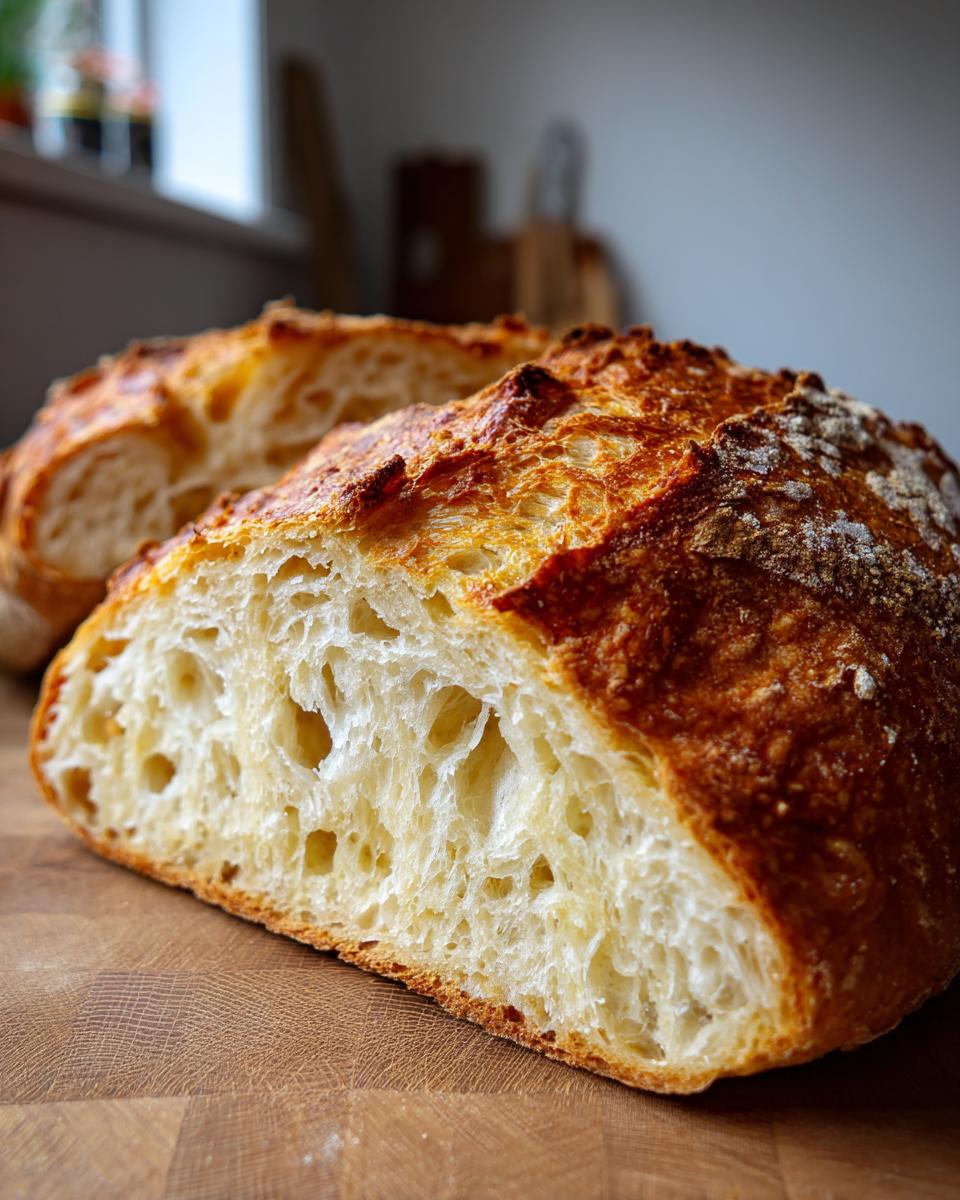
Serving Suggestions: Making the Most of Your Italian Bread
This is the moment of truth, isn’t it? The reward for all that waiting is finally slicing into that gorgeous, steaming loaf. That incredible rush of Fresh Baked Bread Aromas filling your entire house means dinner is about to be upgraded! We make this italian bread specifically for serving alongside meals, but honestly, it’s a star all by itself.
If you’re having soup or a big pasta night—think rich bolognese or creamy mushroom sauce—you absolutely must have slices ready for dipping. Nothing beats tearing off a piece of that chewy interior and wiping the bowl clean. I also use this bread for the heartiest deli sandwiches; it holds up perfectly to tomatoes, oil, and heavy fillings without getting soggy. For a super simple treat, just drizzle a little good quality olive oil on a slice and sprinkle on some flaky salt. Divine!
The best part about having this fresh loaf on hand is that it turns any simple dinner into something truly special—it feels like you spent all day baking, even though it was surprisingly fast! Try dipping it in spiced olive oil tonight for a real treat!
Storage & Reheating Instructions for Leftover Italian Bread
Okay, so you made it through the whole loaf in one sitting? Good for you! If, by some miracle, you have some of this amazing italian bread left over, storage is super important, especially if you want to keep that crust happy. Do *not* wrap it tightly in plastic wrap! Plastic traps moisture and that gorgeous crust will get soft and chewy in the worst way. Instead, store leftover slices or the end of the loaf in a paper bag at room temperature. It keeps the inside soft while letting the crust breathe a little.
If you need to revive that crunch the next day—and trust me, you do—just pop the slices directly onto a low oven rack at about 350°F (175°C) for about five to eight minutes. It warms right up, brings back that golden crispness, and smells like you just pulled it out of the oven fresh!
Frequently Asked Questions About Homemade Italian Bread
I know you’ve got questions, because whenever I first try a new bread, my head is swimming! Don’t worry, that’s why we have this little Q&A section. Hopefully, these answers will give you the confidence boost you need to tackle this Easy Crusty Bread Baking project. If I missed anything, please reach out via my contact page—I love hearing from you all! You can drop me a line anytime!
Can I make this a No Knead Italian Bread recipe?
That is such a great question, especially if you’re looking for a super fast option! The recipe I shared requires that 5 to 7 minutes of kneading because we are using a slightly quicker rising time—it’s part of our Quick Italian Bread Tutorial approach. Kneading builds the structure needed for that short rise. If you wanted to go completely no-knead, you’d likely need to use less yeast and let it ferment much, much slower—sometimes 12 to 18 hours on the counter. While no-knead is wonderful, it gives you a different texture, often a bit more open and airy, rather than the dense chew we aim for in this loaf. For this specific recipe to get the best results, stick to the kneading step!
What is the best way to get an Artisan Bread at Home look?
Oh, you want that rustic, professional vibe? I totally get it! We already handle one huge part of the artisan look by using that water pan for steam, which helps the loaf expand beautifully. The other big visual pop comes from scoring. Right before the bread goes into the oven, take a really sharp knife—maybe a bread lame if you’re fancy, but I just use an X-Acto knife—and make swift, decisive slashes across the top, maybe a quarter-inch deep.
The steam keeps the cuts from sealing up too fast, so when the loaf hits the heat, it bursts open exactly where you told it to. That’s what creates those gorgeous ‘ears’ and peaks on your Artisan Bread at Home. Practice makes perfect here; don’t be timid with the knife when you finally slash it!
Share Your Crusty Italian Bread Creations
I truly hope you loved baking this loaf as much as I love sharing it with you. When you pull that beautiful, golden bread out of the oven, it’s a real moment, isn’t it? It’s proof that you *can* make amazing, high-quality food, even on a crazy schedule. That’s what this whole site is about—getting that joy back in the kitchen!
So, once you’ve let it cool down (I know, it’s the hardest part!), please come back here and let me know how it went. Did you nail that crust? Did your family ask for seconds? Drop your ratings and your feedback right down in the comments below. Seriously, seeing pictures of *your* homemade loaves is the best part of my day!
Happy baking, friends, and here’s to making every meal a little more delicious!
PrintEasy Crusty Homemade Italian Bread
Bake bakery-style Italian bread at home with this simple recipe. You get a golden, crunchy crust and a soft, chewy interior using basic pantry ingredients.
- Prep Time: 20 min
- Cook Time: 35 min
- Total Time: 2 hours 5 minutes
- Yield: 1 loaf 1x
- Category: Baking
- Method: Baking
- Cuisine: Italian
- Diet: Vegetarian
Ingredients
- 3 1/2 cups all-purpose flour
- 1 1/2 teaspoons salt
- 1 teaspoon granulated sugar
- 2 1/4 teaspoons active dry yeast (1 packet)
- 1 1/2 cups warm water (about 105-115°F)
- 1 tablespoon olive oil (for brushing)
Instructions
- In a large bowl, mix the flour, salt, and sugar.
- In a separate small bowl, dissolve the yeast in the warm water and let it sit for 5 minutes until foamy.
- Pour the yeast mixture into the dry ingredients. Mix until a shaggy dough forms.
- Turn the dough out onto a lightly floured surface. Knead for 5 to 7 minutes until the dough is smooth and elastic.
- Lightly oil a clean bowl. Place the dough in the bowl, turning once to coat. Cover the bowl with plastic wrap or a clean towel.
- Let the dough rise in a warm place for 60 to 90 minutes, or until it has doubled in size.
- Gently punch down the dough. Shape it into a loaf and place it on a baking sheet lined with parchment paper or in a loaf pan.
- Cover the loaf again and let it rise for a second time for 30 to 45 minutes.
- Preheat your oven to 400°F (200°C). Place a shallow pan of water on the bottom rack to create steam for a crispier crust.
- Brush the top of the loaf lightly with water or olive oil. Score the top of the loaf with a sharp knife if desired.
- Bake for 30 to 35 minutes, or until the crust is deep golden brown and the internal temperature reaches 200°F (93°C).
- Remove the bread from the oven and let it cool completely on a wire rack before slicing.
Notes
- For a crispier crust, spray the oven walls with water a few times during the first 10 minutes of baking.
- This bread is excellent for dipping in olive oil or serving with pasta sauces.
- If you want a faster rise, place the dough in a slightly warmer spot, but avoid direct heat sources.
Nutrition
- Serving Size: 1 slice
- Calories: 150
- Sugar: 0.5
- Sodium: 250
- Fat: 1.5
- Saturated Fat: 0.2
- Unsaturated Fat: 1.3
- Trans Fat: 0
- Carbohydrates: 30
- Fiber: 1.5
- Protein: 4
- Cholesterol: 0