

I know exactly what it feels like when that big beautiful holiday rolls around and the pressure hits. For me, nothing is more stressful than worrying that the *turkey*—the actual centerpiece of the entire feast—is going to end up dry and disappointing. Trust me, I’ve been there, staring down a bird that costs a small fortune to buy only to have it emerge from the oven looking sad!
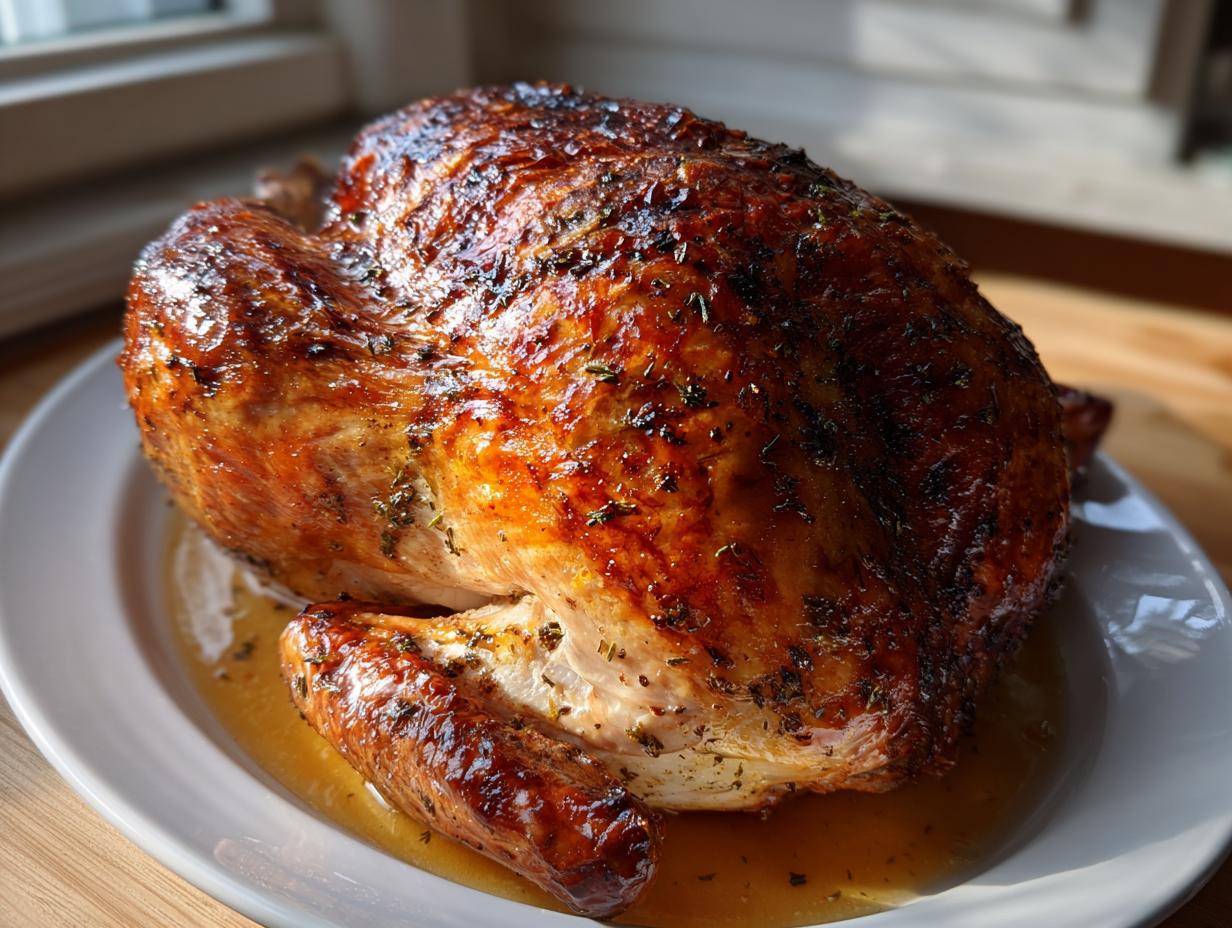
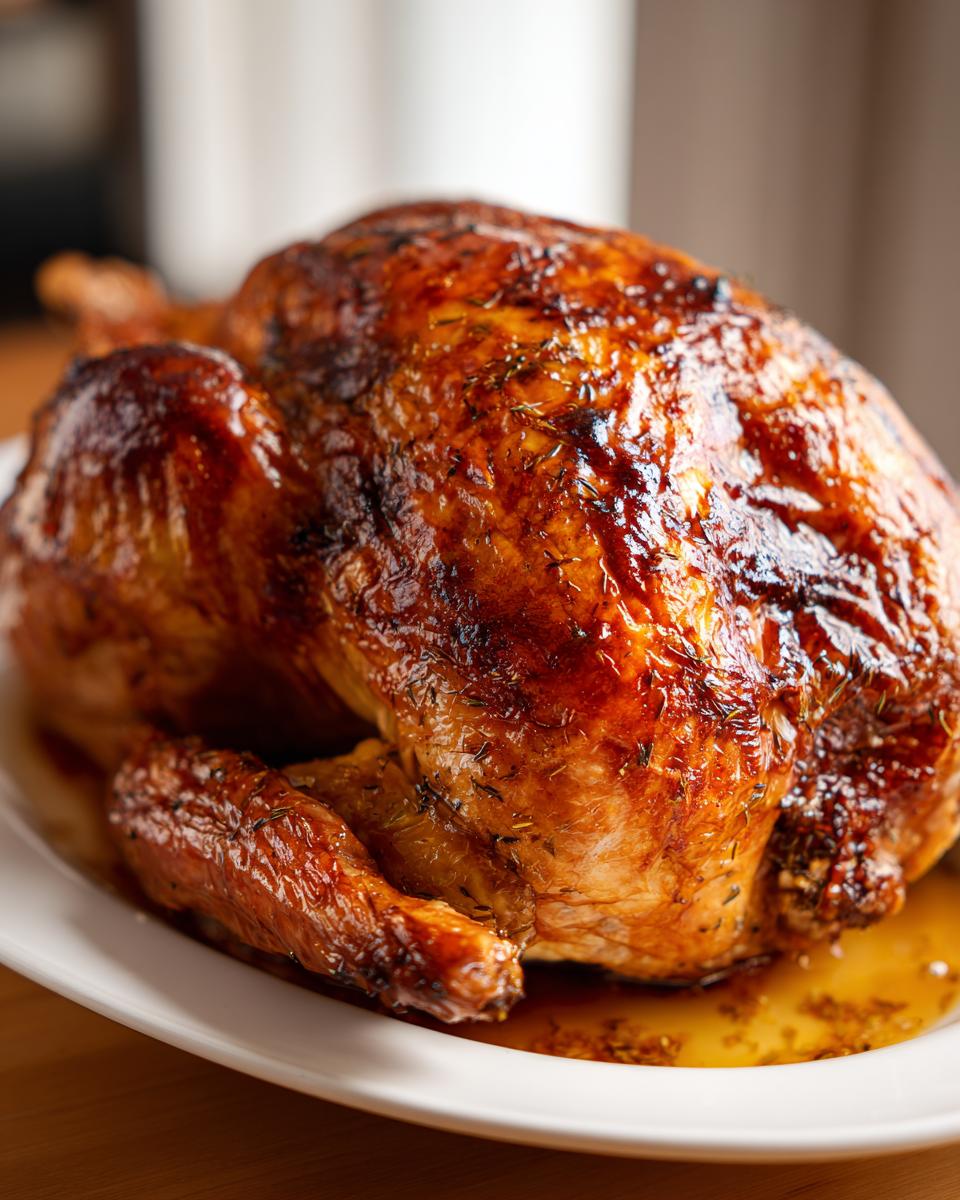
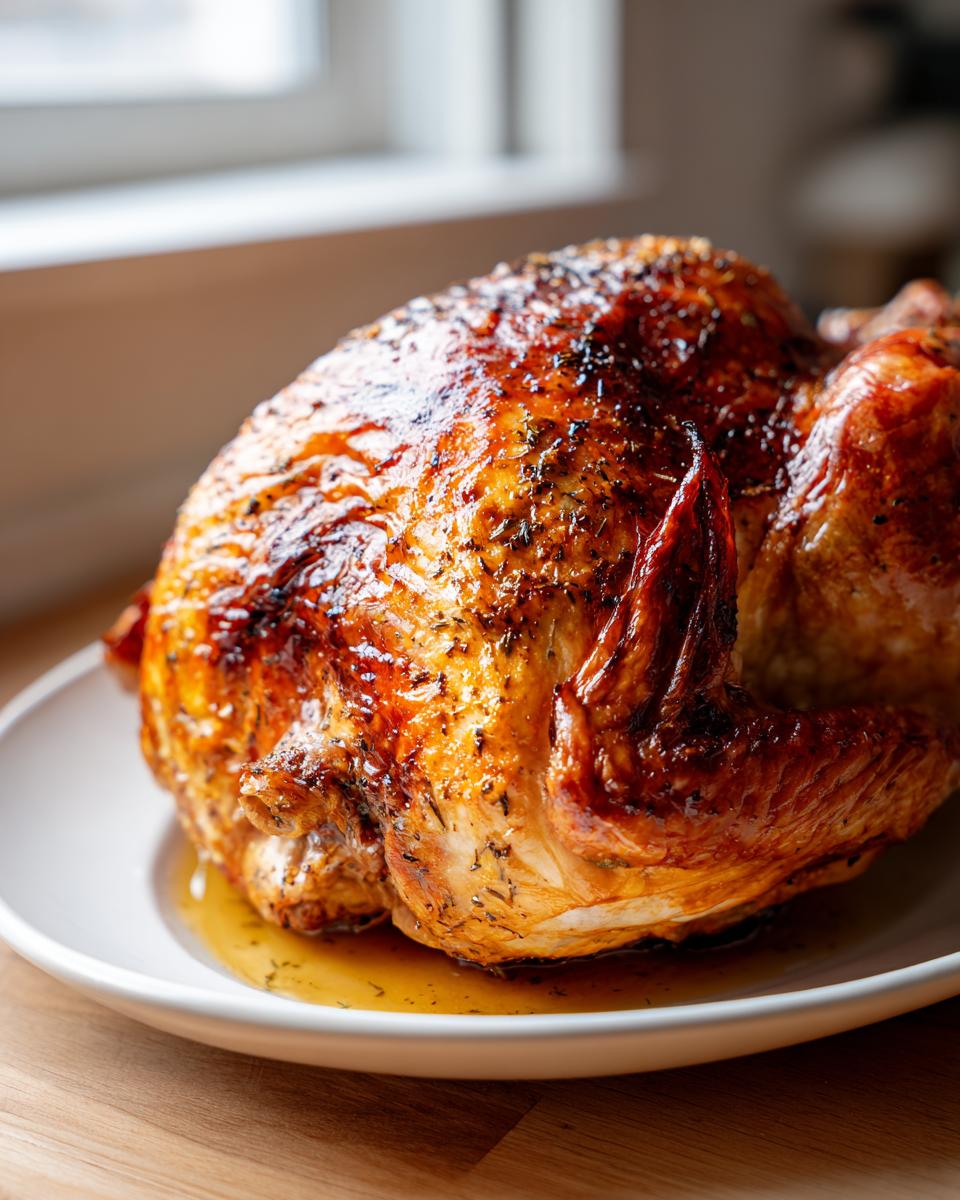
But I promised myself that once I cracked the code in my own kitchen, I wouldn’t keep the secret locked away. That’s why this recipe isn’t just a recipe; it’s my foolproof method for a Juicy Roast Turkey with Crispy Skin. We’re focusing on technique here, not complicated flavor bombs. When you pull this bird out, it’s golden, it smells incredible, and most importantly, it stays wonderfully moist. This year, let’s make the holiday centerpiece the easiest, most delicious part of the whole meal!
- Why This Roast Turkey Recipe is Your Thanksgiving Turkey Guide
- Gathering Ingredients for Your Herb Butter Turkey
- Step-by-Step Instructions: How to Cook Perfect Turkey
- Tips for Success with Your Holiday Turkey Main Dish
- Ingredient Notes and Substitutions for Turkey
- Serving Suggestions for Your Festive Turkey Meal
- Storage and Reheating Instructions for Leftover Turkey
- Frequently Asked Questions About Roasting Turkey
- Share Your Holiday Feast Centerpiece Success
Why This Roast Turkey Recipe is Your Thanksgiving Turkey Guide
Listen, holiday cooking shouldn’t feel like rocket science. So many people get scared stiff of making a huge turkey because they’ve had bad experiences before. That’s why this guide cuts through the confusion. We are going to uncover the Juicy Turkey Secrets that professional chefs guard so closely. It comes down to a few simple, non-negotiable steps that work together to create poultry perfection.
This setup is designed to avoid the pitfalls that lead to that dry, chalky texture everyone hates. It’s about creating pockets of flavor directly where the meat needs it most and setting up the skin for maximum crunch. I promise, once you follow this Thanksgiving Turkey Guide, you’ll never stress about timing or texture again.
Achieving Crispy Skin Turkey Every Time
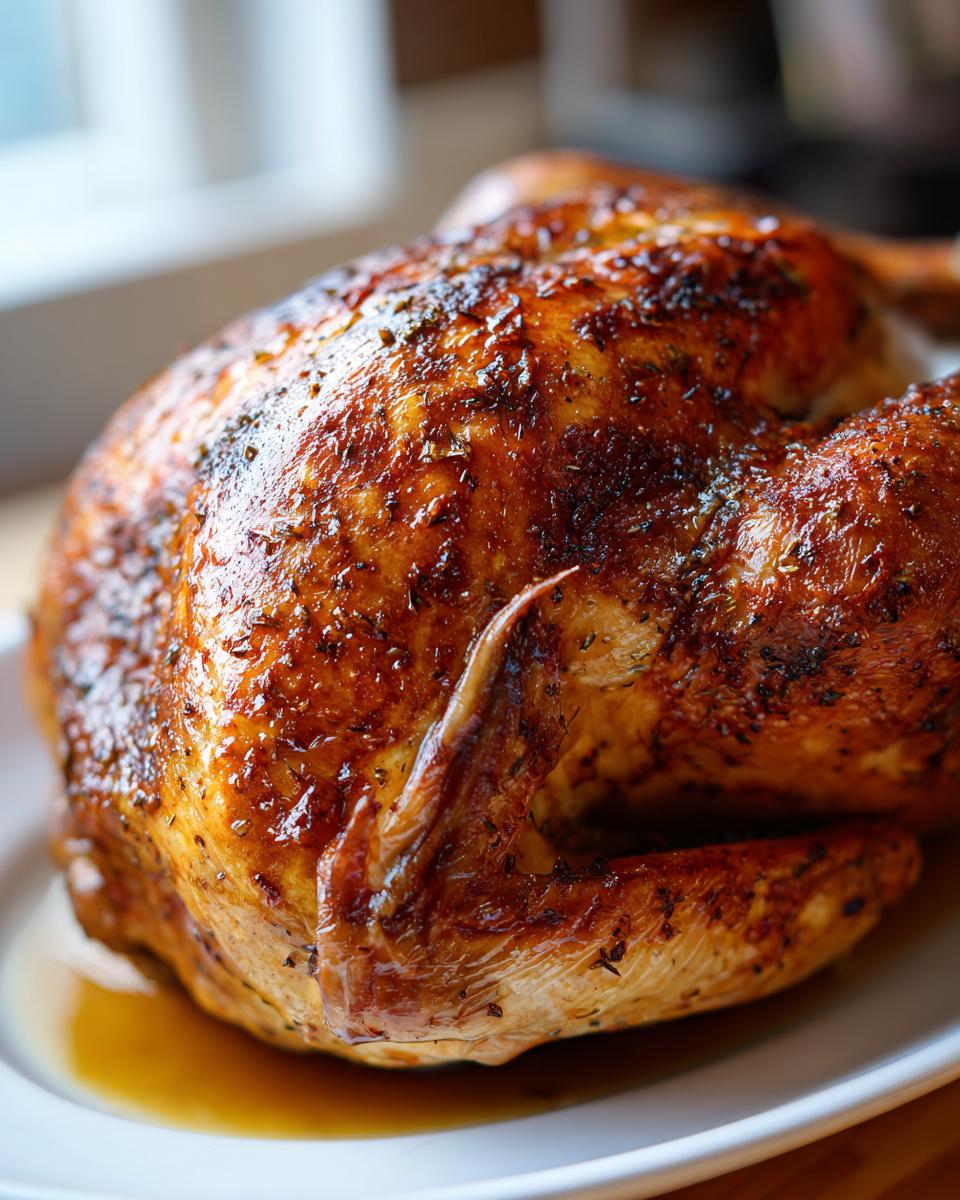
The number one request I always get is for that shatteringly crisp skin. You won’t believe how easy it is if you do one non-negotiable thing: pat that bird aggressively dry! Seriously, use half a roll of paper towels if you need to. Moisture equals steam, and steam equals soft skin. We want zero moisture on the surface.
Once it’s bone-dry, we use our herb butter—and I mean under the skin! Rubbing half that gorgeous butter directly onto the meat acts like a built-in basting system. Then, we hit it with 30 minutes of high heat—425°F—just to shock the skin into crisping up before we ease back the temperature.
Moist Turkey Techniques for the Best Turkey Ever
The real secret to the Best Turkey Ever isn’t about injecting or brining eighty gallons of salty water. It’s about respecting the meat after it comes out of the oven. You MUST let it rest. I know your guests are starving and you want those gorgeous drippings for gravy (grab my recipe for easy turkey gravy recipe with drippings!), but be patient!
Letting it sit for a full 30 minutes allows those juices to redistribute back into the muscle fibers. Always use a good thermometer and pull the bird when the thigh hits 165°F. If you pull it out too late, over-resting just keeps cooking and drying things out. Trust the thermometer, trust the rest, and you’ve got moist turkey.
Gathering Ingredients for Your Herb Butter Turkey
Okay, we’ve got the method down, now let’s talk about what you actually need to buy. Don’t let this list intimidate you; it’s all simple, fresh stuff. Remember, quality ingredients are key when the bird is the star of the show. Focus on getting the freshest herbs you can find!
You’ll need:
- One whole turkey, about 13 pounds, and make sure it’s fully thawed, obviously!
- A full cup of unsalted butter, but seriously, it has to be softened—no big cold chunks allowed.
- Generous amounts of fresh rosemary and thyme, finely chopped up.
- Kosher salt and black pepper—don’t skimp on the seasoning here.
- A lemon, a head of garlic, and one big yellow onion for stuffing the cavity.
- A couple of cups of broth—chicken or turkey, whatever you have handy for the pan base.
That’s it! Those aromatics in the cavity are what give us that incredible, subtle flavor infusion while it roasts.
Step-by-Step Instructions: How to Cook Perfect Turkey
Alright, now we get to the fun part! This is where we trade in the prep and jump right into turning our seasoned bird into a stunning roast turkey. Don’t feel overwhelmed by the steps; I’ve broken them down so you can move through them confidently. Remember what I said—the temperature shifts are critical for success here. We’re using a two-stage roasting method to make sure that skin shines while the meat stays super tender.
Preparing the Turkey and Herb Butter
First things first: grab your paper towels. You have to pat that whole turkey down until it feels dry to the touch. I mean dry, dry, dry! Moisture is the enemy of crisp skin. While that’s happening, mix up your softened butter with those chopped herbs, salt, and pepper—that’s your delicious herb butter blend.
Next, gently lift the skin over the breast and thighs and rub at least half—maybe a little more—of that butter blend directly onto the meat underneath. Then, slather the rest all over the outside of the skin. This is the flavor foundation for our whole easy roasted vegetables recipe guide, too, if you want to rub the leftover bits on your side veggies!
Roasting the Turkey for Maximum Juiciness
Time to load up that bird! Halve the lemon, garlic, and onion and tuck them right into the main cavity. Pop the whole setup onto a rack in your roasting pan, and pour that broth in the bottom. You want a hot oven to start: 425°F for the first 30 minutes. This kicks off the browning process nicely.
After half an hour, drop that temperature down to a steady 325°F. Now, we just let it cook, remembering to baste it every 45 minutes or so with the pan juices for more flavor. When that meat thermometer hits 165°F in the thigh, pull it out immediately! Seriously, the most important part of our Moist Turkey Techniques is the rest. Cover it loosely with foil and let that magnificent turkey rest for a full 30 minutes before you even think about carving. That’s how you guarantee juiciness!
Tips for Success with Your Holiday Turkey Main Dish
I want your experience making this Holiday Turkey Main Dish to be completely stress-free, so let’s cover a few extra Turkey Cooking Tips that really separate a good job from a fantastic one. My philosophy is always to prepare for the ‘what ifs’ so you can just enjoy the party!
The absolute best trick for next-level crispy skin is prepping the bird the day before. After you apply that herb butter mixture, stick the whole thing uncovered into the fridge overnight! It dries the skin out beautifully in the cold air. When the day comes, it just needs to roast. It makes the morning so much calmer, trust me.
Troubleshooting Common Turkey Issues
Sometimes, even with the temperature drop, your skin can get dark too fast—especially if your oven runs hot. If you notice the breast skin is perfectly golden but the bird is nowhere near temperature, just grab a piece of aluminum foil and loosely tent the breast. This shields it from direct heat while the thighs finish up.
And please, don’t let those amazing pan drippings go to waste! That’s pure liquid gold for gravy, which you’ll definitely need for the perfect slices. If you haven’t made a stellar gravy yet, you can check out my secrets right here for the ultimate guide to a perfect feast! You want that rich sauce right there on the side.
Ingredient Notes and Substitutions for Turkey
So, what happens if you can’t get exactly what’s on the list? Life happens, right? I always want my recipes to be flexible, but there are a couple of non-negotiables I just can’t budge on for the sake of texture and flavor.
First, let’s talk about the butter. You absolutely must use unsalted butter here. Salt levels in butter brands vary wildly, and since we are controlling the salt manually, using salted butter means you risk having an overly salty bird. Butter is also crucial for getting that gorgeous fat layer under the skin. If you’re feeling fancy later, my easy homemade garlic butter recipe is phenomenal, but for the turkey, stick to plain, high-quality, unsalted goodness.
Now, the herbs. Rosemary and thyme are amazing together. If you are stuck and only have dried herbs, remember the rule of threes! Dried herbs are far more concentrated, so use only one-third the amount of fresh. For example, two tablespoons of fresh rosemary equals about two teaspoons dried. Don’t overdo it, or your wonderful roast turkey will taste like potpourri!
Serving Suggestions for Your Festive Turkey Meal
You’ve nailed the centerpiece—that beautiful, golden-brown bird! Now, we need sides that make this a true Festive Turkey Meal that your guests will talk about until next year. Honestly, you want dishes that are easy enough that you aren’t stirring five things constantly while trying to carve.
My go-to pairing is always something starchy and smooth to soak up those amazing pan drippings. You absolutely have to serve this with my creamy easy side dish of mashed sweet potatoes. The sweetness plays so nicely against the savory, herby flavor of the turkey.
For lightness, skip the heavy cream-based casseroles and opt for simple earthiness. Some lovely roasted root vegetables—carrots and parsnips tossed simply with olive oil, salt, and pepper—are perfect. They roast right alongside the bird if you have space, and they provide the color and texture contrast you need. Keep it fresh, keep it simple, and let that turkey shine!
Storage and Reheating Instructions for Leftover Turkey
Whew! The carving is done, everyone is stuffed, and you’re looking at a pile of amazing leftovers—that’s the best part of the meal, honestly! We need to make sure we treat that precious cooked turkey right so it doesn’t dry out when you want to eat it over the next few days. This is how we deal with those fantastic remains.
First, get that meat cooled down fast. Slice up the remaining turkey right away—don’t leave it on the bone in the fridge. Put the slices into airtight containers and aim to get them into the refrigerator within two hours of taking the bird out of the oven. It keeps perfectly well for about three days this way, which is perfect for turning into sandwiches or, better yet, soup!
When it’s time to reheat those slices—maybe for a quick lunch—don’t just microwave them plain! That’s a recipe for tough meat. My trick is to toss the slices lightly with a splash of broth or even just a little water before reheating them gently in the microwave or popping them into a moderate oven. If you’re looking for a fantastic use for that meat, you absolutely have to try a big pot of easy leftover turkey soup in 30 minutes. That’s where leftovers really shine!
Frequently Asked Questions About Roasting Turkey
Okay, I know sometimes you just need the quick facts before you start wrestling a giant bird into the oven. That’s perfectly fine! I’ve gathered the questions I get asked most often regarding time, temperature, and general prep for our how to cook perfect turkey method. Don’t worry, these answers are fast and will give you the confidence you need for your holiday centerpiece!
What is the safest internal temperature for cooked turkey?
This is the most important food safety question! For true Poultry Perfection, you are aiming for 165 degrees Fahrenheit in the thickest part of the thigh, making sure you don’t touch the bone. I also like to check the breast, pulling it when it hits 160°F, because it will coast up to 165°F while resting. A quality instant-read thermometer is your best friend here!
Can I stuff my turkey while roasting?
I really, really advise against it with this method. Stuffed turkey takes *so* much longer to heat up to a safe temperature in the center, which means you risk overcooking the breast before the stuffing is safe. We use lemon, garlic, and onion in the cavity just for aroma, and that works like a charm without the risk!
How long do I need to thaw a turkey before cooking?
This is a big one since we are working with big birds! The golden rule for thawing a frozen turkey safely in the refrigerator is to allow one full day for every three to five pounds of weight. So if you have a 15-pound bird, you need to get it into the fridge at least four or five days before you plan to roast it. Never thaw it on the counter; that’s just asking for trouble!
Is it better to cook a turkey breast or a whole bird?
If you are only needing to feed a smaller crew, a whole turkey can be intimidating and often leads to one part overcooking while the other finishes. A Turkey Breast Recipe is fantastic for focusing solely on moisture and crisp skin! If you’re serving a huge crowd, though, the whole bird makes a much better holiday feast centerpiece, and this recipe handles that beautifully.
Share Your Holiday Feast Centerpiece Success
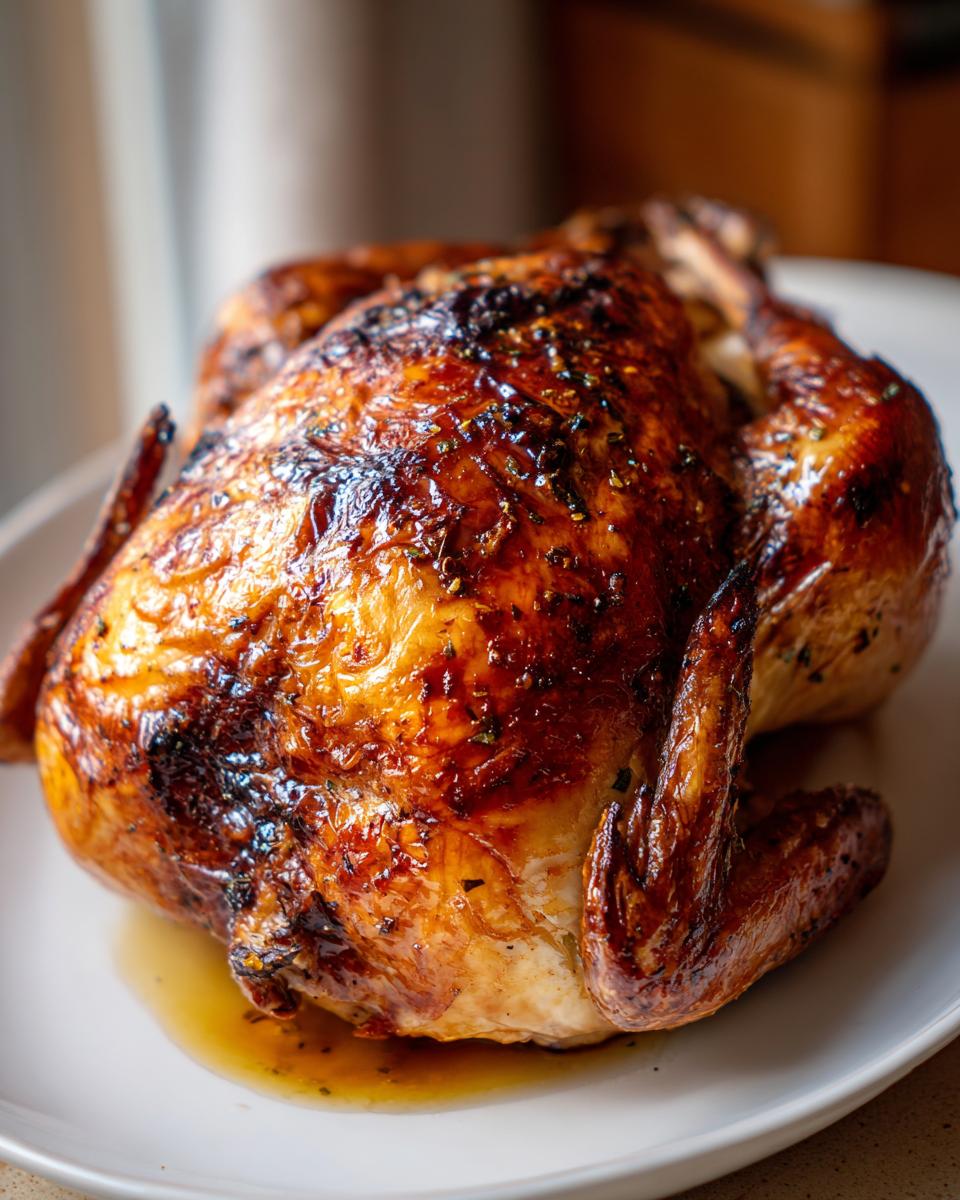
Wow, if you made it through that whole roast turkey process, you deserve a medal and a slice! I truly hope this recipe gave you the confidence to serve up the most incredible Holiday Feast Centerpiece you’ve ever made. Once you’ve carved it up, I’d absolutely love to hear how it went!
Please leave a comment below, rate this recipe, and definitely snap a photo of that golden bird! Tag me on social media—there is nothing I love more than seeing your successes. It actually makes my day! Now go enjoy eating those amazing leftovers, maybe whip up some of my best cinnamon buns recipe for breakfast tomorrow!
PrintThe Best Roast Turkey for a Juicy Bird and Crispy Skin
Follow this step-by-step guide to roast a Thanksgiving turkey that guarantees moist meat and perfectly browned, crisp skin every time. This simple method removes the worry from your holiday centerpiece.
- Prep Time: 30 min
- Cook Time: 3 hr 30 min
- Total Time: 4 hr 0 min
- Yield: 10 servings 1x
- Category: Holiday Main Dish
- Method: Roasting
- Cuisine: American
- Diet: Low Fat
Ingredients
- 1 whole turkey (12–14 lbs), thawed
- 1 cup unsalted butter, softened
- 2 tablespoons fresh rosemary, chopped
- 2 tablespoons fresh thyme leaves
- 1 tablespoon kosher salt
- 1 tablespoon black pepper
- 1 large lemon, halved
- 1 head garlic, halved crosswise
- 1 large yellow onion, quartered
- 2 cups chicken or turkey broth
Instructions
- Remove the turkey from its packaging. Take out the neck and giblets from the cavities. Pat the entire turkey, inside and out, completely dry with paper towels. This step is key for crispy skin.
- In a small bowl, combine the softened butter, chopped rosemary, thyme, kosher salt, and black pepper. Mix until you have an even herb butter.
- Gently loosen the skin over the turkey breast and thighs. Rub about half of the herb butter directly onto the meat under the skin. Rub the remaining herb butter all over the outside of the turkey skin.
- Place the lemon halves, garlic halves, and onion quarters inside the main cavity of the turkey.
- Arrange the turkey breast-side up on a roasting rack set inside a shallow roasting pan. Pour the chicken broth into the bottom of the pan.
- Preheat your oven to 425 degrees Fahrenheit. Place the turkey in the preheated oven.
- Roast the turkey at 425 degrees Fahrenheit for 30 minutes to start crisping the skin.
- Reduce the oven temperature to 325 degrees Fahrenheit. Continue roasting. Baste the turkey with pan juices every 45 minutes.
- Use a meat thermometer to check the temperature. The turkey is done when the thickest part of the thigh registers 165 degrees Fahrenheit and the breast registers 160 degrees Fahrenheit. This usually takes about 3 to 3.5 hours for a 14 lb bird.
- Once cooked, remove the turkey from the oven. Tent it loosely with foil and let it rest for at least 30 minutes before carving. This resting period keeps the meat juicy.
Notes
- For extra crispy skin, you can place the turkey in the refrigerator uncovered overnight after applying the herb butter.
- If the skin begins to brown too quickly during the lower temperature roasting phase, loosely cover the breast area with aluminum foil.
- Use the pan drippings to make a rich gravy for your holiday feast centerpiece.
Nutrition
- Serving Size: 6 oz cooked meat
- Calories: 350
- Sugar: 0
- Sodium: 350
- Fat: 18
- Saturated Fat: 7
- Unsaturated Fat: 11
- Trans Fat: 0
- Carbohydrates: 0
- Fiber: 0
- Protein: 45
- Cholesterol: 150