


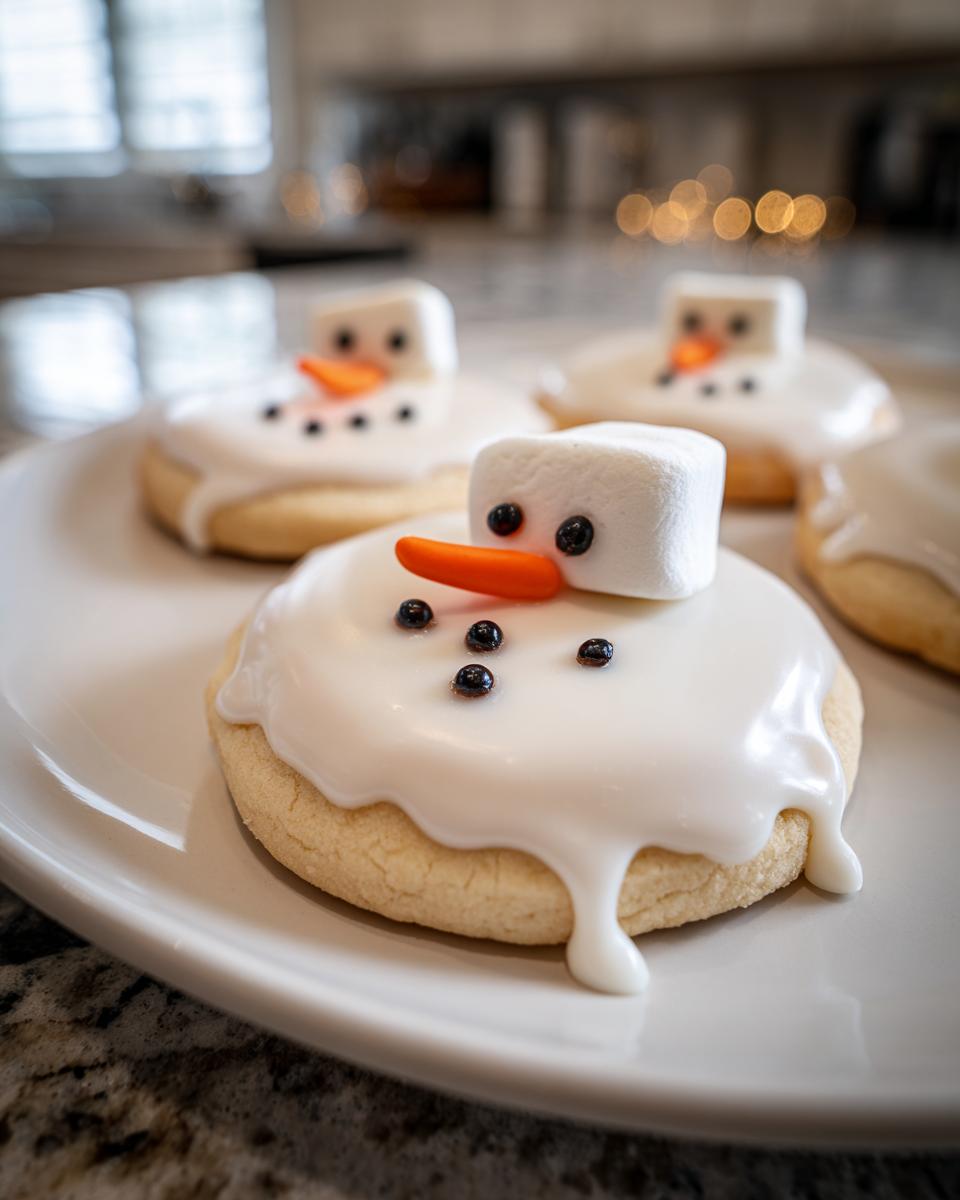
Oh, the magic of holiday baking! When the air gets crisp and the lights start twinkling, there’s nothing better than filling your kitchen with warmth and the smell of something wonderful. But let’s be real, life gets hectic, doesn’t it? That’s why here at Cooking by Felix, I focus on recipes that bring back the joy without adding stress. These **melted snowman cookies** are the perfect example! They are absolutely the whimsical centerpiece your **Christmas Cookie Recipes** table needs this year. My philosophy, born from watching my own busy life pull me away from the stove, is that you deserve delicious, soul-soothing food without the fuss. I promise you, these cute little melt-downs are simple, achievable, and pure fun for the whole family.
- Why These Melted Snowman Cookies Are Your Go-To Holiday Baking Ideas
- Gathering Ingredients for Your Melted Snowman Cookies
- How to Prepare Melted Snowman Cookies: Step-by-Step
- Tips for Success When Making Melted Snowman Cookies
- Storage & Reheating Instructions for Melted Snowman Cookies
- Serving Suggestions for Your Melted Snowman Cookies
- Frequently Asked Questions About Melted Snowman Cookies
- Estimated Nutritional Information for Melted Snowman Cookies
- Share Your Adorable Melted Snowman Cookies Creations
Why These Melted Snowman Cookies Are Your Go-To Holiday Baking Ideas
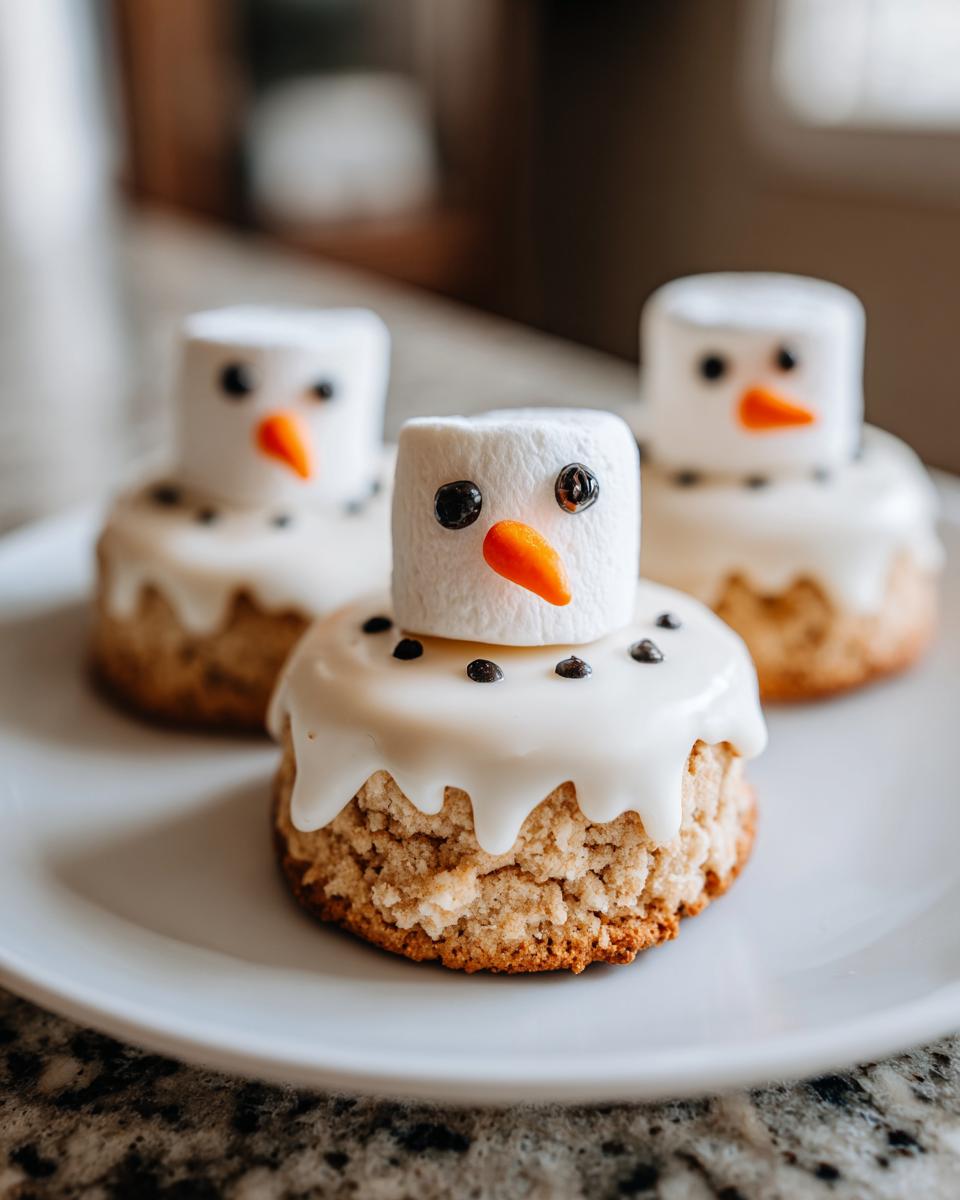
When everyone is rushing around trying to pull off Pinterest-perfect treats, these **melted snowman cookies** are your secret weapon for staying sane! Seriously, they are visual showstoppers but don’t require any fancy piping skills. They hit that sweet spot of being charming **Fun Winter Treats** but are actually super fast to pull together. That’s what my whole cooking philosophy is about—maximum festive cheer with minimum panic.
This is genuinely one of the best **Kid Friendly Christmas Baking** projects you can tackle this season. The kids love staging the little melting bodies, and honestly, they look incredible on your platter.
Simplicity in Every Step for Easy Cookie Decorating
If you’re worried about intricate decorating, don’t be! We aren’t using tricky royal icing here for the whole thing; we’re using simple techniques that practically guarantee success. Whether you use store-bought dough or my no-chill version, the assembly is quick. We build these snowmen layer by layer, which lets even the littlest bakers manage the eyes and the scarf without things getting messy or frustrating. Check out the full assembly guide here for more assembly inspiration!
Gathering Ingredients for Your Melted Snowman Cookies
Okay, let’s get you set up! The beauty of these **melted snowman cookies** is that they use mostly pantry staples, plus a few fun candies for dressing up our little victims. Everything needs to be ready before you start baking the base, that’s key!
Here is exactly what you need for about two dozen little guys:
- 1 batch prepared sugar cookie dough (I really prefer a no chill version to save time, but whatever you have works!)
- 1 cup powdered sugar
- 2 tablespoons milk
- 1 teaspoon vanilla extract
- 1/4 cup melted white chocolate or white candy melts
- Mini marshmallows (these are the heads, so grab enough!)
- Black decorating gel or small black nonpareils (for the eyes and buttons)
- Orange sprinkles or small orange candy pieces (for the fun little nose)
- Pretzel sticks or brown candy melts (we need arms!)
- Colored sprinkles or small candy pieces (for those cute scarves)
Ingredient Notes and Substitutions for Melted Snowman Cookies
You don’t have to stress about making dough from scratch if you’re in a huge rush. Using store-bought plain sugar cookies is totally fine—it keeps these **melted snowman cookies** on the list of easy, last-minute holiday cookies. The structure relies heavily on that mini marshmallow for the head; make sure they are fresh so they hold their shape on top of the melted chocolate pool. You can find some great inspiration on how to assemble these festive cookie crafts over at Live Well Bake Often.
Also, if you want that puddle to be extra thick and shiny, swapping the simple powdered sugar icing for royal icing is worth the extra trouble, though I usually stick to the simple glaze for speed!
How to Prepare Melted Snowman Cookies: Step-by-Step
This is where the fun really starts! We need to get our cookie bases ready before we can make our cute little snowmen melt. Don’t rush the cooling part—that little pause is essential, trust me, or you end up with a sticky mess instead of perfect **melted snowman cookies**.
Baking the Base for Your Melted Snowman Cookies
First things first, get your sugar cookie dough rolled out nice and even. I usually aim for about a quarter-inch thickness, nice and sturdy to hold all our decorations later. Cut out your rounds—don’t worry if they aren’t perfect circles; we want that lopsided, melting look anyway! Bake them until the edges are just barely turning the tiniest bit golden. Let them chill out completely on a wire rack before you even think about touching them with icing. This could take 20 minutes, so now is a great time to prep your candy decorations!
Assembling the Whimsical Holiday Desserts: Decorating the Melted Snowman Cookies
Once those bases are totally cool, whisk up your simple powdered sugar glaze. Put a small dollop right in the middle of the cookie—that’s where the snowman body starts. Next up, melt your white chocolate or candy melts slowly. Using a spoon, drop some of that melted chocolate right onto the glaze dollop and gently spread it outward, letting it drip naturally down the sides. That’s your ‘melt’ effect! Right on top of that warm chocolate puddle, stick your mini marshmallow head. Now you can place the eyes and buttons using your black gel, the orange candy for the nose, and then pop those pretzel stick arms in the sides. You’ve got yourself some adorable **melted snowman cookies** ready for the party! For more decorating ideas to keep things fresh, check out Sugar & Soul’s guide.
Tips for Success When Making Melted Snowman Cookies
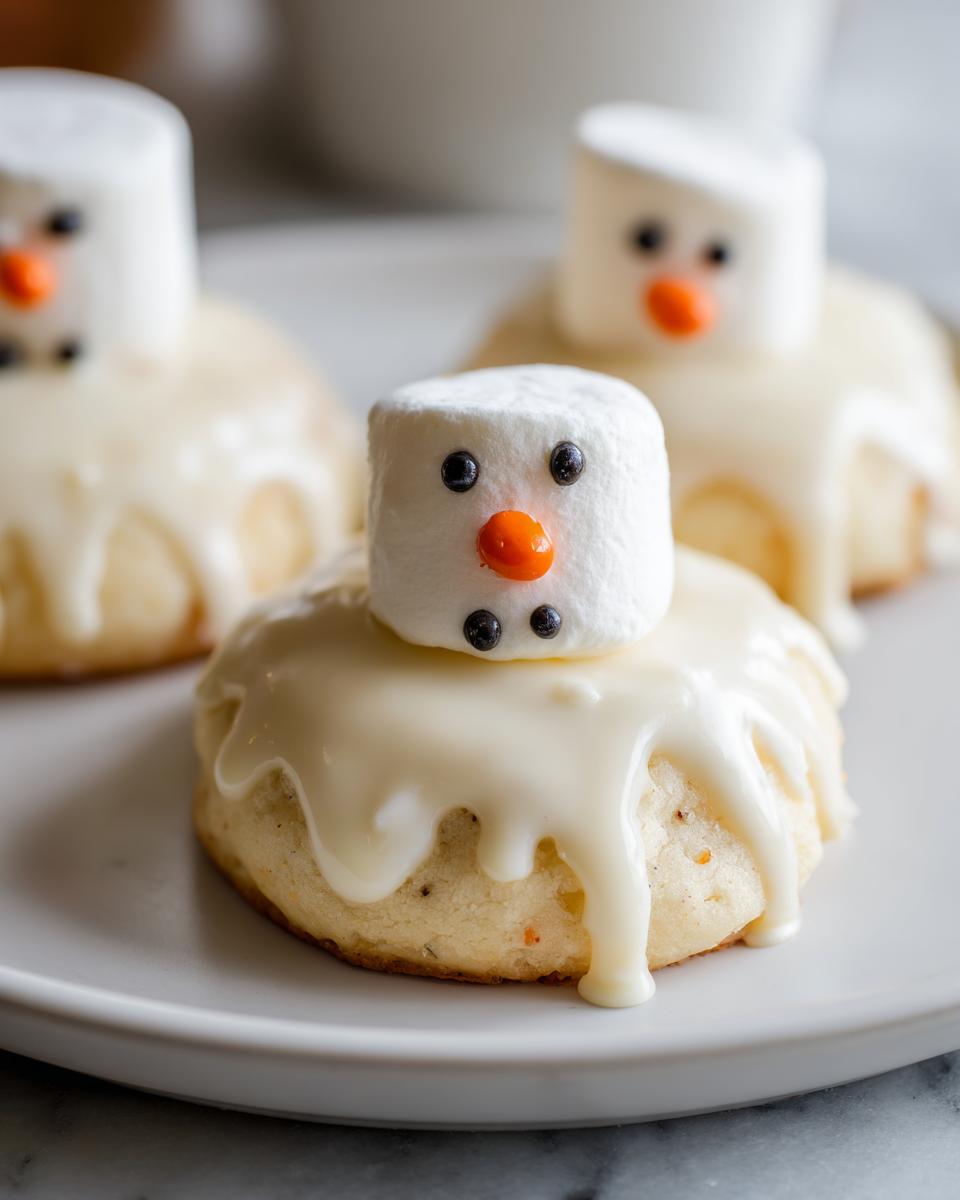
Okay, you’ve assembled them, but how do you make sure they look perfect and don’t fall apart? Mastering the visual elements when making **melted snowman cookies** is all about texture control on a small scale. My biggest tip, hands down, is ensuring the cookie base is rock solid cool before you even look at the icing. If that cookie is warm, everything slides!
For the melted patch, don’t overwork the white chocolate when you spread it. You want it to look like it’s genuinely slumped over the edge, not perfectly smoothed. Also, if you’re using pretzel sticks for arms, just use the tiniest piece. Press it in gently right when the chocolate is still wet so it has something to grip onto. For the best, quickest look, check out these creative cookie designs on Popsugar!
When placing those tiny black eyes and buttons, stability is key. If your decorating gel feels too runny, let it sit out on the counter for five minutes to thicken up a bit before you try to dot on the snowman’s features.
Storage & Reheating Instructions for Melted Snowman Cookies
So, you’ve made your adorable batch of **melted snowman cookies**, and now you need them to survive past Christmas morning! Good news: these hold up really well, especially since we stuck mostly to powdered sugar icing and white chocolate, which are shelf-stable.
The absolute best way to store them is in a single layer—or with parchment paper between layers if you must stack—inside a truly airtight container. Keep them right there on the counter at room temperature. I wouldn’t rush to the fridge unless your house is super humid, because condensation can make those candy bits and the icing look fuzzy later.
They are best enjoyed within three or four days. Reheating? Nope! Just a nice, cool room temperature works perfectly for these sweet little guys.
Serving Suggestions for Your Melted Snowman Cookies
Now that you have these charming **melted snowman cookies** ready, how do you show them off? Forget just piling them on a plate! These deserve a spot as the star of your **Christmas Dessert Tray Ideas**. Since they are so whimsical, they instantly elevate any spread, turning simple cookies into a real centerpiece for your **Winter Party Food**.
They pair perfectly with a tall glass of cold milk, naturally, but honestly, I prefer them dunked briefly into a steaming mug of slightly bitter dark hot cocoa—the contrast is just divine. For serving inspiration, check out the beautiful setup ideas on the Reynolds Brands site. Enjoy watching everyone try not to eat the cutest cookie first!
Frequently Asked Questions About Melted Snowman Cookies
I know you probably have a million questions whirling around when dealing with edible art like this! These **melted snowman cookies** are so popular because they’re simple, but I always get asked a few things when I bring them to gatherings. Listen, I’ve tested them all so you don’t have to stress.
Can I use a different base cookie, like peanut butter?
That’s a great question! You absolutely can use a different base cookie, which is why these are such fun **Family Baking Projects**. If you love peanut butter, go for it! Peanut butter cookies are a delightful switch, though you might want to use a slightly sweeter icing on top to balance the tang. I saw a fantastic example of peanut butter cup snowman cookies that looked amazing. Just make sure whatever you use, it’s completely cooled down!
How soon after decorating can I serve these?
You need patience here, even though the recipe seems designed for speed. The biggest hang-up is letting that melted white chocolate set up properly. I always wait at least an hour at cool room temperature before I even start arranging them on a platter, otherwise, you risk knocking off an arm or smearing a tiny eye while moving them. To see a cute assembly video for tips on timing, check out this clip on Facebook!
Are these good for Cookie Exchanges or Dessert Trade-Ins?
Yes, 100%! They travel really well and always stand out because they are so much more whimsical than a standard round cookie. Because they are sturdy sugar cookies at the base, they handle being packaged up neatly inside an airtight container without getting crushed. These are perfect **Cute Holiday Food** items to bring for your next holiday swap.
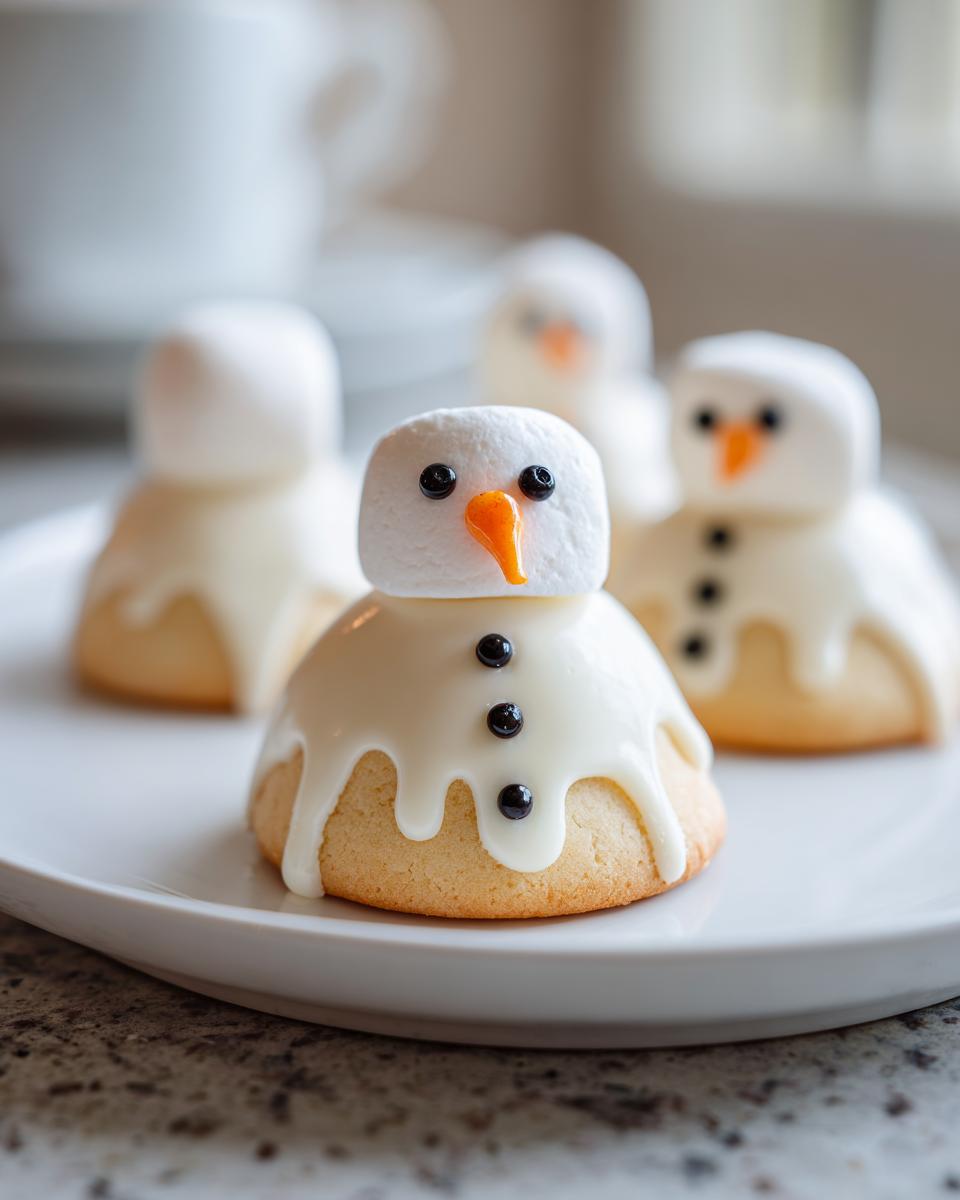
What’s the trick for making the ‘melted’ chocolate look realistic?
The secret to great-looking **melted snowman cookies** is gravity! Don’t try to paint a perfect circle of chocolate. You want a spoonful right in the middle, and then just slightly pull the edges down a tiny bit using the back of your spoon, letting it droop naturally over the sides of the cookie base. Less is more here when creating that puddle effect.
Estimated Nutritional Information for Melted Snowman Cookies
Now, I always say that when we are baking for fun and joy during the holidays, we don’t obsess over the numbers too much, right? However, for those of you who like to keep track, here is the estimated nutritional breakdown for one of these adorable **melted snowman cookies** based on the ingredients list.
Just remember, these are averages because the exact size of your cookie cutouts and how much candy you pile on really changes things. This is just a general guideline for a single serving:
- Serving Size: 1 cookie
- Calories: 180
- Fat: 9g
- Carbohydrates: 24g
- Protein: 3g
- Sugar: 20g
Since we are using standard sugar cookie dough, milk, and candy toppers, these little guys pack a sweet punch, but totally worth it for the adorable factor!
Share Your Adorable Melted Snowman Cookies Creations
Well, we made it! You’ve conquered the chilling, melting, and decorating chaos, and I’m so excited for you. Now your kitchen smells amazing, doesn’t it? If these **melted snowman cookies** brought even a tiny bit of joy to your busy day, then Felix succeeded! Please, when you’re done, leave a star rating right here and tell me how they turned out in a quick review. I absolutely live to see your finished work—share photos of your whimsical **melted snowman cookies** on social media and tag me. You can get more fun ideas over at Eats Delightful. Let’s keep that feeling of simple, festive cooking alive!
PrintEasy Melted Snowman Sugar Cookies

Make these adorable, whimsical melted snowman cookies using simple sugar cookies and candy decorations. This recipe is perfect for fun holiday baking with kids.
- Prep Time: 25 min
- Cook Time: 10 min
- Total Time: 35 min
- Yield: 24 cookies 1x
- Category: Dessert
- Method: Assembly/Decorating
- Cuisine: American
- Diet: Vegetarian
Ingredients
- 1 batch prepared sugar cookie dough (no chill preferred)
- 1 cup powdered sugar
- 2 tablespoons milk
- 1 teaspoon vanilla extract
- 1/4 cup melted white chocolate or white candy melts
- Mini marshmallows (for the snowman head)
- Black decorating gel or small black nonpareils (for eyes and buttons)
- Orange sprinkles or small orange candy pieces (for the nose)
- Pretzel sticks or brown candy melts (for arms)
- Colored sprinkles or small candy pieces (for scarves)
Instructions
- Prepare your sugar cookie dough according to your recipe. Roll out the dough and cut out round or slightly oval shapes for the cookie base.
- Bake the sugar cookies following the recipe instructions. Let them cool completely on a wire rack.
- Prepare the simple icing: Whisk together the powdered sugar, milk, and vanilla extract until smooth. If the icing is too thick, add milk drop by drop. If too thin, add more powdered sugar.
- Place a small dollop of white icing on the center of each cooled cookie. This forms the base of the snowman body.
- Melt the white chocolate or candy melts according to package directions.
- To create the ‘melted’ look, use a spoon to spread a small amount of melted white chocolate over the icing dollop, letting it drip slightly down the sides of the cookie base.
- Place one mini marshmallow on top of the melted white chocolate to act as the snowman’s head.
- Decorate the snowman: Use the black decorating gel or nonpareils to create two eyes and three buttons on the marshmallow head and body area. Place an orange piece for the nose.
- Attach the arms: Gently press small pieces of pretzel stick or melted brown candy melt into the sides of the white chocolate ‘melt’ area to look like arms.
- Wrap a small piece of colored sprinkle or candy around the base of the marshmallow head to resemble a scarf.
- Allow the icing and chocolate to set completely before serving or storing. These are great for your Christmas dessert tray.
Notes
- For a quicker assembly, you can use store-bought plain sugar cookies instead of making dough from scratch.
- If you want a thicker, more defined ‘melt,’ use royal icing instead of the simple powdered sugar icing for the base layer.
- You can use small chocolate chips for the eyes if you prefer not to use decorating gel.
Nutrition
- Serving Size: 1 cookie
- Calories: 180
- Sugar: 20g
- Sodium: 120mg
- Fat: 9g
- Saturated Fat: 4g
- Unsaturated Fat: 5g
- Trans Fat: 0g
- Carbohydrates: 24g
- Fiber: 1g
- Protein: 3g
- Cholesterol: 10mg