

We’ve all been there, right? You pull the sweet potato out of the oven, all excited for that fluffy, comforting interior, and what do you get? A dense, slightly gummy center and skin that feels steamed instead of crisp. It’s frustrating! Cooking should never feel like a gamble, especially when you’re just trying to make a simple, healthy side dish. That’s why I’m dedicating this entire guide to solving that problem once and for all.
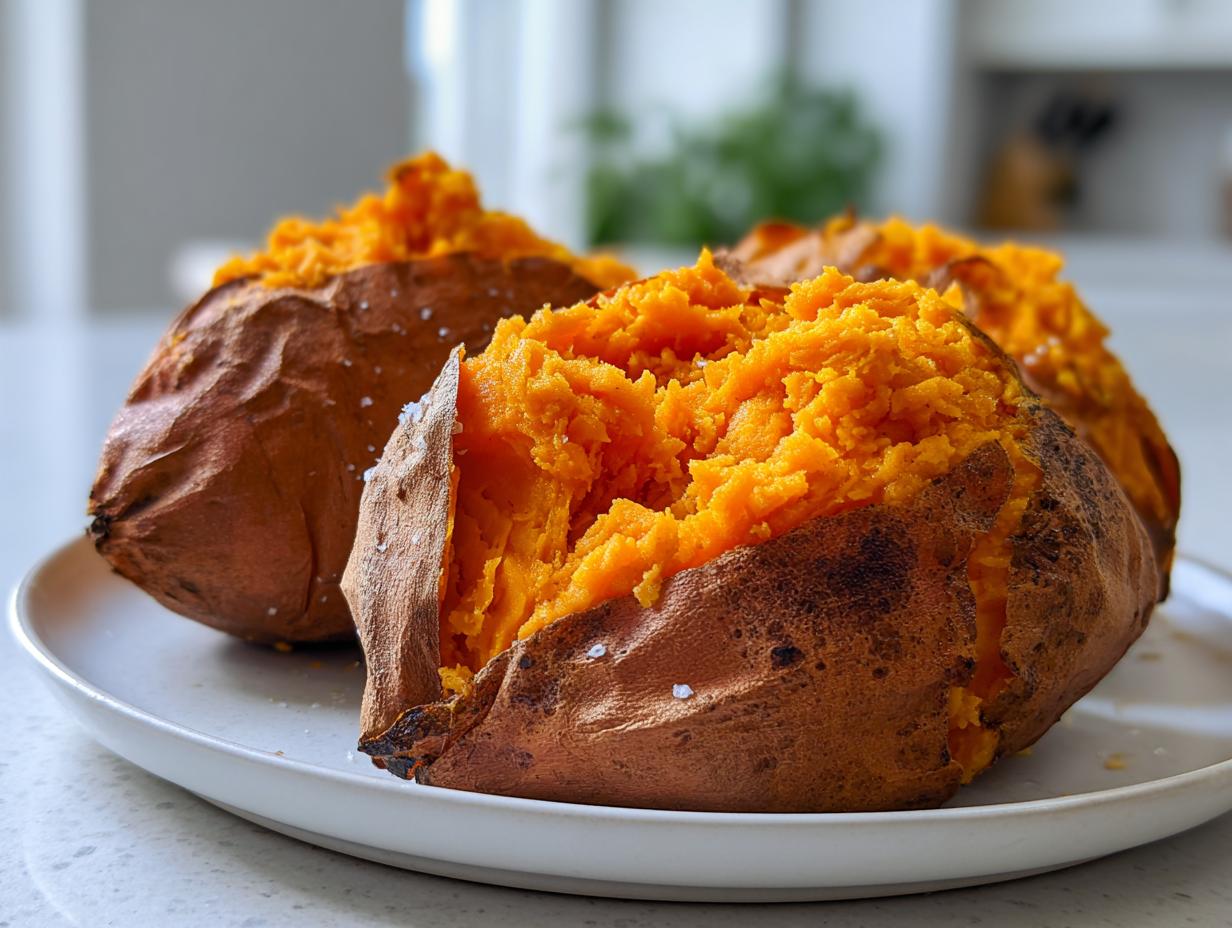
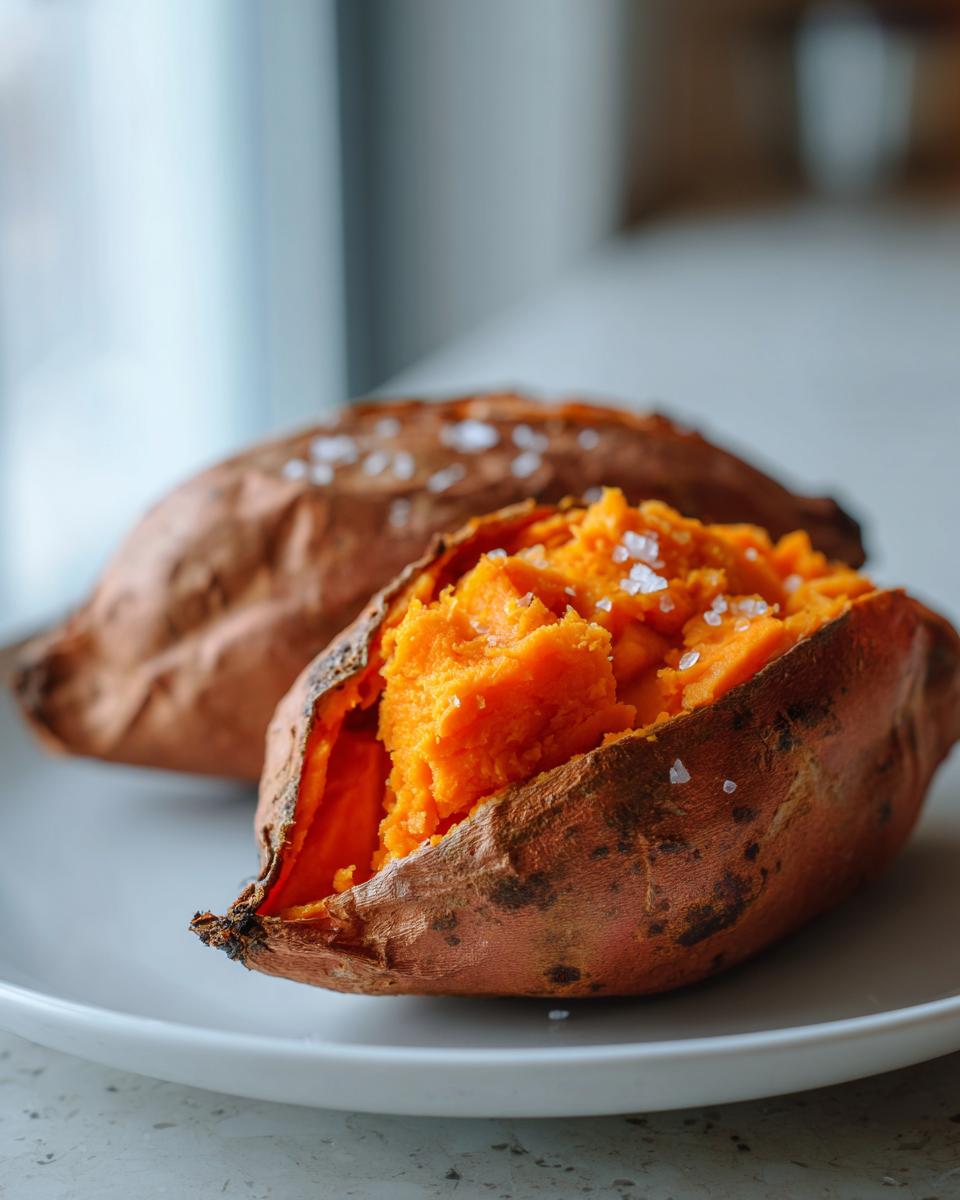
Here at Cooking by Felix, my goal—thanks to the foundation Felicia Hayes set—is making sure your weeknight meals are exceptional without demanding all your time. Today, we’re mastering the baked sweet potato. I’m walking you through my absolute foolproof method that guarantees you get that dreamy, fluffy sweet potato inside paired with a perfectly caramelized, slightly salty, and wonderfully crispy skin sweet potato technique. The best part? We do this directly in the oven, skip the foil wrap entirely, and it’s ready in less than 45 minutes! Trust me, once you try this, you won’t go back.
- Why This Baked Sweet Potato Technique Works So Well
- Gathering Ingredients for Your Baked Sweet Potato Recipe
- Step-by-Step Instructions for a Tender Baked Sweet Potato Tutorial
- Tips for Success When Making a Fluffy Sweet Potato Inside
- Creative Baked Sweet Potato Topping Ideas
- Meal Prep Sweet Potatoes: Storage and Reheating
- Serving Suggestions for This Easy Sweet Potato Side Dish
- Frequently Asked Questions About Baking Sweet Potatoes
- Nutritional Snapshot of Your Simple Baked Sweet Potato
Why This Baked Sweet Potato Technique Works So Well
So, what’s the deal? Why do so many people end up with potatoes that feel heavy instead of light? It usually comes down to trapping steam! When you wrap that baked sweet potato in foil, you’re basically steaming it from the inside out. We want the opposite!
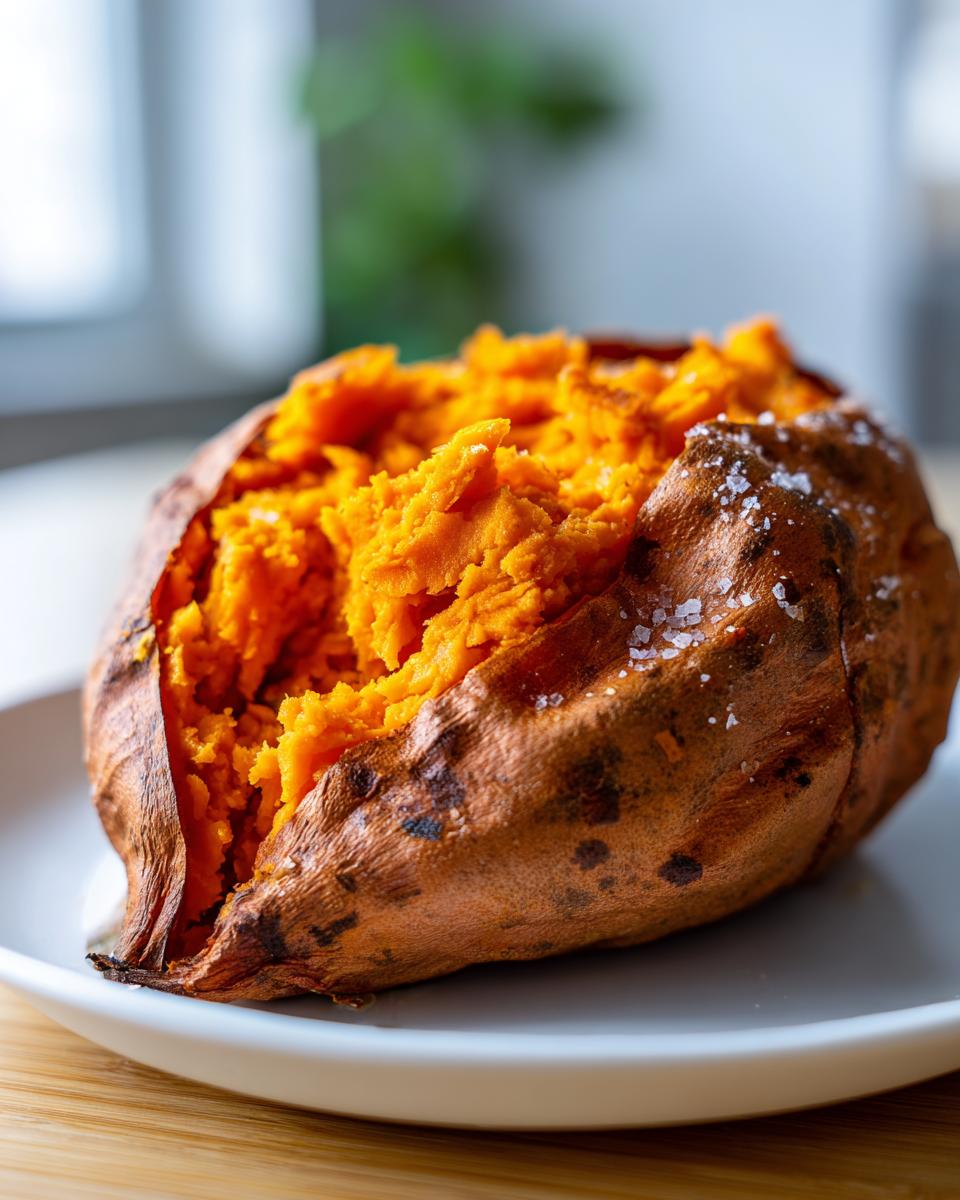
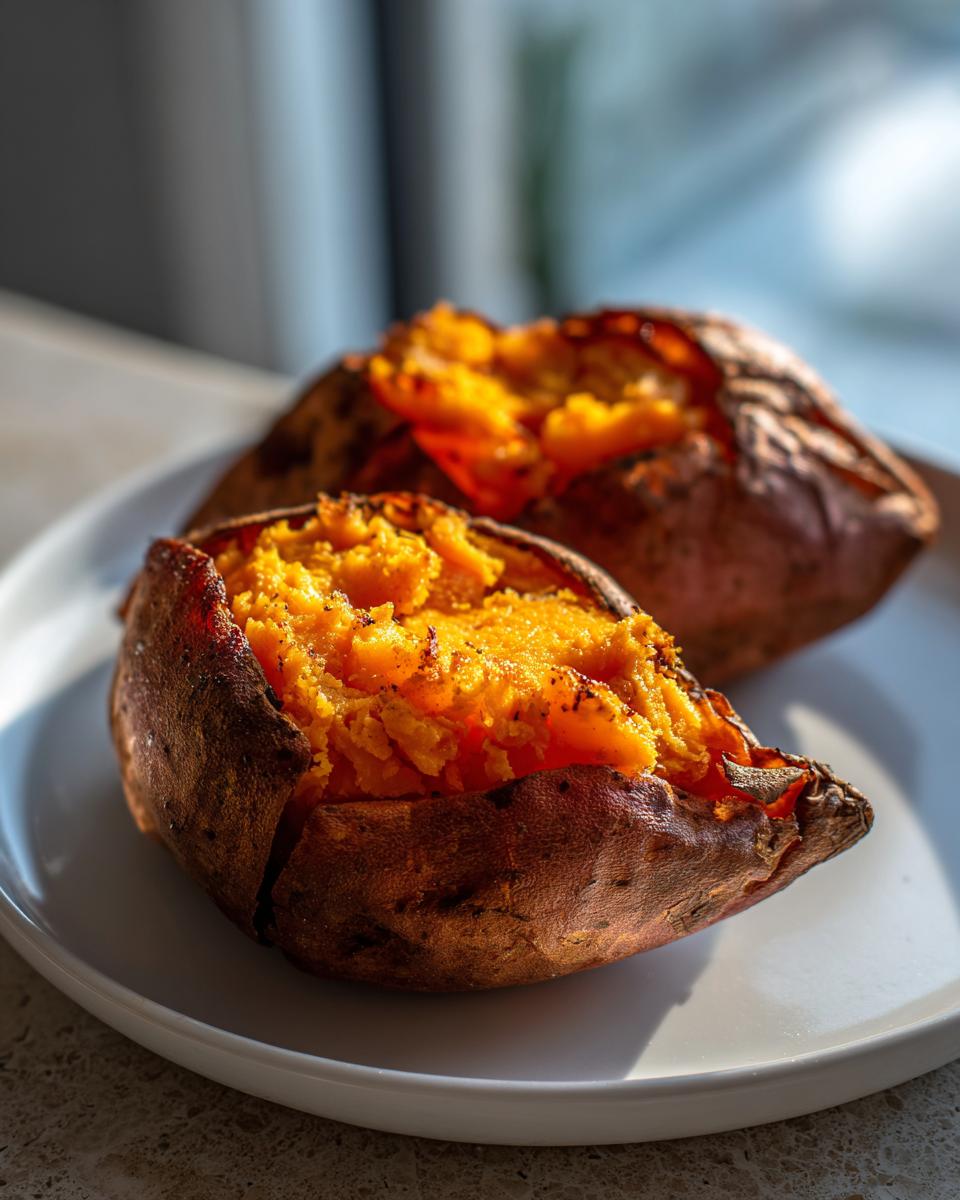
My method for how to bake sweet potatoes perfectly focuses on maximizing direct heat exposure. Placing the potatoes directly on the rack allows the high heat—we use the best baked sweet potato temperature of 400°F—to attack the skin. This is what makes the skin wrinkle up, crisp, and caramelize beautifully. Meanwhile, because we’ve pierced them correctly, the internal moisture turns to steam and cooks the inside flesh until it’s incredibly light and fluffy.
The Secret to Quick Oven Sweet Potatoes
The 400°F setting is the sweet spot. It’s hot enough to crisp the exterior fast, but not so scorching that the outside burns before the middle cooks through. Because we are using medium-sized potatoes (about 8-10 ounces each), you get the benefit of truly quick oven sweet potatoes—often done in 40 minutes! It’s this temperature balance that lets us skip the long cooking times you see in other recipes.
Gathering Ingredients for Your Baked Sweet Potato Recipe
Okay, getting ready for this baked sweet potato recipe is ridiculously easy. Honestly, half the magic here is how few things you actually need. Time is precious, and we aren’t wasting it hunting down obscure spices! You just need four things, and one of those is totally optional. Remember, quality ingredients handled well makes all the difference in achieving that perfect fluffy texture.
Ingredient Clarity and Preparation Notes
Here is exactly what you need for four servings. Make sure you grab that coarse salt—it really helps draw out moisture for the crisp skin!
- 4 medium sweet potatoes (about 8-10 ounces each)
- 1 teaspoon coarse salt
- 1 tablespoon olive oil (optional, for extra crisp skin)
I sometimes skip the olive oil if I’m going straight for a sweet topping later, but if you want that crackly skin that stands up wonderfully on its own, rubbing them lightly with oil first makes them golden brown beautifully.
Patience on size matters here too! Weighing them (8 to 10 ounces) is my way of ensuring they all finish right around that 40-minute mark. Consistency equals reliability!
Step-by-Step Instructions for a Tender Baked Sweet Potato Tutorial
You ready to see these beauties transform? Following these steps exactly is how you nail that tender baked sweet potato tutorial every single time. We keep things simple, focusing purely on the technique that gets you that perfectly fluffy interior without ever needing to resort to aluminum foil. This method proves that the best way to cook sweet potatoes in oven is the most straightforward way!
Preheating and Preparing the Potatoes
First things first, turn that oven up! You need it humming at 400 degrees Fahrenheit (which is 200 degrees Celsius). That high heat is non-negotiable for crispy skin. Next, give those sweet potatoes a good bath and scrub them down. You want them spotless! Then, grab a paper towel and pat them completely dry. Seriously, dry them well! Any surface water turns to steam and that steam ruins the crisp factor we are aiming for.
Grab a sharp fork or a paring knife and pierce each potato about 5 or 6 times, making sure you poke deep into the center. This venting action is what keeps them from exploding while letting the internal moisture cook the insides right.
Baking Directly on the Rack
If you chose to use the optional oil, now is the time to rub it lightly over the skins, followed by a generous sprinkle of that coarse salt. Now for the most important technique toward successfully baking sweet potato without foil: Place the prepared potatoes directly onto the middle rack of your oven. Do not use a baking sheet underneath them!
We want direct heat hitting the bottom of the potato so it can crisp up evenly with the top. Pop them in and set a timer for 35 minutes. Don’t cover them up! Let the oven do its glorious work.
Testing Doneness and Serving the Baked Sweet Potato
At 35 minutes, it’s time to check. Don’t just rely on time; the size matters. Gently squeeze the sides of the potato. If it yields easily without feeling rock-hard, you’re close. For a final check, slide a very thin knife into the center—it should go through with practically zero resistance. If you see moist crumbs clinging to the knife, but not wet batter, you’ve nailed it!
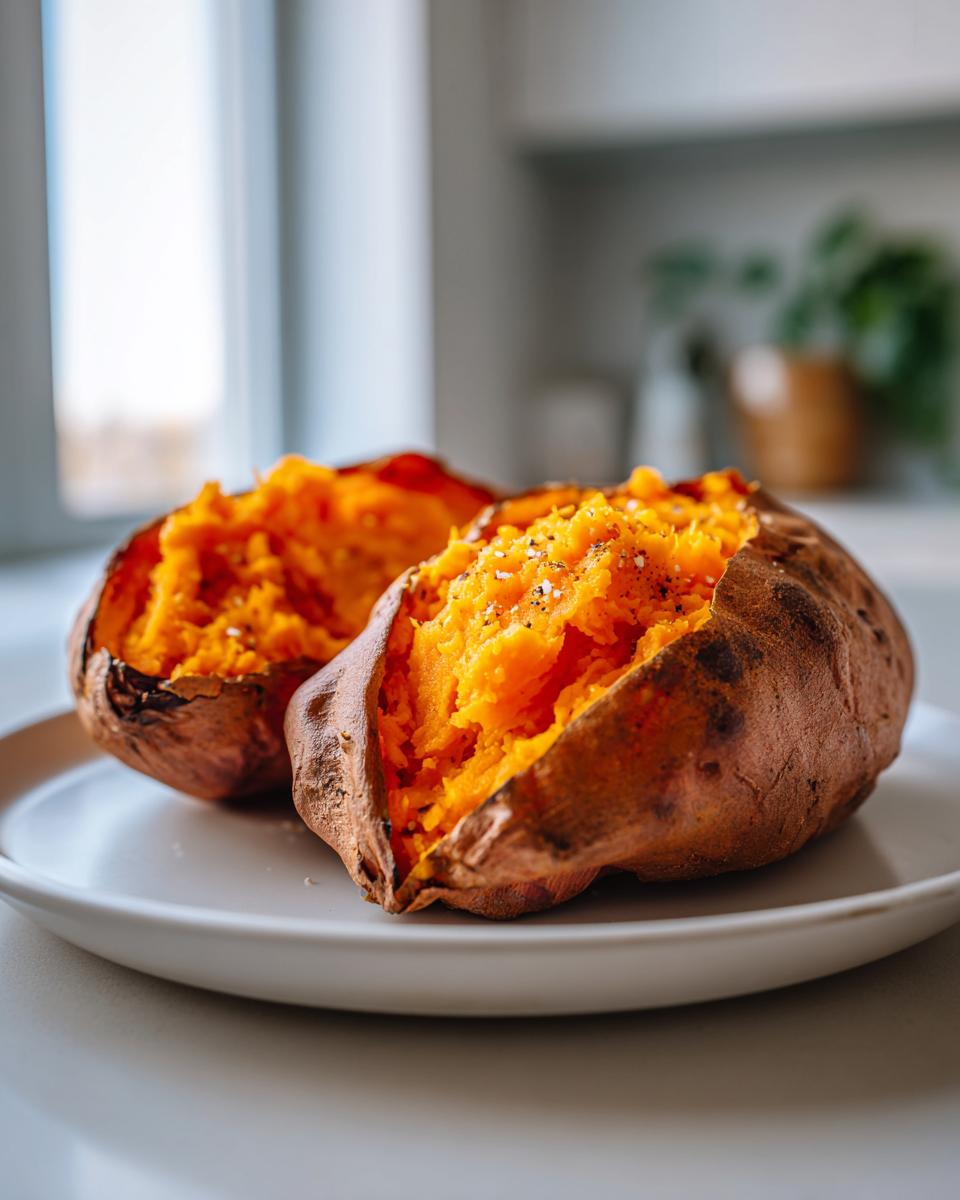
Pull them out and let them rest on a plate for about 5 minutes. This little cool-down period makes handling them easier. Slice them open lengthwise, take your fork, and fluff that incredible, light baked sweet potato flesh right up. Now, go get creative with toppings!
If you’re looking for a different way to use sweet potatoes—maybe cubed and roasted instead of whole—you absolutely have to check out my recipe for Simple Crispy Sweet Potato Cubes. It’s another amazing, low-fuss method!
Tips for Success When Making a Fluffy Sweet Potato Inside
Listen, I know you want that textbook fluffy center, and this is where we move from a good recipe to a fantastic one. The biggest takeaway from my journey perfecting the baked sweet potato is this: never, ever wrap it in foil before baking. That traps moisture, and moist potato flesh equals dense potato flesh. We are actively trying to dry out the outside while holding the steam inside just long enough to cook the inside perfectly.
Another pro tip I learned is about resting time after they come out of the heat. Don’t slice them open the second they hit the counter! Letting them rest for five minutes lets the steam redistribute gently, finishing the cooking process without making the interior gummy. If you’re interested in going totally hands-off with potato prep, you might also love my recipe for Creamy Easy Mashed Sweet Potatoes; it uses a different technique but delivers on that soft texture you crave!
Creative Baked Sweet Potato Topping Ideas
Once you have that perfect, light, fluffy baked sweet potato base, the real fun begins! This is where this simple vegetable transforms from a healthy base to absolute comfort food heaven. You have so much room to play around with different flavor profiles, whether you’re leaning sweet or savory.
For me, when I’m craving that sweet, nostalgic flavor, I go straight for cinnamon butter. It melts right into those hot crevices, and honestly, it’s just glorious. If you want to take that sweetness up a notch—maybe for a cozy weekend brunch—I seriously recommend making a batch of my Candied Pecans to sprinkle on top. The crunch combined with the soft potato is just divine.
But don’t limit yourself to just the sweet side! These potatoes are amazing vehicle for hearty, savory meals too. Think of the baked sweet potato as your nutrient-dense base. I love putting black beans, a dollop of Greek yogurt or sour cream, some sharp cheddar, and a spoonful of salsa on mine. It’s a full, satisfying meal that feels completely different from the classic sweet versions.
The variety in these sweet potato topping ideas means you can have this dish every night of the week and never get bored. It’s versatile, easy, and perfect for a quick side or a heavy main course!
Meal Prep Sweet Potatoes: Storage and Reheating
This is where the baked sweet potato really shines for us busy cooks! I rely on having these on hand so much. Since this recipe is so reliable, making a double batch on Sunday means I have healthy bases ready for lunches all week. If you’re planning on meal prep sweet potatoes, you absolutely must let them cool down completely before you store them. Don’t cover them while they are still warm, or you are back to introducing moisture, which defeats the whole purpose of the crispy skin, right?
Once they are totally cool, wrap them individually, or just toss them whole into an airtight container. They keep beautifully in the fridge for up to four days. Don’t even bother slicing them until you are ready to eat them.
When it’s time to eat them later in the week, you want to revive that beautiful skin. Forget the microwave if you want the crisp texture back! Pop them right back into a 350-degree oven for about 10 minutes. That short blast of dry heat wakes everything up, making them taste almost freshly baked. If you’ve got a busy week lined up, trust me on this meal prep hack. It makes grabbing a nutritious, satisfying lunch so simple; you can find more ideas for quick meals like this in my collection of Healthy Lunch Recipes!
Serving Suggestions for This Easy Sweet Potato Side Dish
Now that you’ve perfected the bake, you might be thinking, “Okay, what exactly am I supposed to eat this with?” Because this method gives you such a clean, naturally sweet base, it truly fits into almost any meal plan. Whether you’re looking for a light lunch or a hearty dinner addition, this easy sweet potato side dish comes to the rescue.
If you’re asking what to serve with baked sweet potato when you need a quick dinner, I always think about balancing the sweetness. Lean into the savory side! These potatoes are incredible next to a simple roasted chicken or pork chop. For chicken specifically, you absolutely must try my recipe for the Best Chicken Marinade for Juicy Flavor—the slight tanginess cuts through the sweetness of the potato perfectly.
When I make a big batch for fall dinners, I pair them with leaner proteins like baked cod or chili. If you are using a savory topping like black beans and cheese, you can honestly skip the main side dish entirely! It’s hearty enough to stand on its own as a fulfilling, nutritious meal. It’s all about dressing it up or keeping it super simple based on how much time you have that night.
Frequently Asked Questions About Baking Sweet Potatoes
I totally get it; when you find a great recipe, you have questions about bending the rules or dealing with non-ideal ingredients. I’ve tried every mistake possible over the years, so let me clear up some of the most common things people ask me about getting that perfect baked sweet potato!
Can I bake a large baked sweet potato in the same amount of time?
Ah, the bigger the better, right? Not always when you’re chasing that 45-minute window! If you’ve got potatoes that are football-sized instead of the medium ones I specified, you’ll need to add serious time. For those giants, you’ll likely need to check them closer to 50 or even 60 minutes. That 45-minute goal really relies on using those medium-sized yummies consistently. If they are bigger, they need more time to get that fluffy interior.
What is the best way to store leftover baked sweet potato?
If you made extra for meal prep sweet potatoes (which you should!), storage is key to keeping that texture amazing. Make sure they cool down completely—I mean, room temperature—before you put them anywhere. Store them whole, just as they came out of the oven (no slicing yet!). They stay happy in an airtight container in the fridge for up to four days. When you reheat them, skip the microwave and aim for a 350-degree oven for about 10 minutes to crisp that skin back up!
Is it okay to use aluminum foil if I am in a real rush?
If you are truly in a pinch, sure, you can use foil, but I need you to know you’re making a trade-off. Foil creates a mini-steam tent around the potato. This traps all the moisture, and while the inside will cook, you completely lose that beautiful, crackly, caramelized outer layer. That means you compromise the entire crispy skin sweet potato technique we worked so hard to perfect! If you use foil, expect a soft, pliable skin instead of a crisp one.
Nutritional Snapshot of Your Simple Baked Sweet Potato
You know I always preach about eating well, and this recipe is fantastic because it relies on one of nature’s best powerhouses: the sweet potato! Since this method relies on just the potato, salt, and maybe a drop of olive oil, keeping track of what you’re eating is super straightforward. It’s naturally vegetarian and just fits so nicely into healthy eating plans.
But remember, these numbers are estimates based on the base potato preparation before any heavy toppings (like my dreamy cinnamon butter!) go on top. For the most accurate information, you can always check resources like those over at Eating on a Dime’s detailed breakdowns, but here is a snapshot of what one medium, oven-baked sweet potato provides:
- Serving Size: 1 medium potato
- Calories: 112
- Sugar: 13 grams
- Sodium: 10 milligrams
- Fat: 0.2 grams
- Saturated Fat: 0.0 grams
- Unsaturated Fat: 0.2 grams
- Trans Fat: 0.0 grams
- Carbohydrates: 26 grams
- Fiber: 4 grams
- Protein: 2 grams
- Cholesterol: 0 milligrams
See? Almost zero fat and cholesterol, plus a great hit of fiber! This is why I love making this a staple for meal prep sweet potatoes—it’s a healthy foundation you can feel fantastic about serving your family.
PrintThe Foolproof Guide to Perfectly Fluffy Baked Sweet Potatoes (Crispy Skin, No Foil Needed)

You can achieve a perfectly tender, fluffy interior and a caramelized, crispy skin with this simple oven-baked sweet potato method. This recipe requires minimal ingredients and no foil, making it an easy, healthy side dish or meal prep staple.
- Prep Time: 5 min
- Cook Time: 40 min
- Total Time: 45 min
- Yield: 4 servings 1x
- Category: Side Dish
- Method: Baking
- Cuisine: American
- Diet: Vegetarian
Ingredients
- 4 medium sweet potatoes (about 8–10 ounces each)
- 1 teaspoon coarse salt
- 1 tablespoon olive oil (optional, for extra crisp skin)
Instructions
- Preheat your oven to 400 degrees Fahrenheit (200 degrees Celsius). This temperature is key for a crispy skin and fluffy inside.
- Wash the sweet potatoes thoroughly under running water. Scrub the skins well to remove any dirt. Pat them completely dry with a paper towel. Moisture creates steam, which prevents crisping.
- Pierce each sweet potato 5 to 6 times deeply all over using a sharp fork or paring knife. This allows steam to escape during baking.
- If using oil, lightly rub the exterior of each potato with olive oil. Sprinkle generously with coarse salt.
- Place the prepared sweet potatoes directly onto the middle oven rack. Do not use a baking sheet or foil underneath; direct heat on the bottom helps crisp the skin.
- Bake for 35 to 45 minutes. Cooking time depends on the size of your potatoes. Start checking for doneness at 35 minutes.
- Test for doneness by squeezing the potato gently; it should yield easily, or insert a thin knife into the center; it should slide in with no resistance. The skin should look slightly wrinkled and caramelized.
- Remove from the oven. Let the potatoes rest on a cooling rack or plate for 5 minutes before slicing open lengthwise. Fluff the interior flesh with a fork. Serve immediately with your preferred toppings.
Notes
- For a truly fluffy interior, avoid wrapping the potatoes in foil. Direct heat exposure is necessary for the skin to crisp and the inside to steam properly.
- If you are meal prepping, bake the potatoes, let them cool completely, and store them whole in the refrigerator for up to 4 days. Reheat in a 350-degree oven for 10 minutes to refresh the skin.
- Try topping your baked sweet potato with cinnamon butter, brown sugar, pecans, or savory options like black beans, salsa, and Greek yogurt.
Nutrition
- Serving Size: 1 medium potato
- Calories: 112
- Sugar: 13
- Sodium: 10
- Fat: 0.2
- Saturated Fat: 0.0
- Unsaturated Fat: 0.2
- Trans Fat: 0.0
- Carbohydrates: 26
- Fiber: 4
- Protein: 2
- Cholesterol: 0