

The holidays are here, and if your kitchen isn’t smelling sweetly spicy, are you even baking? I know how life gets—those demanding schedules we all have mean we need recipes that work flawlessly the first time. Building on the idea that home cooking should bring joy, not add stress, I’ve perfected this snickerdoodle recipe just for you.
This isn’t just any cookie; this is a tried-and-true, easy recipe guaranteed to give you those soft, chewy cookies everyone craves for their platters. Forget fussy techniques! We’re focusing on reliable results so you can spend less time worrying and more time enjoying the season. Trust me, these tangy cinnamon beauties are going to disappear first!
- Why This Classic Snickerdoodle Recipe is Essential for Your Holiday Baking Inspiration
- Gathering Ingredients for the Perfect Snickerdoodle
- How to Prepare Snickerdoodle Dough: Step-by-Step Instructions
- Baking Your Snickerdoodle: Timing and Appearance Cues
- Tips for Success When Making Snickerdoodles
- Variations on the Classic Snickerdoodle
- Storage and Reheating Instructions for Your Snickerdoodle
- Frequently Asked Questions About Snickerdoodle Recipe Easy
- Estimated Nutritional Information for One Snickerdoodle Serving
- Share Your Holiday Baking Inspiration
Why This Classic Snickerdoodle Recipe is Essential for Your Holiday Baking Inspiration
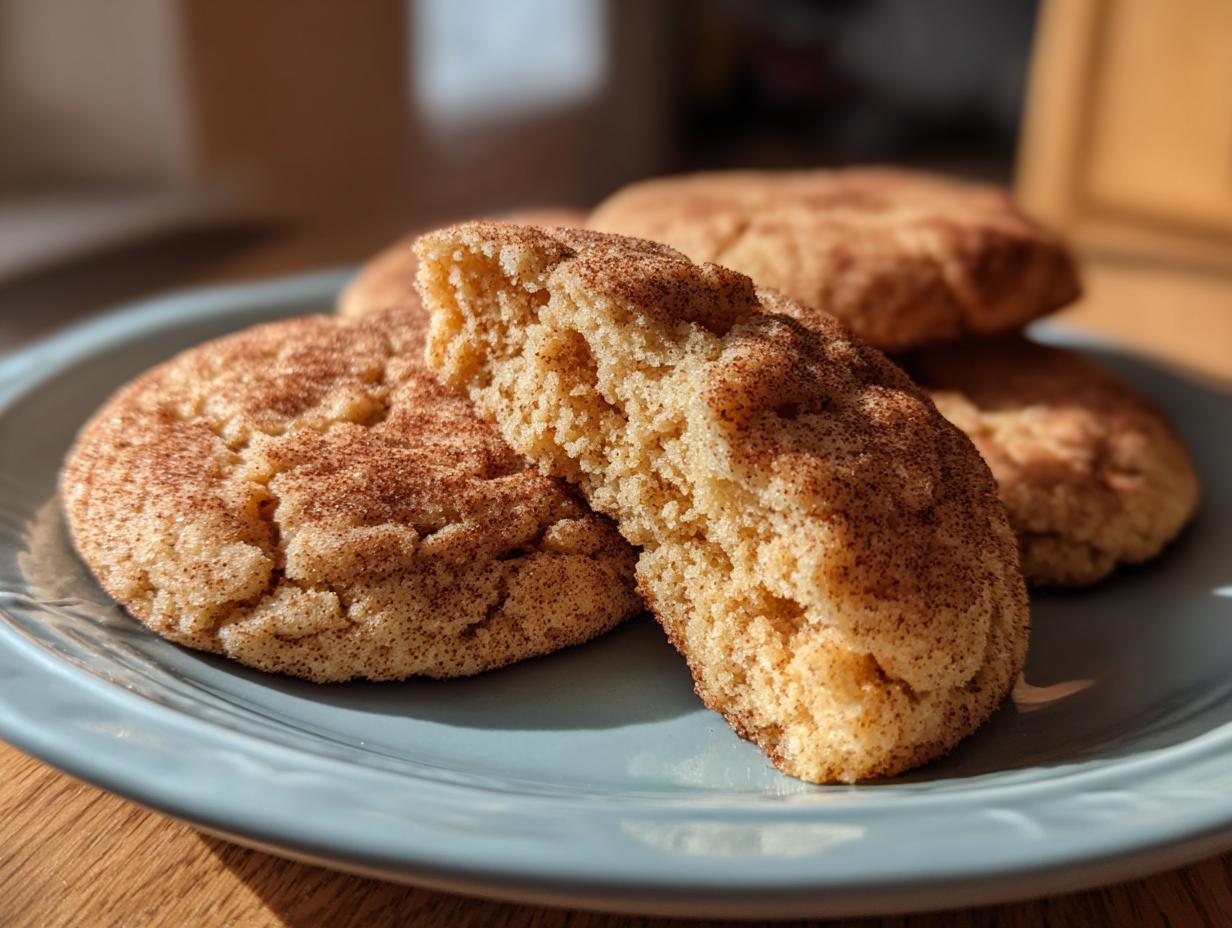
Listen, when you’re building that perfect holiday cookie platter, you need anchors—those cookies everyone expects and devours immediately. For me, that’s always been the snickerdoodle. This recipe is the definition of a snickerdoodle recipe easy win because it doesn’t require chilling the dough for hours before rolling, making it fantastic for last-minute plans.
The real magic, and what sets these apart from standard sugar cookies, is that signature tang. That comes entirely from the cream of tartar! It keeps the cookie beautifully soft and chewy—never cakey—and gives it that classic slight pucker you look for. Honestly, this is the first cookie I bake every December. I remember making giant batches of nothing but these because my family couldn’t resist them. They are non-negotiable for holiday baking inspiration at our house. If you want great, simple recipes built on trusted foundations, you can read more about my philosophy on why I focus on achievable home cooking.
We want quick, we want tasty, and we want it to look impressive without needing complicated piping skills. This recipe checks every single box!
Quick Facts: Prep Time, Yield, and Details for Your Snickerdoodle
You’ll be thrilled with how fast these come together. Here are the specs:
- Prep Time: 20 min
- Cook Time: 10 min
- Yield: About 3 dozen cookies
- Category: Dessert
Gathering Ingredients for the Perfect Snickerdoodle
Okay, before we even touch the mixer, let’s talk ingredients. For the best snickerdoodle possible—the kind that stays perfectly chewy and doesn’t crumble when you pick it up—we need to use good components. Baking success is usually 80% ingredients, 20% magic, right? Don’t skimp here; it really does make a difference in the final cookie!
You’ll need 1 cup of unsalted butter that’s softened—and I mean *softened*, not melted! Plus 1 1/2 cups of granulated sugar, two large eggs to hold it all together, and the star dry players: 2 3/4 cups of all-purpose flour, 2 teaspoons of baking soda, and salt. And of course, the flavor makers: that teaspoon of vanilla and the essential 2 teaspoons of cream of tartar.
Ingredient Notes and Substitutions for Your Snickerdoodle
That cream of tartar is absolutely non-negotiable for the true snickerdoodle experience, folks. It’s an acid that reacts with the baking soda to give you that signature spread and that wonderful, mild tang. If you are in an absolute pinch and cannot find it? You can swap it out with two teaspoons of lemon juice or white vinegar, but you *must* reduce the overall liquid in your recipe slightly, or the texture will be off. Seriously, just go buy the cream of tartar first!
When it comes to the butter, make sure it’s soft enough that you can gently press your finger into it but it doesn’t feel greasy or oily. If your butter is too warm, the cookies flatten out too much in the oven. We want puffy, soft cookies, not thin, crispy ones!
How to Prepare Snickerdoodle Dough: Step-by-Step Instructions
Alright, let’s get messy and make this dough! This is where we build the foundation for that perfect chewy cookie texture we are aiming for. Remember, we preheated the oven to 375 degrees F and got our baking sheets lined with parchment paper. That’s rule number one for easy cleanup!
First up is the creaming—pay close attention here because this step defines your cookie spread. We’re taking that softened butter and mixing it with 1 cup of the granulated sugar. You need to mix this until it gets really light and fluffy, almost pale yellow. I like running my mixer on medium speed for a good solid three or four minutes; this process whips air into the fat, and that trapped air is what makes your snickerdoodles puff up nicely instead of spreading into flat discs.
Once that’s looking airy, beat in your eggs one at a time until they are fully incorporated. Give it a quick scrape down the sides, then add the cream of tartar and the vanilla. Now we bring in the dry stuff. In a separate bowl, whisk together your flour, baking soda, and salt. This ensures the leavening agents are evenly distributed, a tiny step that pays off big!
Here’s your warning call for this part of how to make snickerdoodles: Add those dry ingredients slowly, mixing on low speed until they are *just* combined. I mean it—stop mixing when you see no more streaks of white flour! Overmixing at this stage develops too much gluten, and suddenly you have tough, bread-like cookies instead of soft delights. We want tender! Set that bowl aside.
Mastering the Cinnamon-Sugar Coating for Your Snickerdoodle
Now for the fun part that gives us that classic look: the coating! In a shallow bowl, whisk together the remaining 1/2 cup of sugar and all 3 lovely tablespoons of ground cinnamon. Smell that? Pure holiday happiness.
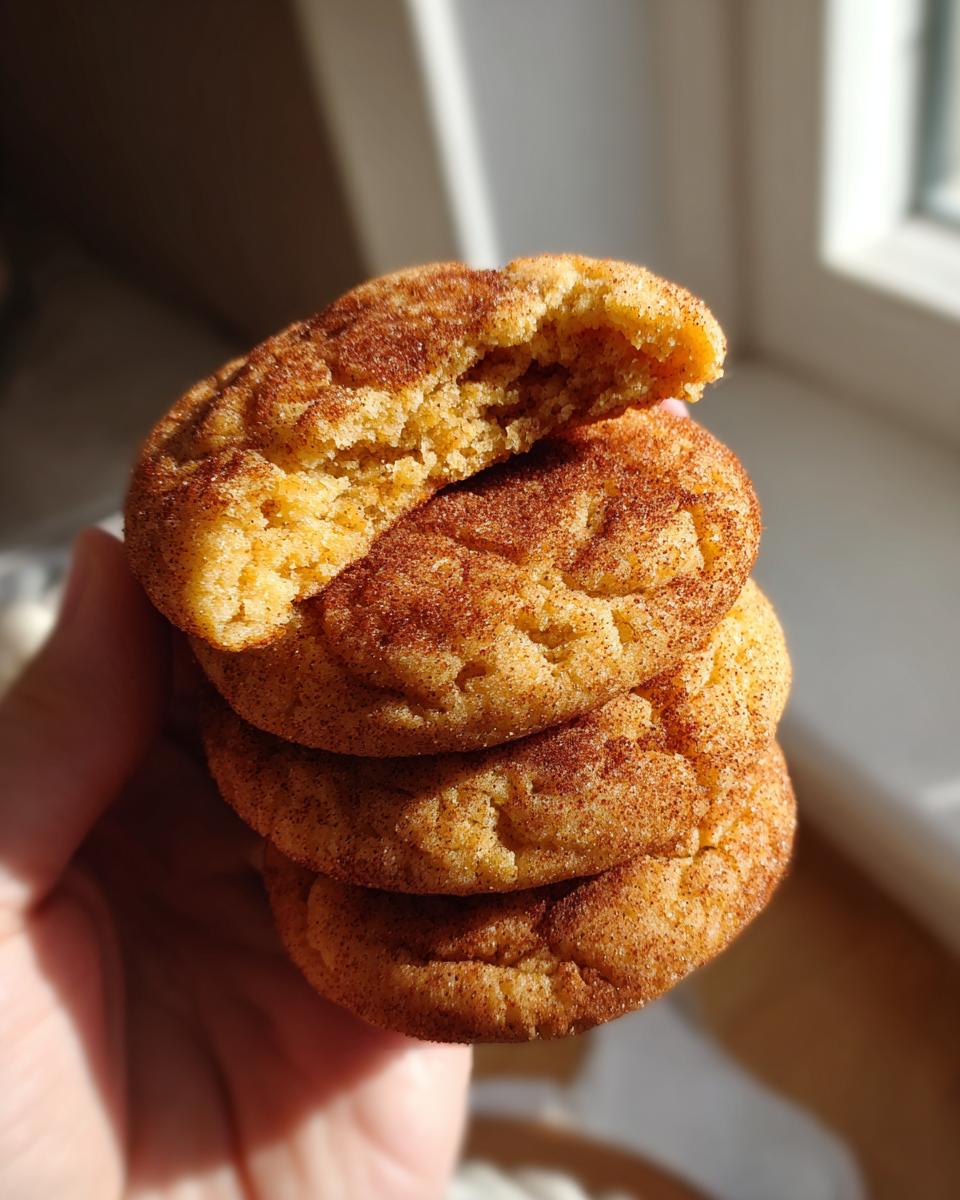
Take your dough and roll it into nice, consistent balls—about 1-inch across is perfect. If you use my handy little cookie scoop, that usually hits the mark. The trick to a gorgeous, crackly, flavorful exterior is coating those balls thoroughly. Roll them around in that cinnamon-sugar mixture until they are completely blanketed and look sandy all over. Don’t be shy! That thick layer is what bakes up into that beautiful sugary crust surrounding your chewy center.
Place those generously coated balls about 2 inches apart on your lined sheets. Give them space to breathe and spread a little bit as they bake. That’s it for the prep—we’re ready for the heat!
Baking Your Snickerdoodle: Timing and Appearance Cues
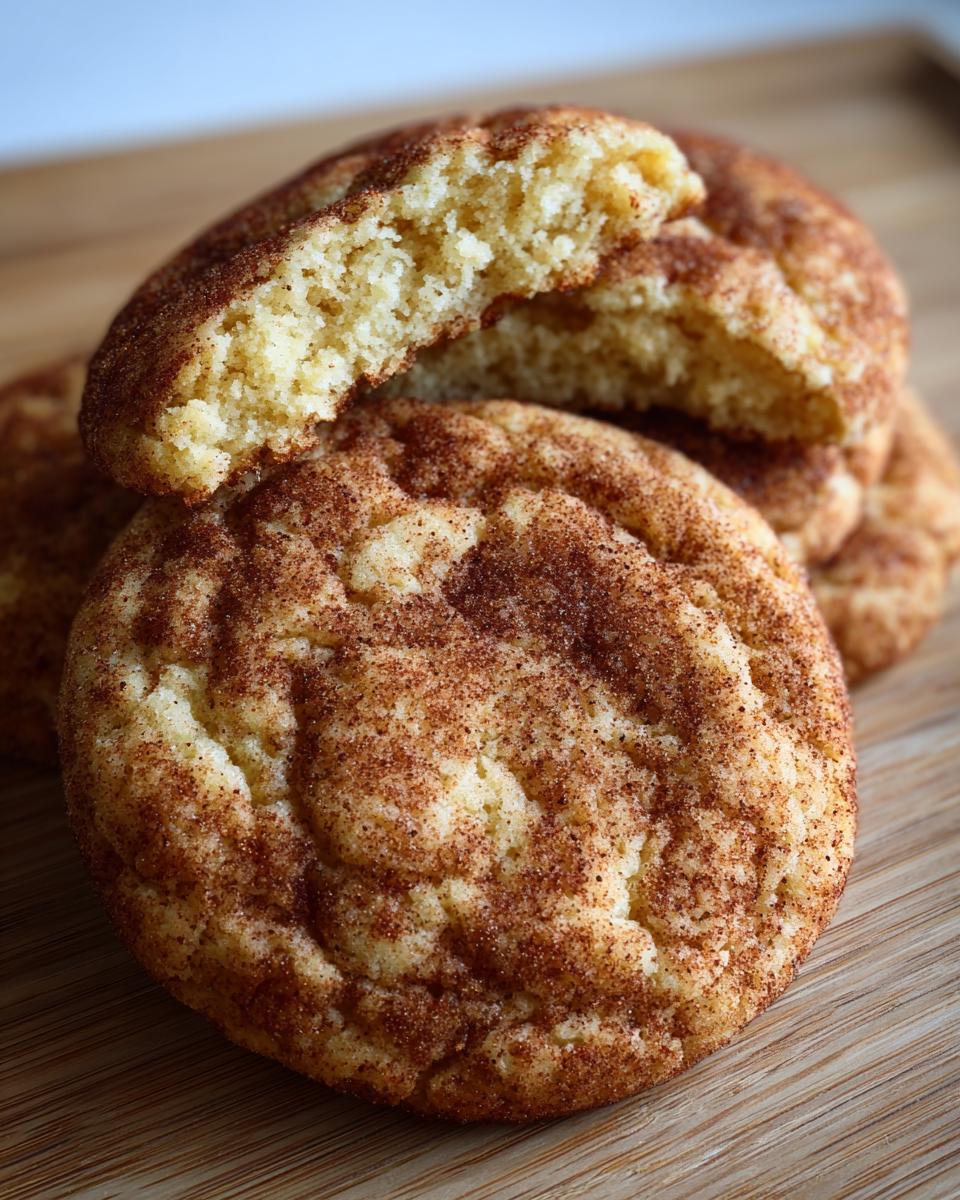
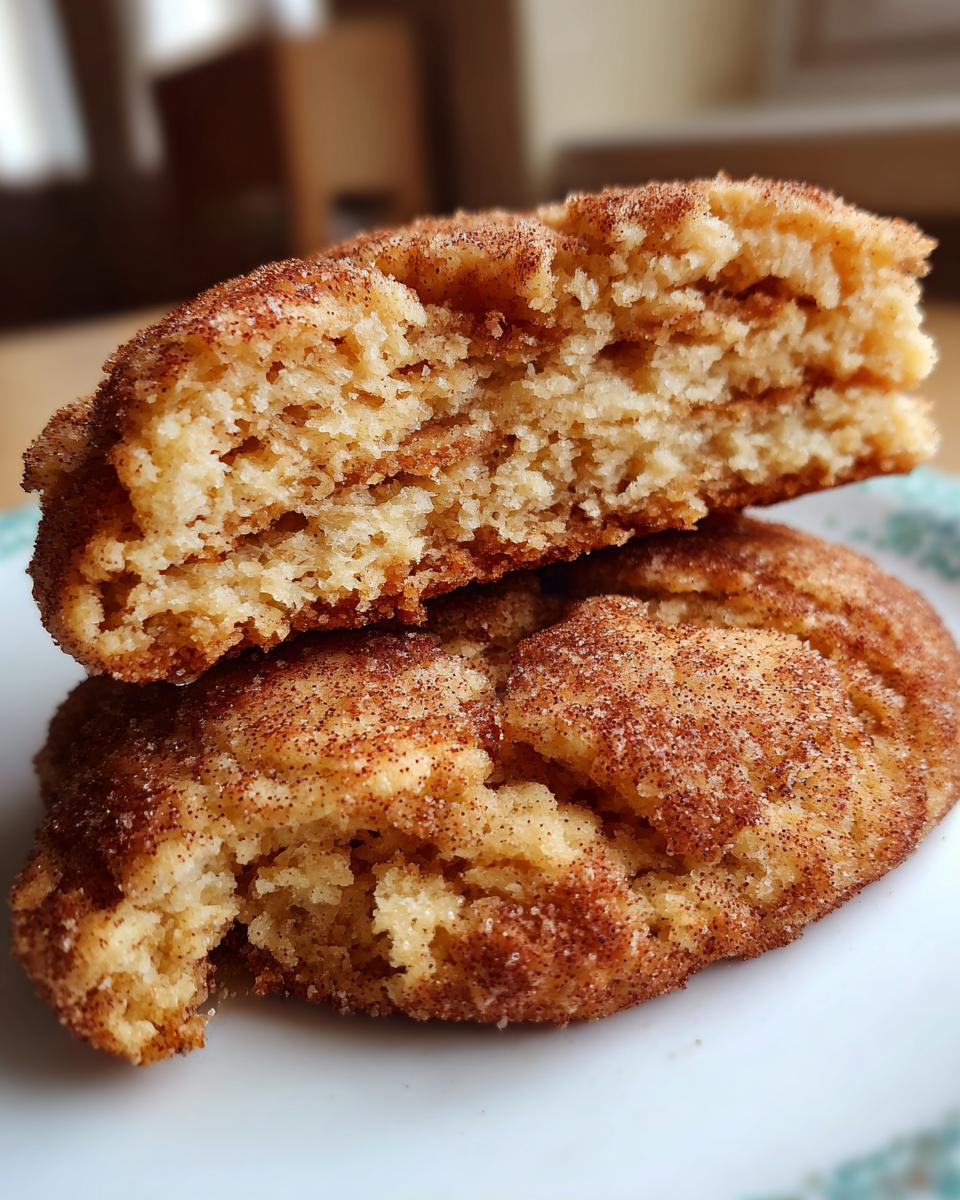
It’s time for the magic to happen! Those beautifully coated balls go into that 375-degree oven for just 8 to 10 minutes. Don’t walk away! Even though this is an snickerdoodle recipe easy to mix, the baking time is where you lock in the texture. You are looking for them to get slightly puffy with edges that are just starting to look set—meaning they aren’t pale dough anymore.
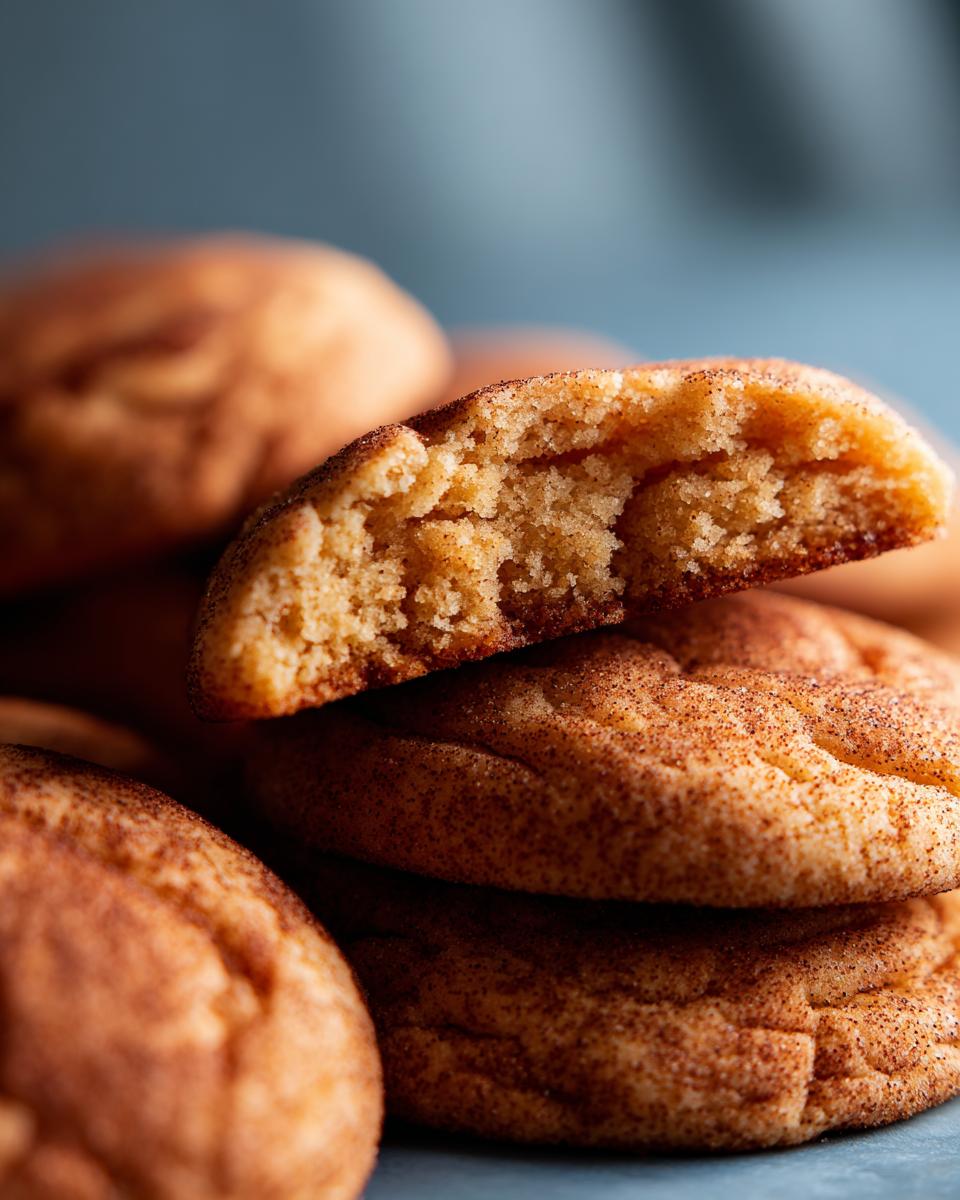
But here is the critical part to ensure chewiness: the centers should still look slightly soft and maybe even a little underbaked when you pull them out. Trust me on this! If you wait until they look completely done through the middle, they will be hard and crisp once they cool down. We want that delightfully soft center, so when you pull them out, resist the urge to touch them.
Leave them right there on the hot baking sheet for a full five minutes. They need this moment to firm up enough so they don’t immediately collapse when you try to move them. This short rest period is my little trick to guarantee they hold their shape perfectly once we transfer them to the wire rack to cool completely. That five minutes makes all the difference in structural integrity!
Tips for Success When Making Snickerdoodles
Even though this recipe is easy, a couple of small habits I picked up over the years can seriously boost your results, especially when you’re busy and need reliable cookies. I always check my notes before I start rolling, just to make sure I don’t miss that little something extra that makes these the best snickerdoodles!
First, I always highly recommend chilling the dough if you have the time, even if this is an easy recipe. If you can manage to cover the bowl and pop it in the fridge for about 30 minutes before you start rolling the balls, you’ll get extra chewy cookies for your platter. Why? Chilling lets the flour fully hydrate and solidifies the fat just a little bit, stopping them from spreading quite as much during baking.
The other huge win for holiday prep is that you can make the dough ahead of time! This is a lifesaver when you’re juggling seven different types of cookies. You can store the mixed dough, kept tightly covered, in the refrigerator for up to three whole days. Just pull it out when you’re ready to bake, roll into balls, coat, and pop them in the oven! Total stress reliever, right?
Finally, remember that ingredient tip about the cream of tartar? Make sure the one you pull out of your spice cabinet is relatively fresh. Old cream of tartar loses its potency, meaning you won’t get that signature tangy flavor and proper cookie spread. If your container has been haunting the back of your pantry since the 90s, you might need a fresh jar for these perfect Christmas cookies.
Variations on the Classic Snickerdoodle
While this classic version is everything you need for that perfect holiday platter, sometimes you want to twist things up just a little bit, right? Don’t worry, we’re not messing with the structure that makes this a successful snickerdoodle—we’re just adding some pizzazz! These small additions are my go-to moves when I need a few extra flavors for the cookie tray without starting a whole new recipe.
My absolute favorite way to level up the flavor profile, especially for Christmas, is adding a little citrus pop to the dough itself. Try mixing one teaspoon of finely grated lemon zest right in with your vanilla and eggs during the wet ingredient stage. It wakes up the sweetness of the sugar and cinnamon coating beautifully!
Another fun one involves the butter, but you have to be prepared for a slightly nuttier flavor. Instead of simply softening the butter, try browning it first. Melt the butter in a saucepan over medium heat until it foams and those little milk solids sink to the bottom and turn nutty brown. Then, you must chill that brown butter until it’s just soft again—not hard—before creaming it with the sugar. The flavor is rich and absolutely gorgeous in a snickerdoodle.
If you want to keep things cozy and deep, try substituting half of the granulated sugar in the coating mix (the cinnamon-sugar bowl) with real maple sugar or even dark brown sugar. It adds a note of molasses or caramel complexity that tastes like an autumn hug, perfect for those cozy winter nights! Remember to keep that cream of tartar in the dough, though; that tangy structure is what keeps it a true snickerdoodle and not just a spiced sugar cookie.
Storage and Reheating Instructions for Your Snickerdoodle
Because these are going to be an absolute hit on your holiday cookie platter, you’re going to end up with leftovers—or you might want to bake them way ahead of the party crush! Storing these snickerdoodles correctly is simple, which is exactly what we want during busy holiday baking inspiration season.
The best place for these cookies is right on the counter, sealed tight. Once they are completely cool, stack them in layers with small pieces of parchment paper or wax paper between each cookie. This keeps the sugary coating from sticking to the cookie underneath it. Store them in an airtight container at room temperature. If you do this right, they stay wonderfully soft and chewy for about five to seven days. Honestly, ours rarely last that long, but it’s good to know they are resilient!
If you are on the fence about whether to wrap them up or freeze them—or if you just made too many—freezing an already-rolled ball of dough works beautifully. You can freeze the rolled, *uncoated* dough balls for up to three months. When you want cookies, just toss the frozen balls right into the cinnamon-sugar blend, and bake them straight from frozen, adding maybe two extra minutes to your baking time. Super handy!
Now, what if they’re a day or two old and they’ve hardened up just a touch? Don’t throw them out! We can breathe life right back into them. For the softest, freshest-tasting snickerdoodle, microwave one or two cookies on a paper towel for just 8 to 10 seconds. They come out warm, soft, and tasting like they just came out of the oven. It’s the perfect little afternoon pick-me-up!
Frequently Asked Questions About Snickerdoodle Recipe Easy
I always get questions when people try making these for the first time, especially when they are rushing to get their holiday baking inspiration sorted out! Don’t sweat it if you run into something weird; cookie baking is an exact science sometimes. Here are the most common things I hear about this snickerdoodle recipe easy version.
Why didn’t my snickerdoodles spread out like yours?
This is usually one of two things! If your cookies are looking too puffy and cracked, it often means your butter was too cold, or you didn’t cream the butter and sugar long enough to incorporate enough air. Remember, we need air bubbles to help the cookie relax and spread slightly in the oven. If they didn’t spread at all, check the temperature of your oven—is it running too hot? Also, make darn sure you used the two teaspoons of cream of tartar because it helps with that spread!
I’m out of cream of tartar! Can I skip it?
Oh boy, that’s the million-dollar question for how to make snickerdoodles! While I strongly advise running to the store for it, if you absolutely must skip it, your cookie will still bake up fine, but it won’t be a *true* snickerdoodle. It will taste more like a sugary butter cookie without that signature tangy bite and that iconic crackly surface. If you must substitute, use 2 teaspoons of white vinegar or lemon juice mixed into the wet ingredients instead, but know it won’t be exactly the same flavor profile.
Can I make the dough ahead of time for holiday baking?
Yes, absolutely! This is where the ‘easy’ part really kicks in for big batches. You can roll the dough into the 1-inch balls, roll them thoroughly in the cinnamon-sugar coating, and then place the coated balls on a parchment-lined tray in the freezer. Once frozen solid, transfer them to a sturdy freezer bag. You can bake directly from frozen, just add about 2 or 3 minutes to your standard 8-to-10-minute baking time. This makes day-of baking so much less stressful.
What is the best way to store leftover snickerdoodles?
Keep them airtight at room temperature! Just like I mentioned before, place parchment paper between layers to keep that gorgeous coating from marrying the cookie underneath it. They stay perfectly chewy for almost a week, provided your family doesn’t devour them first! If you’re worried about freshness beyond a week, you can always read up on my general advice for food storage protection to keep things safe.
Estimated Nutritional Information for One Snickerdoodle Serving
Now, listen up, because this is important for all my fellow busy cooks who still care about what they’re eating, even during the holidays! When we focus on making food simple and successful, the nutrition facts can sometimes feel like just another thing to worry about. I want to be crystal clear here: the numbers you see sometimes online for recipes like this are always just estimates, and that is definitely true for these classic snickerdoodles.
The exact calorie count or fat content can really change depending on things like what brand of butter you used, or if you chose to chill the dough overnight (which affects how much the cookie spreads). For this reason, I never post specific, hard numbers because I don’t want you stressing over things that don’t matter when you should be enjoying the moment.
These details are based on standard calculations for this snickerdoodle recipe easy, where the serving size is defined as one cookie. If you start swapping out ingredients or making those fun recipe variations we talked about, those numbers will shift! For the most accurate details about ingredient sourcing and potential dietary limitations, please check out my official terms of use and policies. Focus on the joy these cookies bring to your holiday platter, not the grams of sugar!
Share Your Holiday Baking Inspiration
Whew! You made it! You’ve successfully tackled the mixing, the rolling, and the baking, and now you have a mountain of the most perfectly chewy, tangy snickerdoodles ready to steal the show on your holiday platter. That’s a huge win, especially during this busy season!
Now that you have them, I want to hear all about it! Honestly, seeing your successes is what keeps me motivated in the kitchen every single day. Did you try chilling the dough? Did your kids help you roll the balls? Did they disappear immediately?
Please, please, please leave a star rating right here on the recipe card—it tells me you loved them and helps others trying to find a reliable snickerdoodle recipe easy find this post too. And don’t forget to drop a comment below detailing your experience. Tell me if you made any of those fun flavor variations we discussed!
If you snap a picture of your beautiful cookies next to your hot cocoa or setting up your holiday dessert spread, tag me on social media! Showing off your holiday baking inspiration helps everyone remember that delicious, satisfying home baking is completely achievable, even when time is short. For any specific questions or feedback that just won’t fit in the comments box, feel free to reach out to me directly through my contact page. Happy holidays, and enjoy every single bite!
PrintClassic Holiday Snickerdoodles

Make classic, chewy snickerdoodles perfect for your holiday cookie platter. This easy recipe yields soft cookies with a signature tangy cinnamon-sugar coating.
- Prep Time: 20 min
- Cook Time: 10 min
- Total Time: 30 min
- Yield: About 3 dozen cookies 1x
- Category: Dessert
- Method: Baking
- Cuisine: American
- Diet: Vegetarian
Ingredients
- 1 cup unsalted butter, softened
- 1 1/2 cups granulated sugar, divided
- 2 large eggs
- 2 teaspoons cream of tartar
- 1 teaspoon vanilla extract
- 2 3/4 cups all-purpose flour
- 2 teaspoons baking soda
- 1/2 teaspoon salt
- 3 tablespoons ground cinnamon
Instructions
- Preheat your oven to 375 degrees F. Line baking sheets with parchment paper.
- In a large bowl, cream together the softened butter and 1 cup of the granulated sugar until light and fluffy.
- Beat in the eggs one at a time. Mix in the cream of tartar and vanilla extract.
- In a separate bowl, whisk together the flour, baking soda, and salt. Gradually add the dry ingredients to the wet ingredients, mixing until just combined. Do not overmix.
- In a small, shallow bowl, combine the remaining 1/2 cup of granulated sugar and the ground cinnamon. This is your coating mixture.
- Roll the dough into 1-inch balls. Roll each ball thoroughly in the cinnamon-sugar mixture until fully coated.
- Place the coated dough balls about 2 inches apart on the prepared baking sheets.
- Bake for 8 to 10 minutes, or until the edges are set but the centers are still slightly soft. They will look slightly puffy.
- Let the cookies cool on the baking sheet for 5 minutes before transferring them to a wire rack to cool completely.
Notes
- For extra chewy cookies, chill the dough for 30 minutes before rolling and baking.
- You can make the dough ahead of time and store it, covered, in the refrigerator for up to 3 days.
- Use fresh cream of tartar for the best tangy flavor and spread.
Nutrition
- Serving Size: 1 cookie
- Calories: 150
- Sugar: 14g
- Sodium: 75mg
- Fat: 8g
- Saturated Fat: 5g
- Unsaturated Fat: 3g
- Trans Fat: 0g
- Carbohydrates: 19g
- Fiber: 0g
- Protein: 2g
- Cholesterol: 30mg