


There is just something about that aroma that fills the house when the holidays roll around, right? It smells like tradition, comfort, and pure joy. If you’re looking for the absolute Best Stuffing Recipe Ever—one that stays perfectly moist on the inside but gets those glorious crispy edges—you’ve found it. I’m Felix, and I built this whole system because I needed incredible, home-cooked flavor without spending all day in the kitchen. My mom made a brilliant stuffing, and I’ve tweaked it just enough to make sure it’s achievable for you, even when life is moving at a million miles an hour. You can read more about my mission to bring flavor back to busy lives over on our About Page! This recipe proves that exceptional food doesn’t need to be complicated; it just needs care.
- Why This Homemade Stuffing Recipe is a Holiday Staple
- Ingredients for Your Classic Stuffing From Scratch
- Step-by-Step Instructions for Oven Baked Stuffing
- Expert Tips for the Best Stuffing Recipe Ever
- Make Ahead Stuffing and Storage Instructions
- Serving Suggestions for Your Savory Bread Stuffing
- Frequently Asked Questions About Classic Thanksgiving Stuffing
- Estimated Nutritional Data for This Stuffing
- Share Your Homemade Stuffing Experience
- Estimated Nutritional Data for This Stuffing
- Share Your Homemade Stuffing Experience
Why This Homemade Stuffing Recipe is a Holiday Staple
Honestly, this recipe wins every time it hits my table. It’s truly one of those Comfort Food Side Dishes that just screams cozy gatherings. Why stick around? Because it nails that tricky balance:
- It uses fresh herbs, so the flavor really pops.
- It’s simple enough to make without stressing during the holiday rush.
- It delivers that dream texture—soft inside, crunchy outside!
If you want a true Classic Thanksgiving Stuffing that tastes made entirely from scratch, this is the one you bookmark. Friends always ask how I get it so good!
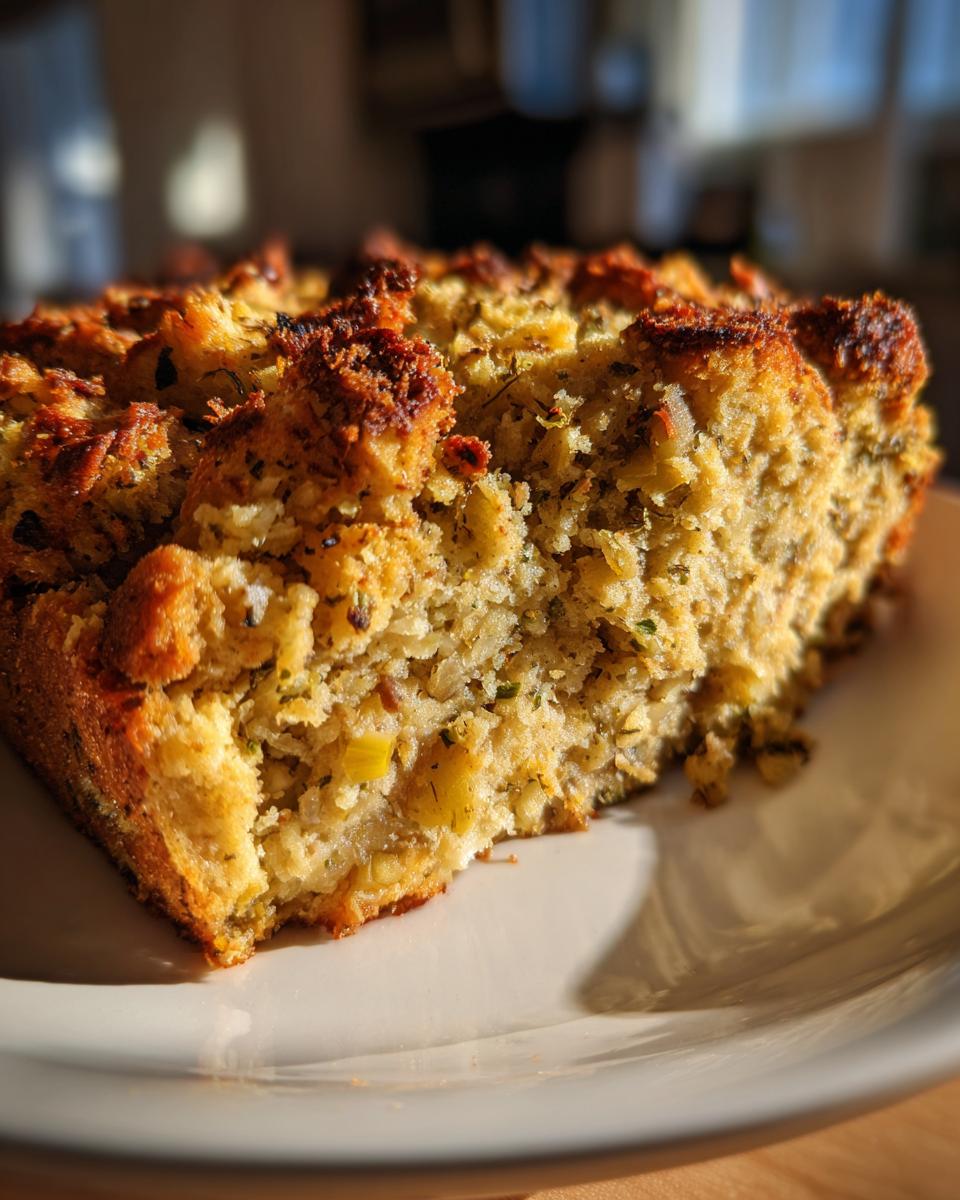
Achieving the Perfect Moist and Crispy Stuffing Texture
The secret to making this the Best Stuffing Recipe Ever lies nearly entirely in the prep work. We toast the bread cubes first—don’t skip this! Toasting creates little structural pockets. When we add the broth later, the bread soaks it up perfectly without turning into complete mush. We only add *just* enough broth until the mixture is moistened, never soggy. That way, the top layer crisps up beautifully in the oven while the inside stays wonderfully tender. It’s all about controlled moisture!
Ingredients for Your Classic Stuffing From Scratch
Okay, so when we talk about making this Stuffing From Scratch, we need the good stuff. I’m laying out exactly what you need below. Remember, quality ingredients make all the difference, especially when dealing with something as simple and comforting as bread and butter. Don’t fret too much about substitutions here, especially with the herbs; fresh is truly where the magic happens.
- 1 pound day-old bread, cut into 1-inch cubes (Make sure it’s dry! Stale is perfect.)
- 1 cup (2 sticks) unsalted butter (Yes, two sticks. Don’t skimp on the fat here!)
- 2 cups chopped yellow onion
- 2 cups chopped celery
- 1 tablespoon fresh sage, chopped (You’ll want a good, generous tablespoon of this.)
- 1 teaspoon fresh thyme, chopped
- 1 teaspoon fresh rosemary, chopped
- 1 teaspoon salt
- 1/2 teaspoon black pepper
- 2 large eggs, lightly beaten
- 3 to 4 cups low-sodium chicken or vegetable broth (Have this ready, but we won’t use it all at once, trust me.)
Step-by-Step Instructions for Oven Baked Stuffing
Alright, time to get this wonderful dish assembled! I always start by getting my oven ready; preheat it to 350°F (175°C) and make sure you have a 9×13 inch baking dish lightly greased. We need to build that texture right from Step One! Don’t try to rush the toasting or the cooking time, or your final stuffing might not turn out buttery and perfect.
- Spread those bread cubes on a baking sheet and pop them in for about 10 to 15 minutes until they look nicely toasted. Set them aside to cool while we build the flavor base.
- Next, melt that full cup of butter in a big skillet over medium heat. Throw in the onion and celery and let them soften up, which takes about 8 minutes until they smell sweet and translucent.
- Now for the aromatics! Stir in the fresh sage, thyme, and rosemary, along with your salt and pepper. Let that cook for just one minute until you smell all those amazing, woodsy herbs waking up.
- In a huge bowl, combine your toasted bread cubes and that cooked veggie-herb mixture. Give it a gentle toss.
- Pour those beaten eggs over everything, mixing gently so everything gets coated but nothing breaks down yet.
- This is important: Gradually add the broth, starting with the 3 cups. You toss lightly as you go, only adding more broth if the bread feels dry, but stop before it looks like soup! We want it moistened, not swimming.
- Transfer your entire stuffing mixture into that prepared baking dish.
- Bake it uncovered for 30 to 40 minutes. You know it’s done when the top is gorgeously golden brown and the center feels hot all the way through. Give it about 10 minutes to set before you serve it! If you are looking for tips on baking later, check out our make-ahead guide.
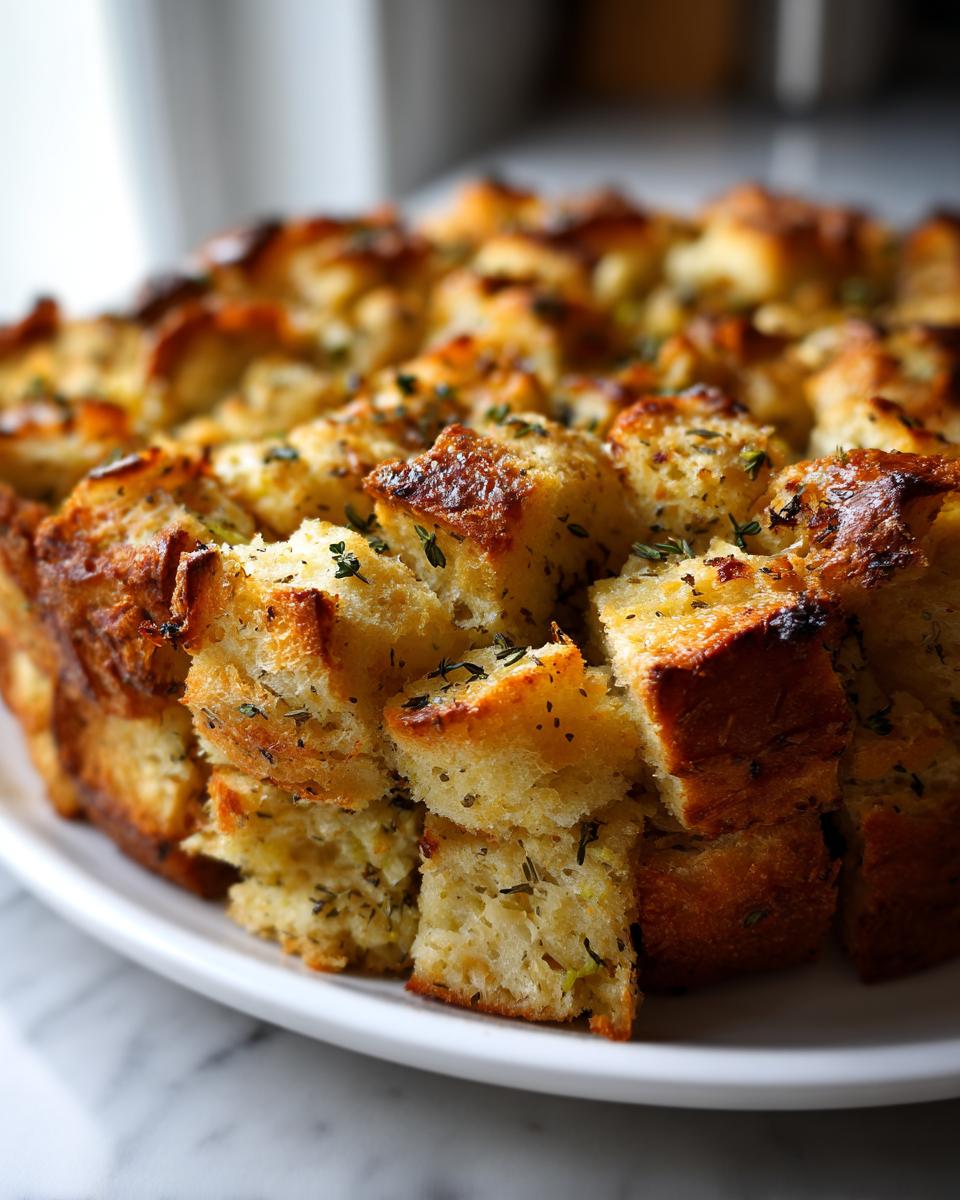
Preparing the Bread Base for Superior Stuffing
Seriously, this toast step separates the good dressing from the *amazing* dressing. Cubing the bread into 1-inch pieces gives you different textures once baked. Toasting dries them out just enough so they can absorb all that flavorful butter and broth later. If you skip toasting, the bread acts like a sponge that doesn’t have boundaries, and you end up with heavy, gummy stuffing instead of that lovely, light texture we’re aiming for.
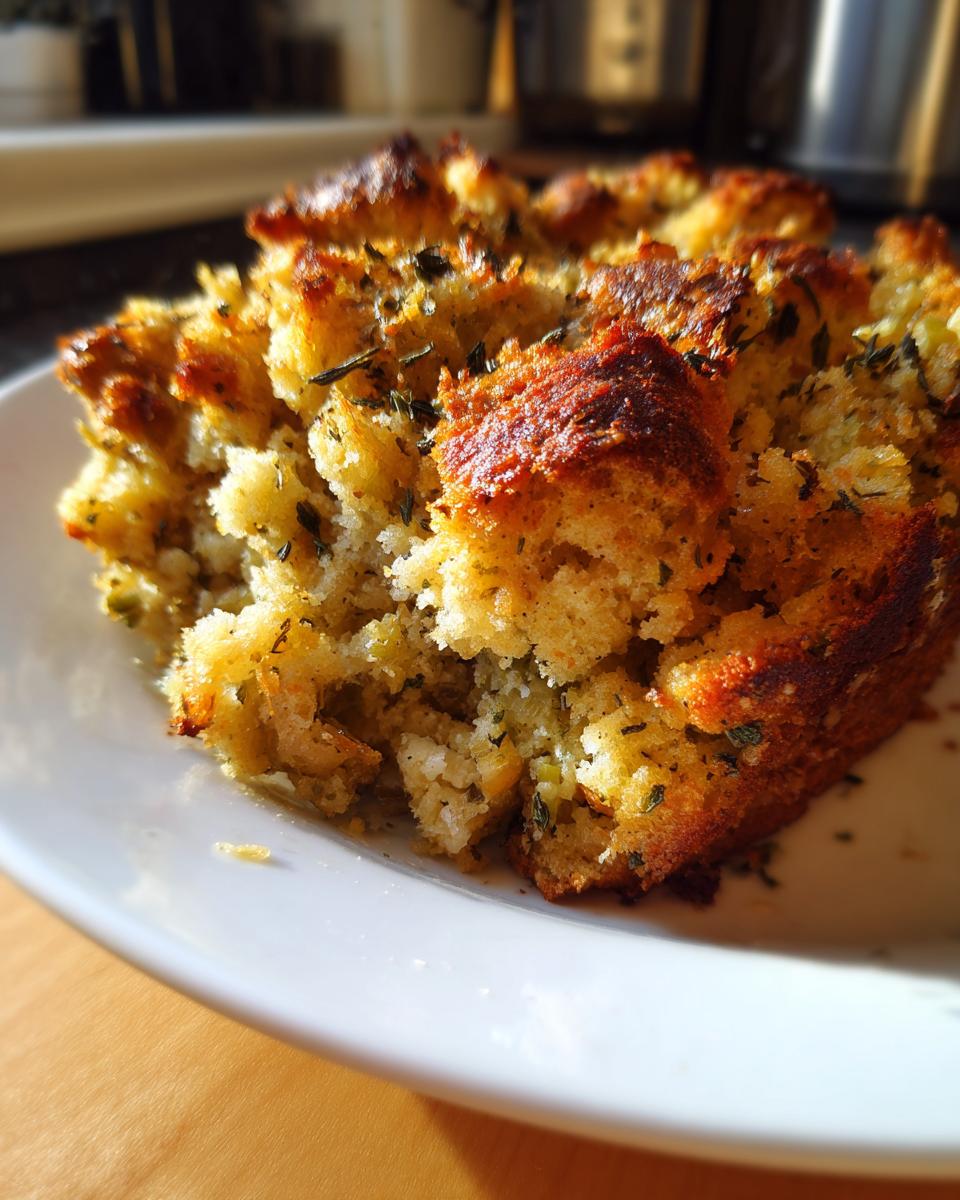
Sautéing Aromatics for Buttery Herb Stuffing Flavor
Don’t just dump the flavor in raw! We need to cook the onions and celery low and slow in that generous helping of butter until they are soft—that’s what makes it a true Buttery Herb Stuffing. As soon as the veg is softened, we add the fresh sage, thyme, and rosemary. Cooking them briefly in the butter releases their essential oils, making the whole mixture fragrant before it even hits the oven. It’s this simple sauté step that deepens the flavor profile for the whole holiday meal!
Expert Tips for the Best Stuffing Recipe Ever
Once you master the basic assembly, you can start tweaking this to make it your own signature dish. I’ve learned a couple of things over the years that really elevate this from good to the Best Stuffing Recipe Ever. First, use fresh bread that’s a little bit dense—sourdough or a crusty Italian loaf works wonders, even better than plain white sandwich bread if you have one lying around. When using fresh herbs for your Stuffing with Fresh Herbs, remember that fresh is potent, which is why we use it over dried for maximum fragrance!
If you find your mix is still too dry after adding the base broth, don’t panic! Just add the fourth cup of broth slowly until the mixture feels evenly moistened, but not soupy. Remember, we want it moist, not swimming, as we discussed earlier. For more totally easy ways to elevate sides, I saw a great resource for quick recipes right here.
Variations: Making Sausage Stuffing Recipe
If you want to make this into a full-on hearty main event, turning it into a Sausage Stuffing Recipe is super simple. Just brown about a pound of your favorite bulk breakfast sausage in a separate pan first. Drain off most of that grease! Then, just mix that cooked sausage right in with your softened onions and celery when you add the herbs. It adds salt and richness to the entire dish!
Make Ahead Stuffing and Storage Instructions
I know the day of the big dinner can be pure chaos, so let’s talk about saving yourself some time! This recipe is fantastic for making ahead. You can assemble the entire mixture—from toasting the bread to adding the broth and eggs—but don’t bake it yet. Just mix everything up, put it in your baking dish, cover it tightly with plastic wrap, and pop it in the fridge. It holds up perfectly for up to 24 hours!
When it’s time to cook, just pull that Make Ahead Stuffing out of the fridge about an hour before you want to bake it so it can lose that deep chill. Then, bake it exactly as the recipe says. If you’re freezing it, cover it well with foil before freezing. When you’re ready to use it later, thaw it in the fridge overnight first, then bake as directed. It really saves your sanity on the big day!
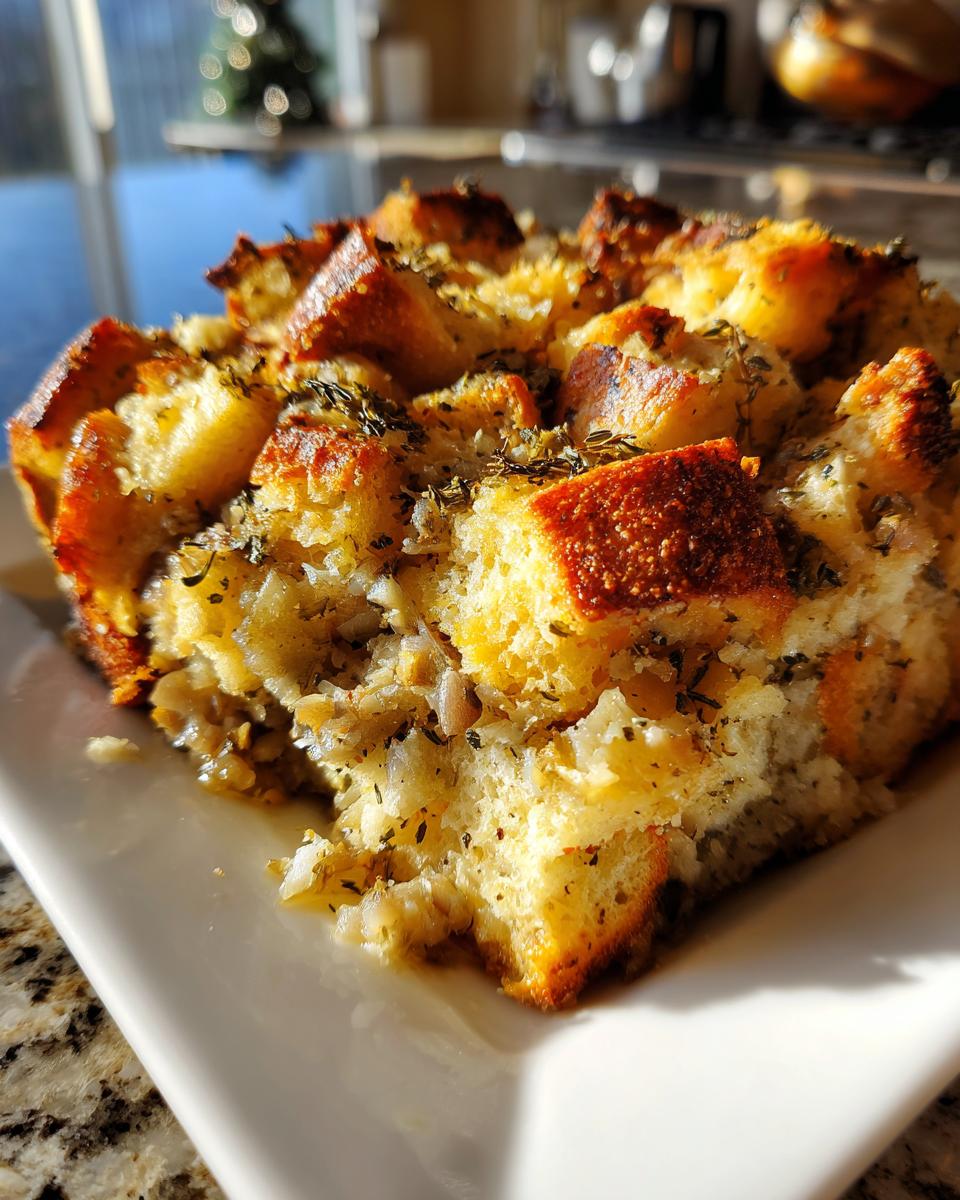
Serving Suggestions for Your Savory Bread Stuffing
Now that you have the most perfect Savory Bread Stuffing imaginable, you have to think about what’s joining it on the plate! This dish is so rich with sage and butter that it really sings next to some great roasted mains. Obviously, a perfectly roasted turkey or a big holiday ham is the classic pairing. The mild flavor of the bird takes on all that herbaceous depth from the stuffing.
But don’t just stop with the main course! This side dish loves company. It’s fantastic alongside creamy mashed potatoes, obviously, because you need something to soak up any extra gravy that drips onto your plate. I also love serving it with something bright and tart to cut through all the richness. Think about cranberry sauce, especially a homemade one, or maybe some roasted Brussels sprouts tossed with a little lemon zest. If you’re looking for more inspiration on putting together your full festive menu, check out some amazing traditional ideas over here! Honestly, since this stuffing is so flavorful, you can get away with simpler mains.
Frequently Asked Questions About Classic Thanksgiving Stuffing
I know when you’re reading a new recipe this close to a big dinner, you might have a few last-minute worries popping up. Don’t sweat it! We all have questions, and I’ve gathered the most common ones about making this the Classic Thanksgiving Stuffing side dish you’ll want year after year. Let’s tackle those last few details so you can serve up the best Festive Dinner Sides with total confidence!
Can I use store-bought stuffing mix instead of making stuffing from scratch?
Oh, honey, you certainly can use that packaged mix if you’re in a real pinch! But honestly, making this Homemade Stuffing Recipe is where all the flavor lives. Boxed mixes use dried bread and artificial flavors. Here, we use fresh herbs and real butter. You’ll notice the difference immediately! It takes barely more time to whip up this superior, buttery texture.
What should I do if all I have are dried herbs instead of fresh?
This happens to the best of us! Dried herbs are much more concentrated than fresh ones. If dried sage, thyme, or rosemary is all you have, start small. Use about one-third the amount listed for the fresh herbs. So, if I call for a tablespoon of fresh sage, start with just one teaspoon of dried sage. You can always taste the mixture before adding the egg and stir in a bit more if you think it needs it. Better too mild than overpowering!
Can I bake this stuffing recipe as little balls instead of in a dish?
Yes, absolutely! Turning this into a Stuffing Balls Recipe is a fantastic way to guarantee every single sphere gets a crispy edge. After you mix in the egg and broth, chill the mixture for about 30 minutes—this makes it firm up and easier to handle. Then, scoop out portions using a small cookie scoop, roll them gently into balls about 1.5 to 2 inches wide, and place them on a parchment-lined baking sheet. They might take a few minutes less time in the oven to heat through.
How can I make this a vegetarian stuffing dish?
If you need a Vegetarian Stuffing Ideas twist, it’s super easy! Just swap out the chicken broth for a good quality, low-sodium vegetable broth. That’s the only change needed, since the primary flavor comes from the butter and the mountain of fresh herbs we use. If you want to add some bulk or a meatier chew, you can sauté mushrooms or nuts (like pecans) along with your celery and onions instead of sausage.
If you have any other tricky questions while pulling this menu together, feel free to reach out on our Contact page! We’re here to help you succeed.
Estimated Nutritional Data for This Stuffing
I always like to give you a little heads-up about what you’re eating, especially when it comes to rich holiday sides! Please remember these are just estimates based on the ingredients listed above, and your actual numbers might shift a little depending on the bread or butter brand you pick. They look pretty good for a rich holiday side dish, don’t they?
- Serving Size: 1 cup
- Calories: 320
- Fat: 18g
- Carbohydrates: 35g
- Protein: 7g
- Sugar: 3g
- Sodium: 450mg
Share Your Homemade Stuffing Experience
I genuinely hope this recipe becomes a signature dish on your table, just like it is in mine! Seriously, I would love to know what you think. When you make this Traditional Thanksgiving Side, please come back and leave a rating—five stars if it lived up to the hype! It helps other folks know they can trust this recipe, too. If you added sausage or made stuffing balls, tell me how that worked out in the comments below. Happy cooking, my friend!
PrintClassic Homemade Thanksgiving Stuffing
Make this classic, savory bread stuffing from scratch. It features fresh herbs and a buttery texture, perfect for your holiday table.
- Prep Time: 20 min
- Cook Time: 40 min
- Total Time: 60 min
- Yield: 8 servings 1x
- Category: Side Dish
- Method: Baking
- Cuisine: American
- Diet: Vegetarian
Ingredients
- 1 pound day-old bread, cut into 1-inch cubes
- 1 cup (2 sticks) unsalted butter
- 2 cups chopped yellow onion
- 2 cups chopped celery
- 1 tablespoon fresh sage, chopped
- 1 teaspoon fresh thyme, chopped
- 1 teaspoon fresh rosemary, chopped
- 1 teaspoon salt
- 1/2 teaspoon black pepper
- 2 large eggs, lightly beaten
- 3 to 4 cups low-sodium chicken or vegetable broth
Instructions
- Preheat your oven to 350°F (175°C). Lightly grease a 9×13 inch baking dish.
- Spread the bread cubes on a large baking sheet. Bake for 10 to 15 minutes until lightly toasted. Set aside.
- Melt the butter in a large skillet over medium heat. Add the onion and celery. Cook until softened, about 8 minutes.
- Stir in the sage, thyme, rosemary, salt, and pepper. Cook for 1 minute until fragrant.
- In a very large bowl, combine the toasted bread cubes and the cooked vegetable mixture.
- Pour the beaten eggs over the bread mixture and toss gently to coat.
- Gradually add the broth, starting with 3 cups, tossing lightly until the bread is just moistened. Do not over-saturate.
- Transfer the stuffing mixture to the prepared baking dish.
- Bake for 30 to 40 minutes, or until the top is golden brown and the center is heated through.
Notes
- For a crispier top, bake uncovered.
- If you want a moister stuffing, add the fourth cup of broth or more, as needed.
- To make this a sausage stuffing, brown 1 pound of breakfast sausage separately and add it with the cooked vegetables.
Nutrition
- Serving Size: 1 cup
- Calories: 320
- Sugar: 3
- Sodium: 450
- Fat: 18
- Saturated Fat: 11
- Unsaturated Fat: 7
- Trans Fat: 0.5
- Carbohydrates: 35
- Fiber: 2
- Protein: 7
- Cholesterol: 65