

When the holidays roll around, or you just need a dessert that screams “special celebration,” nothing beats that incredible drama of a deep red dessert. Forget stressing over complicated layers—I’ve cracked the code on making a truly showstopping, from-scratch red velvet cheesecake that is surprisingly simple to pull off. Honestly, if you crave the richness of both classic red velvet and creamy cheesecake without spending all day wrestling with the oven, you’ve landed in the right place!
That’s the whole point of Cooking by Felix. I know what it’s like juggling a busy schedule, but that doesn’t mean we can’t have spectacular food. I learned this balancing act between flavor and time thanks to my background; you can read a little more about how I approach this philosophy right here on our story page. I always aim to take those big, gorgeous flavors—like the ones baked into a decadent red velvet cheesecake—and distill them into a recipe that fits your real life. Trust me, this recipe is gorgeous, and you’ll be making it the star of your baking table for years to come.
- Why This Decadent red velvet cheesecake Recipe Works for You
- Ingredients for the Perfect red velvet cheesecake
- Step-by-Step Instructions for Your red velvet cheesecake
- Ingredient Notes and red velvet cheesecake Substitutions
- Tips for a Showstopper red velvet cheesecake Success
- Storage and Reheating Instructions for Your Cream Cheese Dessert
- Serving Suggestions and red velvet Dessert Ideas
- Frequently Asked Questions About red velvet cheesecake
- Share Your red velvet cheesecake Creations
Why This Decadent red velvet cheesecake Recipe Works for You
You need a dessert that looks like it took days but actually fits into your weekend schedule, right? That’s what happens here!
- It’s Surprisingly Easy: Even though it’s from scratch, the technique ensures you skip the usual cheesecake headaches.
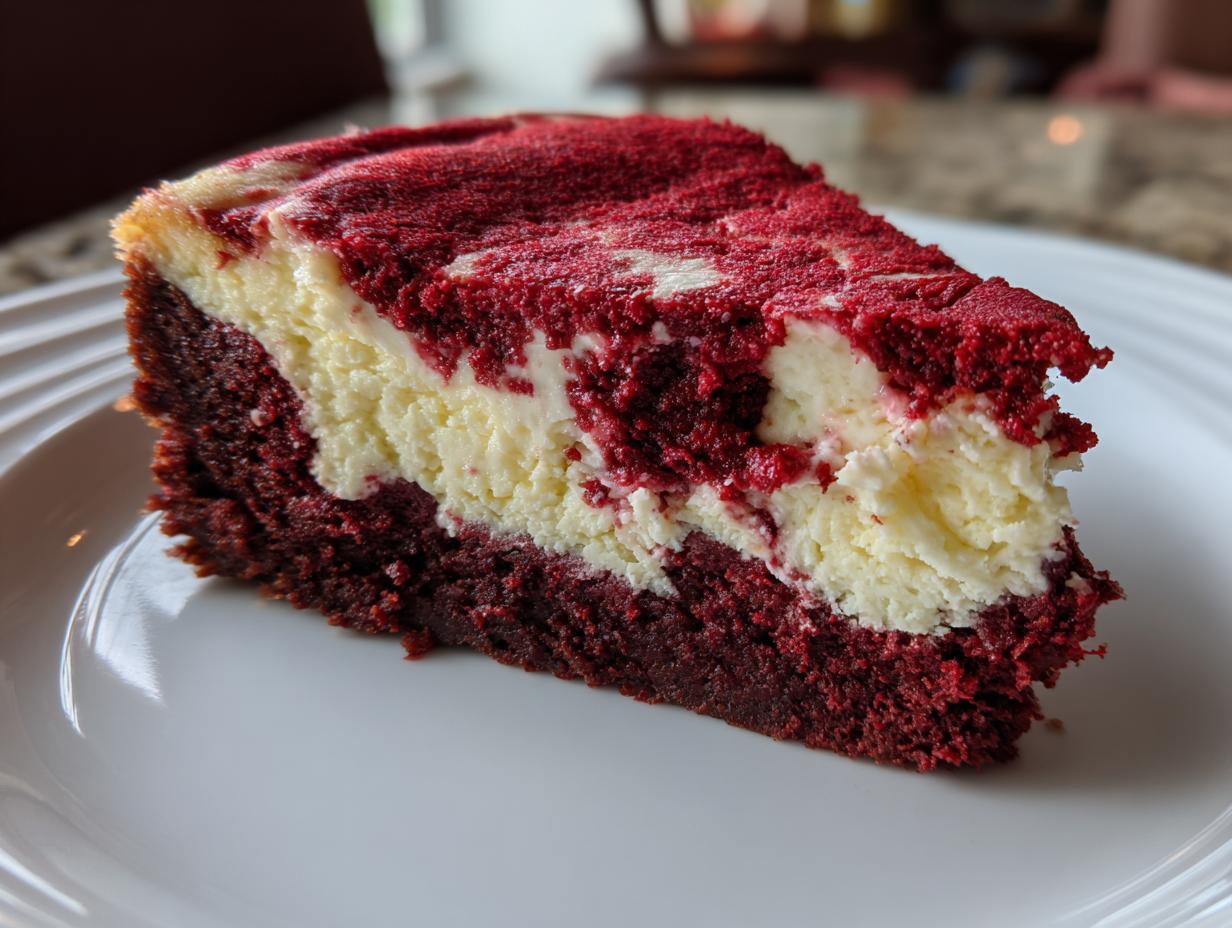
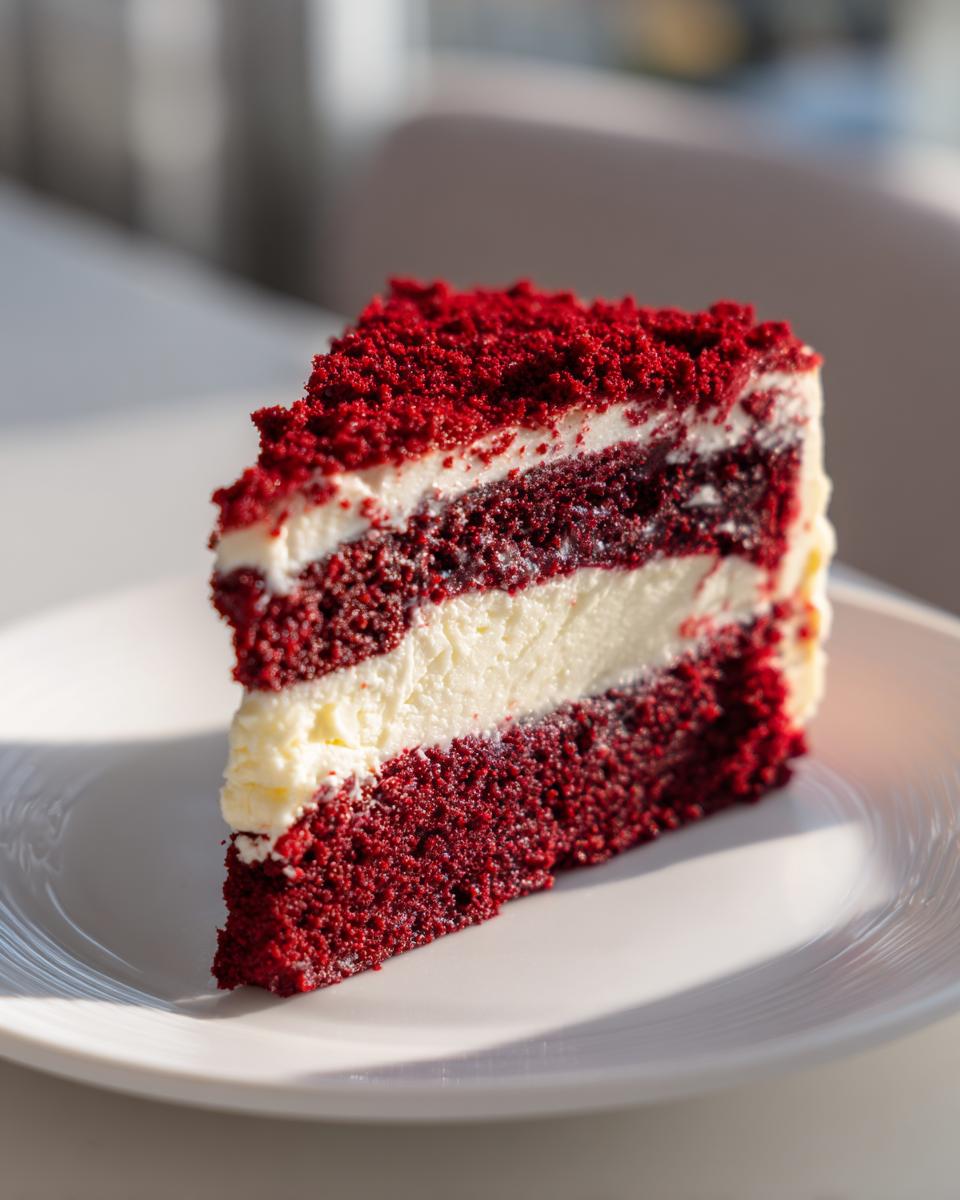
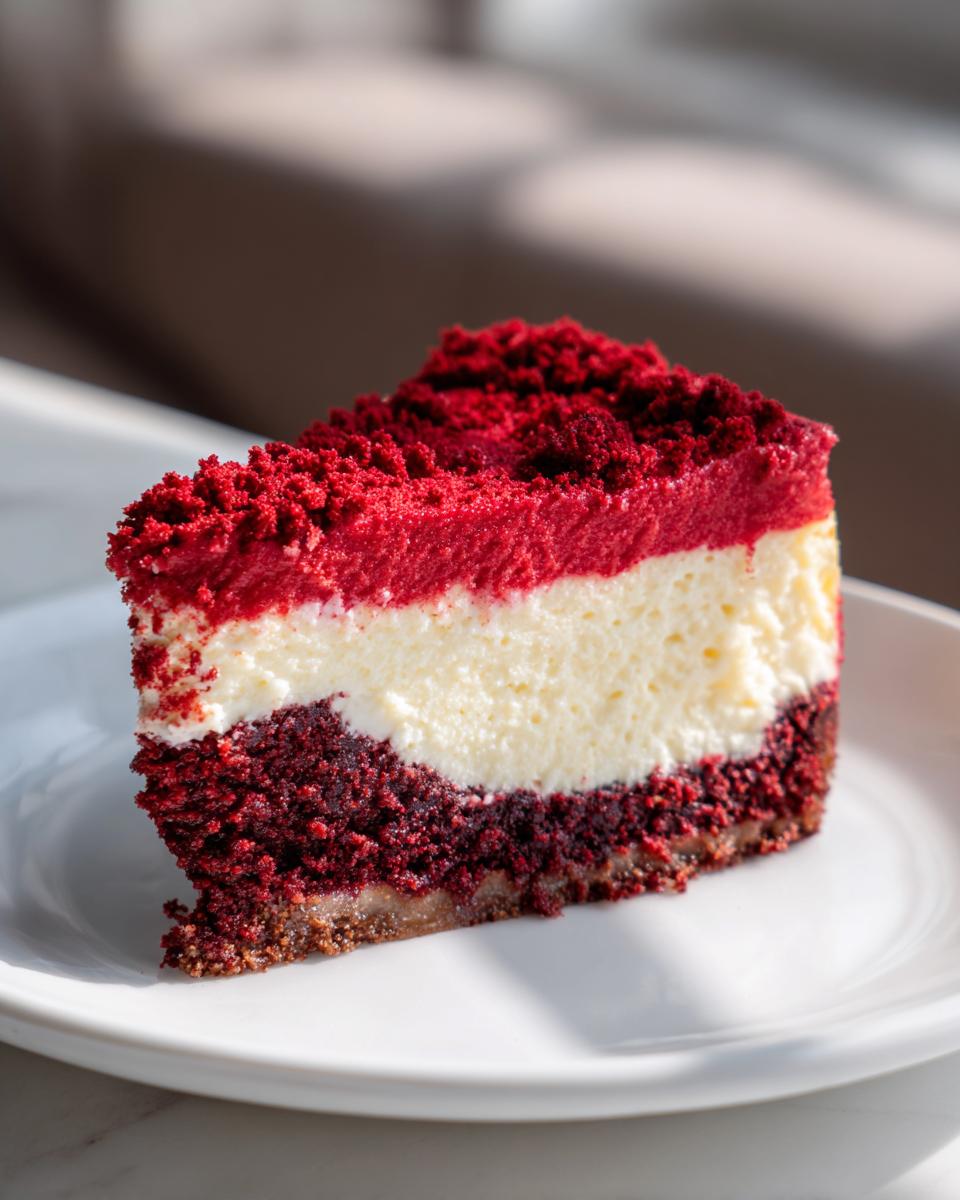
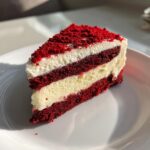
- Stunning Visuals: The deep red color against the dark chocolate crust makes this the perfect Holiday Baking Centerpiece. It’s instant drama!
- Complex Flavor, Simple Mix: You get that signature bittersweet chocolate tang from the cocoa combined with smooth, sweet vanilla cheesecake. It sings!
- A True Crowd-Pleaser: This is one of those Showstopper Desserts For Parties that gets talked about long after the plates are cleared.
Ingredients for the Perfect red velvet cheesecake
Okay, let’s talk about what goes into this beauty! Getting your ingredients prepped and measured *before* you even turn on that mixer is my biggest tip for any Cream Cheese Dessert. When you’re working with cheesecake, precision matters, especially when we are aiming for that velvety smooth texture everyone loves.
I’ve broken down everything by what bowl it needs to go into. Just follow this list closely, and you’re halfway to having the best red velvet cheesecake in your neighborhood!
For the Oreo Crust
This is the dark, crunchy base that holds everything together. We use chocolate sandwich cookies here, not just wafers—it makes a huge difference!
- 1 1/2 cups crushed chocolate sandwich cookies (like Oreos, make sure you crush them well!)
- 1/4 cup granulated sugar
- 6 tablespoons unsalted butter, melted
For the Velvety red velvet cheesecake Filling
Remember: that cream cheese absolutely must be softened completely! If it’s cold, you’ll get lumps, and we want zero lumps for a truly smooth experience.
- 3 (8 ounce) packages cream cheese, softened
- 1 1/2 cups granulated sugar
- 1/4 cup all-purpose flour
- 1 teaspoon vanilla extract
- 1/2 cup sour cream
- 1/2 cup vegetable oil (though butter works if you prefer, see later notes!)
- 2 large eggs
- 1 teaspoon white vinegar
- 1 teaspoon red food coloring (Seriously, grab the gel kind if you can; it gives the most incredible color without watering down the batter.)
- 1 tablespoon unsweetened cocoa powder
Optional Cream Cheese Dessert Topping
This is where you can really elevate the look of your dessert. This simple whipped topping works beautifully as one of the Best Cheesecake Toppings.
- 1 cup heavy whipping cream
- 2 tablespoons powdered sugar
- 1/2 teaspoon vanilla extract
Step-by-Step Instructions for Your red velvet cheesecake
This is the part where we bring everything together! Look, cheesecake baking can seem scary—especially when you’re dealing with that gorgeous red color—but the water bath is your secret weapon for a cracking-free finish. We’re using the official From Scratch Cheesecake Guide’s best practice here, so stick with me!
Preparing the Pan and Crust Base
First things first, get that oven to 325°F (160°C). Now, take your 9-inch springform pan—this is important—and wrap the outside bottom and sides completely with heavy-duty aluminum foil. We wrap it tight! While that’s happening, mix your crushed sandwich cookies, the quarter cup of sugar, and that melted butter until it looks like damp sand. Press that firmly into the bottom of your wrapped pan. Pop it in the oven to pre-bake for exactly 10 minutes, then pull it out to cool down a tiny bit.

Assembling the Water Bath for Smooth Baking
This step is non-negotiable if you want that show-stopping, Velvety Smooth Dessert finish. Take your cooled, foil-wrapped pan and set it inside a larger roasting pan. Once everything else is mixed, we’ll carefully pour boiling water into that outer roasting pan until it comes halfway up the sides of your springform pan. The steam creates gentle, moist heat which stops the edges from baking too fast and cracking the top!
Mixing the red velvet cheesecake Batter
Grab your biggest bowl. Beat the fully softened cream cheese, the 1 1/2 cups of sugar, and the flour until it’s completely smooth. Scrape down the sides—always scrape down the sides! Beat in the vanilla, sour cream, and then slowly drizzle in that oil. Now, for the color pop: In a separate small dish, quickly whisk your eggs, vinegar, cocoa powder, and that gorgeous red food coloring until it’s looking like uniform, dark crimson velvet. Add this wet mix to your main bowl and beat on low speed only until it just blends. Seriously, do not overmix once the eggs are in, or you’ll introduce too much air!
Baking and Essential Cooling Techniques
Pour that beautiful batter over your cooled crust and carefully place the whole roasting pan setup onto the oven rack. Pour your boiling water into the roasting pan for the water bath. Bake for about 60 to 75 minutes. You’re looking for the edges to look set, but the very center should still have a noticeable wobble, almost like Jell-O. When that time hits, turn the oven OFF. Crack the door open just a tiny bit and just let the cheesecake chill in that warm, steamy environment for a full hour. Taking it out right away causes a temperature shock, and *that* is what causes wrinkles or cracks! After an hour, take it out of the water bath, let it finish cooling on the counter, then cover and chill it overnight, which is crucial for slicing.
Ingredient Notes and red velvet cheesecake Substitutions
So, you want to tweak things? I get it! That’s part of cooking for yourself. Remember those important ingredient notes I put in the recipe card? They are there for a reason, especially if you want that super smooth texture that makes this the best red velvet cheesecake!
For instance, the recipe calls for oil, but you can totally substitute that with melted unsalted butter if you want a richer mouthfeel. Go for it! Also, if you had your heart set on a cookie base but didn’t have standard chocolate cookies, remember you can use an Oreo Crust Cheesecake Recipes variation by just crushing those Oreos—wrapper and all!
But the BIGGEST tip I can give you for any Cream Cheese Dessert like this is this: Room temperature cream cheese. If those blocks aren’t soft, the mixer will fight you, and you end up with streaks and lumps instead of a uniform bath for that beautiful red color.
Tips for a Showstopper red velvet cheesecake Success
We’ve covered the basics, now let’s level up your red velvet cheesecake game! My absolute favorite trick for getting that stunningly deep, vibrant red color without making the batter taste weirdly metallic is by blooming our cocoa powder first. Mix the tablespoon of cocoa powder with the teaspoon of vinegar and the red food coloring *before* you add it to the cream cheese mixture.
This simple step deepens the color payoff significantly! Also, please guard that chilling time—I know it’s hard waiting after all that work, but sticking to that 6-hour minimum, or better yet, overnight chill, is what makes the difference between a sloppy slice and a perfect wedge.
If you find your batter looking a little worried (slightly curdled) when you add the eggs, the fix is easy: stop mixing immediately! Just gently fold in the egg mixture by hand with a spatula once or twice, and that usually settles it down before you commit it totally to the oven.
Storage and Reheating Instructions for Your Cream Cheese Dessert
Once your amazing red velvet cheesecake is perfectly chilled, you need to treat it right, or all that hard work goes to waste! This dense Cream Cheese Dessert keeps really well, which is great news for party leftovers. In the fridge, covered tightly with plastic wrap—make sure the wrap isn’t touching the top if you used a whipped topping—it stays absolutely divine for about five to seven days.
Now, if you made this beauty far in advance, freezing is an option! I always recommend taking the topping off first if you made one. Wrap the cheesecake very well in plastic wrap, then add a layer of foil to lock out any freezer smells. When it’s time to eat it, the best way to thaw it is slowly, letting it sit in the fridge overnight. This keeps that luscious texture intact. I’ve got some tips on handling other baked goods like my cream cheese pound cake that might help too!
Serving Suggestions and red velvet Dessert Ideas
You finally made the ultimate red velvet cheesecake, and now it’s time to present it! This dessert is practically begging to be the centerpiece, whether you’re throwing a massive bash or just having a quiet, indulgent night in. Seriously, this bright red wonder is one of my go-to Valentine’s Day Sweets because it looks so romantic sitting on the counter.
The cheesecake itself is so rich and chocolatey that it pairs beautifully with something sharp or contrasting. If you’re serving this after a big holiday meal, skip the heavy sauces! A little drizzle of my homemade easy raspberry jam is just divine against all that creamy goodness. The tartness cuts through the richness perfectly. It’s seriously underrated!
If you love this flavor profile but maybe need something less intense than a full cheesecake for a bigger crowd, think about expanding your horizons into other Red Velvet Dessert Ideas. Have you ever considered making red velvet cookies or maybe a swirled brownie using the same color palette? People always ask me about those!
For pairings, I always lean toward a nice, dark cup of coffee—the slight bitterness enhances the cocoa notes wonderfully. If you want something alcoholic, a small glass of Port wine or even just a crisp, dry sparkling rosé works magic alongside it. If you’re curious about how others take their red velvet flavors even further, check out how my friend over at Recipe Girl handles her red velvet cheesecake cake variation—it gives you lots of inspiration!
Frequently Asked Questions About red velvet cheesecake
I know sometimes you still have questions even after reading through all the steps, and that’s totally fine! When you’re tackling a Showstopper Dessert like this, being sure about the little details makes all the difference. Here are some things I hear a lot about making the perfect red velvet cheesecake. If you’re looking for something a bit quicker overall, you can always browse my larger collection of Easy Cheesecake Recipes!
Can I make this without the water bath?
Oh, I wish I could tell you that you can skip it, but honestly, for a true, crack-free, Velvety Smooth Dessert, the water bath is your best friend. It keeps the temperature gentle. If you absolutely must skip it, try placing a pan of very hot water on the rack *below* your cheesecake instead. It helps, but it’s not quite the same insurance policy!
How do I get that super smooth filling texture?
This is almost entirely based on temperature! If your cream cheese is cold or even cool, your filling will never be truly smooth. Let your cream cheese soften for at least two hours—it should yield easily to gentle pressure. Also, remember what I said about mixing the eggs slowly on low speed? That keeps air bubbles out, which is key to avoiding a grainy texture in your final slice!
Can I substitute the vegetable oil for something else?
Yes! Remember I mentioned that sometimes I like to switch things up? If you want a richer, more decadent flavor—since this recipe is all about deep indulgence—you can definitely swap the vegetable oil for the same amount of melted (and slightly cooled!) unsalted butter. It makes it taste even more like a Rich Chocolate Cake Hybrid!
Is this recipe too much work for a regular weeknight?
Full disclosure? No, probably not! This is a fantastic recipe for Baking for Celebrations because the cooling and chilling time is so long. If you’re looking for something faster, check out my list of genuinely Easy Cheesecake Recipes; those will scratch the itch without needing a full weekend dedicated to baking!
Share Your red velvet cheesecake Creations
Now, the best part! Once you’ve navigated the water bath, the slow cooling, and waited patiently for that overnight chill, you have to tell me how it went! That’s how we build this community of bakers who prove that incredible food isn’t just for fancy chefs.
I really want to see your finished red velvet cheesecake. Did the color come out deep and gorgeous? Did you use that optional whipped topping, or did you just keep it simple?
Please leave a rating right below this section—your feedback helps other cooks know exactly what to expect. And if you snap a photo of your masterpiece sitting out as a major Spectacular Sweet on your party table, tag me on social media! I love seeing these come to life in your kitchens. If you have any last-minute questions that popped up while you were baking, don’t hesitate to reach out through the contact page; I read every single one.
Also, if you tried making this but ended up going a totally different route, like maybe testing out that smooth flavor combination with a different base, I’d love to hear about it in the comments! Sometimes the best red velvet dessert ideas come from what we learn from each other’s tweaks—maybe you found an even better topping variation than I suggested!
PrintDecadent Red Velvet Cheesecake Recipe (Easy From Scratch)
Make a showstopping Red Velvet Cheesecake that combines rich red velvet flavor with a creamy, smooth cheesecake filling. This recipe is perfect for holidays and special celebrations.
- Prep Time: 25 min
- Cook Time: 75 min
- Total Time: 90 min + chilling time
- Yield: 12 servings
- Category: Dessert
- Method: Baking
- Cuisine: American
- Diet: Vegetarian
Ingredients
- For the Crust: 1 1/2 cups crushed chocolate sandwich cookies (like Oreos), 1/4 cup granulated sugar, 6 tablespoons unsalted butter, melted
- For the Filling: 3 (8 ounce) packages cream cheese, softened, 1 1/2 cups granulated sugar, 1/4 cup all-purpose flour, 1 teaspoon vanilla extract, 1/2 cup sour cream, 1/2 cup vegetable oil, 2 large eggs, 1 teaspoon white vinegar, 1 teaspoon red food coloring (gel preferred), 1 tablespoon unsweetened cocoa powder
- For Topping (Optional): 1 cup heavy whipping cream, 2 tablespoons powdered sugar, 1/2 teaspoon vanilla extract
Instructions
- Prepare the oven and pan: Preheat your oven to 325°F (160°C). Wrap the outside of a 9-inch springform pan tightly with heavy-duty aluminum foil.
- Make the crust: In a medium bowl, mix the crushed cookies, 1/4 cup sugar, and melted butter until evenly moistened. Press the mixture firmly into the bottom of the prepared springform pan. Bake for 10 minutes. Remove and let cool slightly.
- Prepare the water bath: Place the foil-wrapped springform pan inside a larger roasting pan. Boil water to use for the water bath later.
- Make the cheesecake filling: In a large bowl, beat the softened cream cheese, 1 1/2 cups sugar, and flour with an electric mixer until smooth. Scrape down the sides.
- Add wet ingredients: Beat in the vanilla extract and sour cream until just combined. Mix in the vegetable oil slowly.
- Incorporate color and flavor: In a separate small bowl, whisk together the eggs, vinegar, red food coloring, and cocoa powder until the color is uniform. Add this mixture to the cream cheese mixture and beat on low speed until just blended. Do not overmix.
- Pour and bake: Pour the red velvet cheesecake batter over the cooled crust. Place the roasting pan on the oven rack. Carefully pour the boiling water into the roasting pan until it reaches halfway up the sides of the springform pan.
- Bake: Bake for 60 to 75 minutes, or until the edges are set but the center still jiggles slightly.
- Cool: Turn off the oven, crack the door open slightly, and let the cheesecake cool inside the oven for 1 hour. This prevents cracking.
- Chill: Remove the cheesecake from the water bath and foil. Cool completely on a wire rack, then cover and refrigerate for at least 6 hours, or preferably overnight.
- Make the topping (optional): Before serving, beat the heavy cream, powdered sugar, and vanilla until stiff peaks form. Spread or pipe onto the chilled cheesecake.
Notes
- For a richer flavor, substitute the vegetable oil with melted unsalted butter in the filling.
- If you want an Oreo Crust Cheesecake, use 1 1/2 cups of crushed Oreos for the crust mixture.
- To achieve a smooth texture, make sure your cream cheese is fully softened to room temperature before mixing.
Nutrition
- Serving Size: 1 slice
- Calories: 450
- Sugar: 45
- Sodium: 350
- Fat: 28
- Saturated Fat: 16
- Unsaturated Fat: 12
- Trans Fat: 0.5
- Carbohydrates: 48
- Fiber: 1
- Protein: 7
- Cholesterol: 110