

When summer berries are bursting with flavor, you absolutely have to capture that taste before they disappear! I know how hectic life gets—trust me, I designed these recipes based on my own busy schedule—which is why I’m sharing my secret for the most vibrant homemade raspberry jam.
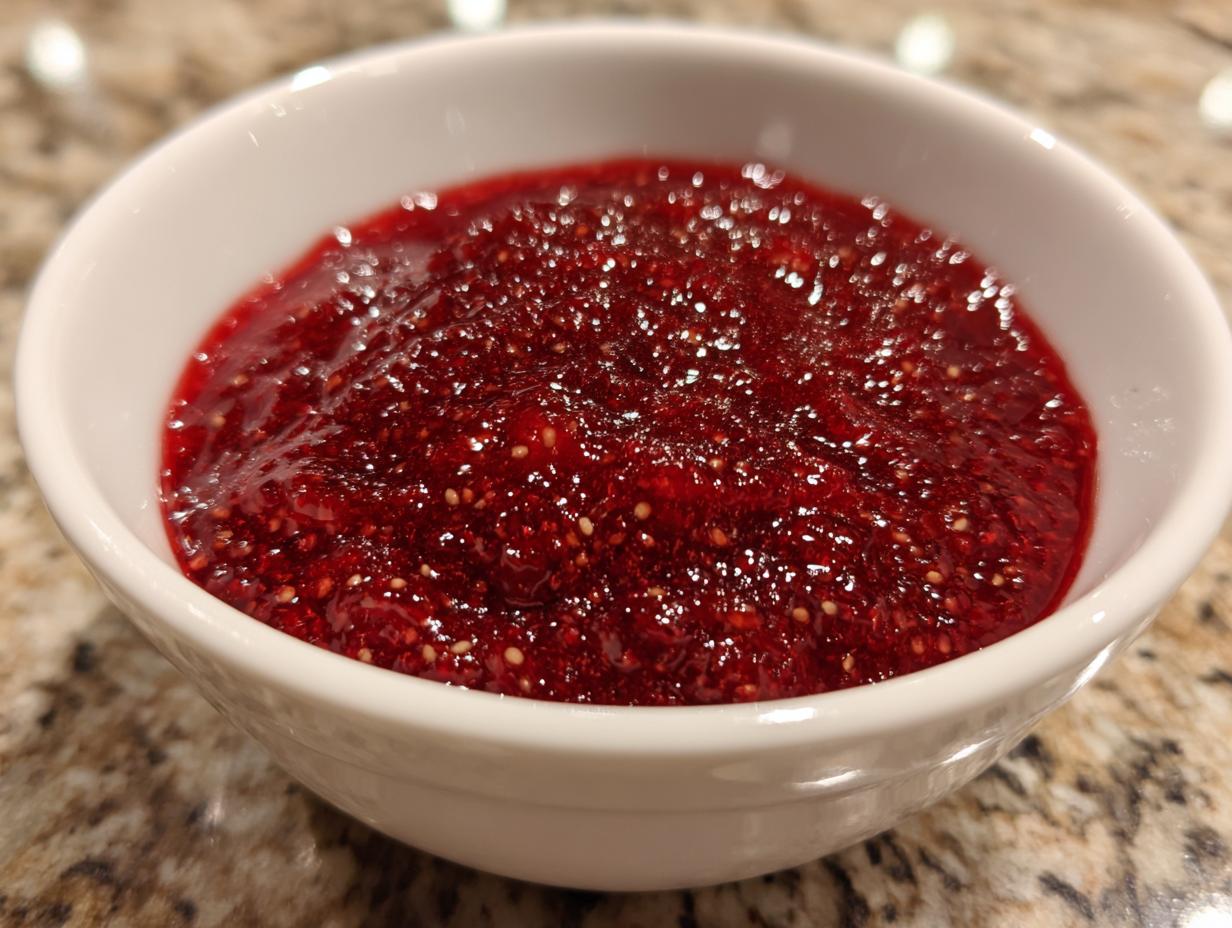
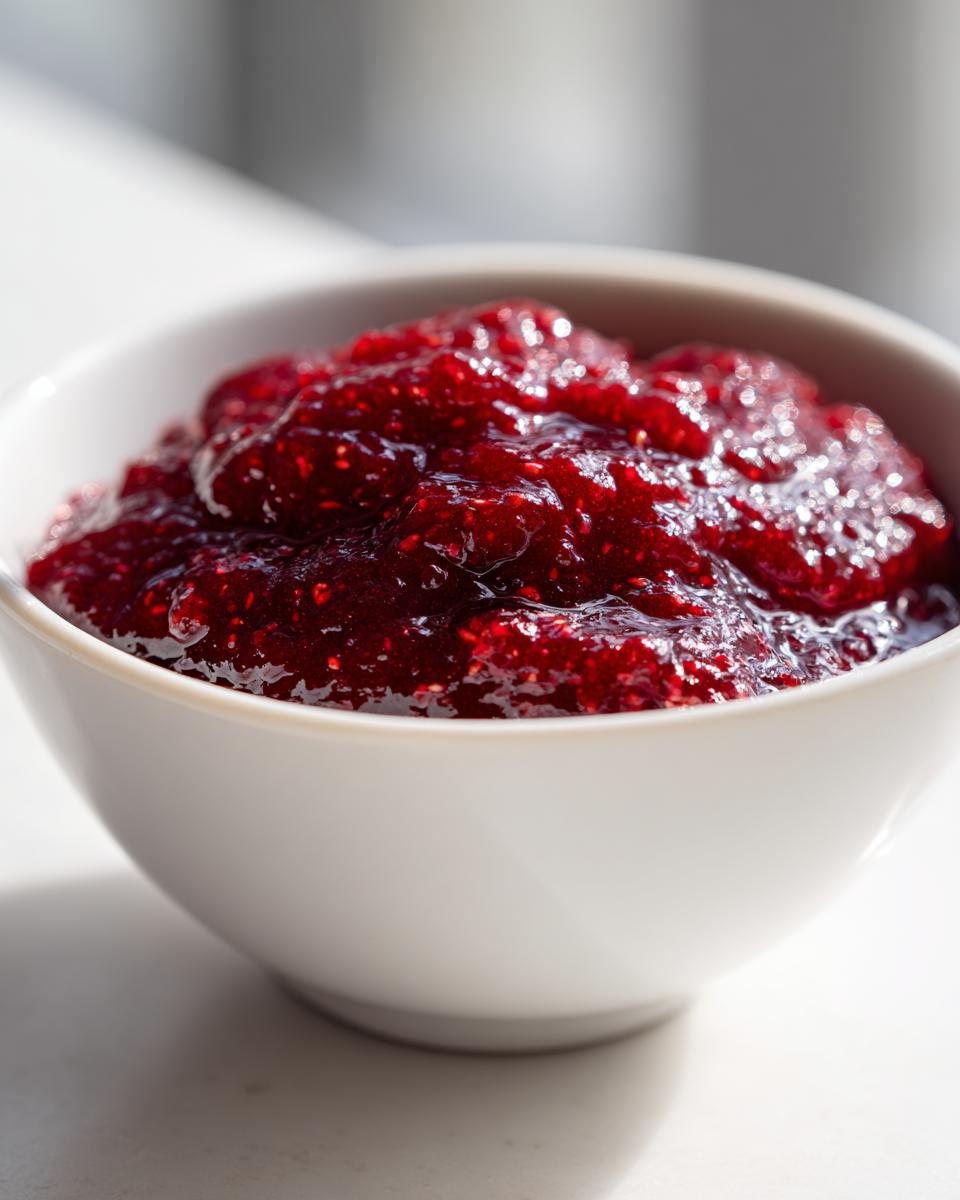
This isn’t some complicated canning project; this is my dead-simple, Easy 3-Ingredient Raspberry Jam Recipe without Pectin. It’s quick, it practically makes itself, and the result tastes like pure sunshine spread right onto your toast. We are keeping things easy and focusing on flavor!
- Why This Easy Raspberry Jam Recipe Works So Well
- Ingredients for Your Vibrant Raspberry Jam
- Preparing Your Homemade Raspberry Jam: Step-by-Step
- Canning vs. Freezer Jam Tutorial for Your Raspberry Jam
- Tips for the Best Raspberry Jam Success
- Serving Suggestions for Your Fresh Raspberry Spreads
- Frequently Asked Questions About Raspberry Jam
- Estimated Nutritional Data for Raspberry Jam
- Share Your Summer Jam Recipe Experience
Why This Easy Raspberry Jam Recipe Works So Well
You might look at this recipe and wonder, “How can this be the best raspberry jam if it skips the pectin pack?” That’s the beauty of it! I only use three core ingredients, and that’s all you need for a stunning, set preserve. It’s my favorite kind of magic—real results from simple steps.
- Truly Minimal Ingredients: You just need your gorgeous raspberries, sugar, and a splash of lemon. That’s it! No fillers, no commercial additives, just pure fruit flavor shining through in this 3 Ingredient Jam.
- Stunning Texture: Since we aren’t using pectin, we rely on the natural chemistry of the fruit. This method gives you beautiful, rich Homemade Raspberry Jam that sets up perfectly, whether you are making raspberry preserves or freezer batches.
The Secret to Thick Raspberry Jam Without Pectin
Don’t stress about commercial thickeners! Raspberries are actually superstars when it comes to natural pectin—they have enough in their skins and seeds to do the job. The sugar does double duty here; it acts as a preservative, but it also pulls the moisture out of the berries so the natural pectin can activate.
The lemon juice? That little bit of acid is the final key! It helps the set happen faster and brightens up that incredible summertime flavor. It’s an old-fashioned way to make jam, and it tastes so much better.
Speed and Simplicity: Making Quick Raspberry Jam
If you’ve been looking for something fast, this is your winner. We aren’t spending hours standing over the stove, waiting for things to go slow. Seriously, from chopping to the final boil, you are looking at less than 40 minutes total time!
This makes it the ideal Quick Berry Jam for weeknight projects. You can have fresh jam ready for your sourdough toast before the laundry is even done. It’s perfect for those times you just can’t wait to get that vibrant flavor!
Ingredients for Your Vibrant Raspberry Jam
Part of what makes this my favorite Easy Jam Recipe is how few things you need! I refuse to drag out a dozen specialty spices or powders just to make jam. We want the raspberry flavor to be the star, and with only three ingredients, it truly is!
Here is everything you need to gather up:
- 2 pints fresh or frozen raspberries (either works great, just use what looks best!)
- 3 cups granulated sugar (this is non-negotiable for the set!)
- 1 tablespoon fresh lemon juice (don’t skip this; it’s essential for thickening!)
See? That’s it! Three items for a jar full of sunshine. It truly doesn’t get simpler than this for delicious Homemade Fruit Preserves.
Preparing Your Homemade Raspberry Jam: Step-by-Step
Okay, now that we have our simple ingredients together, let’s get to the fun part! Putting together your Homemade Raspberry Jam is surprisingly quick, but there are a couple of key moments where you need to pay attention so the jam knows exactly how to set up beautifully for you.
Remember, since we aren’t using pectin, technique is everything here. We rely on good old science and a little bit of heat to create that perfect consistency. If you’ve been successful with small-batch jams before, like my blackberry jam canning guide, you’ll find this process very familiar!
Maceration and Initial Boiling for Perfect Raspberry Jam
First things first: grab your biggest, heavy-bottomed pot—we are using those deep berries and the sugar needs room to bubble up safely! Dump in the raspberries and all three cups of sugar. Now, this is important: let this mixture sit on the counter for at least 15 minutes. This is called maceration. You are letting the sugar pull all those beautiful juices out of the fruit so you don’t end up with scorched sugar.
Once you cover the waiting time, set the pot over medium-high heat. You must stir patiently until that sugar is completely, 100% dissolved. You shouldn’t feel any grit if you rub a little of the liquid between your fingers. ONLY once it’s dissolved do you let it hit a hard, rolling boil!
Reaching the Setting Point: Temperature and Testing
Once you hit that big boil, toss in your lemon juice. Now the clock is ticking! You are cooking hard, stirring constantly so it doesn’t scorch the bottom of the pot. You are aiming for that magic temperature: 220 degrees Fahrenheit. If you have a candy thermometer (they’re great to have around!), stick it in there and watch the number climb.
If you are cooking without one—which is how my mom always did it—look for the spoon test. Dip a cold spoon into the jam and pull it out. If the liquid runs off the edges quickly, keep boiling. If the jam drips off the spoon in thick, slow sheets, it’s done! If you hold a spoonful up and drag a finger across the back, and the track stays clear without the jam running back together, you’ve hit the setting point!
Canning vs. Freezer Jam Tutorial for Your Raspberry Jam
Now we have to decide how to store this beautiful, bright jam! Since we skipped the pectin, we have two superstar methods for keeping this flavor locked in. Whether you want proper shelf stability or just want your jam ready in time for breakfast tomorrow, we have you covered.
The choice really comes down to how quickly you plan to eat through your batch. If you’re making only a small batch, freezing is so much simpler—it’s practically instant preservation! But if you want jars lined up for gifts or pantry organization projects, then water bath canning is the way to go for those shelf-stable Raspberry Preserves.
Water Bath Canning for Shelf-Stable Raspberry Preserves
If you’re going the canning route, grab your clean, sterilized jars. You pour that beautiful, hot jam straight into the jar, but you absolutely must leave exactly 1/4 inch of space at the top—that headspace is crucial for a proper seal! Don’t forget to wipe the rims clean with a damp cloth; any sticky sugar spot means that jar won’t seal correctly.
Screw those lids on snugly—not too tight!—and carefully lower them into a pot of actively boiling water. You need to process them for 10 minutes in that rolling boil. After the time is up, pull them out and let them cool undisturbed on a rack. That little ‘pop’ sound you hear later? That’s the sound of success! It’s a super straightforward Freezer Jam Tutorial adaptation for shelf life.
For freezer instructions, which is my favorite quick method, just cool the jam completely on the counter, put tight lids on, and pop them in the freezer. You can find great tips on how to manage no-pectin jam if you want extras details!
Tips for the Best Raspberry Jam Success
Even though this is an easy jam recipe, a few little tricks can take it from good to being the absolute best raspberry jam you’ve ever made! We want that brilliant color and that perfect, spreadable thickness every single time. Since we’re keeping the ingredients list short, maximizing the natural quality of the fruit is key.
When you’re working with berries, you always have to consider texture. Are you okay with the little crunch of seeds, or do you want that silky smooth result? I learned a great trick that makes a huge difference if you are trying to impress someone!
Achieving Seedless Raspberry Jam
If you prefer a totally smooth, seedless jam, here is what you do: You don’t strain the berries before cooking! Wait until the mixture has finished boiling and reached the setting point. Then, remove the pot from the heat and carefully pour the entire hot batch through a fine-mesh sieve set over a clean bowl.
You’ll need to stir and push the pulp along gently to extract all that glorious juice and jammy goodness. You’ll be left with the seeds easily trapped in the sieve. After that, just ladle the pure, seedless preserves into your jars. It adds a tiny extra step, but the texture is just divine!
Serving Suggestions for Your Fresh Raspberry Spreads
Okay, you’ve made the best raspberry jam—now what do you do with it all? Honestly, this jam is so vibrant, you won’t want to save it just for toast! While it’s absolutely divine smeared thickly on the best sourdough or a thick bagel, try taking it beyond breakfast.
These Fresh Raspberry Spreads are amazing stirred directly into plain Greek yogurt for a quick, tart breakfast or layered beautifully into thumbprint cookies. They are fantastic on top of warm scones or even mixed into the batter of a simple cheesy rice if you are feeling wild!
If you want to see other amazing uses for a simple fruit jam, check out this post for cocktail ideas! These jars of goodness are perfect for all your Breakfast Toppings Jams needs.
Frequently Asked Questions About Raspberry Jam
I know sometimes you just have one tiny question lingering before you commit to making a whole batch of Homemade Raspberry Jam. Don’t worry, I’ve been asked everything under the sun about these simple preserves. These questions usually pop up when people are trying to adapt things, which, honestly, I encourage, but stick close to these rules for a guaranteed set!
How long does this No Pectin Jam last?
This is the most important question! If you followed the steps and processed your jars properly in the water bath—congrats, you made shelf-stable Raspberry Preserves! Those jars will last you a full year in a cool, dark pantry. If you opted for the super easy freezer method, those containers are good for about 10 to 12 months in the freezer. Once opened, however, just put them in the fridge and use them up within three weeks!
Can I use a natural sweetener jam alternative?
This is where I have to be bossy for a second! Since this recipe relies entirely on the high sugar content to pull out the berry’s natural pectin and help it set, you absolutely cannot swap out the sugar for honey or stevia without adding commercial pectin. If you skip the sugar, you won’t get a set; you’ll just end up with warm, sweet raspberry sauce that you have to keep refrigerated. For this specific No Pectin Jam formula, sugar is your secret setting agent!
Estimated Nutritional Data for Raspberry Jam
Now, I always put this disclaimer right up front: These numbers are my best guess based on what I put into the pot! Since we are using fresh or frozen berries, which can vary wildly in sugar content, and you might use a slightly different brand of sugar, these are just estimates. But it gives you a good idea of what you’re enjoying!
This information is based on a serving size of just two tablespoons. Remember, all that flavor comes from fruit and sugar, so it’s relatively clean!
- Serving Size: 2 tablespoons
- Calories: 100
- Sugar: 25g (This is where the setting magic happens!)
- Sodium: 1mg
- Fat/Cholesterol: 0g (Woohoo! Pure fruit goodness!)
- Carbohydrates: 26g
- Protein: 0g
So, while you are getting a nice little boost of energy from that fruit sugar, you aren’t adding any questionable extras. That’s the beauty of making your own Homemade Raspberry Jam—you control every single bit of what goes into the jar!
Share Your Summer Jam Recipe Experience
Look, I’ve given you all my secrets for this incredibly easy recipe, and now it’s your turn! I truly want to hear about your jars of sunshine. Did you use fresh berries this weekend? Did you sample a spoonful right off the stove—don’t lie, I do it every time!
Please, come back and drop a rating for this Easy Jam Recipe down below. Let me know how quickly it set up for you. Seriously, jump into the comments section and tell me what you plan to slather this gorgeous, vibrant jam on next—is it for those quick and easy breakfasts or are you baking with it?
I love seeing your results! Tag me in your photos on social media when you show off your perfect jars of Homemade Raspberry Jam. Happy preserving, friends!
PrintEasy 3-Ingredient Raspberry Jam Without Pectin
Make bright, flavorful homemade raspberry jam using only three simple ingredients. This pectin-free recipe is quick to prepare and perfect for beginners, yielding a spreadable jam ideal for toast, bagels, or desserts.
- Prep Time: 15 min
- Cook Time: 25 min
- Total Time: 40 min
- Yield: About 3 half-pint jars 1x
- Category: Preserves
- Method: Stovetop Cooking/Water Bath Canning
- Cuisine: American
- Diet: Vegetarian
Ingredients
- 2 pints fresh or frozen raspberries
- 3 cups granulated sugar
- 1 tablespoon fresh lemon juice
Instructions
- Combine the raspberries and sugar in a large, heavy-bottomed pot. Let the mixture sit for 15 minutes to allow the sugar to draw out the juices from the berries.
- Place the pot over medium-high heat. Stir constantly until the sugar dissolves completely and the mixture begins to boil rapidly.
- Once boiling, add the lemon juice. Continue to boil, stirring frequently to prevent scorching, until the jam reaches 220 degrees Fahrenheit on a candy thermometer, or until it coats the back of a spoon thickly. This usually takes about 15 to 20 minutes.
- Remove the pot from the heat. Skim off any foam that forms on the surface using a spoon.
- Ladle the hot jam into clean, sterilized jars, leaving 1/4 inch of headspace. Wipe the rims clean.
- Process the jars in a boiling water bath canner for 10 minutes, adjusting for altitude if necessary, or allow the jam to cool completely on the counter for freezer storage.
- Cool jars on a rack away from drafts. Check seals after 24 hours. Store sealed jars in a cool, dark place or store unsealed jars in the refrigerator or freezer.
Notes
- For freezer jam, skip the canning step and cool the jam completely before transferring it to freezer-safe containers. Freezer jam lasts up to one year.
- If you prefer seedless jam, press the cooked mixture through a fine-mesh sieve before jarring.
- This jam is excellent served over sourdough toast, mixed into yogurt, or used as a filling for thumbprint cookies.
Nutrition
- Serving Size: 2 tablespoons
- Calories: 100
- Sugar: 25g
- Sodium: 1mg
- Fat: 0g
- Saturated Fat: 0g
- Unsaturated Fat: 0g
- Trans Fat: 0g
- Carbohydrates: 26g
- Fiber: 1g
- Protein: 0g
- Cholesterol: 0mg