

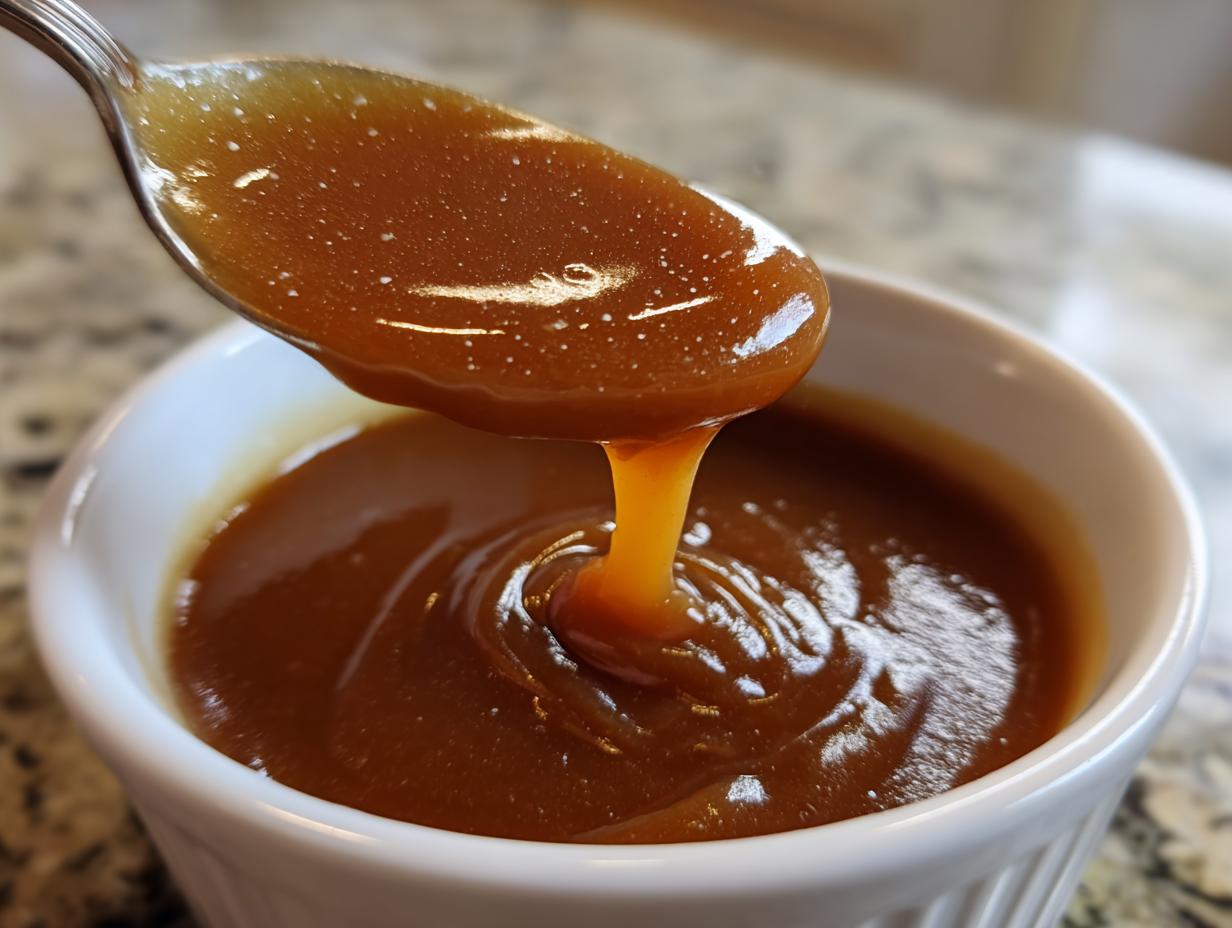
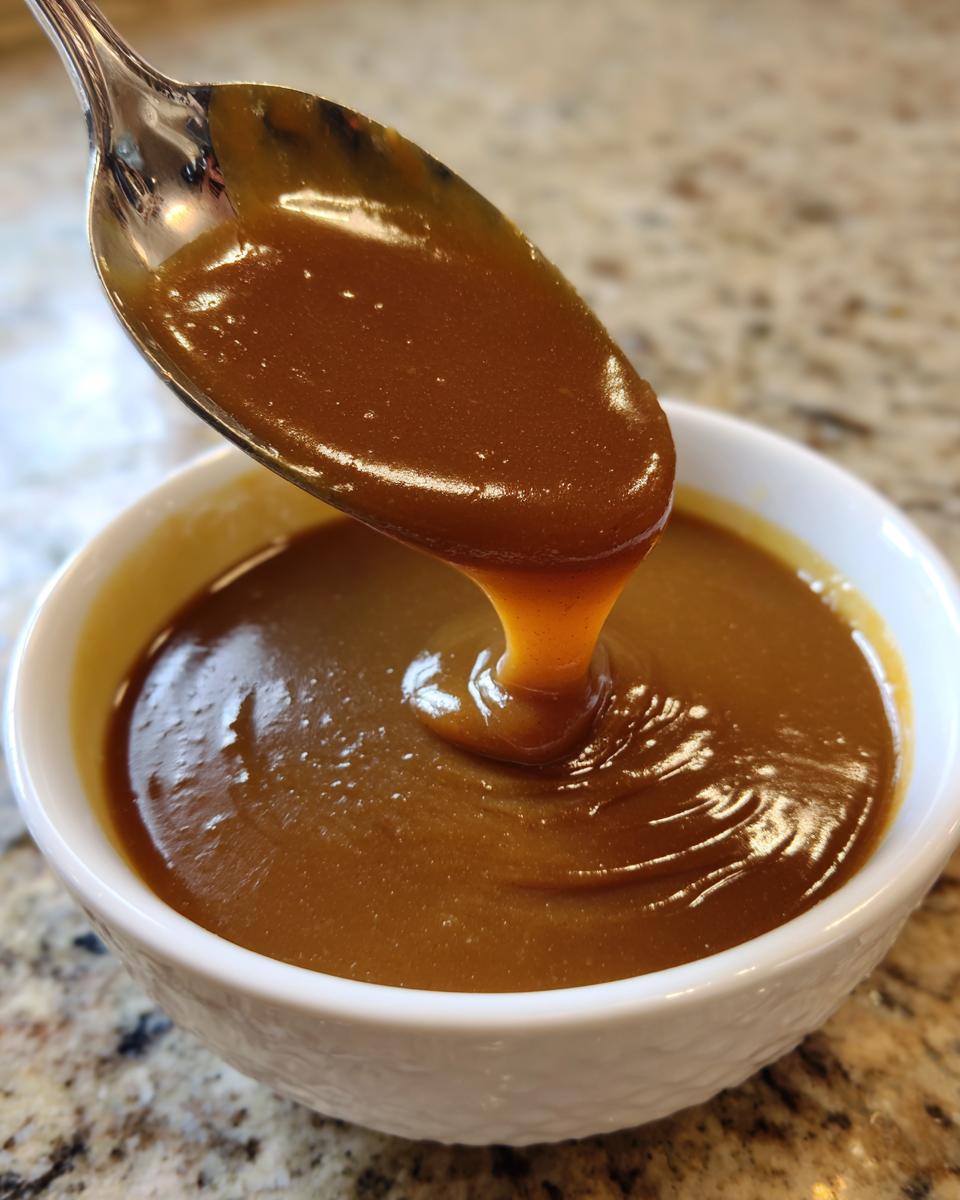
Let’s be honest, what is mashed potatoes without gravy? It’s just sad, lukewarm potatoes. Gravy is the hug at the end of a long, hard day of work, and that’s why I fight so hard to keep that tradition alive, even when life gets hectic. That’s why I developed what I genuinely believe is the Best Homemade Brown Gravy (No Drippings Needed). Forget those chalky packets you keep in the pantry! This recipe is pure, homemade brown gravy magic, intensely savory, and on your table in about 15 minutes flat. It’s about reclaiming that rich, comforting flavor without needing the roast drippings first. Remember what I always say? Cooking should restore you, not stress you out. This recipe is my promise to you that you can have exceptional flavor, quickly. You can learn more about this philosophy on my About Page!
- Why This Homemade Brown Gravy Recipe Works Every Time
- Gathering Ingredients for Your Homemade Brown Gravy
- The Classic Brown Gravy Technique: Step-by-Step Instructions
- Tips for the Perfect Homemade Brown Gravy Every Time
- Serving Suggestions for Your Homemade Brown gravy
- Storage and Reheating Instructions for Homemade Brown Gravy
- Frequently Asked Questions About Making Brown Gravy
- Nutritional Snapshot of This Velvety Homemade Gravy
- Share Your Experience Making Homemade Brown Gravy
Why This Homemade Brown Gravy Recipe Works Every Time
When you need a dependable, easy brown gravy recipe, you need a method that doesn’t rely on luck or leftover pan drippings. That’s what makes this approach so fantastic. We build flavor from scratch, ensuring perfection every time, whether you’re making a holiday side dish or just need something amazing over your weeknight dinner.
- It’s a true gravy without drippings, meaning you can make it anytime you need it, full stop.
- It utilizes the classic roux method, which is the single most reliable way to thicken sauces.
- It’s adaptable—use beef, chicken, or even vegetable broth without sacrificing richness.
If you’re looking for other five-star pantry staples, check out my instructions for quick and easy fried noodles!
Achieving That Velvety Homemade Gravy Texture
The texture is everything, isn’t it? We avoid that gloppy, lumpy disaster by creating the perfect roux first. That means melting the butter and whisking in the exact amount of flour slowly. Cooking this paste for a minute or two browns the flour slightly, which cooks out that raw, starchy taste. When you slowly whisk in the broth after that, the fats and starches emulsify into a beautiful, smooth sauce. That’s your guarantee for a perfect, velvety homemade gravy.
Quick Comfort Food Sauces Ready in 15 Minutes
No one wants to wait an hour for sauce, and honestly, you shouldn’t have to! The magic of this homemade brown gravy is that the entire process, from melting butter to setting it on the table, takes about 15 minutes total. This is the definition of quick comfort food sauces. It’s proof that you don’t need to compromise on depth of flavor just because you’re short on time.
Gathering Ingredients for Your Homemade Brown Gravy
This is where we rely on the basics, friends. The success of this pantry staple gravy recipe is that you probably have almost everything already sitting in your kitchen. Precision matters here because we aren’t relying on meat drippings to carry the flavor—the roux and the broth are doing all the heavy lifting. Trust me when I say measuring these ingredients exactly is the secret to avoiding lumps!
Here is exactly what you need for about 1.5 cups of gorgeous gravy:
- 60 g salted butter (This is about 4 tablespoons, but weighing is best!)
- 35 g all-purpose flour (Again, weigh this if you can, or use about 1/4 cup if you must eyeball it.)
- 480 ml beef broth (This is crucial for the deep flavor, though chicken or vegetable broth works great for a vegetarian option.)
- 0.5 g dried thyme (Just a small pinch, but the thyme really complements that savory flavor.)
- Salt and black pepper to taste (Seasoning is always done last, but have them ready!)
If you’re tired of just gravy and want to mix up some other dressings, you should check out my favorite easy homemade salad dressing recipes while you have the whisk out!
The Classic Brown Gravy Technique: Step-by-Step Instructions
Alright, let’s get cooking! Making this homemade brown gravy is really about managing heat and timing. You’re not just mixing ingredients; you’re building a foundation. Use a medium saucepan—nothing too big—and make sure you’ve got a good whisk in hand. We’re moving fast because this whole marvelous sauce comes together in minutes. Don’t worry about using those drippings; trust the butter and flour! If you want to get really comfortable with using a roux base, you have to check out my guide on shrimp etouffee, where we use a much darker version of this technique.
Building the Flavor Base: Making the Roux
First things first, melt your butter over medium heat. Once it’s fully liquid, dump in your flour all at once. Now, this is important: whisk it aggressively until you have a smooth paste, what professionals call a roux. You need to cook this paste for a full 1 to 2 minutes, stirring non-stop. You’re looking for it to go from pale white to a lovely light tan color. If you don’t cook out that raw flour taste, your whole savory sauce from scratch will taste… well, pasty. We want deep flavor, not raw flavor!
Simmering for the Best Beef Gravy Recipe Consistency
Once that roux is happy, it’s time for the liquid. Super slowly, drizzle in that beef broth while whisking like you mean it. Seriously, put your arm into it! If you dump it all at once, you end up with lumps, and nobody has time for that. Once the broth is incorporated, turn the heat up just until it hits a gentle simmer. Keep whisking occasionally as it thickens up over the next few minutes. Stir in your thyme, salt, and pepper. If, after about five minutes of simmering, it still seems a little thin for your liking, try this: mix one teaspoon of flour with one tablespoon of cold water in a tiny cup—that’s a slurry. Whisk that slurry right into your simmering gravy until it thickens up perfectly for your best beef gravy recipe.
Tips for the Perfect Homemade Brown Gravy Every Time
I’ve made this homemade brown gravy hundreds of times now, and I can tell you, it’s all in those tiny adjustments that really take it from good to absolutely unforgettable. Since we aren’t working with roast drippings, we have to be deliberate about building every layer of color and savory depth. It’s super straightforward, but these little details—the things I learned by watching my dad make his legendary barbecue sauce—are what build my confidence in the kitchen, and I want you to have that same confidence!
Adjusting Color and Depth of Flavor
You might notice my recipe calls for cooking the roux until it’s a *light* brown. That cooks out the raw flour taste—that’s non-negotiable for me. But if you’re aiming for that super deep, rich color you see in old-school diners or for a truly rich meat gravy feel, you can push that roux further! Just keep stirring, folks; don’t let it scorch. If you cook that butter and flour until it’s a deep peanut-butter brown before adding your broth, you’ll get a much darker, more intense flavor profile. It’s a bit riskier because the window between “deep brown” and “burnt” is tiny, but the payoff is huge for flavor depth.
Broth Versatility for This Pantry Staple Gravy Recipe
Don’t panic if you’re out of beef broth or if you’re sticking to a vegetarian meal for the night. One of the best things about this pantry staple gravy recipe is how adaptable it is. You can absolutely use good quality chicken broth or even vegetable broth, and you’ll still end up with a fantastic, savory sauce. The key ingredient here is the roux base, which provides the classic texture. Just know that using a different broth will slightly alter the final flavor profile, but it will still be leagues better than any store-bought mix. If you want more ideas on seasoning proteins, check out my tips for the best chicken marinade!
Oh, and remember that thickening slurry? If your gravy settles down and gets too thick when it cools—which happens because the starch molecules keep doing their job—don’t sweat it! Just whisk in a tablespoon of warm broth or even warm water at a time until it loosens up again. We keep it saucy around here!
Serving Suggestions for Your Homemade Brown gravy
Okay, now that you have this gorgeous, thick, and deeply flavored homemade brown gravy ready to go, the real fun begins—drowning everything in it! Seriously, this sauce is so versatile; it elevates almost any humble plate of food into legendary comfort food status. When I first started making this version over just relying on drippings, it felt like I unlocked a secret level of easy, delicious dinner-making.
Here are the three things I absolutely cannot live without smothering in this rich sauce. If you’re making mashed potatoes to go with this, you have to see my recipe for the creamiest mashed potatoes—they are a perfect match!
- Mashed Potatoes, Obviously: This is the law, right? A giant scoop of fluffy, buttery potatoes just begging for a generous blanket of this savory sauce from scratch. Don’t be shy; let it pool around the sides!
- Meatloaf Night: If you’re making meatloaf, you need a proper savory topping. Skip the ketchup glaze sometimes and drizzle this savory gravy right over the top of your sliced meatloaf before serving. It makes the whole experience feel special.
- Over Fried or Smothered Chicken: This is a true Southern classic. Whether you pan-fry your chicken or you “smother” it in onions and mushrooms, this gravy provides that beautiful, salty-rich coating. Trust me, it makes any weeknight chicken dinner taste like Sunday dinner.
- Biscuits or Toast Points: Sometimes, especially on a chilly morning, I just make a quick batch of biscuits and drown them in this. It’s the easiest, most satisfying breakfast or late-night snack.
See? You don’t need a fancy roast to justify making a batch of velvety homemade gravy!
Storage and Reheating Instructions for Homemade Brown Gravy
Even the best homemade brown gravy shouldn’t go to waste! If you happen to have any leftovers—which, let’s be honest, happens more when you make a big batch just because you can—storage is super simple. Just like any sauce made with flour and butter, we need to handle it correctly when chilling it.
Pop your leftover gravy into an airtight container. I prefer glass containers because they don’t hold onto smells, but any good sealable dish works fine. You can keep this in the refrigerator for up to three or four days. It’s honestly one of my best pantry staple gravy recipes because it keeps so well!
Now, here’s the part I always remind people about: when you pull it out of the fridge, it’s going to be thick. Like, REALLY thick. That’s just the starch molecules settling in for a cold nap. Don’t worry that you ruined it! We just need to wake it back up gently.
To reheat, put the gravy back into a saucepan over low or medium-low heat. As it warms up, start whisking in a little bit of warm broth or even just warm water, just a tablespoon at a time. Keep whisking until it loosens up into that perfect, pourable consistency again. Don’t rush this! If you hit it with high heat, it can break the emulsion. Slow and low reheating, plus a little extra liquid, gets your sauce back to being that velvety blanket you love.
If you’re looking for another great recipe that benefits from good storage and reheating practices—especially for busy weeknights—you have to try my easy slow cooker chicken pozole rojo! Sometimes having great leftovers saves the whole week!
Frequently Asked Questions About Making Brown Gravy
I know that sometimes those little doubts creep in when you’re whisking away, especially with a homemade brown gravy recipe where timing feels everything. It’s totally normal! If you’re making a savory sauce from scratch, you want it to be perfect. Here are some of the questions I get most often from people trying this recipe out for the first time.
How do I get a darker color for my homemade brown gravy?
If you want that deep, gorgeous color that signals a truly rich meat gravy, the secret lies entirely in your roux—that butter and flour paste we talked about. As I mentioned earlier, you need to cook that roux longer than you might think! Instead of just cooking it until it’s pale tan (which removes the raw flour taste), continue stirring gently over medium heat until it deepens to a dark peanut-butter shade. That extra cooking time toasts the flour particles, giving you a darker color and a deeper, nuttier flavor base for your sauce. Just watch it like a hawk so it doesn’t burn!
Can I use water instead of broth for this easy brown gravy recipe?
You sure can, in a pinch! If you are completely out of broth and need an easy brown gravy recipe right now, water will work to give you the thickening base. But honestly? It will taste mostly like salty flour water. Broth—whether beef or chicken—is what provides that essential savory backbone and depth. If you only have water, I highly recommend dissolving a high-quality bouillon cube or powder into the hot water first to mimic that depth. Without some sort of stock, you’re missing out on that incredible homemade flavor!
What is the best way to thicken gravy without lumps?
Lumps are the arch-nemesis of a smooth sauce, but we conquer them with a slurry, which is the gold standard for achieving that how to thicken gravy perfectly! Never, ever just dump extra dry flour directly into simmering gravy. That just creates a flour blob at the top. The trick is creating a slurry first: mix one teaspoon of flour (or cornstarch, if you prefer!) with one tablespoon of COLD water until it’s totally smooth. Whisk that cold slurry slowly into your hot, simmering gravy. Because the liquid is cold, it won’t seize up immediately, allowing the starch to dissolve evenly before it begins to thicken everything up right there on the stovetop. It’s foolproof!
If you’re trying to get comfortable making soups and sauces from scratch, take a peek at my recipe for creamy potato soup—it also relies on some great foundational thickening tips!
Nutritional Snapshot of This Velvety Homemade Gravy
I always like to give you an idea of what you’re putting on the table, even with sides, because I believe in knowing your food! Keep in mind that this gravy is made from scratch, so it skips all those scary additives you find in packets, but it still has salt, so be mindful of that. These numbers are based on the recipe above, yielded into about 4 servings (1/4 cup each). It’s a wonderful, low-carb addition to any meal!
Here’s a general idea of what you’re looking at per serving:
- Calories: Roughly 95
- Fat: About 7g
- Protein: Around 2g
- Carbohydrates: About 6g
- Sodium: Approximately 350mg
This is just an estimate based on standard ingredient calculations, so of course, if you use low-sodium broth or skip the salt, those numbers will shift! But this gives you a great view of how wholesome this velvety homemade gravy really is when made right here in your own kitchen.
Share Your Experience Making Homemade Brown Gravy
Now that you have the tools, the technique, and hopefully a piping hot batch of this amazing homemade brown gravy simmering on your stove, the last gift I want to give you is the joy of sharing your success!
The kitchen is meant to be communal, and I truly love hearing about how my recipes integrate into *your* lives. Did you serve this over leftover roast beef? Did you ditch the packet mix for Thanksgiving dinner? Did you manage to get a perfect color on your roux on the first try?
Please, take a moment and let me know! Drop a comment down below, give the recipe a star rating so other folks know it’s a keeper, and tell me what you paired it with. Hearing from you always reminds me why I started Cooking by Felix in the first place—to connect with home cooks who crave real flavor without the fuss.
If you have any questions about the process, or if you’re looking to send me feedback directly, don’t hesitate to reach out through the Contact Page. I read every message, and I’m always here to cheer you on. Happy cooking, from my kitchen to yours—Felix.
PrintThe Best Homemade Brown Gravy (No Drippings Needed)
Make rich, savory homemade brown gravy from scratch using simple pantry staples. This recipe delivers a velvety texture perfect for mashed potatoes, meatloaf, or roast beef, without needing any meat pan drippings.
- Prep Time: 5 min
- Cook Time: 10 min
- Total Time: 15 min
- Yield: About 1.5 cups 1x
- Category: Side Dish
- Method: Stovetop
- Cuisine: American
- Diet: Vegetarian
Ingredients
- 60 g salted butter
- 35 g all-purpose flour
- 480 ml beef broth (or chicken or vegetable broth)
- 0.5 g dried thyme
- Salt and black pepper to taste
Instructions
- Melt the butter in a medium saucepan over medium heat.
- Whisk the flour into the melted butter until a smooth paste, called a roux, forms. Cook the roux for 1 to 2 minutes, stirring constantly, until it turns a light brown color. This step removes the raw flour taste.
- Slowly pour in the broth while whisking continuously to prevent lumps from forming.
- Bring the mixture to a simmer, still whisking occasionally. The gravy will begin to thicken as it heats.
- Stir in the dried thyme, salt, and pepper. Taste the gravy and adjust seasonings as needed.
- Continue to simmer for 3 to 5 minutes until the gravy reaches your desired thickness and has a rich, savory flavor. If you need to thicken it more, mix 1 teaspoon of flour with 1 tablespoon of cold water and whisk this slurry into the simmering gravy.
- Remove from heat and serve immediately over your favorite comfort food dishes.
Notes
- For a deeper color, cook the roux for an extra minute until it reaches a darker brown shade before adding the liquid.
- This recipe works well with chicken or vegetable broth if you are avoiding beef.
- If the gravy becomes too thick upon standing, whisk in a small amount of warm broth or water to reach the correct consistency.
Nutrition
- Serving Size: 1/4 cup
- Calories: 95
- Sugar: 0.5
- Sodium: 350
- Fat: 7
- Saturated Fat: 4
- Unsaturated Fat: 3
- Trans Fat: 0
- Carbohydrates: 6
- Fiber: 0.2
- Protein: 2
- Cholesterol: 15