

Oh friends, let’s talk about the real Christmas baking struggle. You spend ages carefully cutting out perfect gingerbread men or snowflakes, you get them into the oven full of hope, and when they come out? They look like sad, melted puddles! It’s the absolute worst, especially when you want those beautiful, decorated cookies for the holidays or just to feel that connection to tradition. I know that feeling because I’ve been there, wrestling with batches that just wouldn’t cooperate. That stops today! This, honestly, is the ultimate **sugar cookie** recipe. It gives you that gorgeous, soft, chewy center we all crave, but it has the backbone to hold its shape flawlessly, no matter how detailed your cutter is. If you’ve ever eyed up a fantastic cookie recipe like the one I saw over at The Food Charlatan and wished yours behaved, you’re in the right place. Trust me; after years of trying to fit baking into my busy schedule, I refined this method into the perfect **no spread cookie dough** so you get exceptional flavor without the holiday headache. This is the recipe I rely on, every single time. It’s definitely a keeper, just like my method for brown butter chocolate chip cookies.
- Why This is the Best Sugar Cookie Recipe for Cutouts
- Ingredients for Your Perfect Sugar Cookie Dough
- How to Prepare Your Cut Out Sugar Cookies Step-by-Step
- Baking Tips for Perfect Sugar Cookies That Hold Their Shape
- Decorating Your Homemade Sugar Cookies
- Storage and Make Ahead Cookie Dough for Your Sugar Cookie
- Frequently Asked Questions About This Sugar Cookie Recipe
- Estimated Nutrition for One Buttery Vanilla Cookie
- Share Your Perfect Sugar Cookie Creations
Why This is the Best Sugar Cookie Recipe for Cutouts
What truly sets this apart as the Best Sugar Cookie Recipe is that simple, non-negotiable step you absolutely cannot skip: chilling the dough. If you rush this, you might as well stop right there, because you’ll end up with those dreaded blobs I mentioned earlier. The ratio of flour to fat here is dialed in so tightly that the dough needs that cold time to firm up properly. This creates the ultimate **no spread cookie dough**.
Here’s a little secret from my kitchen trials: ingredient temperature matters hugely for shape retention. Make sure your butter is properly softened—you know, *slightly* squishy but not greasy or melted. If your butter is too warm when you start creaming, the structure is compromised before you even add the flour. It’s a detail that makes the difference between a crisp cutout edge and a soft, perfect cookie when you pull them from the oven. Understanding how to keep those edges clean is what makes a cookie ready for decorating; you can see some great visual tips over at One Sweet Appetite.
This recipe is designed for success, much like my recipe for brown butter sugar cookies; it’s about respecting the process so you get what you want the first time around.
Achieving Soft Sugar Cookies Texture
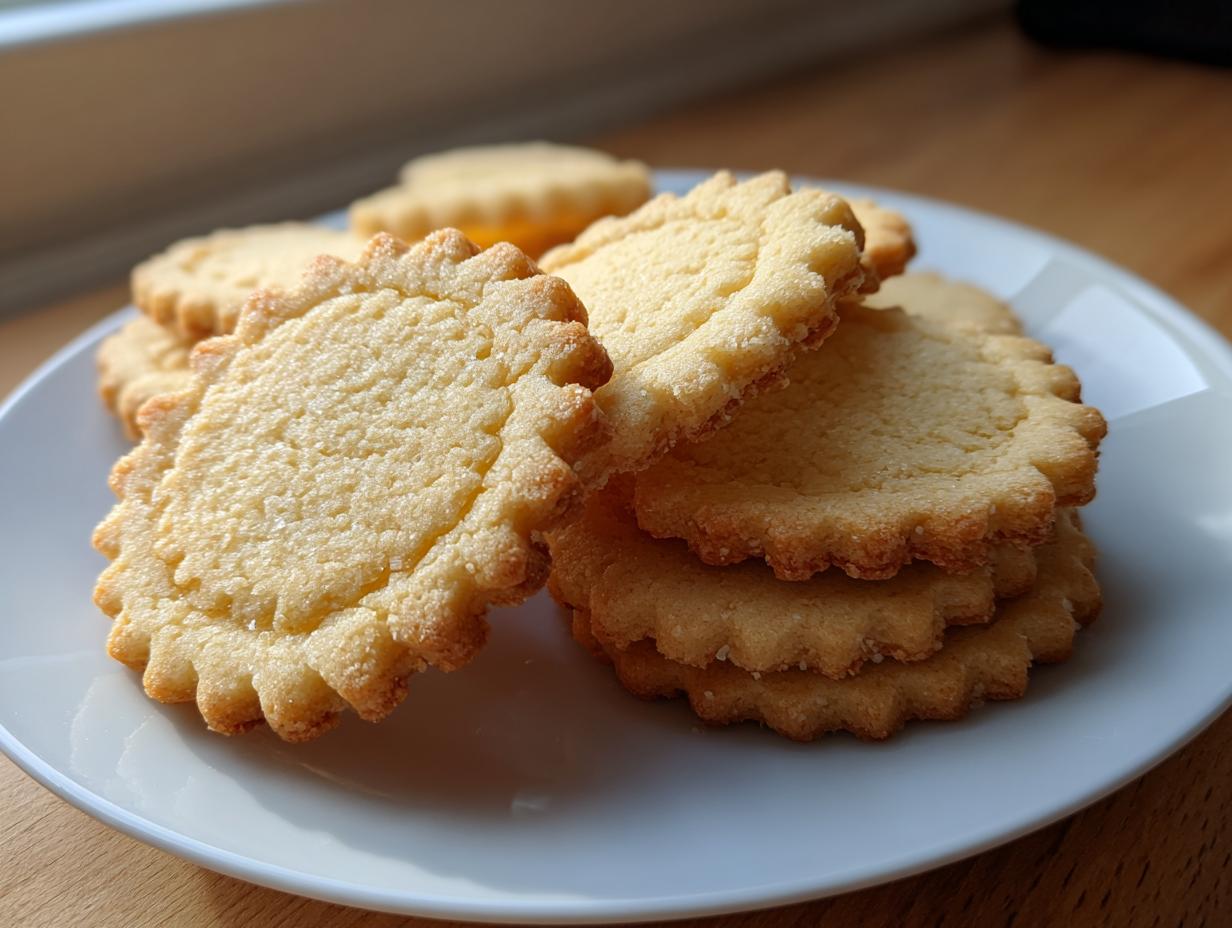
We aren’t aiming here for those rock-hard cookies that crack your teeth! We want soft sugar cookies that are beautifully tender. The flavor profile is pure classic buttery vanilla cookies, thanks to that little hint of almond extract I sneak in. It really elevates the taste without making it taste like *one specific thing*—it just tastes brighter and richer. This combination guarantees that satisfying chewiness even after they cool completely.
Ingredients for Your Perfect Sugar Cookie Dough
Okay, ingredient clarity is where we build trust for this recipe. Precision matters so much with cut-out sugar cookies because we need structure! Don’t eyeball these amounts, especially the flour or the butter. I always use unsalted butter so I can control the tiny bit of salt needed for balance. If you’re grabbing salted butter from the fridge, just pull back a little on the added salt—but use real butter, please! Margarine just doesn’t give you that melt-in-your-mouth tenderness we are aiming for here.
- 2 1/4 cups all-purpose flour
- 1 teaspoon baking soda
- 1/2 teaspoon salt
- 1 cup unsalted butter, softened
- 1 1/2 cups granulated sugar
- 1 large egg
- 1 teaspoon vanilla extract
- 1/2 teaspoon almond extract
Ingredient Notes and Substitutions for Your Sugar Cookie
Let’s talk about flavor boosters! The combination of vanilla and that small dash of almond extract is what gives these buttery vanilla cookies that classic, slightly sophisticated flavor that people always rave about. It’s really the perfect pair. Now, if you absolutely *must* use salted butter, reduce that 1/2 teaspoon of salt down to just 1/4 teaspoon. But promise me you’ll keep both extracts in there! They work together to make these easy sugar cookies taste like they came from a professional bakery.
How to Prepare Your Cut Out Sugar Cookies Step-by-Step
This is where the magic truly happens, but honestly, the first step takes the most patience, and that’s okay! For easy sugar cookies that bake up looking exactly how you want them, you have to follow the process. Think of this as your blueprint for success. I learned the hard way—after rushing the dough for Christmas one year—that skipping the required chill time when making no spread cookie dough means you are baking cookies shaped like puddles, not stars. Don’t do what I did!
Mixing the Best Sugar Cookie Dough
First things first, you need that beautiful, creamy base. Get your softened butter and the granulated sugar into your big mixing bowl. Cream them together until they look light, fluffy, and pale yellow. It needs to look airy; that’s the texture we are building! Next, add your egg and those flavor extracts, mixing just until they disappear. Now, introduce the dry ingredients slowly—this is vital! Add the flour, baking soda, and salt mixture bit by bit, mixing only on low speed. As soon as you see the last streak of flour vanish, stop the mixer immediately! Overmixing after the flour goes in is how you develop too much gluten, and that leads to tough cookies.
Rolling and Cutting Out Your Sugar Cookie Shapes
Once everything is just combined, dump the dough onto some plastic wrap, divide it into two nice, flat disks, and wrap them up tightly. They need a good, long nap in the fridge—at least two hours minimally, but honestly, overnight is even better for structure. When you’re ready to roll, pull out one disk at a time. Roll it out to a consistent 1/4 inch thickness on a lightly floured counter. Use your sharpest cookie cutters; dull ones can drag the dough. Once cut, place them on your parchment-lined sheets. Here’s one last trick I use, especially if my kitchen feels warm: if you’re making soft sugar cookies that you want for decorating, chill the *cut-out shapes* on the baking sheet for an extra 10 minutes before they even touch the oven. This locks in that perimeter perfectly. You can find more helpful rolling tips right here on Cooking by Felix.
Baking Tips for Perfect Sugar Cookies That Hold Their Shape
Alright, your dough is chilling beautifully, your shapes are cut, and they’ve had that crucial little nap on the cold baking sheet. Now we bake! Preheat that oven to 375°F (190°C) before you even think about putting cookies in. Temperature consistency is everything for these cut-out shapes. Don’t overcrowd the sheets either; give them space to breathe so the heat circulates evenly around every shape.
For most standard cutouts, you’re looking at 8 to 10 minutes maximum. If you went for my suggestion of making Thick Cut Sugar Cookies (those are about 1/4 inch thick, remember?), lean closer to the 10-minute mark. You aren’t looking for a dark brown edge, trust me! You only want the edges to be just barely light golden. If you see color creeping too far onto the sides, pull them out immediately. They will continue cooking slightly on the hot pan, which is why we pull them just before you think they are totally done.
When they come out, you must let those perfect little shapes cool on the baking sheet for a full five minutes. If you try to move them right away, they might crumble beneath my small batch chocolate chip cookies method of pure encouragement! That initial cooling time helps them set up before you transfer them to the wire rack to cool completely.
Decorating Your Homemade Sugar Cookies
Now for the fun part, right? All that hard work making sure your cut out sugar cookies hold their shape perfectly is about to pay off! Before you even think about getting out the icing and sprinkles, the cookies need to be 100% cool. I mean stone cold. If you try to put buttercream or royal icing on a warm cookie, you’re just asking for a melted, soupy disaster that slides right off. Trust me, patience here prevents heartbreak later.
For the best results when turning these into Sugar Cookies for Decorating, I highly recommend a sturdy royal icing because it dries hard and holds those crisp edges you worked so hard to keep. If you’re looking for a great guide on how to get that consistency just right, I’ve put together my tips on mastering royal icing using meringue powder—it’s a game-changer.
If you prefer a softer topping, a good, stiff buttercream works too, which you can see detailed in recipes like the one over at Sophie’s Recipe. Either way, wait until they are completely cool, and then let the creativity flow! Enjoy seeing your beautiful shapes come to life.
Storage and Make Ahead Cookie Dough for Your Sugar Cookie
I know how the holidays get—you can’t bake everything all at once! The best thing about this specific **sugar cookie** recipe is that it loves being prepared ahead of time. This is my go-to for **Make Ahead Cookie Dough**. You can chill the divided disks tightly wrapped in plastic wrap for up to two days, and they will bake up perfectly when you’re ready. If you’re thinking even further out, this dough freezes like a dream! Just wrap those disks well and pop them in the freezer for up to three months.
When you are ready to bake, thaw them in the fridge overnight. As for the baked cookies, if you leave them unfrosted, they stay beautifully soft and chewy for about a week stored in an airtight container at room temperature. If you’ve opted for icing, they’ll still hold up well for a few days, though I find they rarely last that long at my house! I love knowing I can pull the dough out from my baking prep, just like I do when planning ahead for my date nut bread recipe, to save time later.
Frequently Asked Questions About This Sugar Cookie Recipe
It’s totally normal to have questions when you’re trying a new go-to recipe, especially when you are counting on it to behave for decorating! I get messages all the time, and I want to make sure you feel confident rolling up your sleeves for these. My goal is to make this the most reliable recipe in your arsenal for festive cookie baking.
Why did my sugar cookie dough spread while baking?
This is the number one worry, and honestly, it almost always comes back to two things: either your butter was too soft when you started mixing, or you didn’t chill the dough long enough. For these specific sugar cookie cutouts, chilling isn’t just a suggestion; it’s the law! A cold dough melts slower in the oven, which lets the structure set before your butter has a chance to totally relax. Give that dough the time it asks for!
Can I use this dough for different holiday cookie shapes?
Absolutely! That’s the beauty of having a reliable, stiff dough. Whether you are making classic stars, intricate wreaths, or getting ready for your next big batch of Christmas Cookie Recipes, this dough holds up beautifully. Just stick to that 1/4 inch thickness we talked about elsewhere in the post, and you’ll be golden. Thickness dramatically affects bake time, so try to keep it even across all your different shapes.
If you need more inspiration for delicious treats that use similar foundational techniques, check out my recipe for classic melt-in-your-mouth Russian tea cakes. Sometimes a little festive spirit needs more than just one type of cookie!
Estimated Nutrition for One Buttery Vanilla Cookie
I know some of you are planners, and if you’re entering these buttery vanilla cookies into a spreadsheet, you’ll want this info! Here are the approximate nutrition details for one cookie based on the recipe measurements:
- Serving Size: 1 cookie
- Calories: 150
- Fat: 8g
- Carbohydrates: 18g
- Protein: 2g
- Sugar: 15g
Now, just a little note from me: these numbers are just estimates, okay? They are based on standard measurements and ingredients like using 100% unsalted butter. If you use a different brand of flour or load up on extra-thick icing, your counts will shift a bit. But for general planning, these are the numbers I use when I’m calculating treats for the family!
Share Your Perfect Sugar Cookie Creations
Well, that’s it, friends! You now have everything you need to make the absolute best, softest, hold-their-shape sugar cookies. I truly hope this recipe eliminates the stress of holiday baking for you, just like it did for me. Seeing those beautiful, decorated cutouts lined up? That’s what baking joy is all about.
When you make this batch of easy sugar cookies, I would absolutely love to see what you come up with! Did you stick to the simple vanilla-almond flavor profile, or did you add some lemon zest? Are they covered in intricate icing, or are you just eating them warm, still slightly soft, with a cup of coffee? Don’t be shy about sharing your successes (or even your little learning curves!).
Please head back here after you’ve baked and give this recipe a proper five-star rating if it worked for you. Your feedback truly helps other busy cooks feel confident trying it out. And if you make something amazing, tag me on social media—I always look for those beautiful results we planned for! If you’re looking for a completely different kind of comfort food to pair with your cookies, maybe try out my recipe for the easy chicken cobbler casserole next time you need a weeknight win!
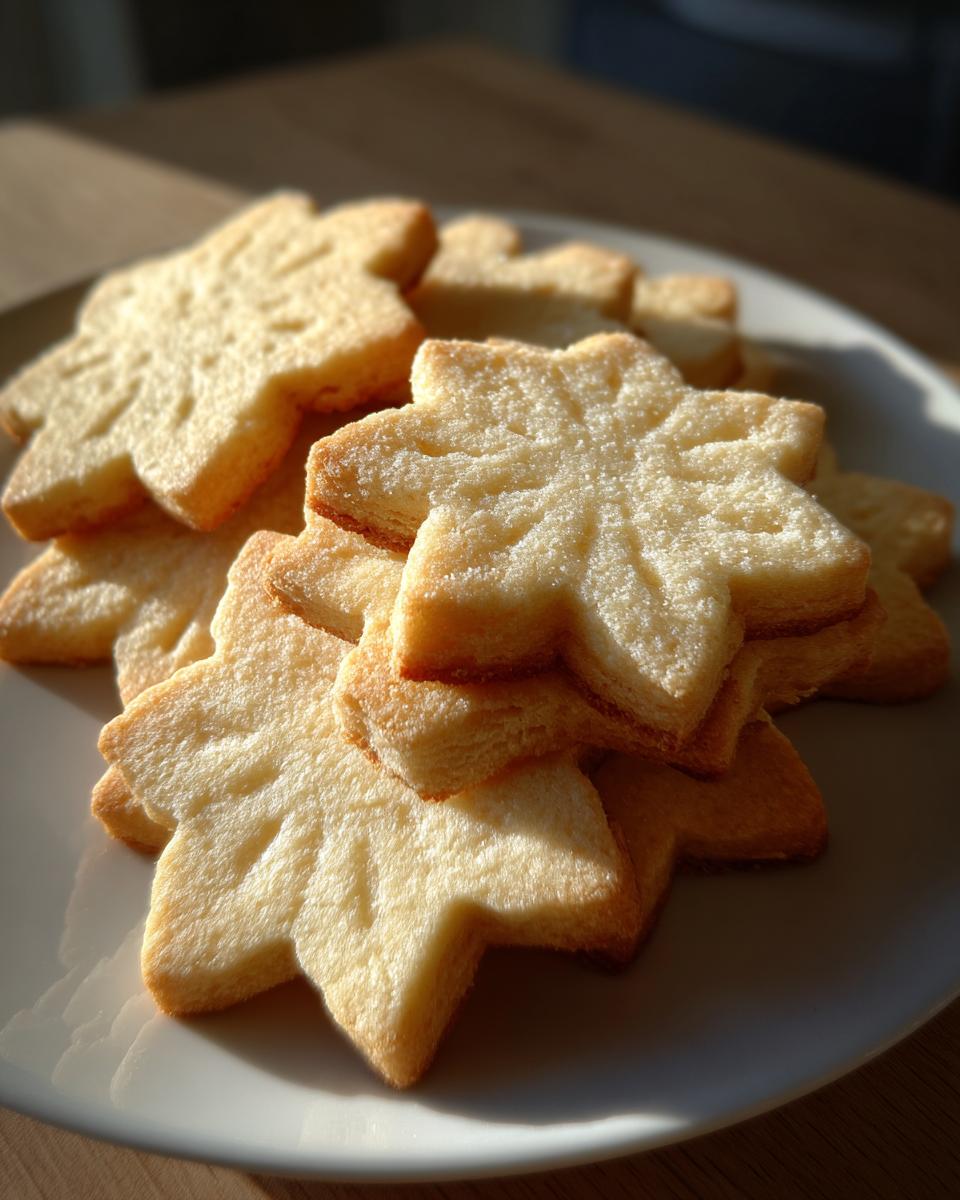
PrintThe Best Soft Cut-Out Sugar Cookies That Hold Their Shape
Make classic, buttery sugar cookies that stay soft and chewy while holding their shape perfectly for decorating. This is your go-to recipe for flawless holiday cookies.
- Prep Time: 30 min
- Cook Time: 10 min
- Total Time: 2 hours 40 min
- Yield: 3 dozen 1x
- Category: Dessert
- Method: Baking
- Cuisine: American
- Diet: Vegetarian
Ingredients
- 2 1/4 cups all-purpose flour
- 1 teaspoon baking soda
- 1/2 teaspoon salt
- 1 cup unsalted butter, softened
- 1 1/2 cups granulated sugar
- 1 large egg
- 1 teaspoon vanilla extract
- 1/2 teaspoon almond extract
Instructions
- In a medium bowl, whisk together the flour, baking soda, and salt. Set aside.
- In a large bowl, cream together the softened butter and granulated sugar until light and fluffy.
- Beat in the egg, vanilla extract, and almond extract until just combined.
- Gradually add the dry ingredients to the wet ingredients, mixing on low speed until just incorporated. Do not overmix.
- Divide the dough in half, flatten each half into a disk, wrap tightly in plastic wrap, and chill in the refrigerator for at least 2 hours, or up to 2 days. Chilling is key for no spread cookie dough.
- Preheat your oven to 375°F (190°C). Line baking sheets with parchment paper.
- On a lightly floured surface, roll out one disk of dough to about 1/4 inch thickness. Use cookie cutters to cut out shapes.
- Place the cutouts onto the prepared baking sheets, leaving about 1 inch between them.
- Bake for 8 to 10 minutes, or until the edges are lightly golden. For thick cut sugar cookies, aim for 10 minutes.
- Let the cookies cool on the baking sheet for 5 minutes before transferring them to a wire rack to cool completely before icing.
Notes
- For the best results when decorating, chill the cut-out shapes on the baking sheet for 10 minutes before baking. This helps them hold their shape.
- If you plan to frost these, use a simple royal icing or buttercream recipe.
- This dough freezes well. Wrap chilled, unbaked cookies tightly and freeze for up to 3 months.
Nutrition
- Serving Size: 1 cookie
- Calories: 150
- Sugar: 15
- Sodium: 90
- Fat: 8
- Saturated Fat: 5
- Unsaturated Fat: 3
- Trans Fat: 0
- Carbohydrates: 18
- Fiber: 0
- Protein: 2
- Cholesterol: 30