

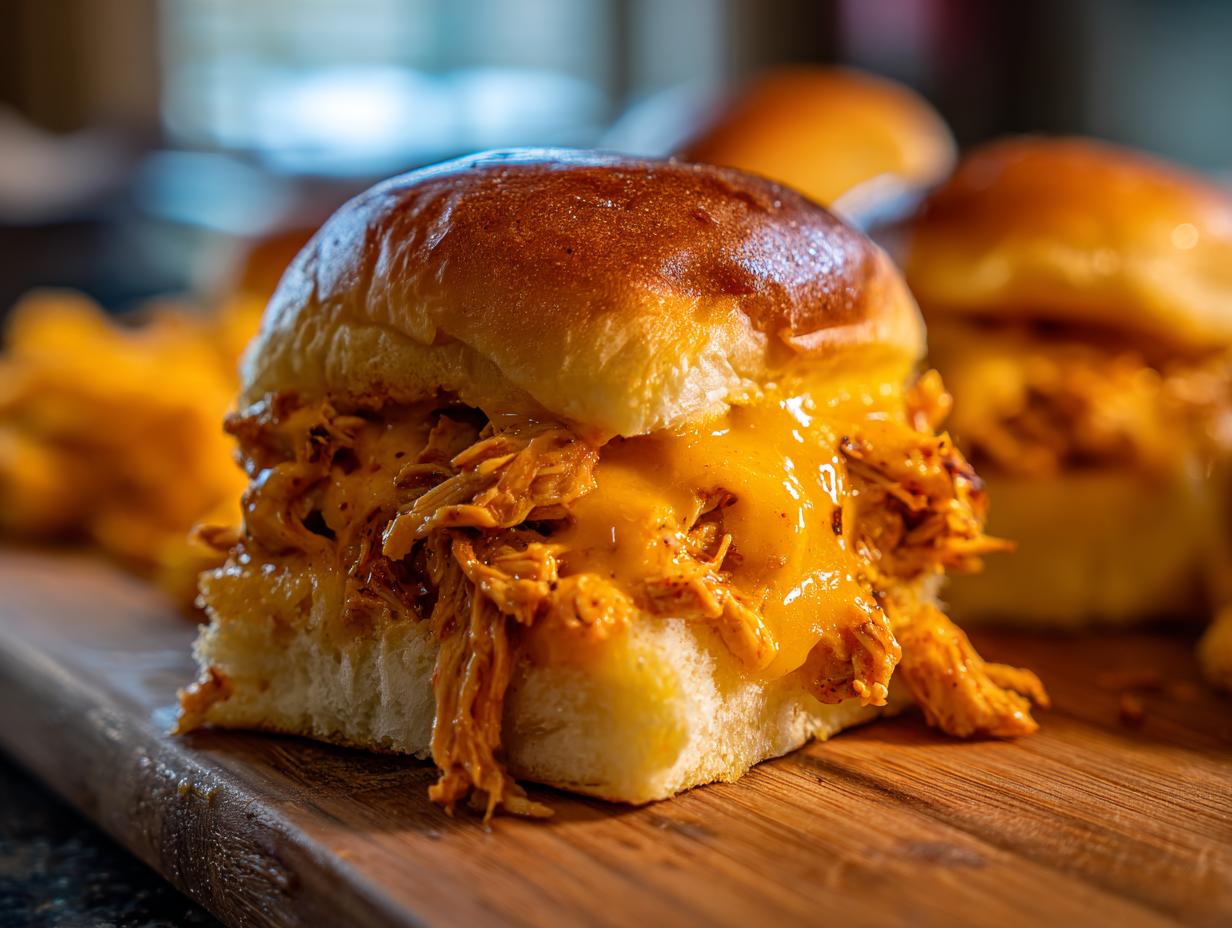
If you’re anything like me, the thought of hosting a huge crowd—especially on Game Day—can send you straight into a panic about appetizers. But don’t worry! That’s exactly why I developed these amazing, ridiculously easy Sheet Pan Ranch Buffalo Chicken Sliders. We promise bold, zesty flavor using simple things like pre-cooked rotisserie chicken and those sweet Hawaiian rolls. My whole mission here at Cooking by Felix is proving that you don’t need hours to make something truly satisfying, and these flavorful buffalo chicken sliders are the perfect example of that philosophy in action. To understand why I focus so much on simplifying flavor for busy cooks, you can read more about our story here!
Forget fussy assembly lines; this recipe gets you from zero to serving tray in about 35 minutes total. It’s comfort food that works overtime, whether you need a quick weeknight dinner idea or the star of your next potluck.
- Why Sheet Pan Ranch Buffalo Chicken Sliders Are Your New Go-To Party Appetizer Sliders
- Gathering Ingredients for Cheesy Buffalo Sliders
- Step-by-Step Instructions for Baked Buffalo Chicken Sliders
- Tips for Success Making Your Buffalo Chicken Sliders
- Variations on Spicy Slider Recipes
- Serving Suggestions for Party Appetizer Sliders
- Storage and Reheating Instructions for Leftover Buffalo Chicken Sliders
- Frequently Asked Questions About These Mini Chicken Sandwiches
- Estimated Nutritional Data for Ranch Buffalo Chicken Bites
- Share Your Experience with These Crowd Pleasers
Why Sheet Pan Ranch Buffalo Chicken Sliders Are Your New Go-To Party Appetizer Sliders
Listen, I love a perfectly crafted mini sandwich, but who has time on Game Day to assemble fifty individual little creations? That’s why these Party Appetizer Sliders shine—the sheet pan is our secret weapon here. Instead of building each one separately, we layer the whole batch at once, which cuts down cleanup and assembly time tremendously. It’s all about delivering maximum impact with minimal fuss, which is what we all need when the pressure is on.
These are truly Crowd Pleasing Appetizers because they hit every single craving: spicy buffalo kick, creamy ranch coolness, and that gooey, melted cheese goodness. They are the perfect Football Season Food because they reheat beautifully and feed a hungry crew fast. Honestly, once you try the sheet pan method, you’ll never go back to assembling them one by one. You know I love talking about other easy slider options, like my ham and cheese version, but when you need heat, these are it.
Quick Slider Recipes for Game Day Chicken Sliders
Speed is everything when everyone is hungry and waiting for kick-off! These are officially classified as Quick Slider Recipes for a reason. You’ll notice the prep time is only 10 minutes—and trust me, that’s being generous! That’s just the time it takes to mix up the chicken filling and brush on that amazing topping. With only 25 minutes in the oven, we’re looking at a total time of about 35 minutes from start to table. You can’t beat that turnaround for such a spectacular appetizer!
Gathering Ingredients for Cheesy Buffalo Sliders
Okay, so getting the right components is the real backbone of these Cheesy Buffalo Sliders. The beauty of this recipe is that it uses pantry staples and one huge shortcut: pre-cooked chicken. Trust me, using rotisserie chicken saves so much time and effort!
Here is exactly what you need to grab before diving in. Don’t skip the butter on top—that’s what makes the rolls crispy and golden!
- 1 (12 count) package slider rolls (Hawaiian rolls recommended)
- 2 cups cooked, shredded chicken (rotisserie chicken works well)
- 1/2 cup buffalo sauce
- 1/2 cup ranch dressing
- 1 cup shredded cheddar or Monterey Jack cheese
- 4 tablespoons unsalted butter, melted
- 1 teaspoon garlic powder
- 1 teaspoon dried parsley
Ingredient Notes and Substitutions for Buffalo Chicken Sliders
You asked about the rolls, and yes, the sweet Hawaiian rolls are my absolute favorite for these buffalo chicken sliders. They offer a wonderful contrast to the spicy buffalo sauce. If you can’t find them, any soft dinner roll works—just look for something a little buttery!
On the speed front, a store-bought rotisserie chicken is a lifesaver. You just pull that meat right off the bone and shred it. It’s perfect! If you’re using raw chicken breast, you’ll need to cook and shred it first, which will naturally add about 20 minutes to your timeline.
When it comes to cheese, I listed that blend of cheddar and Monterey Jack because they melt so beautifully together, giving you that perfect gooey pull. If you only have one or the other, go for it! Colby Jack works great too. The main thing is that you’re using a good melting cheese because we want that blanket of melty goodness over the top of the filling.
Step-by-Step Instructions for Baked Buffalo Chicken Sliders
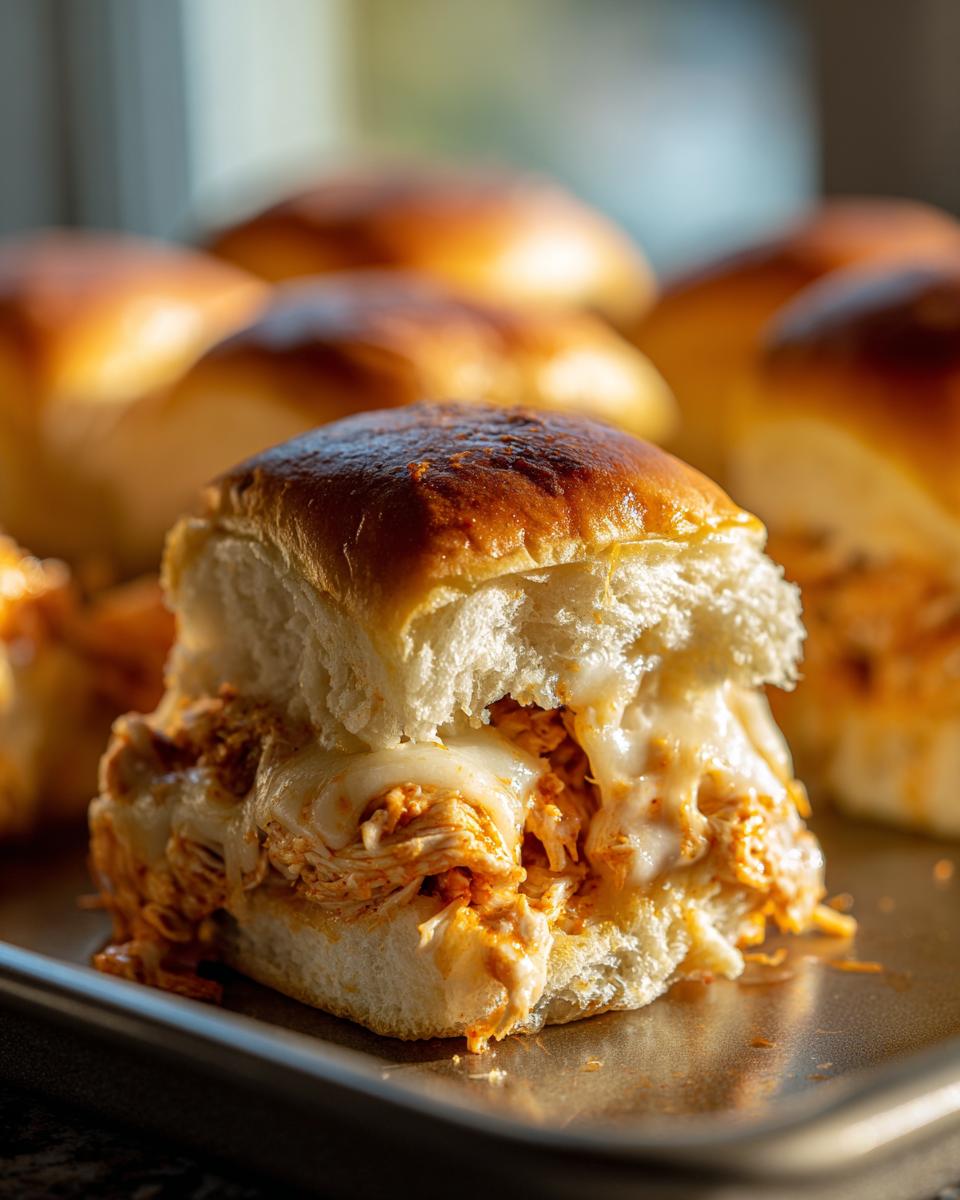
Now that you have all your ingredients ready, it’s time to get these babies assembled! I promise this is the easiest part. These instructions are designed so you can move quickly and efficiently, especially since we are using the sheet pan method. Remember that initial 15 minutes baking time covered by foil? That melts the cheese slowly without burning the tops of the rolls. It’s crucial for getting the perfect texture in these baked buffalo chicken sliders.
We’ll aim for everything to be ready to slide into the oven quickly after putting the ingredients together. Need a fantastic way to use rolls anyway? Check out my garlic bread recipe—it uses the same base rolls!
First things first: make sure your oven is preheated to 375 degrees F. Lightly grease whatever dish you are using, whether it’s a 9×13 pan or a big sheet pan lined with parchment paper (I really recommend that parchment liner, by the way!).
Creating the Tangy and Spicy Chicken Filling
This is where all the flavor builds up! Grab a medium bowl—make sure it’s big enough so you aren’t flinging sauce everywhere, oops! Toss in your shredded chicken, that beautiful buffalo sauce, and the smooth ranch dressing. Do not be shy here; you need to mix this until every single strand of chicken is coated in that fiery orange goodness. If you see any dry spots, keep mixing!
Once it looks perfectly married together, slice your slider rolls horizontally—keep them attached in that block shape, please! Lay the bottom halves right into your prepped pan. Then, dollop that saucy chicken mixture evenly over those bottom rolls. Try not to push down too hard; we want them to puff up light later on.
Next up is the cheese blanket! Sprinkle that cup of shredded goodness right on top of the chicken layer. Then, gently place the top halves of the rolls back on. You’ve assembled the main part! See? Way faster than making 12 individual sandwiches!
The Signature Butter Topping for Perfect Buffalo Chicken Sliders
This topping is what separates a good baked slider from a truly legendary one. In a tiny bowl—or even a measuring cup—whisk together the melted butter, the garlic powder, and the dried parsley. You want that garlic powder totally dissolved into the butter; it prevents any weird clumps.
Take a pastry brush (or carefully use a spoon) and generously brush this magical mixture all over the very top of the rolls. This is key for getting that gorgeous, golden-brown, slightly crisp texture that makes these finger food sliders so irresistible. Make sure you get the sides and edges, too!
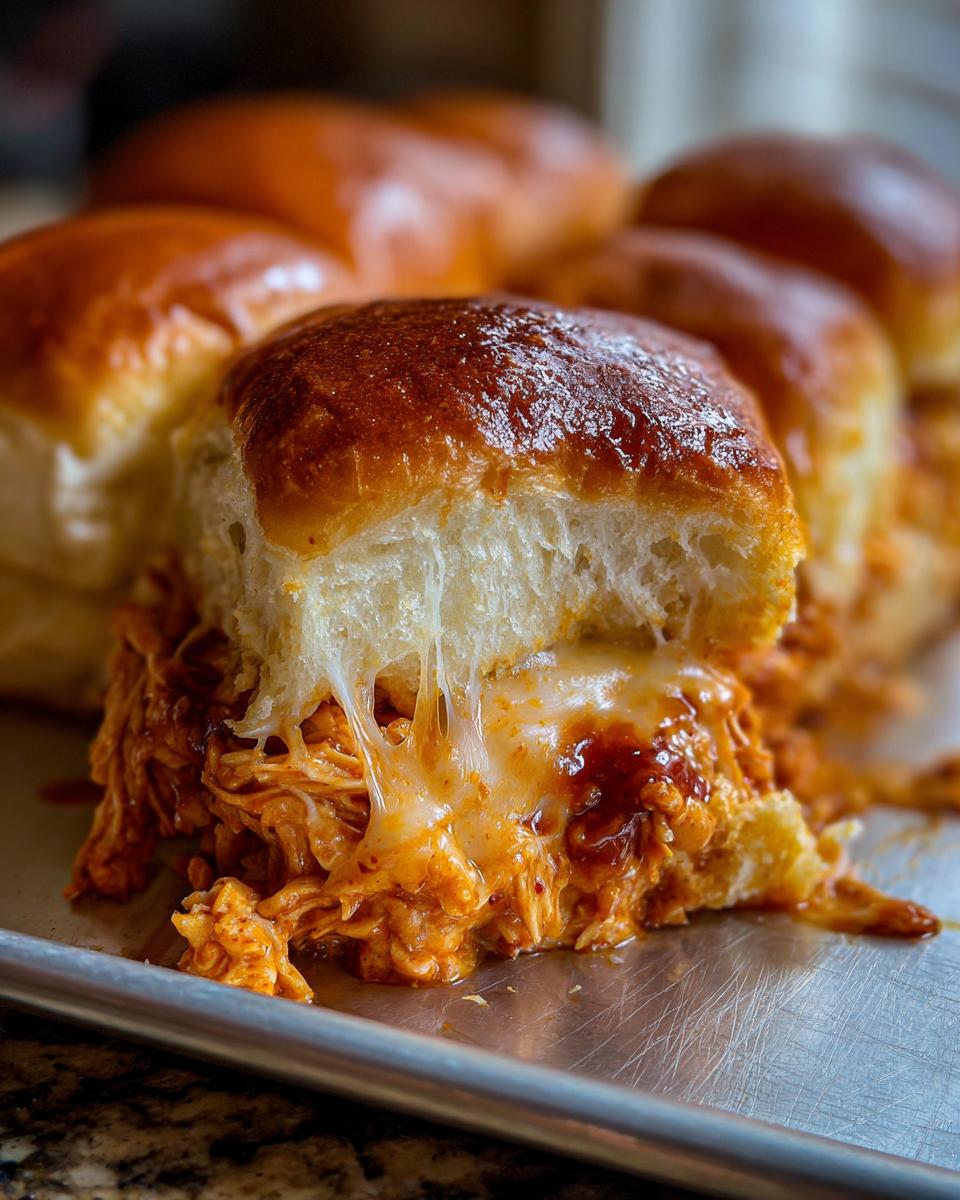
Now, cover the whole pan loosely with aluminum foil. Pop it into that preheated oven for 15 minutes. When the timer goes off, take the foil off. Listen carefully: bake for another 5 to 10 minutes uncovered until that cheese is bubbly and the tops look beautifully golden brown. You want them baked!
Tips for Success Making Your Buffalo Chicken Sliders
Even though these buffalo chicken sliders are super simple, a few little tricks make all the difference between “good” and “I need the recipe right now!” Since we’re relying on speed a lot, we want to maximize the flavor while minimizing any potential pitfalls, like sogginess or uneven heating.
First up, let’s talk about that cooling kick. If you want to lean into that classic pairing, feel free to drizzle a bit of blue cheese dressing right over the chicken mixture before you sprinkle the cheese on top. That tangy, sharp flavor balances the spice from the buffalo sauce perfectly. It really elevates these from simple appetizer status to something truly special for your guests!
Another thing I always think about is the chicken temperature. Since this recipe calls for already cooked chicken—which is the ultimate time-saver, right?—we are mostly just heating it through, which is why we cover it with foil first. However, if you decide to cook your own chicken raw and shred it, please trust me and use a meat thermometer! Chicken should hit 165 degrees F internally. You want to check that temperature right before you take the foil off for the final uncovered melt, just to be 100% safe and sound.
One final thought: don’t skimp on brushing that butter mixture on the tops! That garlic-parsley butter isn’t just for flavor; it’s crucial for getting those beautiful, golden-brown tops instead of pale, soft rolls. It creates the perfect little crust for your cheesy buffalo sliders. For more baked, cheesy goodness that always turns out right, you absolutely have to check out my baked buffalo chicken dip recipe! That one is mandatory for game day, too.
Variations on Spicy Slider Recipes
I love that this basic template for buffalo chicken sliders is so flexible! You don’t have zero wiggle room here; we can tweak this recipe based on what you have or what flavors you’re craving. The core idea—spicy chicken, soft roll, melted cheese—stays, but we can totally customize the sauce situation.
If you aren’t a huge fan of ranch, go ahead and swap it out for something else creamy! Like I mentioned earlier, blue cheese dressing is a classic companion to buffalo sauce, so if that’s your jam, use that instead of the ranch. Just make sure you’re using a dressing that’s a bit thicker, not like a vinaigrette or anything runny!
Another trick I learned for making the texture a little richer—sometimes the sauce can seem too thin when you mix it—is adding a couple of tablespoons of softened cream cheese right into the chicken mixture along with the buffalo sauce. It melts right in and gives the whole filling this amazing, thick, almost decadent coating. It makes the sliders feel super decadent, honestly!
And cheese? We used cheddar/Jack, but don’t stop there. Pepper Jack adds another layer of heat, and smoked gouda gives these spicy slider recipes a totally unexpected, complex backbone flavor. Play around with it; that’s what cooking is all about!
Alternative Cooking Methods for Buffalo Chicken Sliders
So, sometimes you just don’t want to turn the oven on, especially if it’s already hot in the kitchen, or maybe you’re taking your Game Day Chicken Sliders to a party location where you only have access to a slow cooker. Good news! You have options!
If the oven just isn’t happening, you can absolutely make the chicken filling ahead of time using the slow cooker. This method works great because it keeps the filling warm and perfectly saucy until it’s time to assemble and serve. Throw your shredded chicken, buffalo sauce, and ranch right into your Crockpot. Set it to low and let it go for about two hours, just until everything is hot and mixed well enough. Don’t worry about the cheese or the topping yet!
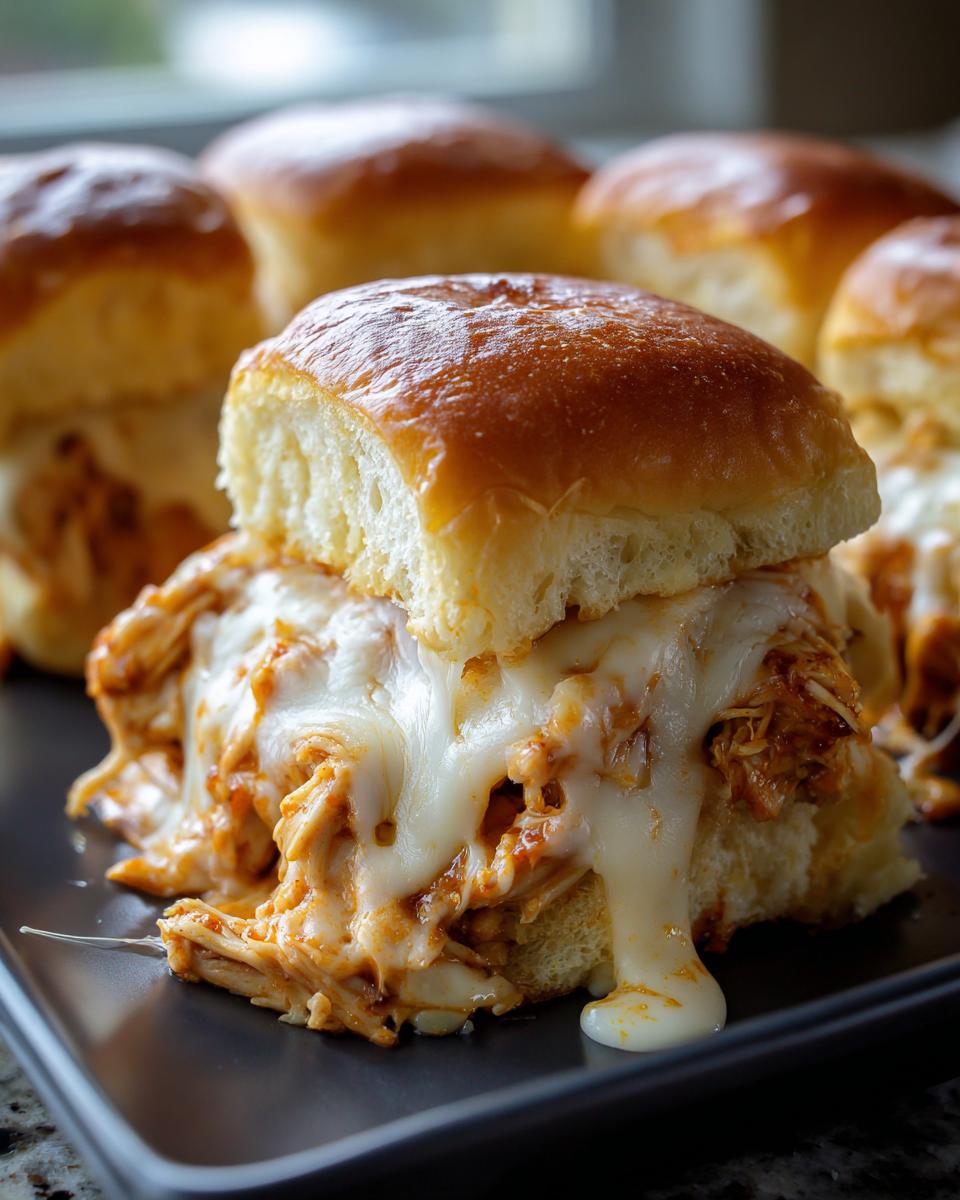
Once the filling is warm and ready, you assemble them just like the sheet pan version: slice the rolls, layer the filling and cheese, and brush on that buttery topping. You can bake these assembled sliders—still on a sheet pan—at 350 degrees F for about 10 to 15 minutes, or until everything is hot and melty. You skip the initial covered bake time since the filling is already hot. This way, you get those crispy tops without having to use the big oven if you don’t want to!
Serving Suggestions for Party Appetizer Sliders
Once these amazing buffalo chicken sliders come out of the oven, they are so rich and savory that sometimes you just need something cool and crisp to balance everything out! We don’t want heavy sides when we’re throwing a party; we want things that are easy to grab with one hand while you’re cheering on your team or chatting with friends. These are the perfect Party Appetizer Sliders because finding the right side dish is usually simple!
My absolute top recommendation is leaning into the classic buffalo wing pairing: raw vegetables. Keep a big platter of cool, crisp celery sticks and fresh carrot sticks nearby. They are basically built to neutralize that spicy buffalo sauce, and they add a fantastic crunch that our soft rolls don’t quite give us.
If you want something slightly more substantial but still light, serve them alongside a simple green salad. I adore pairing rich comfort food with something bright and acidic to cut through the butter and cheese. I use something simple like my Greek-style salad because the vinaigrette snaps the palate back into focus. No heavy mayo-based salads needed here!
And of course, you absolutely have to serve extra dipping sauce on the side! Even though we have ranch inside, having little bowls of extra ranch or blue cheese dressing for anyone who wants an extra dip is always a huge hit. It just makes the whole platter feel more generous. Trust me, these sliders disappear fast when you offer those cooling sides next to them!
Storage and Reheating Instructions for Leftover Buffalo Chicken Sliders
My favorite thing about making a big batch of buffalo chicken sliders is that there are *always* leftovers—which means I get to enjoy that Game Day flavor again for an easy weeknight dinner the next night! But we can’t just leave them sitting out, obviously. We need to handle these tasty little sandwiches with care to make sure they are just as good the next day.
When you get down to the last few sliders, let them cool completely on the pan for about 20 minutes before you try to store them. Trying to refrigerate hot food traps steam, and that steam is the natural enemy of a crisp roll top! Once they are cool, transfer the leftovers into an airtight container. You want to seal out any fridge smells and moisture loss. They should last great in the refrigerator for about three to four days.
Now, how do you reheat them? This is where you decide if you want max crispiness or maximum speed!
If you have 10 minutes and really want to recapture that fresh-baked magic, the oven is your best friend. Wrap the sliders loosely in foil—loosely is key so they don’t steam—and heat them at about 350 degrees F until they are heated through. This warms the cheese without making the bread soggy.
If you’re starving right this second and only have one or two sliders left, I admit, the microwave will get it done faster. But I have to give you a warning: microwaving those poor little mini chicken sandwiches will make the roll soft, maybe even a little tough. If you absolutely must use the microwave, heat them for just 20 seconds at a time until they are warm. Don’t overdo it, or you’ll end up with a mushy mess!
No matter how you reheat them, they are still going to be delicious comfort food. Honestly, they are great cold too, straight out of the fridge if you are desperate, but warming them up just brings that spicy buffalo smell back!
Frequently Asked Questions About These Mini Chicken Sandwiches
I know sometimes when you pull up a fast recipe, you end up with a ton of little questions popping up, like whether you can prep them early or how hot they actually are. That’s totally fair, especially when feeding happy party guests or just trying to get a quick meal on the table during a busy week. Since I want you to feel 100% confident making these, I’m diving into the most common things people ask about these buffalo chicken sliders!
Can I make these buffalo chicken sliders ahead of time?
This is a great question for planning parties! Yes, you absolutely can assemble them ahead of time, but here’s my secret: Don’t bake them until you’re ready to eat. You can mix up the chicken filling in the morning or even the night before and keep it covered tightly in the fridge. Then, layer the filling, cheese, and the buttery topping right before they go into the oven.
If you assemble the whole thing—bottom rolls, chicken, cheese, top rolls, and butter topping—and then try to refrigerate it for hours, the rolls start to soak up the sauce and get soggy. We want that lovely golden-brown crust, so only assemble right before baking, or you risk losing that perfect texture on your Hawaiian Roll Chicken Sliders!
How do I adjust the spice level for my Game Day Chicken Sliders?
Spice is so personal, isn’t it? Some people like it totally mild, while others want to sweat a little while watching the clutch moment of the game! The easiest control you have is over the buffalo sauce itself. Different brands have wildly different heat levels, so if you know your favorite jar runs hot, use a bit less of it, maybe a quarter cup instead of a half cup, and taste test that filling before you spread it.
Also, remember that we build in cooling agents! The ranch dressing we mix in helps temper the heat significantly already. If you are worried about the spice, always lean toward using a bit more ranch, or go back to my earlier suggestion of adding that extra drizzle of blue cheese dressing inside or serving it on the side. That creamy fat helps cut the capsaicin!
What is the best way to serve these as Weeknight Chicken Dinners?
When we shift these from snack mode to Weeknight Chicken Dinners mode, we just need to beef up the sides a bit! Instead of putting out a massive platter for grazing, serve each person 3 or 4 of these sliders. That’s a satisfying portion, plus they are incredibly easy because they require zero fussy plating—just pull them apart!
To make it feel like a complete meal without adding much cooking time, pair those 3-4 sliders with something fresh or green. I love balancing that rich, spicy, cheesy flavor with something bright. Think simple air-fryer sweet potato fries, or even just a bowl of crunchy raw veggies like bell peppers and broccoli florets dipped in a little extra ranch. For more ideas on getting dinner on the table fast, check out my guide to quick dinners!
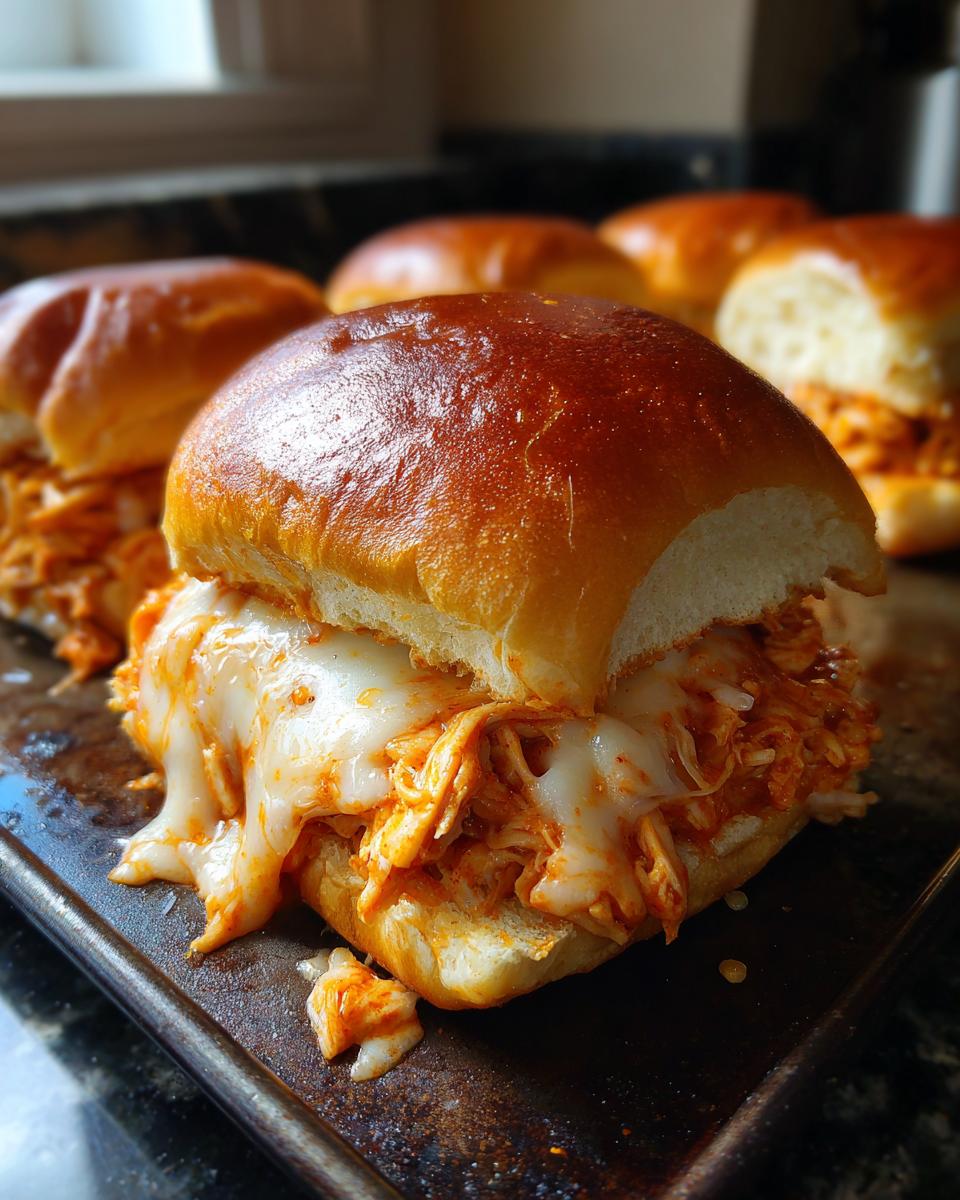
Estimated Nutritional Data for Ranch Buffalo Chicken Bites
Now, I know some of you are counting macros, or maybe you’re just curious about what you’re serving up to the crew. Providing nutritional info is super important for transparency, especially when you’re trying to keep track of easy meals or comfort food sliders!
Based on the ingredients we used—especially the standard portion sizes of Hawaiian rolls, ranch, and buffalo sauce—here is the estimated breakdown for one slider. Please remember these numbers are just guidelines!
- Calories: 320
- Fat: 16g
- Protein: 19g
- Carbohydrates: 25g
I always like to give a little disclaimer here because ingredients change! The exact count of sodium or fat can shift wildly depending on the brand of buffalo sauce you grab—some are surprisingly high in sodium, for example. Since we’re using store-bought rolls and pre-made sauces, these numbers are estimates only. If you start swapping Monterey Jack for pepper jack or using a lower-fat ranch, the totals will change!
But the main takeaway for these Ranch Buffalo Chicken Bites is that they pack a solid amount of protein, which is great when you’re having them as a satisfying snack or for a quick dinner. It balances out all that buttery roll goodness!
Share Your Experience with These Crowd Pleasers
Whew! We made it through the whole process for the best buffalo chicken sliders you’ll ever serve. Now it’s your turn to get into the kitchen and make these amazing yummy game day snacks!
I truly, deeply want to know how they turned out for you. Did you go heavy on the ranch? Did your family finish the whole batch in five minutes flat? Don’t keep those great results to yourself!
Please take a moment to drop a rating below this recipe—even if you’re not a huge fan of spice, let me know what you thought of the texture and the overall ease of the sheet pan method. Those little star ratings help other busy home cooks feel confident trying this recipe out for their own parties.
If you snapped a picture of your golden-brown, cheesy masterpiece, post it up on social media and tag me! I love seeing my recipes show up at your gatherings, whether it’s for a casual Tuesday dinner or a massive Super Bowl spread.
If you have any lingering questions or just want to share a fun substitution you made, the comment box is right there. Connect with me! If you need to reach out directly, you can always use the contact page. Happy cooking, and I hope these sliders become your new favorite way to feed the crowd!
PrintEasy Sheet Pan Buffalo Chicken Sliders
Make these simple, cheesy Buffalo Chicken Sliders on a sheet pan for a crowd-pleasing appetizer or quick weeknight dinner.
- Prep Time: 10 min
- Cook Time: 25 min
- Total Time: 35 min
- Yield: 12 sliders 1x
- Category: Appetizer
- Method: Baking
- Cuisine: American
- Diet: Vegetarian
Ingredients
- 1 (12 count) package slider rolls (Hawaiian rolls recommended)
- 2 cups cooked, shredded chicken (rotisserie chicken works well)
- 1/2 cup buffalo sauce
- 1/2 cup ranch dressing
- 1 cup shredded cheddar or Monterey Jack cheese
- 4 tablespoons unsalted butter, melted
- 1 teaspoon garlic powder
- 1 teaspoon dried parsley
Instructions
- Preheat your oven to 375 degrees F. Lightly grease a 9×13 inch baking dish or line a large sheet pan with parchment paper.
- In a medium bowl, combine the shredded chicken, buffalo sauce, and ranch dressing. Mix until the chicken is evenly coated.
- Slice the slider rolls horizontally, keeping the rolls connected in one piece. Place the bottom halves of the rolls into the prepared baking dish or on the sheet pan.
- Spread the buffalo chicken mixture evenly over the bottom halves of the rolls.
- Top the chicken mixture evenly with the shredded cheese.
- Place the top halves of the rolls over the cheese.
- In a small bowl, whisk together the melted butter, garlic powder, and dried parsley. Brush this mixture evenly over the top of the rolls.
- Cover the dish or pan loosely with aluminum foil. Bake for 15 minutes.
- Remove the foil and bake for another 5 to 10 minutes, or until the cheese is fully melted and the tops of the rolls are golden brown.
- Slice the sliders apart and serve immediately.
Notes
- For extra flavor, add a thin layer of blue cheese dressing on top of the chicken before adding the cheese.
- If you prefer a slower cooking method, mix the ingredients and heat in a slow cooker on low for 2 hours before serving on the rolls.
- Use your favorite brand of buffalo sauce to control the heat level.
Nutrition
- Serving Size: 1 slider
- Calories: 320
- Sugar: 6
- Sodium: 650
- Fat: 16
- Saturated Fat: 8
- Unsaturated Fat: 8
- Trans Fat: 0.5
- Carbohydrates: 25
- Fiber: 1
- Protein: 19
- Cholesterol: 55