

I get it, you’re running on fumes by 7 AM, staring into the fridge, and realizing that “healthy breakfast” usually means something you spend an hour prepping on Sunday. We’ve all been there! That’s why, here at Cooking by Felix, I focus on reliable cooking that fits your real, busy life. Forget recipes that require fancy, hard-to-find ingredients or complicated techniques. Honestly, finding a truly satisfying quick breakfast recipe that keeps you full until lunch can feel impossible.
But I’ve cracked the code on one of the best meal prep breakfast ideas—the ultimate chia seed pudding. This vanilla version is unbelievably creamy, uses only five basic things, and sets itself up perfectly overnight. Trust me, when you pour that smooth mixture in the jar, you’ll feel like you’ve already won the morning. This is simple, soulful food made for the modern pace.
- Why This Vanilla Chia Seed Pudding Recipe Works for Busy Lives
- Essential Ingredients for Your Simple Chia Seed Recipe
- How to Make Chia Seed Pudding: Step-by-Step Instructions
- Customizing Your Chia Seed Pudding Recipe
- Expert Tips for Perfect Chia Seed Pudding Texture
- Serving Suggestions and Chia Pudding Toppings
- Storage and Reheating Instructions for Your Make Ahead Breakfast
- Frequently Asked Questions About Chia Seed Pudding
- Share Your Creamy Chia Seed Pudding Creations
Why This Vanilla Chia Seed Pudding Recipe Works for Busy Lives
When I developed this, I wasn’t trying to win a Michelin star; I was trying to beat the snooze button! This vanilla chia seed pudding is designed purely to make your mornings easier and healthier. I promise it’s efficient without tasting like a compromise.
- It uses just five standard ingredients—no scrambling around for obscure supplements.
- It’s naturally dairy free pudding if you use almond or soy milk, making it safe for almost everyone.
- Prep takes literally five minutes the night before. That’s less time than it takes to boil water for tea!
Achieving Creamy Chia Seeds Without Fuss
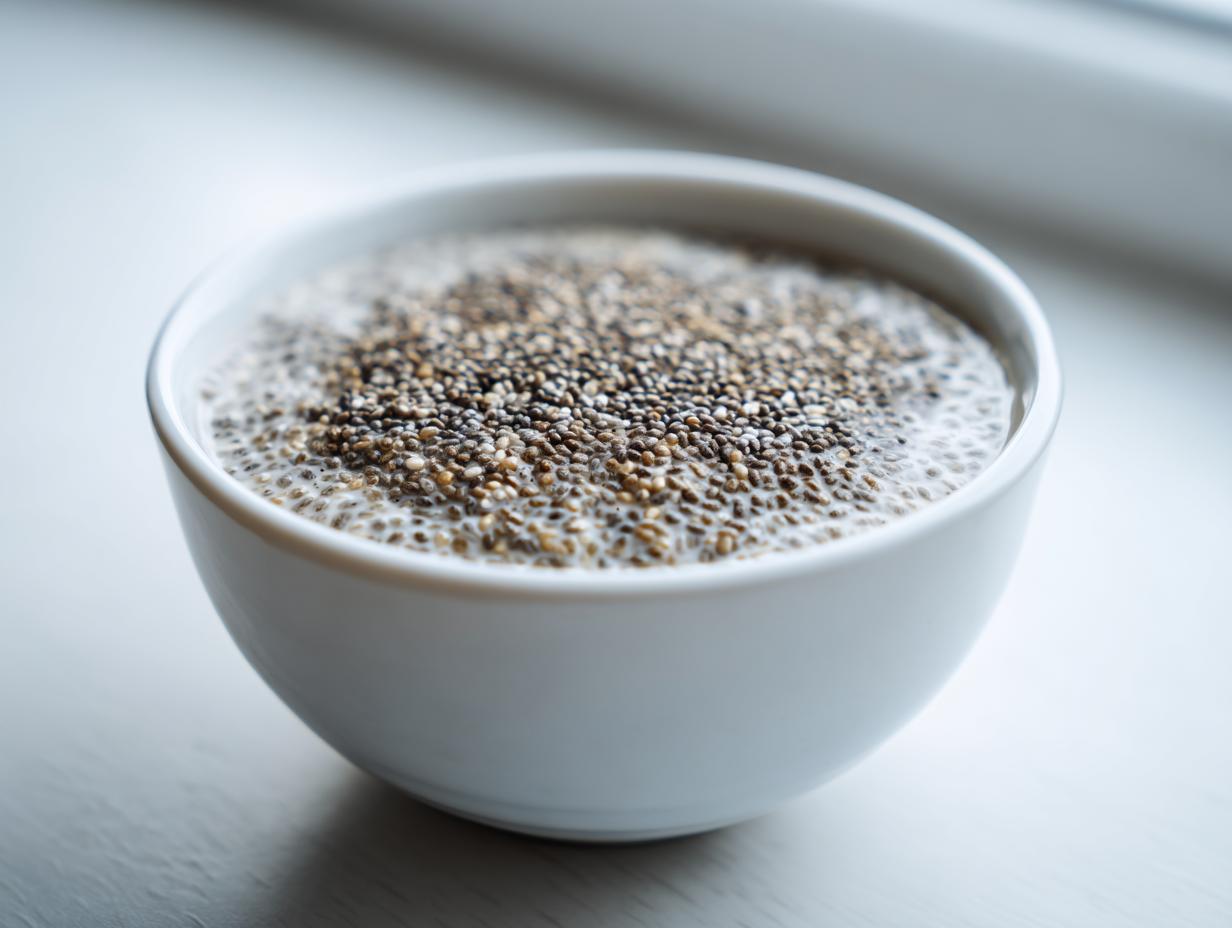
The biggest fear people have is that gelatinous, clumpy blob where the seeds stick together. We beat that right away! The trick is the double stir—one right at the start and one five minutes later before it hits the fridge. That initial agitation disperses them perfectly so you get that wonderful creamy chia seeds texture every single time. No clumps, guaranteed.
The Perfect Make Ahead Breakfast: Overnight Chia Seed Pudding
This recipe truly shines because it’s the ultimate make ahead breakfast. You mix it before you go to bed, and when you wake up, your healthy breakfast is waiting for you. That’s the beauty of overnight chia pudding—it requires zero decision-making during that frantic morning rush. You pull your jar out, add some fruit, and you’re out the door. That’s the Felix promise for your perfect chia seed pudding!
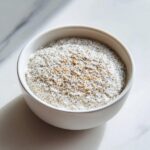
Essential Ingredients for Your Simple Chia Seed Recipe
I love that this recipe is all about basics! You don’t need specialty items gathering dust in your pantry; you just need five things, and you probably have most of them already. For me, sticking to simple, whole ingredients is the backbone of good home cooking—it just tastes better and it’s easier to remember what goes where!
When measuring, precision matters here, even though we focus on simplicity. Those tiny chia seeds pack a big punch, so accurate ratios are key to getting that dreamy, thick texture without it turning into cement. This base recipe is naturally excellent for folks looking for a healthy desserts option too!
Ingredient Clarity and Measurement
Here is exactly what I use, every single time, for a perfect one-serving batch. Remember, if you are making this dairy free or vegan, simply swap out the milk option you prefer!
- 1/4 cup chia seeds—make sure these are good quality!
- 1 cup milk—this is where you choose: whole milk, almond milk (great for vegan), oat milk, or your favorite dairy-free alternative.
- 1 tablespoon maple syrup or liquid sweetener—I usually reach for maple syrup because of the color it gives, but you can use Stevia or monk fruit if you are trying to keep this a low sugar pudding.
- 1 teaspoon vanilla extract—don’t skimp here; this is where a ton of your flavor comes from!
- A small pinch of salt—this is critical! It really brightens up the subtle sweetness. Seriously, don’t skip the salt.
How to Make Chia Seed Pudding: Step-by-Step Instructions
Okay, so you have your ingredients ready. Now for the magic, which is really just a few minutes of actual work! Mastering this chia seed pudding recipe is all about making sure those seeds don’t decide to party at the bottom of your jar. I know you’re busy, but give this your full attention for about three minutes total, and I promise you’ll get the best texture. If you want to see another great, simple version, check out this neat idea from another favorite source.
Initial Mixing and Preventing Clumps
Grab a mason jar or whatever container you plan to chill it in—no extra bowls needed! First, get all your wet stuff in there: the milk, vanilla, sweetener, and that little pinch of salt. Then, dump in your 1/4 cup of chia seeds. Now, you need to stir, and I mean *really* stir. Do this for a solid minute. You want to break up any clumps right away where the seeds have already started to soak up the liquid. Don’t worry if it looks thin; that’s supposed to happen!
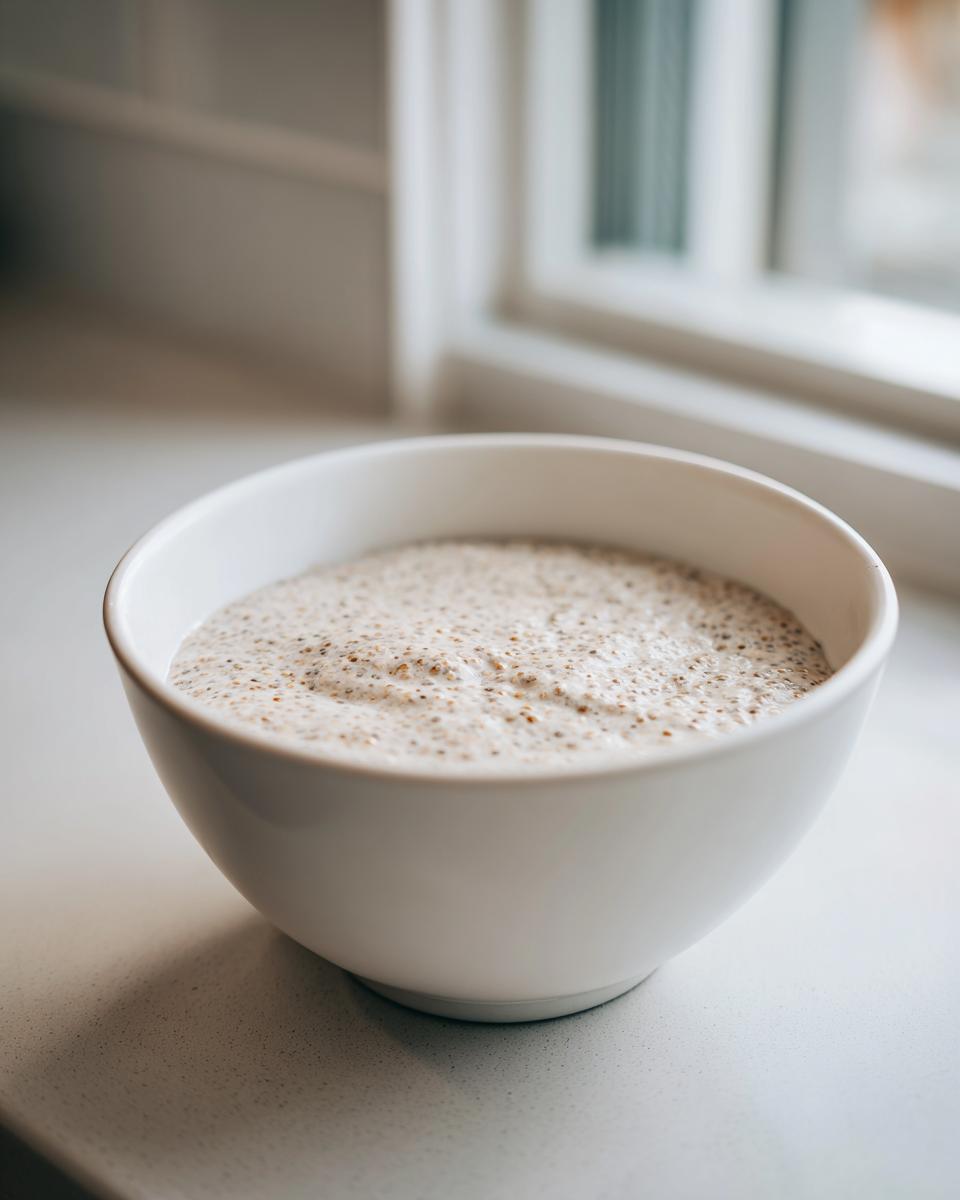
The Crucial Second Stir for Creamy Chia Seed Pudding
This is the step people skip when they try to rush their chia seed pudding recipe, and it’s why their pudding turns into jelly bricks! After that first minute of mixing, just let it sit on the counter for five minutes. Go check your mail or scroll through your phone. When you come back, give it one more aggressive stir. This second time ensures any seeds that settled are fully suspended. This step is the direct secret behind achieving that perfect, silken texture we’re after for a truly creamy chia seeds result. This consistency is what makes a fantastic chia seed pudding!

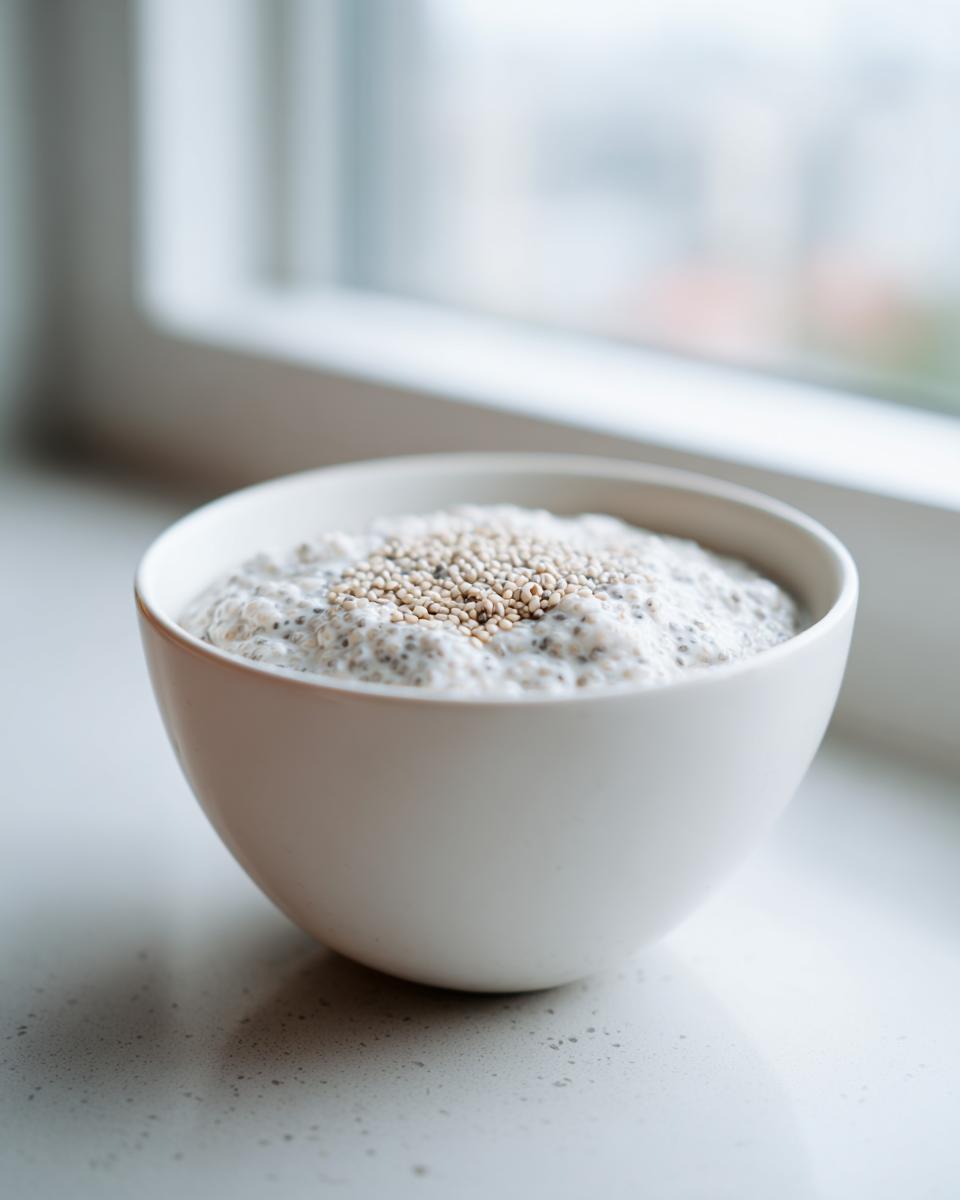
Chilling and Finalizing Your Overnight Chia Pudding
Cover that jar up tight! It now goes straight into the fridge. I always tell folks to leave it for at least four hours, but honestly, if you’re making this for a make ahead breakfast, leave it overnight. When you pull it out in the morning, it’ll be perfectly thick. If it seems a smidge too thick for your liking—which can happen—just stir in a tiny splash of milk until it loosens right up. Then, you’re ready for toppings! If you want more quick tips for no-cook meals, check out my guide on healthy lunch recipes.
Customizing Your Chia Seed Pudding Recipe
While I stand by the five-ingredient vanilla base—it’s gorgeous, simple, and reliable for every chia seed pudding—I know that sometimes you need to level up based on your day or your diet goals. I’ve got you covered! Whether you need more staying power for breakfast or you’re cutting back on sugar, these easy tweaks turn the foundation recipe into exactly what you need.
If you’re looking for something heartier that feels a little more like dessert, these variations are fantastic. I’ve made versions of these when I needed a quick energy boost after a tough workout, or when I wanted a healthier alternative to a bowl of ice cream after dinner. You can always jump over to my guide on my favorite 30-minute weeknight dinners if you need a whole meal idea!
Making High Protein Chia Pudding
This is the one I send my athlete friends to! If you want to turn this light snack into a serious muscle-fueling meal, you just need to boost the protein. The easiest way to handle this is by stirring in one scoop of vanilla or unflavored protein powder when you add the dry ingredients at the very beginning.
Now, fair warning: Protein powder soaks up liquid like crazy, sometimes making your pudding instantly thick. I always recommend starting with 1/4 cup less milk than the recipe calls for, then adding it back in slowly as you do your initial stir. If it still seems stiff once it’s chilled, just stir in a splash of milk in the morning until it reaches your preferred consistency. It’s worth the extra minute to get that huge protein punch in your chia seed pudding!
Simple Swaps for Vegan Chia Pudding and Keto Chia Pudding
This foundation is already super flexible, which is why I love it so much. If you’re aiming for a truly vegan chia pudding, just stick to your favorite plant-based milk, like oat or soy, instead of dairy milk. You’re set! It’s naturally vegan and gluten free, so no special steps are needed there.
If your goal is something more along the lines of keto chia pudding, the swap is easy too. You’ll want to skip the maple syrup—that’s your sugar bump. Instead, you’ll substitute it with a quality keto-approved liquid sweetener. I typically use monk fruit drops or liquid stevia. Since those concentrated sweeteners are often much sweeter than syrup, start with just half a teaspoon and taste it before chilling. You can always adjust by adding more in the morning, but you can’t take sweetness out once you’ve added it in! We want that indulgence without the sugar crash, right?
Oh, and if you love chocolate versions, I found this incredible recipe for high protein chocolate chia pudding that gives you a fantastic flavor boost when you’re ready for something rich!
Expert Tips for Perfect Chia Seed Pudding Texture
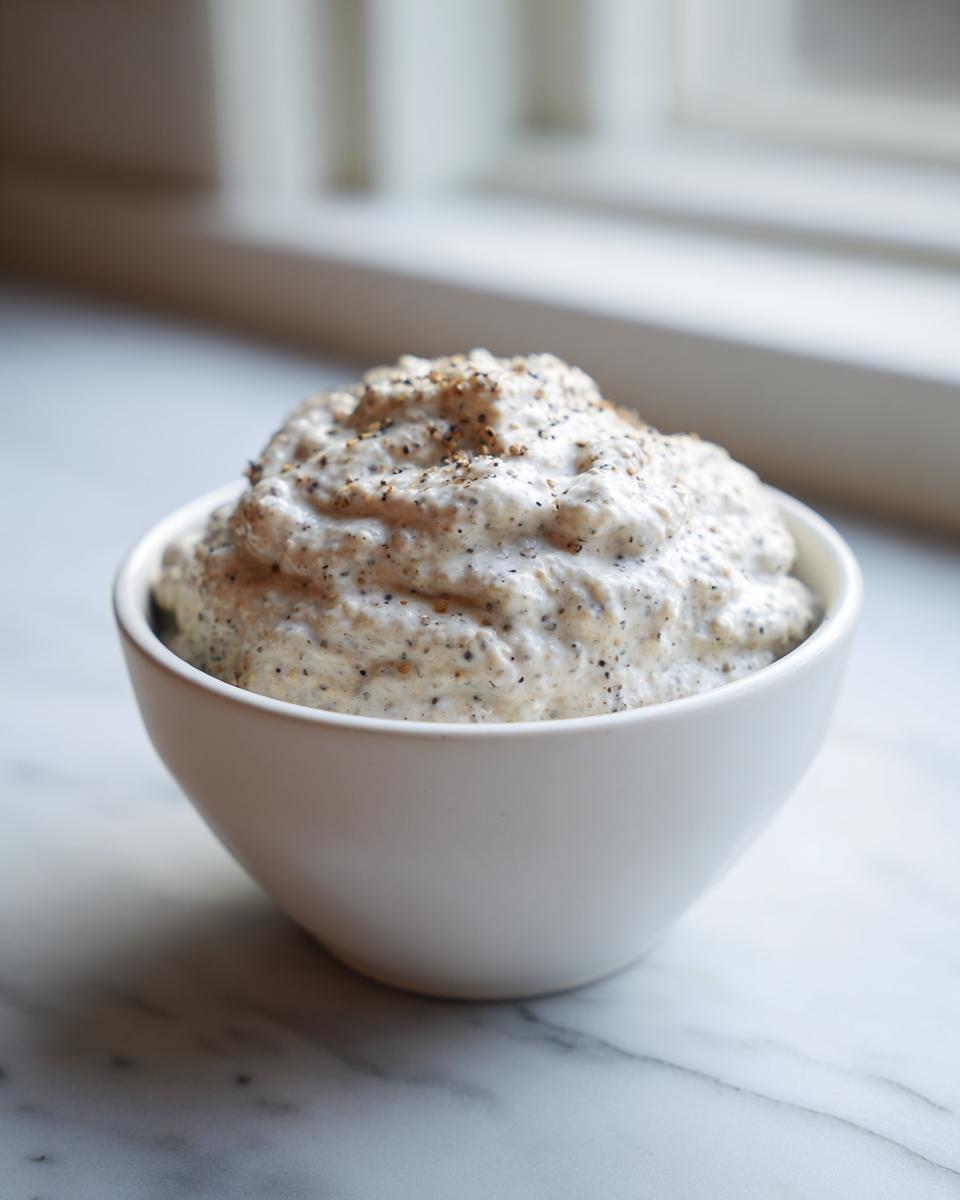
We covered the basic method, but sometimes you need the pudding to behave exactly how *you* want it to. I’m talking texture here! A good vanilla chia pudding should be spoonable for you, whether you like it scoopable like thick Greek yogurt or loose enough to sip through a wide straw. It all comes down to the magic ratio we use.
Ratio Adjustments for Thickness
The base recipe uses that 1 part chia seed to 4 parts liquid ratio, which gives you that lovely medium set perfect for most people. If you wake up and it’s just too firm for your liking—maybe you used extra-absorbent milk or just prefer a soupier consistency—don’t panic! Just stir in an extra tablespoon or two of milk right before serving until it loosens up. You can always adjust it in the morning!
Now, if you want it *super* firm—the kind you can cube and treat almost like gelatin—use slightly less liquid, maybe 3/4 cup of milk for every 1/4 cup of seeds. Just remember to stir super well after that initial five minutes if you go this thick, otherwise, you might get clumps hiding in the middle!
Serving Suggestions and Chia Pudding Toppings
Okay, you nailed the texture. Now comes the fun part, the part where you transform your simple, healthy base into a feast for the eyes (and your taste buds!). Seriously, the way you finish your bowl or jar makes all the difference in enjoying this as a mid-day snack or a proper dessert. Don’t just eat it plain!
When I serve this up, especially if I’m having friends over, I treat it like a parfait bar, setting out bowls of different goodies. Using fun candied pecans recipe (which I always whip up ahead of time!) on top makes it feel luxurious. It’s easy to overload, so let’s talk about the best chia pudding toppings to try:
- Fresh Fruit: Berries are my go-to—raspberries and blueberries add beautiful color and that necessary pop of tartness against the creamy vanilla. Sliced bananas are a must if you need extra sweetness.
- Crunch Factor: You need crunch! Think toasted coconut flakes, chopped walnuts, or even a sprinkle of high-quality, low-sugar granola. If you have time, making some homemade granola elevates everything.
- Flavor Drizzles: A tiny drizzle of creamy almond butter or peanut butter right on top adds healthy fats and amazing flavor. If you’re feeling fancy, a little swirl of melted dark chocolate looks gorgeous and tastes decadent.
- Spice It Up: Sometimes, just a light dusting of cinnamon or nutmeg on the very top is all you need to make it feel special without adding any bulk.
Remember, since this is a fiber rich snack, adding these toppings actually helps slow digestion and keeps you satisfied even longer. Happy topping!
Storage and Reheating Instructions for Your Make Ahead Breakfast
One of the biggest perks of this recipe is its shelf life. Since this is a no-cook item, it holds up really well, which is perfect for anyone focusing on their make ahead breakfast plans for the week. I highly recommend storing your chia seed pudding in individual single-serving jars with tight-fitting lids. This makes grabbing breakfast on the fly so much easier, and it keeps things sanitary!
When sealed well, this pudding stays fantastic in the refrigerator for about 4 to 5 days. Because the seeds keep absorbing liquid, just be prepared that by day four or five, it might be significantly thicker than when you first made it. If that happens, don’t worry about reheating—you never want to heat chia pudding! Just stir in a tablespoon or two of your milk of choice until you get back to that perfect, creamy consistency you loved on day one.
If you’re looking for other meal prep wins that last all week, take a peek at some of the great ideas I’ve gathered for other healthy options. The key to long-lasting meal prep is always airtight storage!
Frequently Asked Questions About Chia Seed Pudding
I figured you might have a few questions once you dive into making your first batch of this easy chia pudding. It’s my goal here to make sure you feel 100% confident every time you stand in the kitchen. There are a few common sticking points when you first start making this healthy breakfast pudding, so let’s clear those up right now!
Can I use water instead of milk for this easy chia pudding recipe?
Technically? Yes, you can. But oh my goodness, I advise against it! If you use water instead of milk—whether that’s dairy or a plant-based option—you miss out on all the creaminess. Milk has fat and protein, which is what helps the seeds swell up into that rich, silky texture we are aiming for with this simple chia seed recipe. Water works fine for soaking, but the result will be much flatter and almost jelly-like, not the satisfying, creamy chia seeds texture your morning deserves.
Is this vanilla chia pudding recipe suitable as a low sugar pudding option?
I designed the base recipe to be reasonably low in sugar by using just one tablespoon of maple syrup for the whole batch. That keeps the overall sugar content down compared to store-bought versions, making it a great jumping-off point for a low sugar pudding. If you’re sticking to a strict daily sugar limit, you can easily reduce that to just half a tablespoon, or swap entirely to liquid stevia or monk fruit drops, as I mentioned when discussing keto chia pudding options.
Just taste it before you chill it! Seriously, take a little teaspoon, taste the mix, and if you think it needs a tiny lift, add a drop or two more of your chosen liquid sweetener. It’s much easier to tweak sweetness before it sets overnight!
Share Your Creamy Chia Seed Pudding Creations
Listen, seeing what you all create in your kitchens is truly the best part of this whole process for me! Every time someone leaves a comment saying they absolutely nailed the texture on their first try, that just makes my day. This recipe is meant to be a foundation, so I am dying to know what twists you come up with.
Did you stir in some cinnamon, like the variation I saw trending online? Did you turn it into a dreamy chocolate version? Are you topping yours with homemade granola or maybe even some toasted nuts leftover from making my candied pecans recipe? I want to hear every single detail!
If you made this chia seed pudding and you loved it, please, please drop a rating below so others know this recipe is reliable. And if you snapped a picture of your beautiful, creamy jars, tag me on social media! I love seeing my recipes come to life in your homes. Let’s keep sharing simple, delicious meals together. For more inspiration on satisfying, easy meals, feel free to browse my collection of simple delicious desserts!
PrintThe Ultimate 5-Ingredient Vanilla Chia Seed Pudding: Creamy, High Protein, and Overnight Ready
Make this simple, creamy vanilla chia seed pudding using only five basic ingredients. It is perfect for a make ahead breakfast, a high fiber snack, or a healthy dessert. Prepare it the night before for a quick morning meal.
- Prep Time: 5 min
- Cook Time: 0 min
- Total Time: 4 hr 5 min
- Yield: 1 serving 1x
- Category: Breakfast
- Method: No Cook/Refrigeration
- Cuisine: American
- Diet: Vegan
Ingredients
- 1/4 cup chia seeds
- 1 cup milk (dairy or non-dairy like almond milk for vegan/dairy free)
- 1 tablespoon maple syrup or liquid sweetener (adjust to taste for low sugar option)
- 1 teaspoon vanilla extract
- Pinch of salt
Instructions
- Combine the chia seeds, milk, maple syrup, vanilla extract, and salt in a jar or container.
- Stir the mixture well for about one minute to prevent the seeds from clumping at the bottom.
- Let the mixture sit on the counter for 5 minutes, then stir again thoroughly. This second stir helps achieve a creamy consistency.
- Cover the container and place it in the refrigerator to chill for at least 4 hours, or preferably overnight.
- When ready to serve, check the consistency. If it is too thick, stir in a splash more milk.
- Serve cold with your favorite toppings like fresh berries or nuts.
Notes
- For a high protein chia pudding, stir in 1 scoop of vanilla or unflavored protein powder with the dry ingredients before adding the milk.
- To make chocolate chia pudding, add 1 tablespoon of unsweetened cocoa powder when mixing.
- This recipe is naturally gluten free and vegan when using plant-based milk.
- If you prefer a keto chia pudding, substitute the maple syrup with a keto-approved liquid sweetener like monk fruit or stevia.
Nutrition
- Serving Size: 1 serving
- Calories: 250
- Sugar: 8
- Sodium: 150
- Fat: 12
- Saturated Fat: 1.5
- Unsaturated Fat: 10.5
- Trans Fat: 0
- Carbohydrates: 30
- Fiber: 15
- Protein: 10
- Cholesterol: 0