

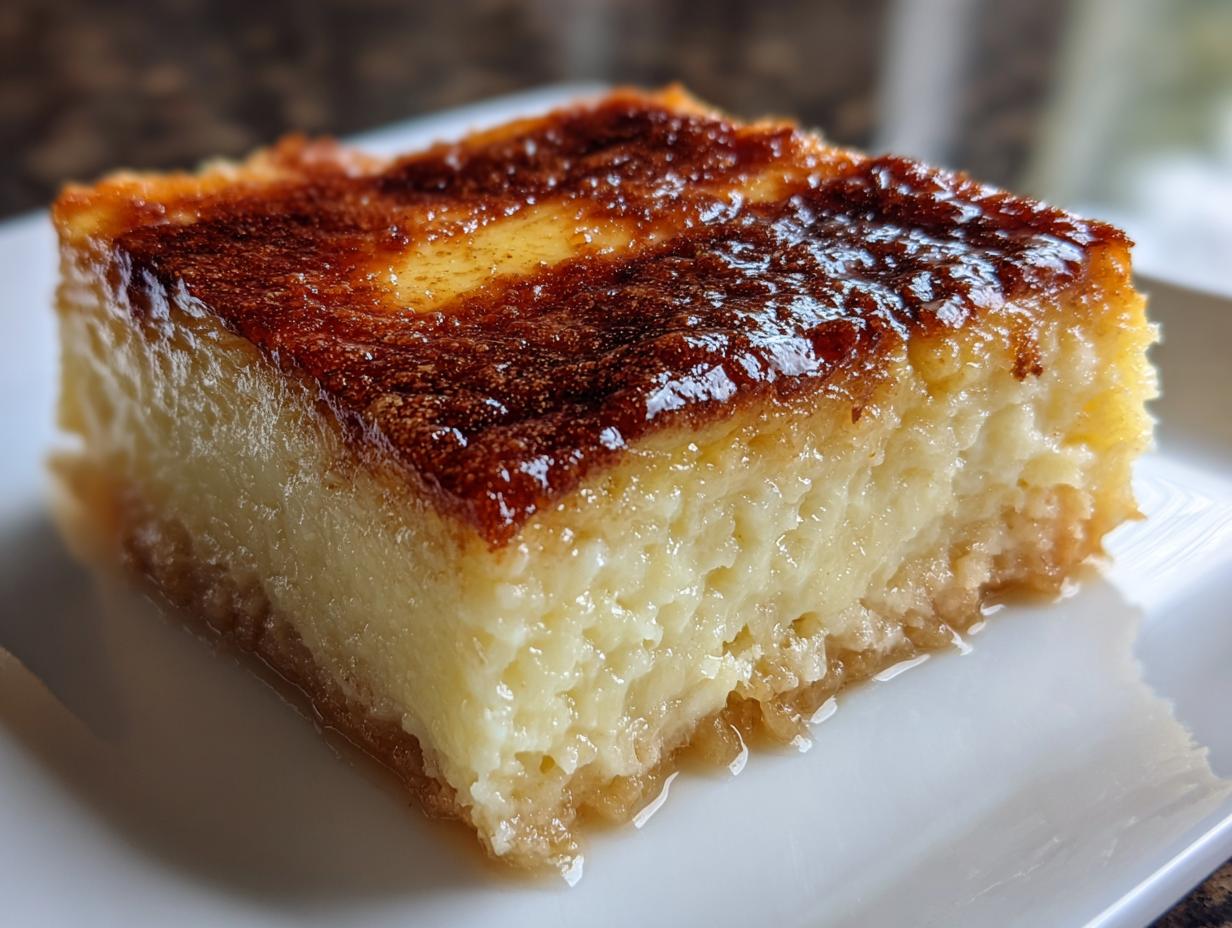
Let’s be honest, sometimes we just need dessert comfort, right? And when I think about the truly soulful sweets from my childhood, nothing beats Filipino Cassava Cake. It’s that perfect blend of tropical flavors—rich coconut and sweet root crop—but so often, recipes look complicated and intimidating. I get it; my career in marketing always had me racing against the clock, just like so many of you!
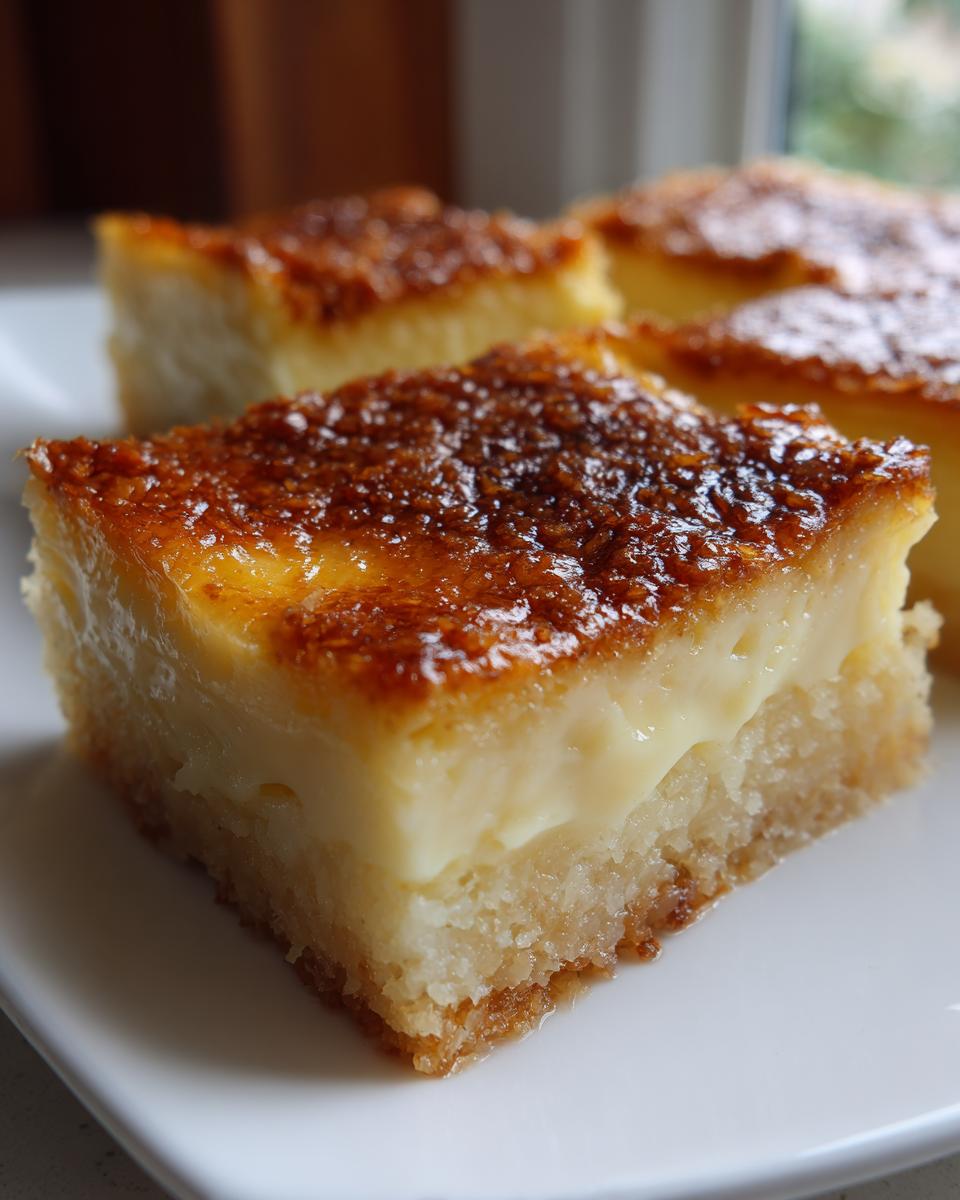
That’s why I spent ages perfecting this Easy Filipino Cassava Cake Recipe. This isn’t just about making something traditional; it’s about making it achievable. My goal has always been to share the flavors my Mom and Dad brought into our Chicago kitchen, making sure you get that signature chewy base and that unbelievably creamy coconut custard topping every single time. It’s a classic for a reason, and trust me, you don’t need a whole afternoon to make this magic happen!
- Why This Easy Cassava Cake Recipe Works for Busy Cooks
- Gathering Your Ingredients for Authentic Cassava Cake
- Step-by-Step Instructions: How to Make Cassava Cake
- Tips for the Best Chewy Coconut Dessert Texture
- Popular Variations: Cassava Cake with Macapuno or Cheese
- Storage and Reheating Instructions for Cassava Cake
- Frequently Asked Questions About Filipino Cassava Cake Recipe
- Understanding the Nutrition in Your Cassava Cake
- Share Your Experience Making This Cassava Cake
Why This Easy Cassava Cake Recipe Works for Busy Cooks
Look, I know you’re busy. When I was juggling deadlines, I needed desserts that delivered huge flavor without demanding all day in the kitchen. This version of the Easy Cassava Cake Tutorial is all about efficiency, not sacrifice. It genuinely comes together in under 90 minutes total!
- It uses simple canned ingredients, saving tons of prep time.
- The two-stage baking keeps things moving quickly.
- You get that deep, satisfying flavor that defines a great Chewy Coconut Dessert.
- Perfect for that last-minute craving or when you need a quick Quick Cassava Cake Baking project!
Gathering Your Ingredients for Authentic Cassava Cake
You know that feeling when you’re ready to bake, but you’re missing one crucial thing? I hate that! So, let’s make sure we have everything perfect before we even think about turning the oven on. When making this Filipino Cassava Cake Recipe, the quality of the coconut milk matters a lot for that real tropical taste. Don’t skimp here!
Also, a quick heads up on the cassava: I usually use frozen, thawed, and squeezed grated cassava because it saves so much peeling and grating time. But if you use fresh, make sure you squeeze out any excess water—that’s key for a good base!
For the Cassava Cake Base
- 4 cups grated cassava (fresh or frozen/thawed—squeeze out extra water!)
- 1 can (13.5 oz) full-fat coconut milk
- 1 can (14 oz) sweetened condensed milk
- 1/2 cup granulated sugar
- 1/4 cup melted butter
- 1 teaspoon vanilla extract
- Pinch of salt
For the Creamy Coconut Custard Topping
- 1 can (13.5 oz) full-fat coconut milk
- 1 can (14 oz) sweetened condensed milk
- 2 large egg yolks (These give us that amazing smooth richness!)
- 1/4 cup all-purpose flour or cornstarch (This gets it perfectly thick!)
- 1/2 cup grated cheese (Optional, but trust me, go for the cheese!)
Step-by-Step Instructions: How to Make Cassava Cake
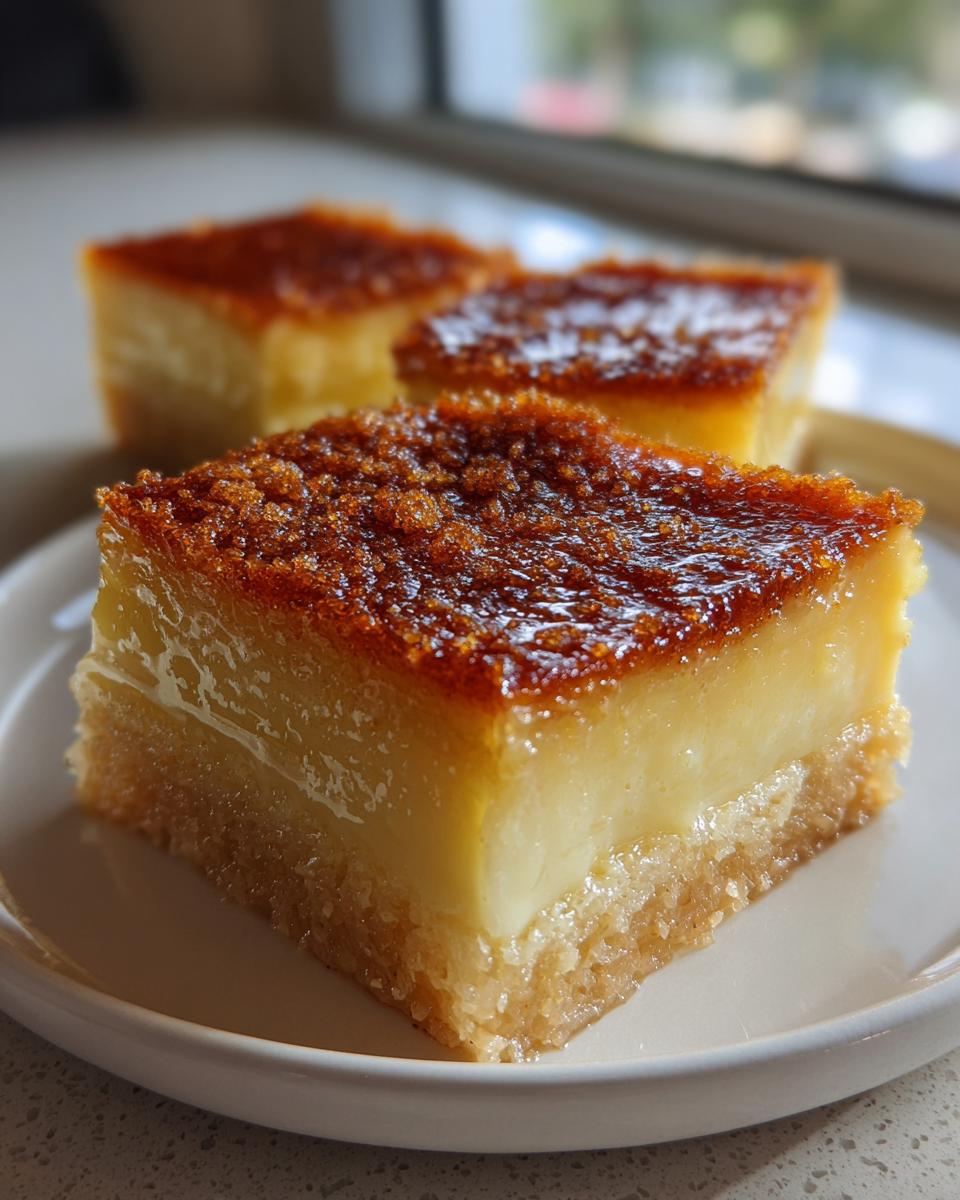
Okay, now for the fun part! This is where we turn those gorgeous ingredients into true Creamy Cassava Pudding. Don’t let the two layers scare you; we handle the base first, then make the custard while it bakes. It’s much simpler than tackling everything at once. We’re aiming for that classic, dense, yet creamy cassava cake texture that just melts in your mouth.
Preparing the Cassava Cake Base and Initial Bake
First things first, get that oven preheated to 350°F (175°C). Grab an 8×8 inch baking pan, grease it up well, and definitely line it with parchment paper. Trust me on the liner; it makes getting those perfect slices out later so much easier when dealing with sticky desserts like this.
In a big bowl, dump in all your base ingredients: the cassava, one can of coconut milk, the sweetened condensed milk, sugar, melted butter, vanilla, and salt. Mix it until it looks uniform—no dry pockets allowed! Pour this glorious mixture into your prepared pan and spread it out flat. We bake this base layer for about 40 to 50 minutes. You’re looking for the edges to just start setting up and getting a little bit golden. That tells us it’s ready for the topping!
Creating the Rich Cassava Cake with Custard Topping
While that base is baking away, we make the topping! In a saucepan over medium-low heat, whisk together the second can of coconut milk, the rest of the condensed milk, your egg yolks, and your flour or cornstarch. Cooking the custard is crucial; you have to stir constantly over medium-low heat until it thickens enough to coat the back of a spoon. Don’t let it rage into a boil, or the texture won’t be right!
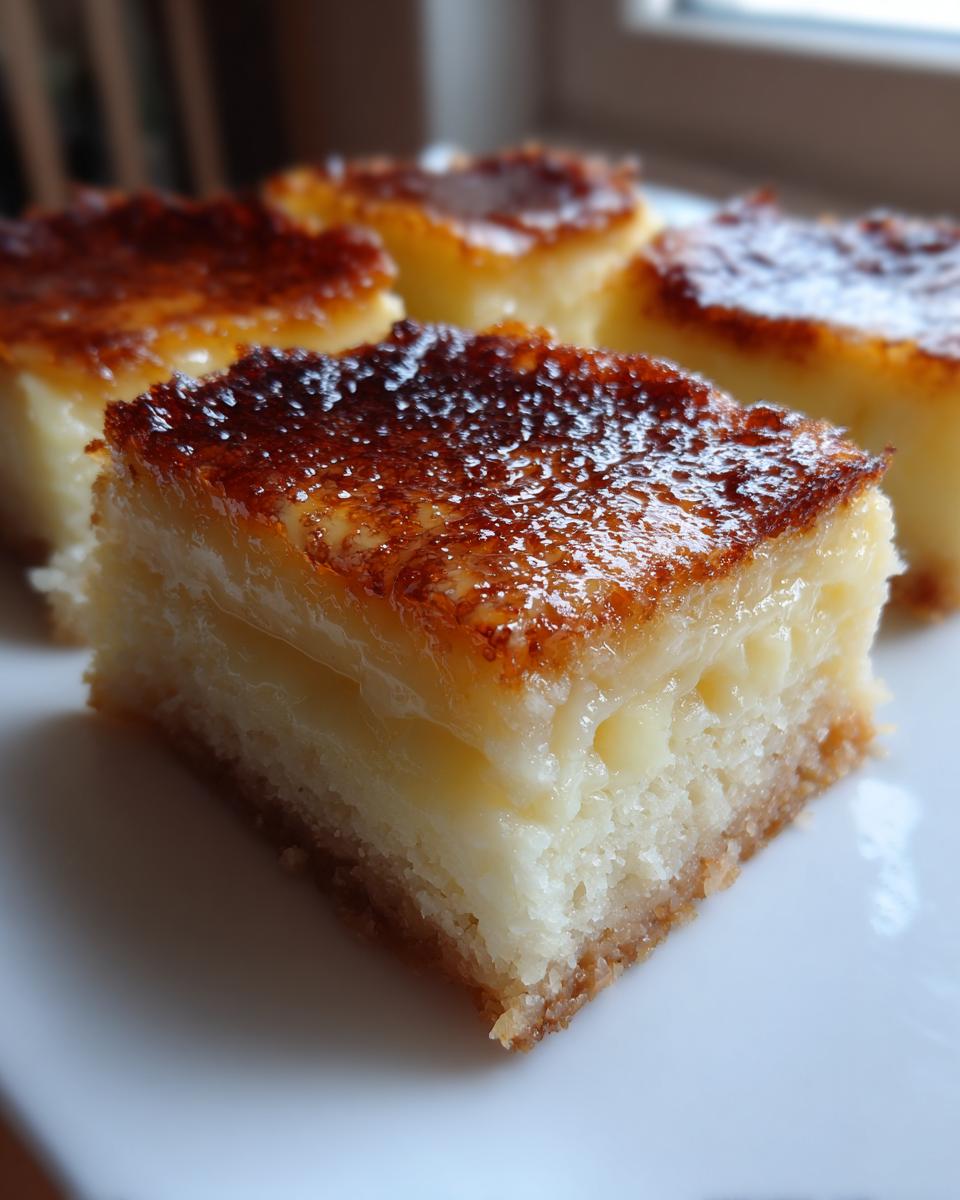
Once the base is partially set, carefully sprinkle on your optional grated cheese if you’re making the Cheesy Cassava Cake Recipe variation. Then, gently pour that thick custard right over the top. Pop it back into the oven for another 15 to 20 minutes. If you want that beautiful, deep golden-brown top, watch it closely and flick the broiler on for just the last minute or two. Seriously, stay right there, or you’ll have burnt cheese!
Tips for the Best Chewy Coconut Dessert Texture
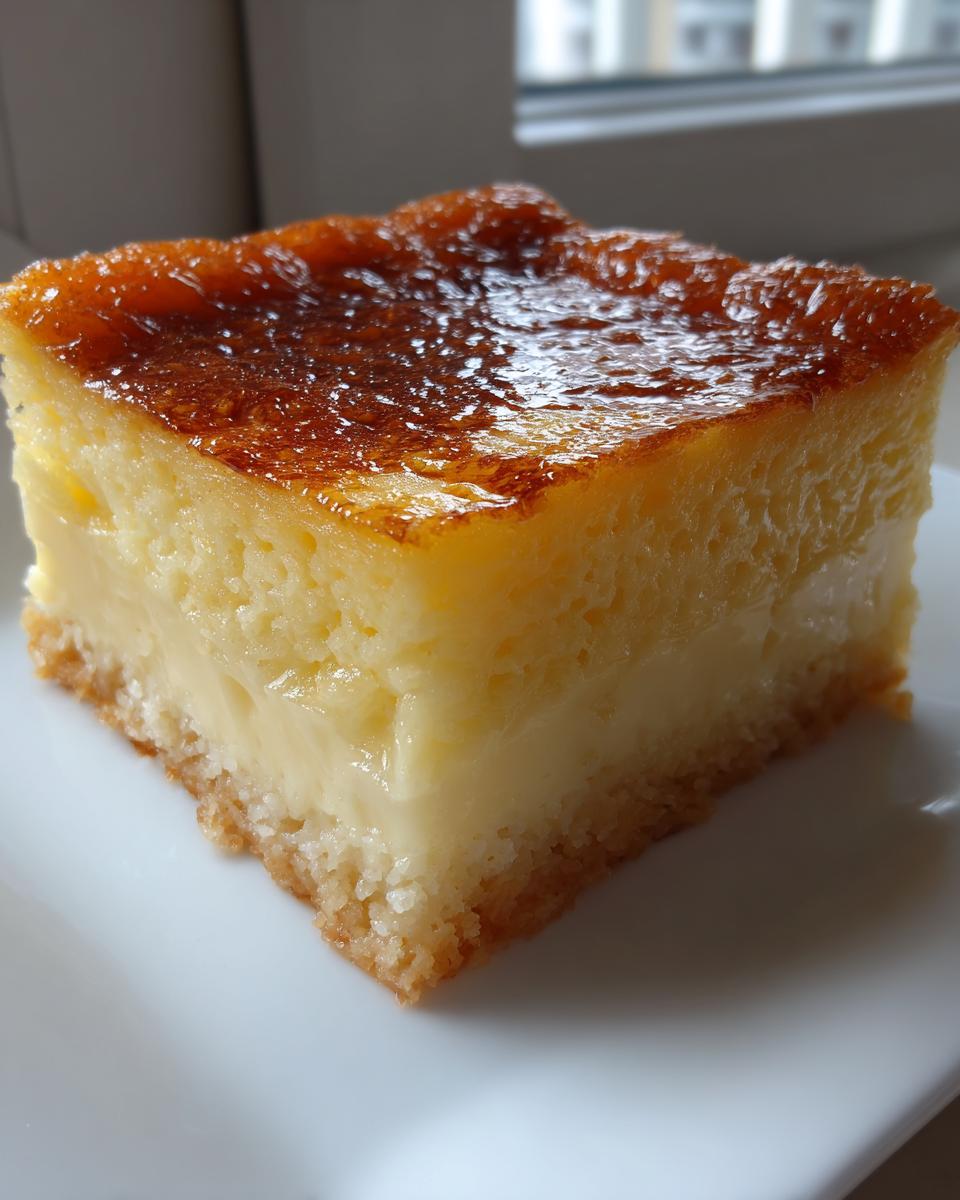
Achieving that perfect texture in a cassava cake is what separates a good bake from a legendary one. We’re aiming for delightfully chewy and incredibly moist—that signature texture you crave in a Chewy Coconut Dessert.
My biggest piece of advice centers around patience after it comes out of the oven. You absolutely cannot slice this while it’s hot! The structure needs time to set up properly. The recipe notes mention leaving it to cool for at least two hours at room temperature, but honestly? If you can wait four hours while it chills in the fridge, the slices will be incredibly firm, moist, and chewy. That cooling time lets the starches fully hydrate and firm up, making for the cleanest, most satisfying bite.
Also, remember what I said about not overbaking the base? If you bake the bottom layer until it’s bone dry, the top custard can’t penetrate and combine with it properly. Stop baking the base when the edges look set, but the center is still a tiny bit soft. The final bake with the custard will finish that cooking process perfectly!
Popular Variations: Cassava Cake with Macapuno or Cheese
I love that this cassava cake is so flexible! While the classic version is perfect, sometimes you want an extra layer of deliciousness. This recipe handles two of the most requested upgrades beautifully: macapuno strings and cheese!
If you want that signature tropical texture, grab some macapuno strings (those sweet, young coconut strings). You just gently fold about half a cup of them right into the base mixture before it ever sees the oven. They bake right into that chewy layer!
For the cheese lovers, we are turning this into a Cheesy Cassava Cake Recipe. You’ll want to sprinkle about half a cup of grated cheese directly over the cassava base after the initial 40-minute bake, but *before* you pour the custard topping on. The cheese melts down slightly, giving you that wonderful sweet and salty combo when it’s done!
Storage and Reheating Instructions for Cassava Cake
We all love leftovers, especially when they turn into a perfect snack the next day! Because this cassava cake is so rich with coconut milk and custard, how you store it matters a ton for maintaining that creamy texture.
If you have any leftover, keep it covered tightly in the fridge. It’s best eaten chilled within three to four days. If you decide to eat it straight from the fridge, it will be very firm, which I actually love! If you want to restore some of that warm, soft feeling, cover a slice loosely with a damp paper towel and microwave it for about 15 to 20 seconds. That tiny bit of steam melts the creaminess right back into the cassava layer!
Frequently Asked Questions About Filipino Cassava Cake Recipe
It’s totally normal to have questions when trying a new Filipino Cassava Cake Recipe, especially one this beloved! I wrote this guide to make sure you succeed on your first try, but here are a few things I hear often so we can troubleshoot ahead of time.
Can I make this cassava cake ahead of time?
Yes, definitely! In fact, I think it tastes even better the next day. The key to that incredibly good texture for this Moist Baked Cassava Dessert is the cooling time. Let it cool completely on the counter, then cover it and stick it in the fridge for at least four hours, or preferably overnight. That chilling time lets the creamy layer solidify perfectly!
What is the best substitute for grated cassava?
For this specific Simple Cassava Recipe, using fresh or frozen grated cassava is non-negotiable for achieving the chewiness. Cassava flour just won’t give you that same satisfying texture. If you must substitute for speed, look for pre-grated frozen cassava, but make absolutely sure you squeeze every bit of excess water out after thawing. Water is the enemy of a firm base!
How do I ensure my custard topping is creamy and not runny?
This is all technique! When you are cooking the custard, you must keep it over medium-low heat and stir without stopping. Think of it like making pudding. Once the mixture starts coating the back of your spoon—meaning if you run your finger through the coating on the spoon, the line stays put—it’s done. Pull it immediately off the heat. If you boil it hard, the texture changes, and it’s no longer that beautiful, Creamy Cassava Pudding we want!
Understanding the Nutrition in Your Cassava Cake
Now, I need to be totally upfront with you because that’s one of my core promises here at Cooking by Felix. This Cassava Cake is undeniably a rich, satisfying treat, full of coconut milk and sweetened condensed milk. It’s a celebration dessert, not an everyday health food!
These following numbers are just estimates based on the main ingredients, and they can shift a bit depending on the brands of condensed milk you use, or if you add the optional cheese. Enjoy it mindfully!
- Serving Size: 1 slice
- Calories: 380
- Sugar: 35g
- Fat: 18g (with 15g Saturated Fat)
- Carbohydrates: 50g
- Protein: 6g
Share Your Experience Making This Cassava Cake
I truly hope this guide helped you bring a slice of the Philippines right into your own kitchen! There’s nothing that makes me happier than knowing someone else found joy and comfort in making this classic Filipino Cassava Cake.
When you’ve let it chill and had your first bite—that perfect combo of chewy base and creamy topping—I would absolutely love to hear about it! Please take a moment to leave a quick star rating right here on the page so others know how this recipe worked for you.
Did you try it with the macapuno strings? Or are you a die-hard fan of the Cheesy Cassava Cake Recipe? Drop a comment below and let me know your favorite way to enjoy this tropical root crop dessert. Happy baking, friend!
PrintEasy Filipino Cassava Cake with Creamy Coconut Custard Topping
Make this authentic Filipino Cassava Cake, a rich, chewy, and creamy dessert featuring a smooth coconut custard topping. This simple recipe is perfect for busy cooks seeking a satisfying tropical treat.
- Prep Time: 20 min
- Cook Time: 70 min
- Total Time: 90 min
- Yield: 9 servings 1x
- Category: Dessert
- Method: Baking
- Cuisine: Filipino
- Diet: Vegetarian
Ingredients
- 4 cups grated cassava (fresh or frozen/thawed)
- 1 can (13.5 oz) full-fat coconut milk
- 1 can (14 oz) sweetened condensed milk
- 1/2 cup granulated sugar
- 1/4 cup melted butter
- 1 teaspoon vanilla extract
- Pinch of salt
- For the Custard Topping:
- 1 can (13.5 oz) full-fat coconut milk
- 1 can (14 oz) sweetened condensed milk
- 2 large egg yolks
- 1/4 cup all-purpose flour or cornstarch
- 1/2 cup grated cheese (optional, for cheesy cassava cake variation)
Instructions
- Preheat your oven to 350°F (175°C). Grease and line an 8×8 inch baking pan with parchment paper.
- In a large bowl, combine the grated cassava, 1 can of coconut milk, condensed milk, sugar, melted butter, vanilla extract, and salt. Mix well until everything is evenly incorporated.
- Pour the cassava mixture into the prepared baking pan and spread it into an even layer.
- Bake the base layer for 40 to 50 minutes, or until the edges are set and slightly golden.
- While the base bakes, prepare the custard topping. In a medium saucepan, whisk together the second can of coconut milk, condensed milk, egg yolks, and flour or cornstarch until smooth.
- Cook the custard mixture over medium-low heat, stirring constantly, until it thickens enough to coat the back of a spoon. Do not let it boil rapidly. Remove from heat.
- If using cheese, sprinkle the grated cheese evenly over the partially baked cassava base.
- Carefully pour the thickened custard topping over the base layer.
- Return the cake to the oven and bake for another 15 to 20 minutes, or until the topping is set and lightly golden brown. For a deeper golden color, you can briefly switch the oven to broil for the last 1-2 minutes, watching closely to prevent burning.
- Remove the cassava cake from the oven and let it cool completely in the pan before slicing. This helps achieve the best chewy texture.
Notes
- For a chewy coconut dessert texture, ensure you do not overbake the base layer before adding the topping.
- If you want Cassava Cake with Macapuno, fold 1/2 cup of macapuno strings into the base mixture before baking.
- Allow the cake to cool for at least 2 hours at room temperature, or chill it for 4 hours for a firmer, moister slice.
Nutrition
- Serving Size: 1 slice
- Calories: 380
- Sugar: 35
- Sodium: 150
- Fat: 18
- Saturated Fat: 15
- Unsaturated Fat: 3
- Trans Fat: 0
- Carbohydrates: 50
- Fiber: 3
- Protein: 6
- Cholesterol: 45