

Oh, I know that feeling! You scroll past that perfect, gravity-defying stretch of golden cheese and suddenly, a simple dinner just won’t cut it. We see that incredible viral street food, the Korean corn dog, and think, “There’s no way I can make that chaos happen in my normal kitchen.” But listen, that’s exactly why I started Cooking by Felix! I want to bring those exciting, globally famous flavors right into your busy weeknights. Forget takeout FOMO; this recipe is your ultimate backstage pass to mastering the cheesy, crunchy, absolutely perfect Korean corn dog right at home. Get ready for the best cheese pull you’ve ever made!
- Why This Homemade Korean Corn Dog Recipe Delivers Street Food Perfection
- Gathering Ingredients for Your Korean Corn Dog
- Step-by-Step Instructions for Perfect Homemade Korean Corn Dogs
- Expert Tips for the Ultimate Gooey Cheese Pull Recipes
- Serving Suggestions for Your Street Food at Home
- Storage and Reheating Instructions for Crispy Fried Snacks
- Frequently Asked Questions About Making a Korean Corn Dog
- Nutritional Estimate for This K-Food Recipe
- Share Your Authentic Korean Snack Creations
Why This Homemade Korean Corn Dog Recipe Delivers Street Food Perfection
I get it; there are a million recipes out there, but ours isn’t just about following steps—it’s about technique that guarantees success. When you commit to making these at home, you deserve that perfect crunch and the satisfying melt. Trust me, the steps I’ve laid out here are designed to conquer the two biggest fears: sogginess and a cheese break-out!
Here’s what makes this Korean corn dog recipe the one you need:
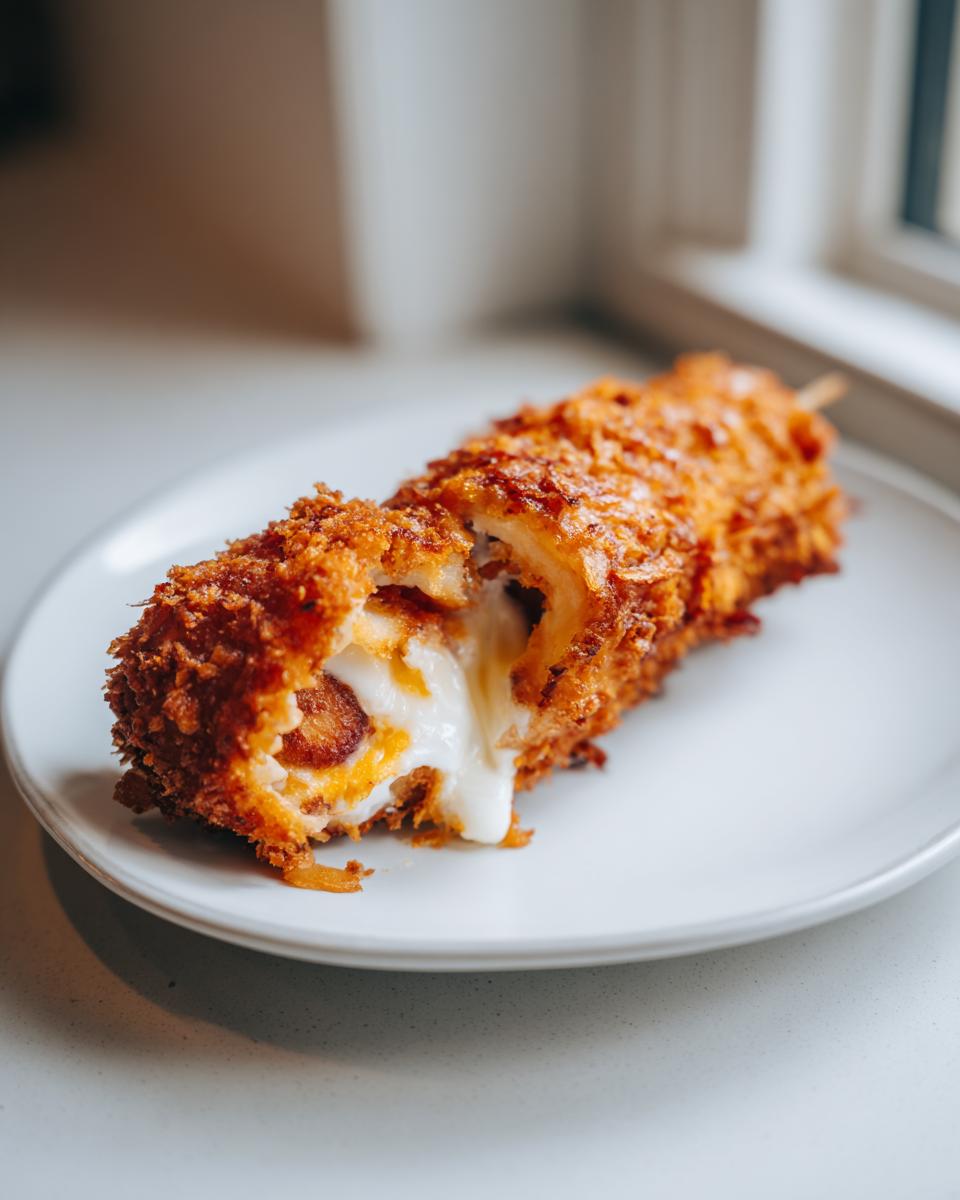
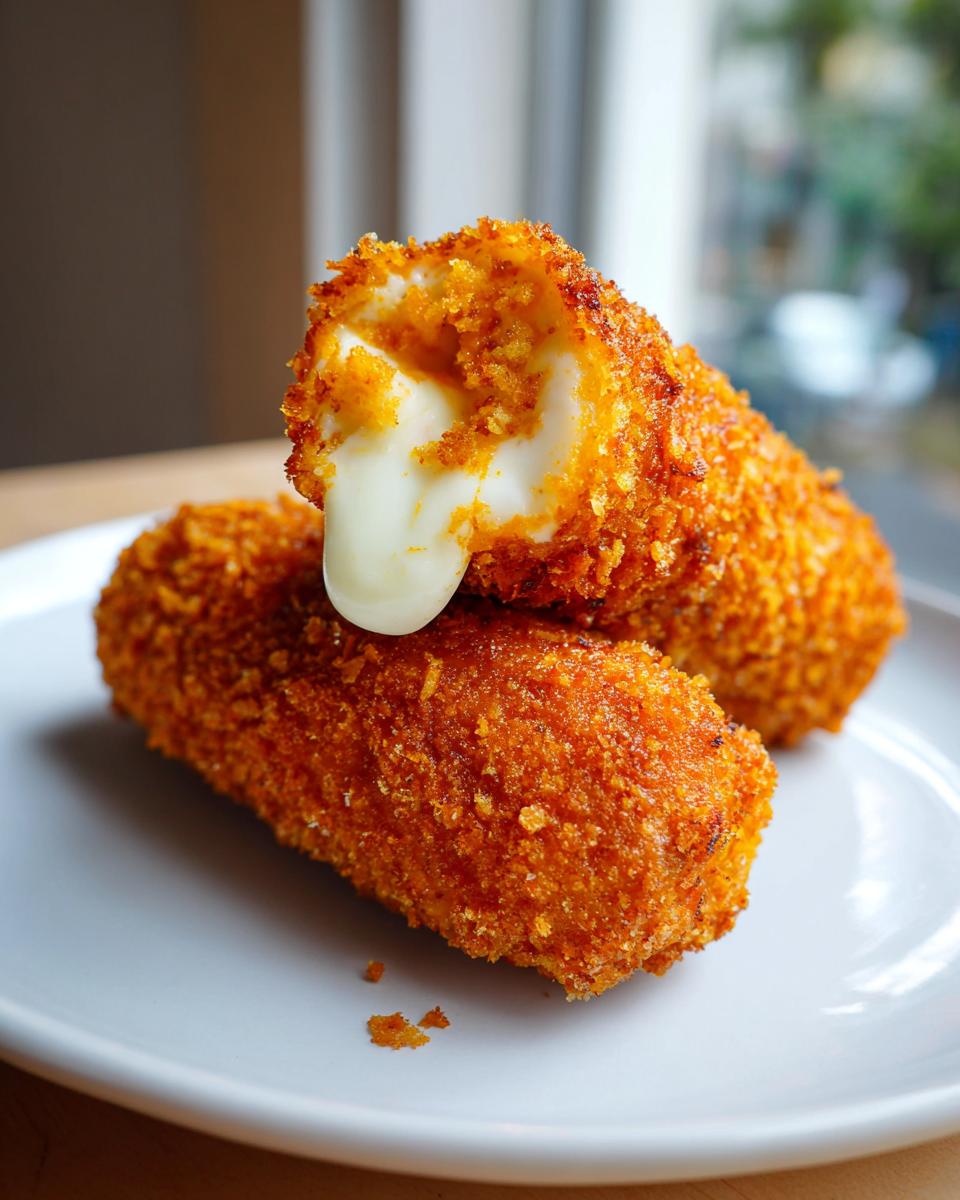
- The Cheese Guarantee: We use low-moisture mozzarella AND we freeze the filling first. This is non-negotiable for that unbelievable, Pinterest-worthy cheese pull. It gives the batter just enough time to cook before the cheese gets too liquid.
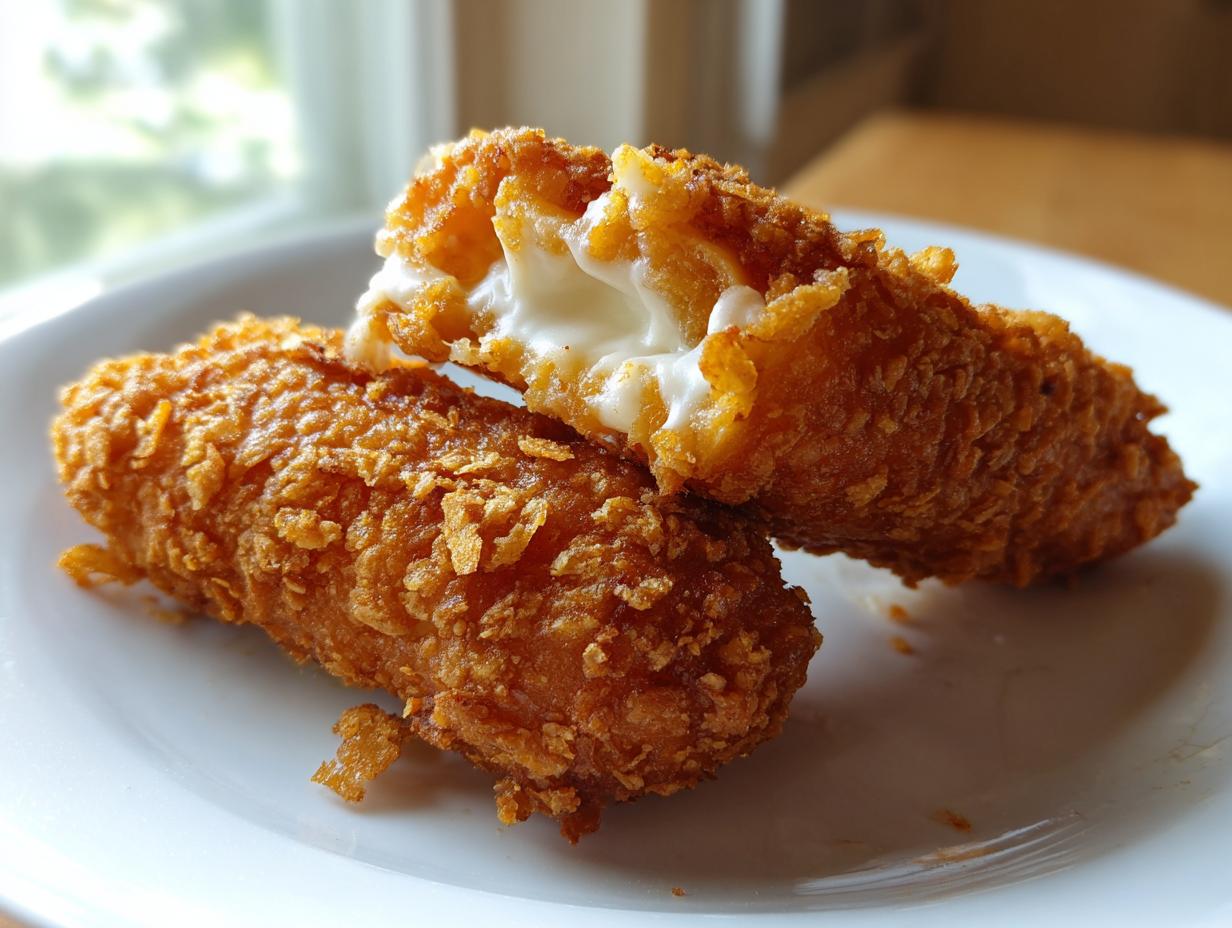
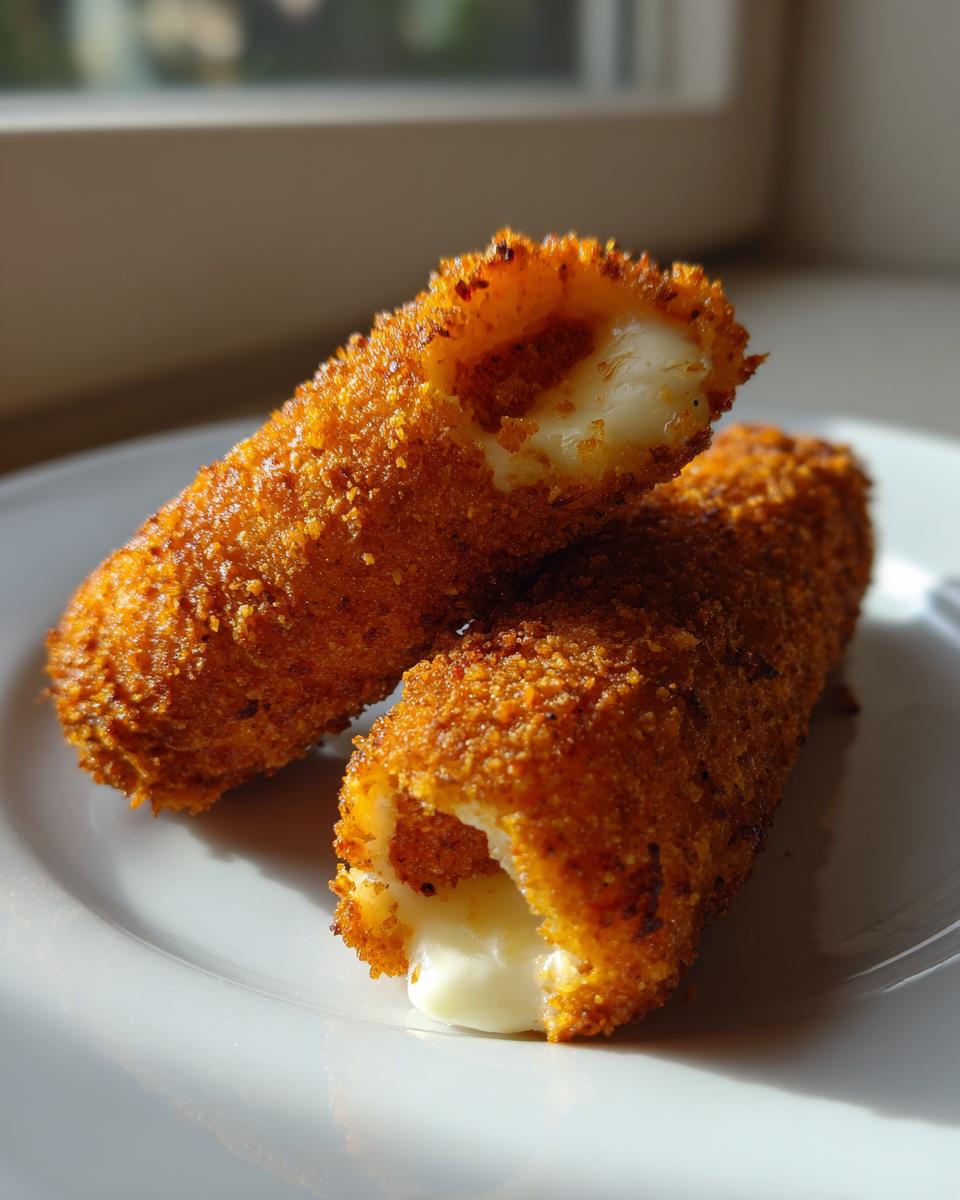
- Double Crunch Factor: You get to choose your own adventure! Whether you go for classic light and airy Panko or the texturally amazing diced potato crust (the Gamja style!), you end up with an exterior shatteringly crisp for ages.
- The Mandatory Rest: That 15-minute rest period after coating is key. It allows the batter to set up just enough, so when it hits the hot oil, it puffs up instead of dissolving into a greasy mess.
Gathering Ingredients for Your Korean Corn Dog
Okay, let’s get down to brass tacks. To get that iconic crunch and that unbelievable cheese stretch, we need to be specific about what goes on the skewer and into the batter. Don’t just grab any cheese off the shelf; that’s a rookie mistake that leads to sad, watery snacks. We’re aiming high here!
For the Korean Corn Dog Batter and Fillings
You’ll need six skewers ready for action. For the core, grab your favorite cocktail sausages or small hot dogs—six of those. And here’s the big tip for that gooey cheese pull recipes success: you absolutely must use low-moisture mozzarella sticks, about three inches long. If they’re wet, the frying process gets messy, trust me. For the batter itself, keep it simple with flour, baking powder, salt, pepper, one egg, and 3/4 cup of ice-cold water. Cold water helps create a lighter batter!
Coating Options: Panko vs. Diced Potato for Your Crispy Fried Snacks
This is where you customize your Korean corn dog! Have one cup of panko breadcrumbs ready for that classic, airy crunch. If you’re going for the famous Gamja style, which I highly recommend for texture, you’ll need one cup of raw potato that you’ve finely diced yourself. Remember, the smaller the pieces, the better they stick and cook evenly!
Step-by-Step Instructions for Perfect Homemade Korean Corn Dogs
Now for the fun part! This process looks like a bit of theater, but I promise you, once you get a rhythm, you’ll be cranking these out like a true vendor on a Seoul street corner. The key here is timing and temperature control. We need everything cold before it hits that hot oil!
Preparing the Fillings and Freezing for Stability
We’re going for the viral half-and-half unless you love all dog or all cheese—that’s up to you! Cut your hot dogs in half lengthwise if you’re mixing, then carefully skewer one half-dog and one mozzarella stick together. Make sure the cheese is centered. Once they are nicely lined up on their sticks, the next step is critical: we freeze them for 30 minutes. This chill keeps the mozzarella firm so it doesn’t immediately melt and ooze out when it hits the oil. Seriously, don’t skip the freeze!
Mixing the Batter for the Ideal Korean Corn Dog Coating
Grab your medium bowl. Whisk the flour, baking powder, salt, and pepper first. In a separate little cup, quickly mix your egg and very cold water. Now, dump the wet into the dry and mix with a whisk, but stop as soon as they come together. Lumps are your friend here! If you mix until it’s perfectly smooth, you’re developing the gluten, and that gives you a chewy, tough coating instead of the light, crispy crust we’re dreaming of. Just combine and move on.
The Crucial Coating and Resting Phase
Get your panko or diced potatoes ready on those shallow plates. Take your chilly skewers and dunk them completely into that lumpy batter—let the extra drip right back into the bowl. Immediately roll that wet dog right into your coating. If you’re using potatoes, press those little cubes on firmly so they cling tight. Once coated, lay them on parchment paper and let them seriously just hang out for 15 minutes at room temperature. This rest is what sets the batter surface, which is vital for maximum crunch and keeping everything from turning into a soggy disaster later. Pop over to this post for a visual on the Panko texture!
Deep Frying Techniques for a Golden Korean Corn Dog
Time for the sizzle! Pour 2 to 3 inches of oil into a heavy pot—we need depth. Heat it to a steady 350°F (175°C). You absolutely must use that thermometer. If it’s too low, they’ll get oily. If it’s too high, the outside burns before the cheese gets melty. Gently lower just two or three at a time—don’t crowd the pot, or the temperature will drop like a rock! Fry them for about 3 to 4 minutes, turning them carefully with tongs until they are deeply golden brown. For the Korean corn dog with cheese, keep an eye out; we want crisp, not leakage!
Expert Tips for the Ultimate Gooey Cheese Pull Recipes
I wanted to dedicate a little space just to talk about making sure that cheese pull is legendary, because honestly, if you don’t get the stretch, did you even try to make a viral snack? My number one secret, which I noted above, is the mozzarella quality. You have to use low-moisture mozzarella sticks. If you use the fresh kind packed in water, all that extra liquid turns to steam and pushes your batter right off the sausage, or worse, makes the whole thing soggy from the inside out.
My second non-negotiable is oil temperature. I cannot stress this enough: keep that oil between 345°F and 355°F. I keep my thermometer right there next to the pot. If the oil dips even a little bit, the coating just soaks it up like a sponge. We want the exterior to cook fast and crisp up while giving that cheese just enough time to get dreamy and stretchy. If you master that temperature, you are 90% of the way to perfect Korean-style corn dogs!
Serving Suggestions for Your Street Food at Home
Okay, they are perfectly fried, drained, and look amazing. Now, this is where we make them truly ours! Remember, the Korean corn dog experience is all about that sweet and savory customization. Right when they come off that wire rack, while they are piping hot, immediately roll them generously in granulated sugar. Yes, sugar! It seems wild, but that crunchy sweetness sets up that fantastic flavor contrast.
For the sauces, you can go totally traditional—a zig-zag of bright yellow mustard, some ketchup, or even a drizzle of mayonnaise. If you’re serving these up for a party, set out little bowls of all your favorites so people can decorate their Korean corn dogs just the way they like them. They truly make the best, most impressive snack!
Storage and Reheating Instructions for Crispy Fried Snacks
Even though these **Korean corn dogs** vanish almost instantly (I’ve never managed to save leftovers myself!), life happens, right? If you do manage to have any left over, storing them correctly is key to keeping that wonderful crunch alive. You’ll want to store them in an airtight container. They do fine on the counter for a few hours, but if you put them in the fridge, make sure they are completely cooled first.
Now, about reheating—this is crucial. Please, please, never microwave these! The microwave turns that perfect crust into sad, chewy rubber. To bring back that amazing texture, use your oven or go straight for the air fryer. I use my air fryer all the time for reheating leftovers like this; just pop them in at about 350°F until the outside is sizzling and crisp again. You can check out how I get perfect crispness in my air fryer chicken tenders—the principle is the same!
Frequently Asked Questions About Making a Korean Corn Dog
I know you’re excited to get frying, but sometimes little questions pop up before the oil even heats up. That’s totally normal! I’ve collected the ones I get asked most often about making sure these **Korean corn dogs** turn out exactly like the ones you see online. Don’t stress, we’ll tackle them together!
Can I use rice flour instead of all-purpose flour in the Cheesy Corn Dog Recipe?
Oh, great question! Yes, you absolutely can, and many folks swear by it for extra crispness. Rice flour absorbs moisture differently than regular AP flour, which gives you a lighter shell. If you swap it out, just watch your batter closely. You might need to add just a tiny splash more water, a teaspoon at a time, because rice flour can get thirsty quickly. It’s a fantastic way to step up your crunch game!
What is the best way to achieve the Gamja style Potato Crusted Corn Dogs?
For the potato crust—my personal favorite, texture-wise—the trick is size uniformity. You want those little potato cubes diced as small and evenly as possible. Think tiny, almost like coarse sand, but still distinct pieces. You have to press them into the wet batter firmly, making sure every spot is covered. When they hit the oil, those little cubes fry right up, giving you an amazing textural contrast against the soft batter underneath. It’s worth the extra chopping, trust me!
How long can I let the coated Korean Corn Dog rest before frying?
This resting time is non-negotiable! You want them to sit out at room temperature for exactly 15 minutes. This isn’t a suggestion; it’s part of the science! That time allows the wet batter to firm up slightly so it clings tight to the skewer. If you let them rest much longer than that, or if you chill them again, the batter gets too stiff and can crack or slide right off your skewer once it hits that hot oil. Want the full rundown on why this matters? Check out these tips on making your own korean corn dog recipe!
Nutritional Estimate for This K-Food Recipe
Now, I always say cooking for joy is way more important than balancing calories, but for those tracking things? Here’s a rough idea of what you’re digging into with one of these beauties. Keep in mind this is an estimate based on a standard half-and-half dog, standard oil amount, and powdered sugar dusting. Your exact numbers might shift a little depending on the brand of sausage you grab!
- Serving Size: 1 corn dog
- Calories: 350
- Fat: 20g
- Carbohydrates: 30g
- Protein: 15g
- Sugar: 12g
Share Your Authentic Korean Snack Creations
We made it all the way through! You’ve faced the hot oil, you’ve mastered the perfect batter, and I bet those mozzarella sticks are stretching gloriously. Honestly, seeing your finished **Korean corn dogs** is the best part of sharing these recipes. It proves you don’t need to pack a suitcase to enjoy amazing global street food.
I truly hope you found this easy to follow. Don’t forget to jump back up and leave a little rating for the recipe—it helps other busy folks know it’s worth their time. And please, please, tell me in the comments which coating you chose! Were you a classic Panko fan, or did you go rogue with the diced potatoes? I love hearing which way everyone leans!
If you snapped a photo of your beautiful, crispy, sugar-dusted masterpieces—especially if you caught that amazing cheese pull—tag me on social media! Seeing your successes energizes me to keep digging up these fun, achievable recipes that can fit into our busy lives. Happy snacking, and don’t forget to check out my slow cooker pozole if you’re looking for another impressive, hands-off meal!
PrintViral Cheesy Korean Corn Dogs with Potato Crunch

Make the popular street food at home. This recipe shows you how to create the half-and-half corn dog (half hot dog, half mozzarella) with two crunchy coating options: classic panko or diced potato (Gamja style). Achieve the perfect gooey cheese pull and crispy exterior.
- Prep Time: 25 min
- Cook Time: 15 min
- Total Time: 55 min
- Yield: 6 servings 1x
- Category: Snack
- Method: Deep Frying
- Cuisine: Korean
- Diet: Vegetarian
Ingredients
- 6 wooden skewers
- 6 small hot dogs or cocktail sausages
- 6 mozzarella sticks (low moisture, about 3 inches long)
- 1 cup all-purpose flour
- 1 teaspoon baking powder
- 1/2 teaspoon salt
- 1/4 teaspoon black pepper
- 1 large egg
- 3/4 cup cold water
- 1 cup panko breadcrumbs OR 1 cup finely diced raw potato (for Gamja style)
- Vegetable oil, for deep frying
- Granulated sugar, for dusting
Instructions
- Prepare the fillings: If using the half-and-half style, cut the hot dogs in half lengthwise. Skewer one piece of hot dog and one mozzarella stick onto each skewer, ensuring the mozzarella is centered. Freeze the skewered items for 30 minutes to help them hold shape during frying.
- Prepare the batter: In a medium bowl, whisk together the flour, baking powder, salt, and pepper. In a separate small bowl, whisk the egg and cold water. Pour the wet ingredients into the dry ingredients and mix until just combined. Do not overmix; a few lumps are fine.
- Prepare the coatings: Place the panko breadcrumbs or diced potatoes on separate shallow plates.
- Coat the corn dogs: Remove the skewered items from the freezer. Dip each skewered item completely into the batter, letting excess drip off.
- Apply the crust: Immediately roll the battered item in the panko or press the diced potatoes firmly onto the batter until fully coated.
- Rest the corn dogs: Place the coated corn dogs on a parchment-lined tray and let them rest at room temperature for 15 minutes. This helps the batter set before frying.
- Heat the oil: Pour 2 to 3 inches of vegetable oil into a deep, heavy-bottomed pot or Dutch oven. Heat the oil to 350°F (175°C). Use a thermometer to monitor the temperature.
- Fry the corn dogs: Carefully lower 2 to 3 corn dogs into the hot oil, ensuring you do not overcrowd the pot. Fry for 3 to 4 minutes, turning occasionally, until the coating is deep golden brown and crispy. If using mozzarella, fry just until the outside is crisp; do not overcook, or the cheese will leak out.
- Drain: Remove the corn dogs with tongs and place them on a wire rack set over a baking sheet to drain excess oil.
- Finish and serve: While still hot, roll the corn dogs generously in granulated sugar. Serve immediately with your choice of sauces like ketchup, mustard, or mayonnaise for a sweet and savory snack.
Notes
- For the best cheese pull, use low-moisture mozzarella sticks. High-moisture cheese releases too much water when heated.
- If you want a slightly chewier batter, substitute 1/4 cup of the water with milk.
- Maintain the oil temperature strictly between 345°F and 355°F. If the oil is too cool, the coating will absorb too much oil and become soggy.
- If you are making the potato crust, ensure the potato pieces are very small and uniform for even cooking.
Nutrition
- Serving Size: 1 corn dog
- Calories: 350
- Sugar: 12
- Sodium: 450
- Fat: 20
- Saturated Fat: 7
- Unsaturated Fat: 13
- Trans Fat: 0
- Carbohydrates: 30
- Fiber: 1
- Protein: 15
- Cholesterol: 45