

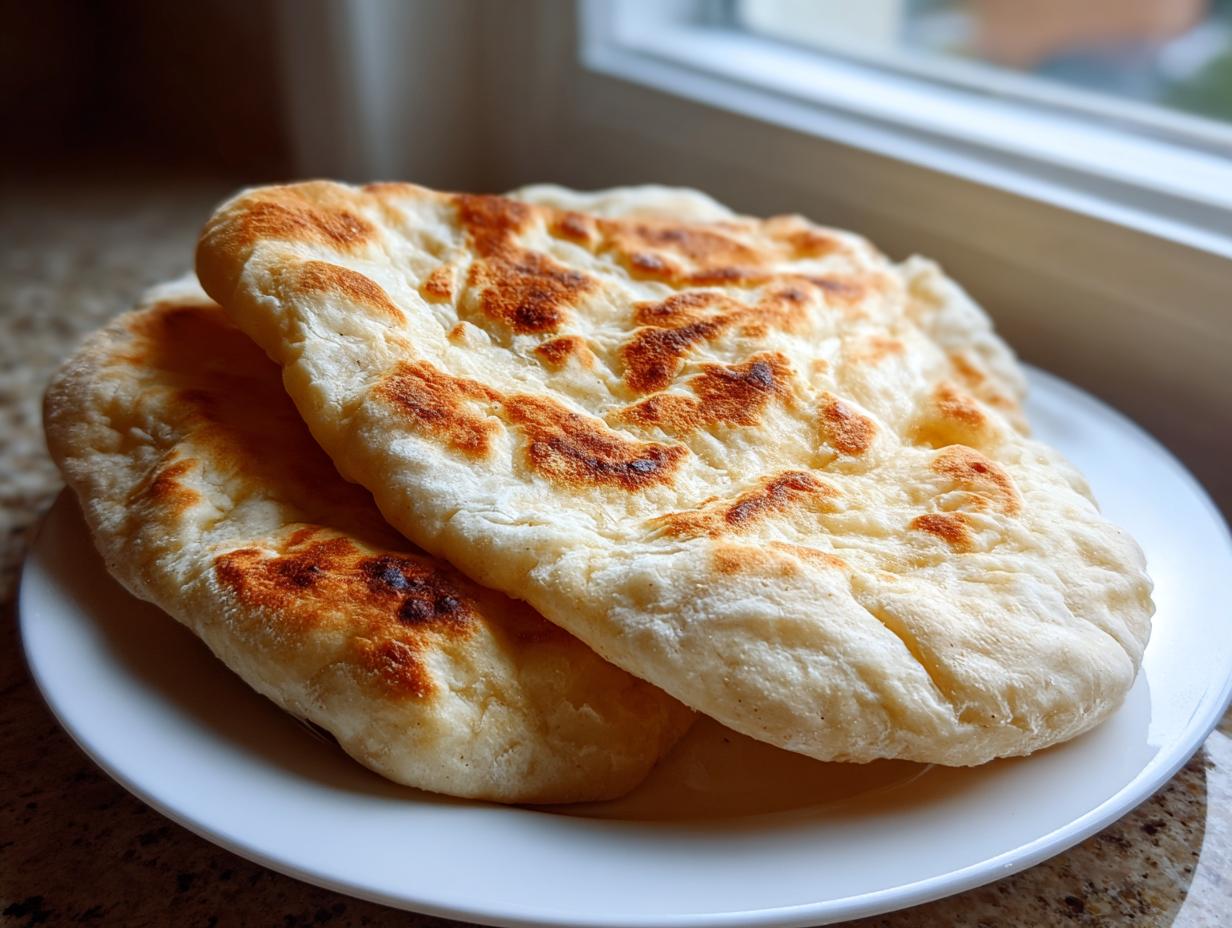
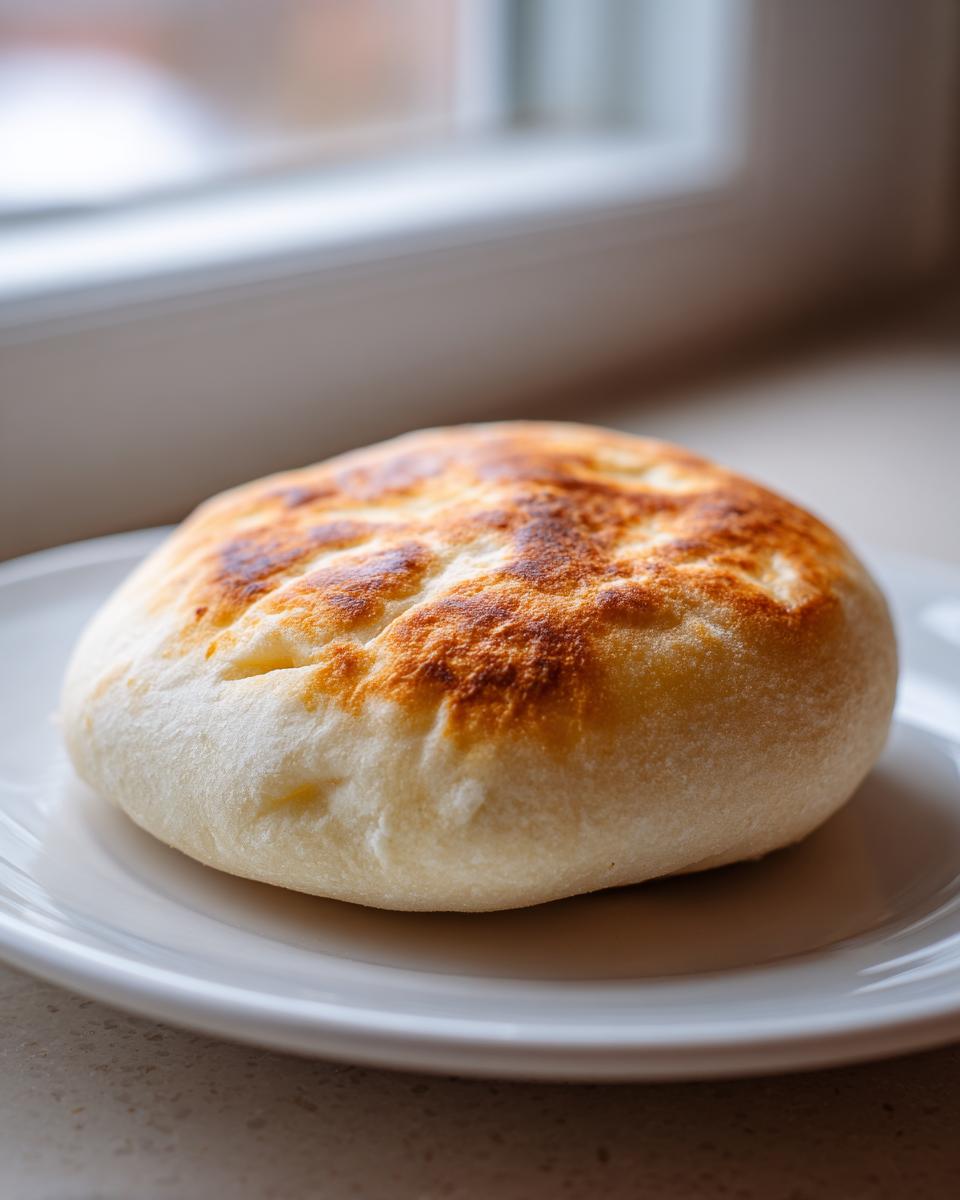
Let’s be honest: store-bought bread, especially those flat guys in the plastic bag, are just sad. They’re dense, crumbly, and never, ever puff when you need them to. If you’re dreaming of that moment when a warm flatbread balloons up, ready to be sliced open for the perfect sandwich, you have to make it yourself. Trust me on this!
That’s why I developed this ultimate easy homemade pita bread recipe. When I was juggling my marketing career and missing that real, soulful cooking my parents taught me, I needed something exceptional that still fit my crazy schedule. This is it. This method focuses on just a few simple ingredients and clear steps to guarantee you get that soft, fluffy texture and, yes, the signature, perfect pocket every single time. You deserve real bread!
- Why This Is the Best Homemade Pita Bread Recipe
- Ingredients for Easy Pita Bread Recipe
- How to Make Pita Pockets: Step-by-Step Instructions
- Tips for Success with Homemade Pita Bread
- Variations: Making Garlic Pita Bread Recipe and More
- Serving Suggestions for Your Fresh Warm Bread
- Storage & Reheating Instructions for Pita Bread
- Frequently Asked Questions About Homemade Pita Bread
- Share Your Ultimate Easy Pita Bread Success
Why This Is the Best Homemade Pita Bread Recipe
I know there are dozens of pita bread recipes out there, but mine is different because it eliminates the guesswork. My goal, just like when I started this whole blog, was to create something simple, clear, and truly reliable for busy folks. You don’t need fancy equipment or hours of waiting to get amazing bread.
- Guaranteed Puff: The high heat and simple dough structure mean it inflates beautifully.
- Soft Texture: We balance the ingredients perfectly for a super tender crumb.
- Only Simple Ingredients: Everything you need is likely already in your pantry!
Check out my story to see why simplicity is my biggest non-negotiable in the kitchen.
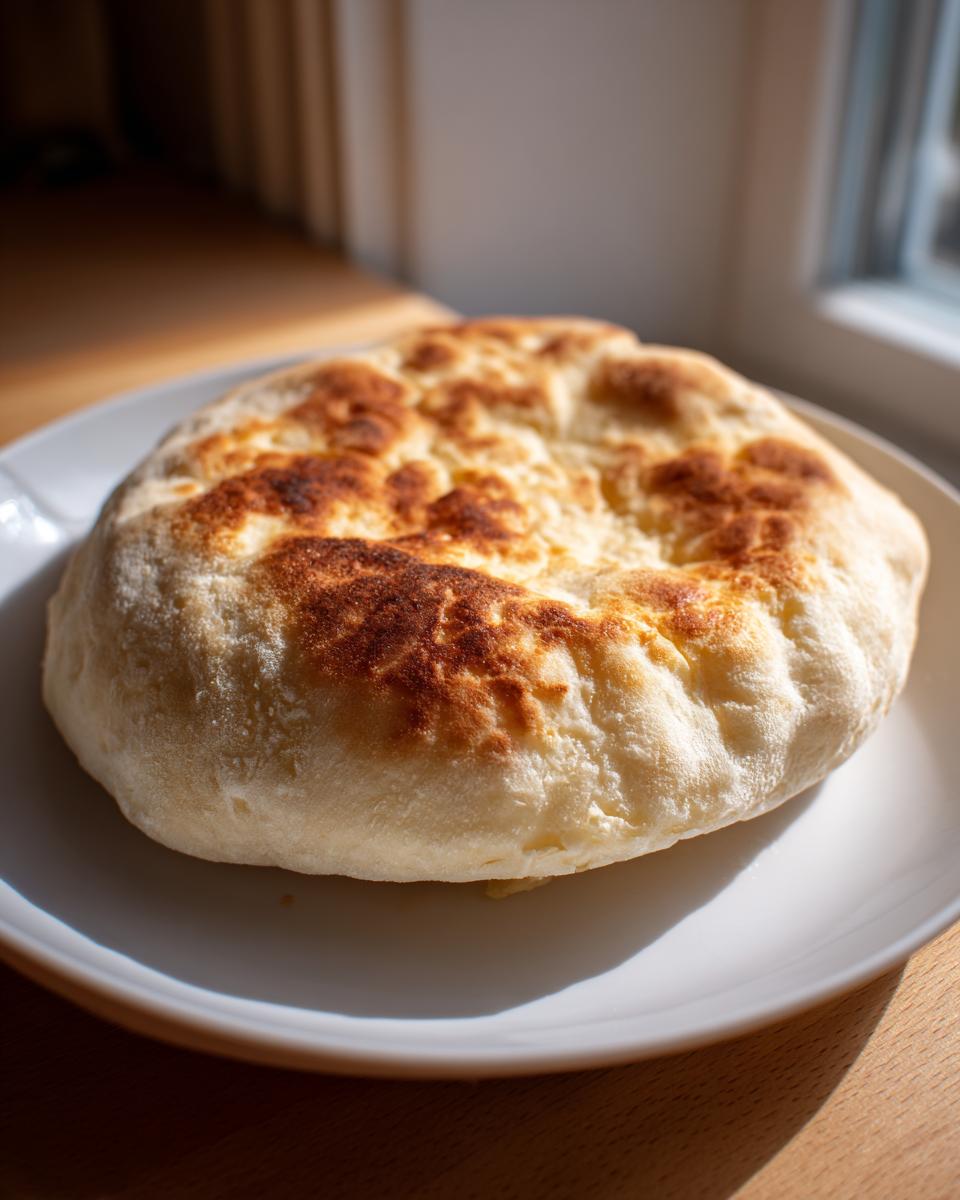
Achieving That Signature Soft Fluffy Flatbread Texture
The softness comes down to two little moments where you have to trust the process. First, you must let that yeast get properly foamy; if it’s dead, your rise is dead! Second, don’t rush the kneading. We need about 5 to 7 minutes of good, solid kneading to develop the gluten network. That network is what traps the steam when it hits the heat, giving you that airy, pillow-like result instead of a cracker or a tough chew. It’s worth the elbow grease, I promise!
Ingredients for Easy Pita Bread Recipe
When it comes to homemade pita bread, I insist on keeping things totally straightforward. You won’t see any complex items here—just what you need for a beautiful, high-rising flatbread. The best part? This entire ingredient list results in naturally vegan pita bread, meaning no eggs or dairy required! It’s just pure, good baking magic. Don’t be intimidated; gather these five simple things, and let’s get started.
- 1 teaspoon active dry yeast
- 1 teaspoon sugar
- 1 cup warm water (about 105-115°F)
- 2 1/2 cups all-purpose flour, plus more for dusting
- 1 teaspoon salt
- 2 tablespoons olive oil
Ingredient Notes and Substitutions for Perfect Pita Bread
I highly recommend checking that your active dry yeast is fresh. If it doesn’t foam up nicely when mixed with the sugar and warm water, you need to toss it and grab a new packet! We stick to all-purpose flour because it has the right balance of protein to give you that amazing spring and pocket when baked. Now, I know some of you love whole grain swaps, and you absolutely *can* swap out about half the white flour for whole wheat. Just know that usually, going too heavy on the whole grain flour tends to make the pita a little less eager to puff up perfectly! But for the best texture, stick with the AP flour for this pita bread recipe.
How to Make Pita Pockets: Step-by-Step Instructions
Okay, this is where the magic happens, and where we lay down the law about heat—it’s crucial for the puff! Making your pita bread from scratch is just following a few important rules about timing and temperature. First, we mix, then we wait patiently, and finally, we unleash high heat to get that incredible explosion of steam inside the dough. Follow these steps closely, and you’ll be stuffing those warm pockets before you know it.
Activating Yeast and Mixing the Pita Bread Dough
Always start by waking up the yeast in the warm water with a pinch of sugar; you need to see a nice, foamy cap form in about five to ten minutes. If you don’t see bubbles, your yeast is tired, so start over! Once it’s foamy, mix the wet into the dry ingredients until you have a shaggy, messy ball of dough. Don’t worry if it looks ugly yet! Now, turn it out onto the counter. We need to knead this for a good solid 5 to 7 minutes. Keep working it until it’s smooth and snaps back when you poke it. That elasticity is what holds the air later on.
The Crucial Rest and Rolling for Great Pita Bread
After kneading, the dough needs a little nap to relax. Put it in an oiled bowl, cover it up tight, and let it hang out in a warm spot for about 1 to 1.5 hours until it’s doubled—that’s the first big rest. Once it’s puffy, gently punch it down, and then divide it into 8 equal little pieces. Roll those pieces into balls, cover them again, and let them rest for just 15 minutes. This second rest is key! After the rest, roll each little ball out to about 1/8-inch thick. Thinner than that, and you risk a tough result; thicker, and the steam has trouble pushing through. This thin, uniform thickness is vital for beautiful pita bread pockets.
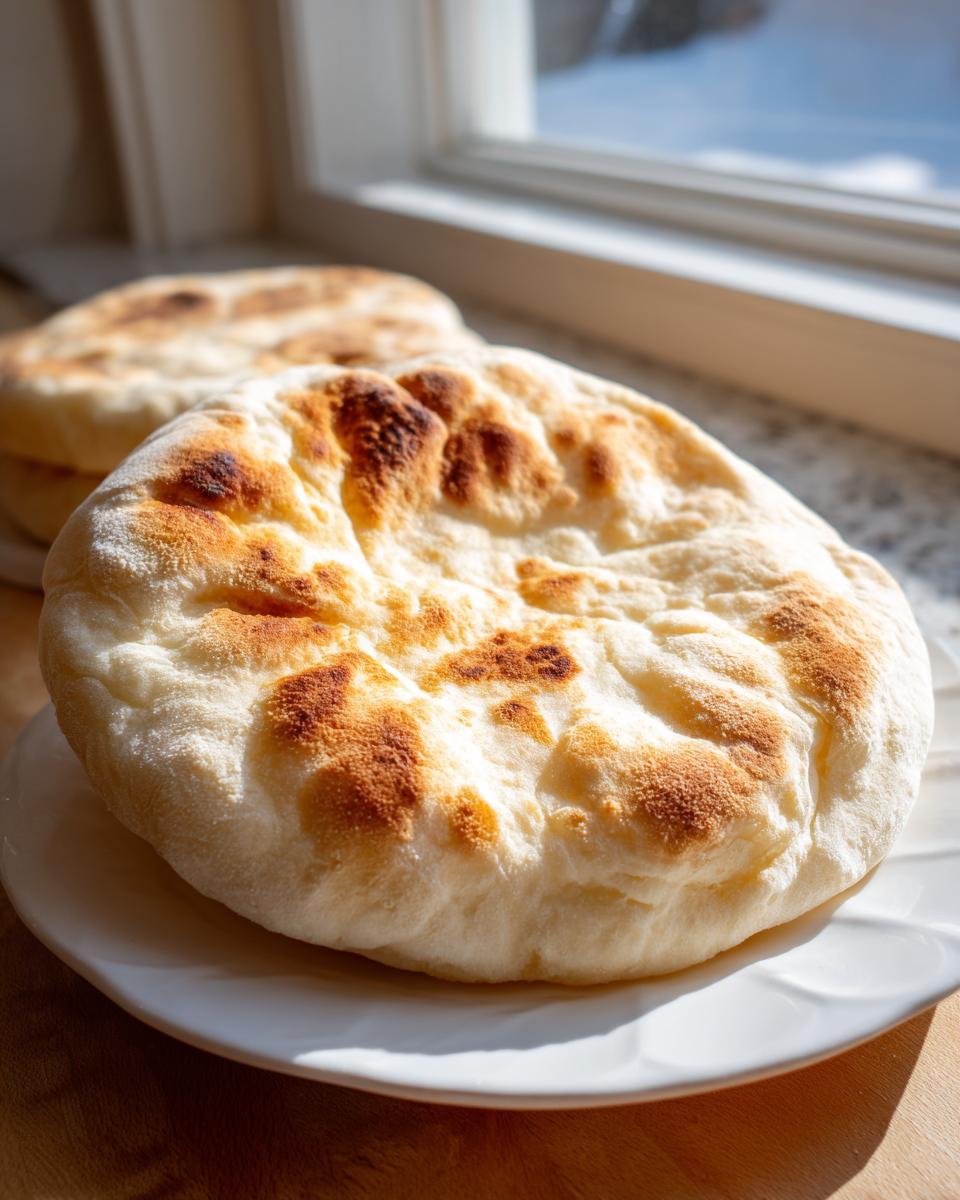
Cooking Methods: Oven Baked Pita Bread vs. Skillet Pita Bread
This is the moment of truth! Whether you bank on the oven or stick to the stovetop, the surface absolutely has to be scorching hot. For the oven method, preheat your baking stone or heavy sheet pan inside at 475°F for at least half an hour—non-negotiable! Place one or two rolled pitas directly onto that screaming hot surface, and watch the magic happen for just 2 or 3 minutes until they puff up like balloons. If you prefer the skillet pita bread method, use a dry cast-iron skillet over medium-high heat. Cook each side for about 30 seconds, then flip and press gently in the middle with a spatula to encourage that puff. Both ways give you fantastic results for your pita bread, but that initial contact with extreme heat is what creates the pocket steam!
Tips for Success with Homemade Pita Bread
When I first started making pita bread, I had so many flat ones I could have carpeted my kitchen floor! Don’t let a few failures discourage you. The biggest lesson I learned, and the one I hammered home in the steps above, is about heat—it has to be blazing hot, period. If your puff is failing, try cranking your oven up 25 degrees higher than suggested, or make sure your cast iron skillet is smoking slightly before the dough goes in. That sudden burst of heat traps the moisture instantly.
Another little trick I always use is immediately wrapping the finished pitas in a clean kitchen towel. This traps the residual steam and keeps them wonderfully soft and plyable while you cook the rest of the batch. If you ever need to get in touch with me with recipe questions, you know where to find me on the contact page! For more great inspiration on perfect homemade flatbreads, check out this recipe guide.
If you’re having trouble getting that perfect puff, this other resource has some great troubleshooting ideas too, like checking out their tips.
Variations: Making Garlic Pita Bread Recipe and More
Once you master the basic pita bread, the fun really starts! My absolute favorite way to dress these up is turning them into garlic pita bread. This step happens *after* they bake or cook—don’t add garlic powder to the dough, you’ll lose the flavor in the heat. Just melt a little butter, whisk in some finely minced fresh garlic and a sprinkle of parsley. Brush that lovely mixture right over the warm pitas as soon as they come off the heat. They smell incredible, I swear!
If you want to try other easy variations, go for it! You can mix dried herbs like oregano or rosemary right into your flour mixture before you start kneading for a Mediterranean flair. While I mentioned whole grain swaps earlier, remember that works best if you keep most of the all-purpose flour in the mix for the puff. For a fun change, check out this idea for garlic pita bread from scratch for specific measurements!
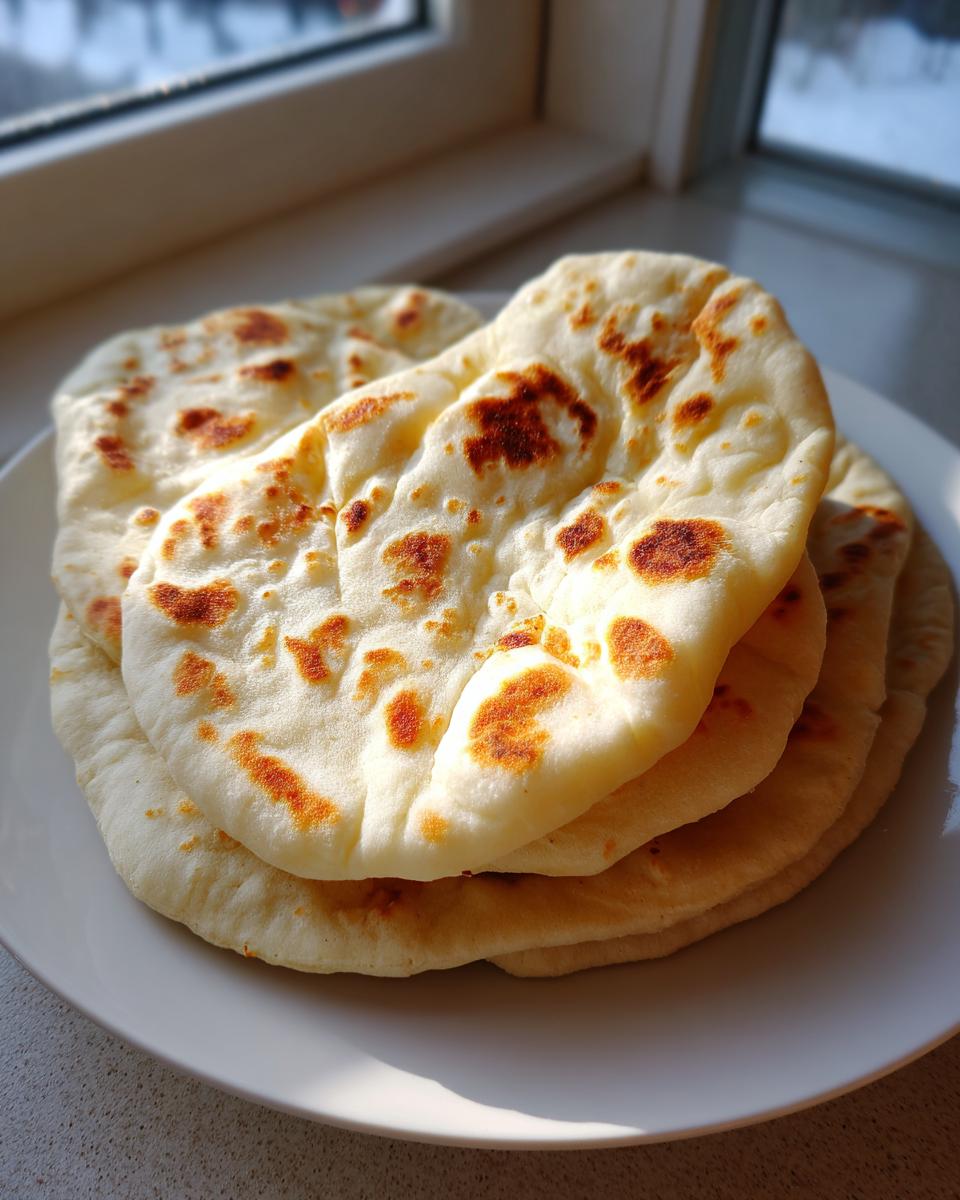
Serving Suggestions for Your Fresh Warm Bread
That feeling when you pull those perfectly soft, warm rounds out of the towel? Unbeatable! Now you have to decide what to put in them, which is the best part. If you made the version that puffed up—the one with the great pocket—you have an instant vehicle for the freshest sandwich ever. Stuff them full of grilled chicken, crisp lettuce, and homemade tzatziki sauce for a real gyro experience at your own table.
But you don’t even need stuffings! These are fantastic served flat, too. Just rip off a piece of that fresh warm bread and dip it straight into a big bowl of creamy hummus or maybe some baba ghanoush. Seriously, it’s better than any appetizer you could order at a restaurant. For a really simple and satisfying lunch, just add a drizzle of good quality olive oil and a sprinkle of sea salt right on top. Honestly, once you’ve had bread this good fresh from the skillet or oven, you won’t look back. You can find some great wrap ideas from this source if you need inspiration!
Storage & Reheating Instructions for Pita Bread
Even though homemade pita bread tastes best eaten right away, it keeps really well if you plan ahead! Store any leftovers in a completely airtight container at room temperature for up to three days; don’t put them in the fridge because that makes them stiff. When you want to eat them again? Just reheat them briefly. Pop them back in a 350°F oven for just 3 minutes, or warm them quickly in that hot skillet again. This brings back all that wonderful softness.
Frequently Asked Questions About Homemade Pita Bread
We all have those moments, right? You follow every step, but the pocket just doesn’t show up! I put together answers to the questions I get asked most often about achieving that fluffy, perfect pita bread. You’ll find that most issues come down to just one thing: heat or thickness. Don’t worry if you need a few tries to get it perfect; that’s part of learning to bake the best homemade bread!
If your dough feels sluggish, you might be tempted to skip the rise time to save effort. Please don’t! That long first rise is essential for developing the flavor and structure needed for quality homemade flatbread. Also, if you are using instant yeast instead of active dry yeast, you can skip the proofing step and just mix it right in with your flour and salt.
Troubleshooting Common Pita Bread Issues
The number one reason for flatbread failure is insufficient heat. If your oven temperature drops even slightly, the dough will cook through before the internal moisture has a chance to turn into steam and push the layers apart. If the pocket won’t puff, make sure your dough circles are rolled evenly thin—about 1/8-inch like we discussed. If they are too thick, the steam can’t get through the top layer to create that signature balloon shape. Get that baking surface scorching hot, and you will see success!
For more detailed help, you can always check out tips from others who have mastered the fluffy pocket, like this guide I found. I hope these simple tips keep you out of the kitchen trouble I faced when perfecting this!
If you ever need to check my privacy standards or policies, they are all right here on my site.
Share Your Ultimate Easy Pita Bread Success
Well, that’s my entire secret playbook for making the best homemade pita bread! I really hope you give this a try. Did your pitas puff up beautifully? I want to hear all about it! Please leave a quick comment below with your rating out of five stars and let me know if you cooked yours in the oven or the skillet. Seeing your warm, fluffy results always makes my day!
PrintThe Ultimate Easy Homemade Pita Bread: Soft, Fluffy, and Guaranteed to Puff Every Time
Make soft, fluffy pita bread from scratch using simple ingredients. This easy recipe guarantees the signature pocket forms when baked or cooked in a skillet, perfect for wraps or dips.
- Prep Time: 20 min
- Cook Time: 15 min
- Total Time: 1 hour 45 min
- Yield: 8 pitas 1x
- Category: Bread
- Method: Baking/Skillet
- Cuisine: Middle Eastern
- Diet: Vegan
Ingredients
- 1 teaspoon active dry yeast
- 1 teaspoon sugar
- 1 cup warm water (about 105-115°F)
- 2 1/2 cups all-purpose flour, plus more for dusting
- 1 teaspoon salt
- 2 tablespoons olive oil
Instructions
- Activate the yeast: In a small bowl, mix the warm water, sugar, and yeast. Let it stand for 5 to 10 minutes until foamy.
- Mix dry ingredients: In a large bowl, whisk together the flour and salt.
- Combine: Pour the yeast mixture and olive oil into the flour mixture. Mix until a shaggy dough forms.
- Knead: Turn the dough onto a lightly floured surface. Knead for 5 to 7 minutes until the dough is smooth and elastic.
- First rise: Place the dough in a lightly oiled bowl, turning to coat. Cover the bowl with plastic wrap or a damp towel and let it rise in a warm place for 1 to 1.5 hours, or until doubled in size.
- Divide and rest: Punch the dough down gently. Divide it into 8 equal pieces. Roll each piece into a ball. Cover the balls and let them rest for 15 minutes.
- Preheat: Preheat your oven to 475°F (245°C) with a baking stone or heavy baking sheet inside for at least 30 minutes. If using a skillet, heat a cast-iron skillet over medium-high heat.
- Roll out: On a lightly floured surface, roll each dough ball into a 6-inch circle, about 1/8-inch thick. Keep the unused dough covered.
- Bake for pockets (Oven method): Carefully place 1 or 2 rolled pitas directly onto the hot baking stone or sheet. Bake for 2 to 3 minutes until the pita puffs up completely. Remove and keep warm wrapped in a clean towel.
- Cook for no pockets (Skillet method): Place one rolled pita into the hot, dry skillet. Cook for about 30 seconds per side until light brown spots appear. Flip and cook the other side. After the second flip, press down gently with a spatula to encourage puffing. Cook until fully puffed or cooked through.
- Serve: Serve the fresh pita bread warm.
Notes
- For the best puff, your oven or skillet must be very hot before the dough touches the surface.
- If you want garlic pita bread, brush the warm pitas with melted butter mixed with minced garlic and parsley after baking.
- This recipe makes vegan pita bread as it contains no dairy or eggs.
Nutrition
- Serving Size: 1 pita
- Calories: 180
- Sugar: 1
- Sodium: 250
- Fat: 3
- Saturated Fat: 0.5
- Unsaturated Fat: 2.5
- Trans Fat: 0
- Carbohydrates: 34
- Fiber: 2
- Protein: 6
- Cholesterol: 0