

There is nothing worse than biting into what should be a perfect sushi roll only to find the rice is either a gummy brick or dry and falling apart. Ugh! That disappointment stops right now, friends. Because making truly restaurant quality **sushi rice** at home isn’t witchcraft—it’s just technique! This guide strips away all the confusion. I’m showing you the exact foolproof steps I use now. Once you nail this fundamental step, everything else falls into place. Honestly, mastering this changed how successful my homemade sushi nights are; you can check out my easy sides like one-pot beans and rice while the grains soak if you want! You absolutely deserve rice this good.
- Why Achieving Perfect Sushi Rice Matters for Your Meal
- Essential Ingredients for Authentic Sushi Rice
- Step-by-Step: How to Wash Sushi Rice Property
- Cooking Short Grain Rice Perfectly: The Stovetop Method for Sushi Rice
- Mastering the Seasoning for Sushi Rice
- Tips for Success When Making Easy Homemade Sushi Rice
- Storage & Reheating Instructions for Leftover Sushi Rice
- Frequently Asked Questions About Making Sushi Rice
- What to Do Next with Your Perfect Sushi Rice
Why Achieving Perfect Sushi Rice Matters for Your Meal
Look, you can have the freshest fish and the prettiest avocado fan, but if your base is terrible, the whole experience tanks. That gooey, sweet, slightly tangy perfection you get at a top sushi spot? That’s the goal here!
This isn’t just about eating; it’s about texture. If you follow my steps for the best sushi rice recipe, you are unlocking how to make restaurant quality sushi rice at home. It’s the difference between a homemade dinner and a huge letdown.
The Secret to Fluffy and Vinegared Rice Texture
We need that rice to hold together just enough so it doesn’t crumble when you pick it up, but it needs tenderness, too. That’s why the initial washing is key—it gets rid of the extra starch that makes grains cling too much. And don’t skip the fanning later! It’s these little steps that turn basic short-grain rice into the perfect vehicle for sushi.
Essential Ingredients for Authentic Sushi Rice
Okay, stop right there! Before we talk about pots and pans, we need to talk about the rice itself. You can’t just grab whatever is on sale in the bulk bin. If you try to make authentic **sushi rice** using the wrong grain, you’re headed straight for frustration. We need Japanese short-grain rice. It has the right starch structure—that balance between being chewy and sticky.
For the seasoning portion, which is non-negotiable for that signature flavor, you’ll need these basic components:
- 2 cups short-grain Japanese rice (this is your star!)
- 2 cups cold water (stay consistent with the ratio)
- 1/2 cup rice vinegar
- 3 tablespoons granulated sugar
- 1 teaspoon fine sea salt
Ingredient Notes and Substitutions for Your Sushi Rice
Let’s break down why these ingredients matter. First, the rice: Seriously, skip the long-grain varieties like Basmati or even standard white rice. They won’t absorb the vinegar right, and you end up with something that tastes like sticky pilaf, not sushi rice. We need the real deal here—look for labels that specify “sushi rice” or “short-grain Japonica.”
When you mix up your seasoning—your sushi rice vinegar mix—pay attention to the proportions of sugar and salt. Too much sugar and it tastes candy-like; too much salt overwhelms everything. This 1/2 cup vinegar to 3 tbsp sugar to 1 tsp salt ratio is exactly what gives us that perfect slightly tangy base for the seasoning for sushi rice. Trust me on this ratio; it’s the flavor foundation!
Step-by-Step: How to Wash Sushi Rice Property
Okay, we are moving into the real magic now, and this is where so many people fail! If you want to avoid that bowl full of starchy, gummy mess, you have to respect the washing process. This is absolutely fundamental to getting that beautiful, tender, non-mushy final product. This step removes the surface starch that threatens to turn your firm grains into paste.
You’ve got your dry rice measured out? Great. Put it in a wide bowl—not your mixing bowl, just a plain bowl. Cover it with cold water, and here’s the key: gently swirl it with your clean hand. Don’t scrub it like you are trying to clean grout! We are persuading the starch off, not destroying the grains.
Watch that water turn milky white. Drain that cloudy water right away. Now, you repeat this whole thing. I mean it—repeat the washing and draining 5 to 7 times until the water you drain off is mostly clear. It sounds tedious, I know, but this is what guarantees you end up with great texture!
Once the water is finally mostly clear—it doesn’t have to be crystal, just significantly improved—you need to drain it completely. Pop the rice into a fine-mesh sieve and just let it sit there for about 30 minutes. This soaking time allows the grains to absorb just the right amount of moisture evenly before they ever see the heat. If you skip the soak, you’ll have unevenly cooked kernels. Trust me, a little patience here pays off huge for your sushi rice not mushy tips list later!
Cooking Short Grain Rice Perfectly: The Stovetop Method for Sushi Rice
Now for the fire! Since this is my go-to method for truly great results, let’s master **cooking short grain rice perfectly** on the stovetop. This is where we lock in that moisture from the soaking phase. You’ll need a clean, heavy-bottomed pot—the thicker the base, the better, so you don’t burn the bottom layer.
Take your completely drained, soaked rice and drop it into that pot. Add exactly two cups of fresh, cold water—keep that 1:1 rice-to-water ratio perfect! Place the pot on the stove over medium-high heat. We need the heat up until that water comes to a rolling boil. Don’t be shy getting it there! If you want to see a recipe where I use simple stovetop techniques for something totally different, take a peek at my easy chicken cobbler casserole recipe.
The moment you see that water boiling hard, I mean it, immediately turn the heat down to the absolute lowest setting. Then, put the lid on. This lid must be tight; no cheating here. Set a timer for **exactly 15 minutes**. During those 15 minutes, you are sworn to secrecy: DO NOT LIFT THAT LID. Don’t even check! Lifting the lid lets out the steam we desperately need to cook those grains through. If you’ve ever struggled with rice texture, you can check out this great resource for tips on how to make sushi rice.
When the timer goes off, even if you think it’s not done, take the pot off the heat completely. Now, you let it rest, still covered, for another 10 minutes. This resting is crucial for the final steam to distribute evenly. If you rush this, you’ll end up with hard centers in your rice.
Alternative: Making Sushi Rice in a Rice Cooker
I totally get it; sometimes you just want the machine to handle it, especially when you’re making big batches. If you are making **easy homemade sushi rice** in a standard electric rice cooker, the method is actually quite forgiving! You use the exact same amount of rice, but you only add one cup of water for every cup of rice you have. So, two cups of rice get two cups of water. Run it on the standard white rice setting, and when it clicks over to ‘Keep Warm,’ let it sit for 10 minutes before opening. See? Simple!
Mastering the Seasoning for Sushi Rice
Okay, your rice is perfectly cooked—steamed, rested, glorious! But right now, it’s just hot, plain rice. We need to infuse it with that signature Japanese tang that makes it special. This concentrated mixture is what people search for when they look up the sushi rice vinegar mix; don’t just dump vinegar on top, that will ruin the texture!
Remember those ingredients we listed earlier? Grab that rice vinegar, sugar, and salt. We need to combine these in a small saucepan. My biggest piece of advice here is to heat this mixture gently over low heat. You want the sugar and salt to completely dissolve so you don’t end up with crunchy pockets of salt in your rice later. But promise me you won’t let it boil! Boiling the vinegar changes its sharp profile, and we don’t want that. Once everything is dissolved and the liquid is clear, pull it off the heat and let it cool down just a touch. It should be warm, not scalding hot, when it meets the rice.
The Gentle Art of Mixing and Cooling Sushi Rice
This is the final hurdle before you can call this **seasoning for sushi rice** perfect! You need a large, non-metallic bowl—wood or glass is ideal because the acid in the vinegar doesn’t interact with metal. Dump that perfectly steamed hot rice into the bowl. Now, drizzle your slightly warm vinegar mix evenly all over the top. Don’t pour it all in one spot!
Here is the most important technique: You must use a rice paddle or a wide wooden spoon and adopt a slicing or “cutting” motion. Imagine you are carefully slicing down through the rice to incorporate the liquid, then gently folding it over. Do NOT stir or mash it like you’re making mashed potatoes! Mashing equals instant glue, and we want to avoid that at all costs—this is one of the best sushi rice not mushy tips I can give you.
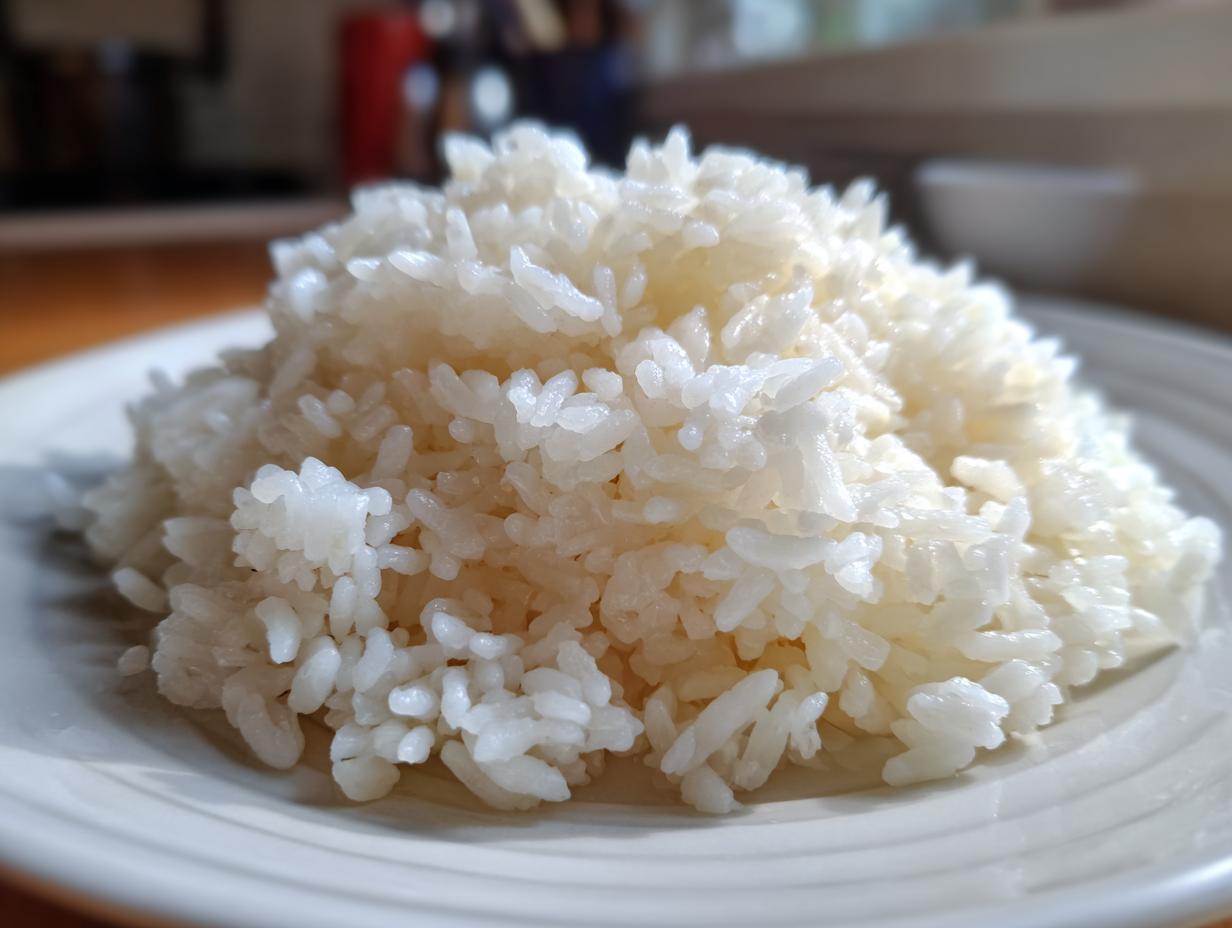
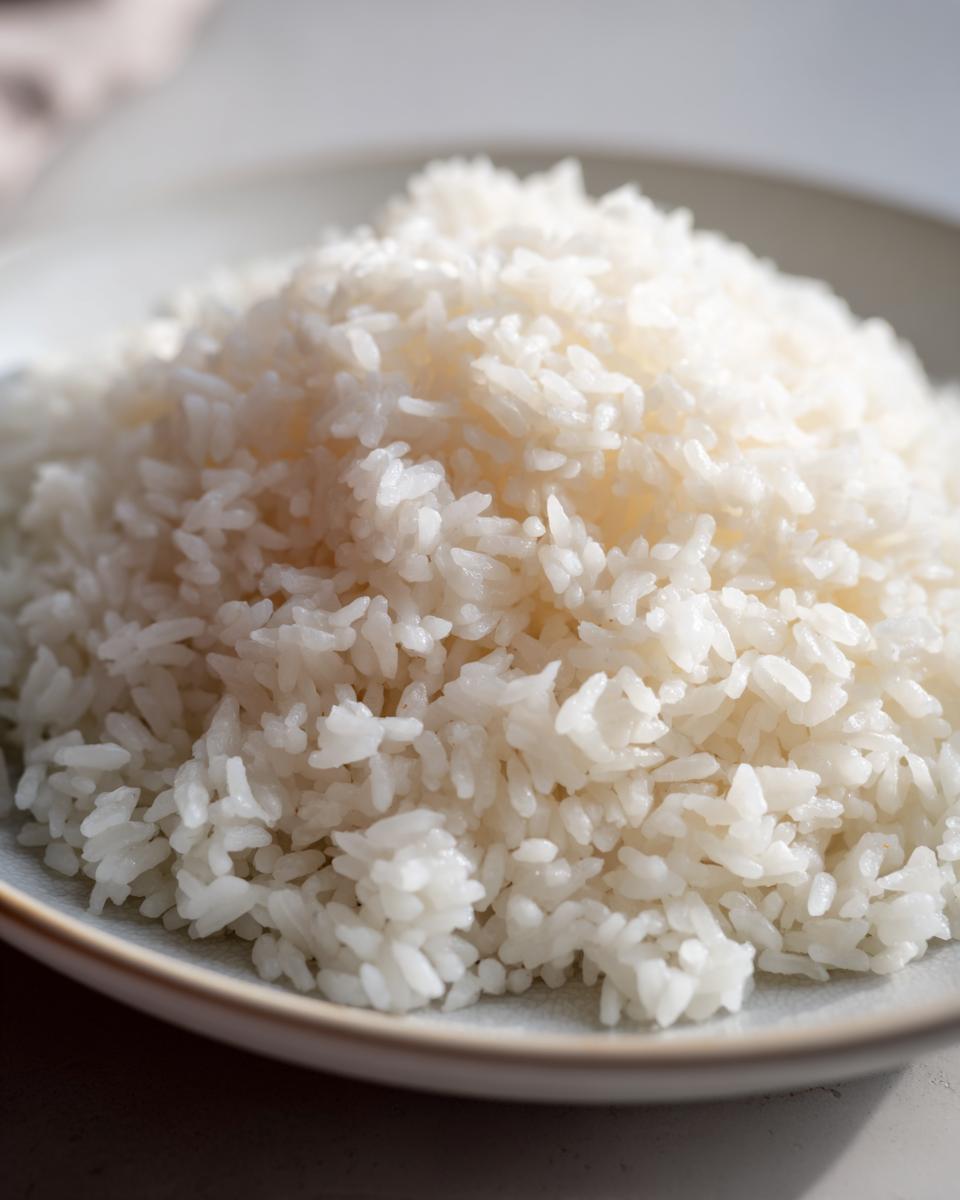
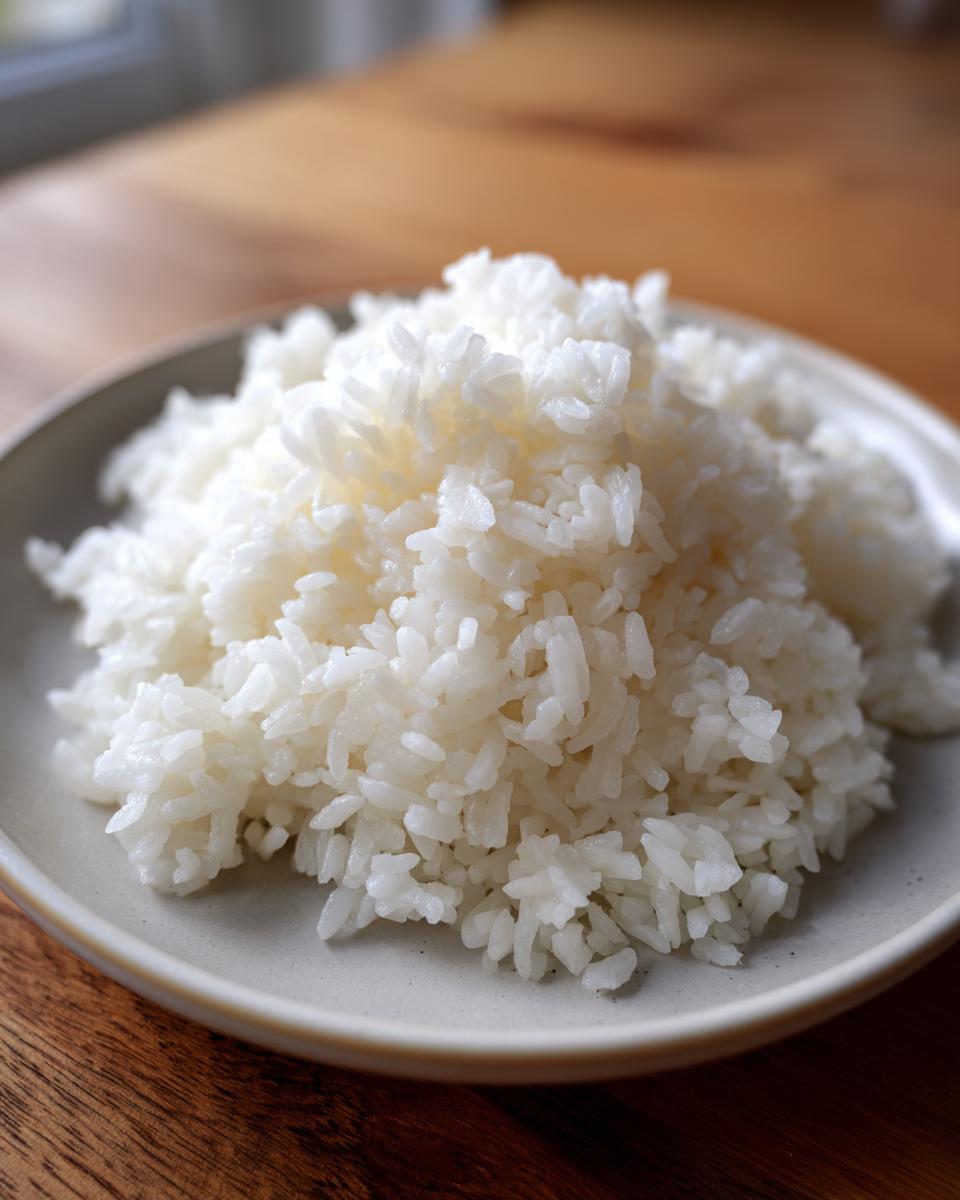
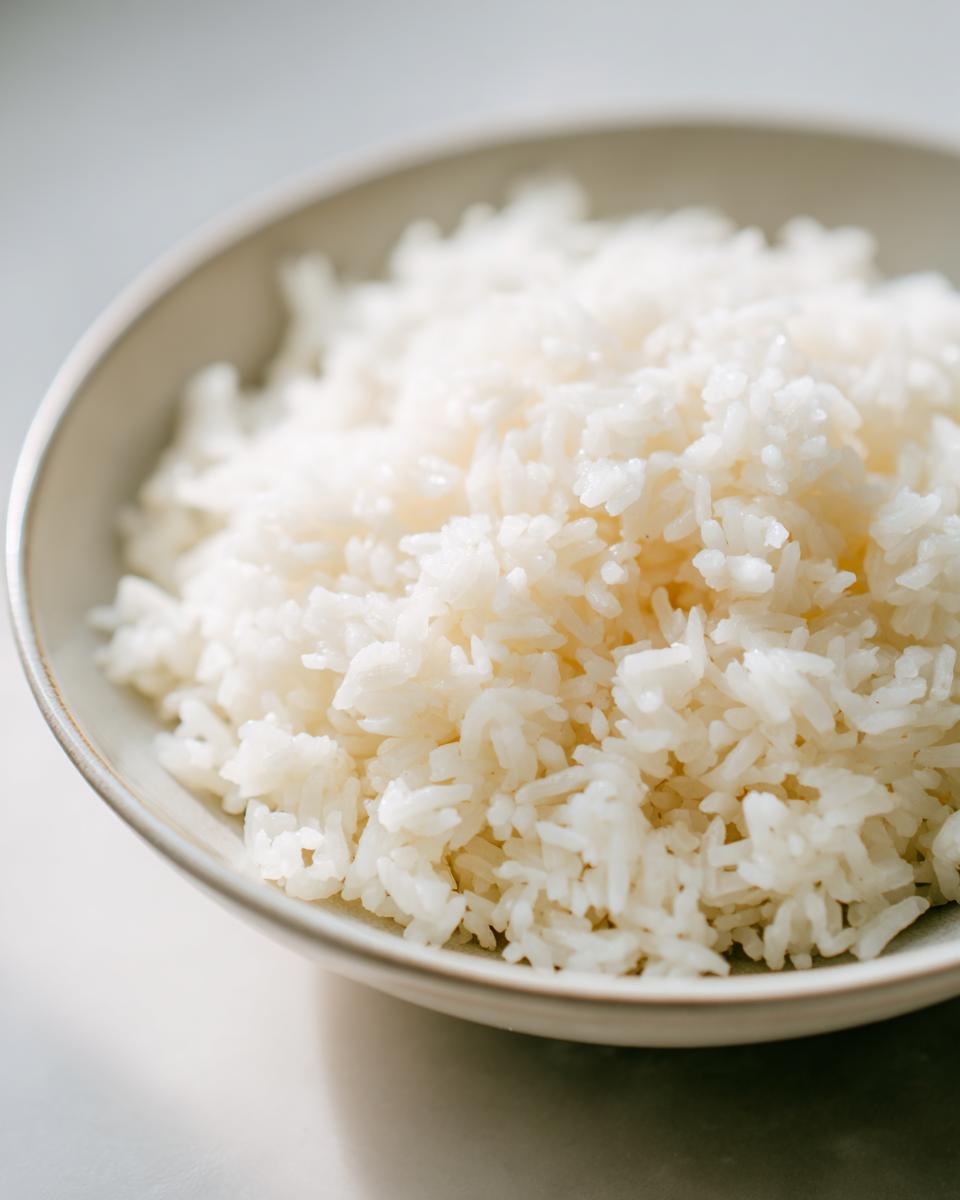
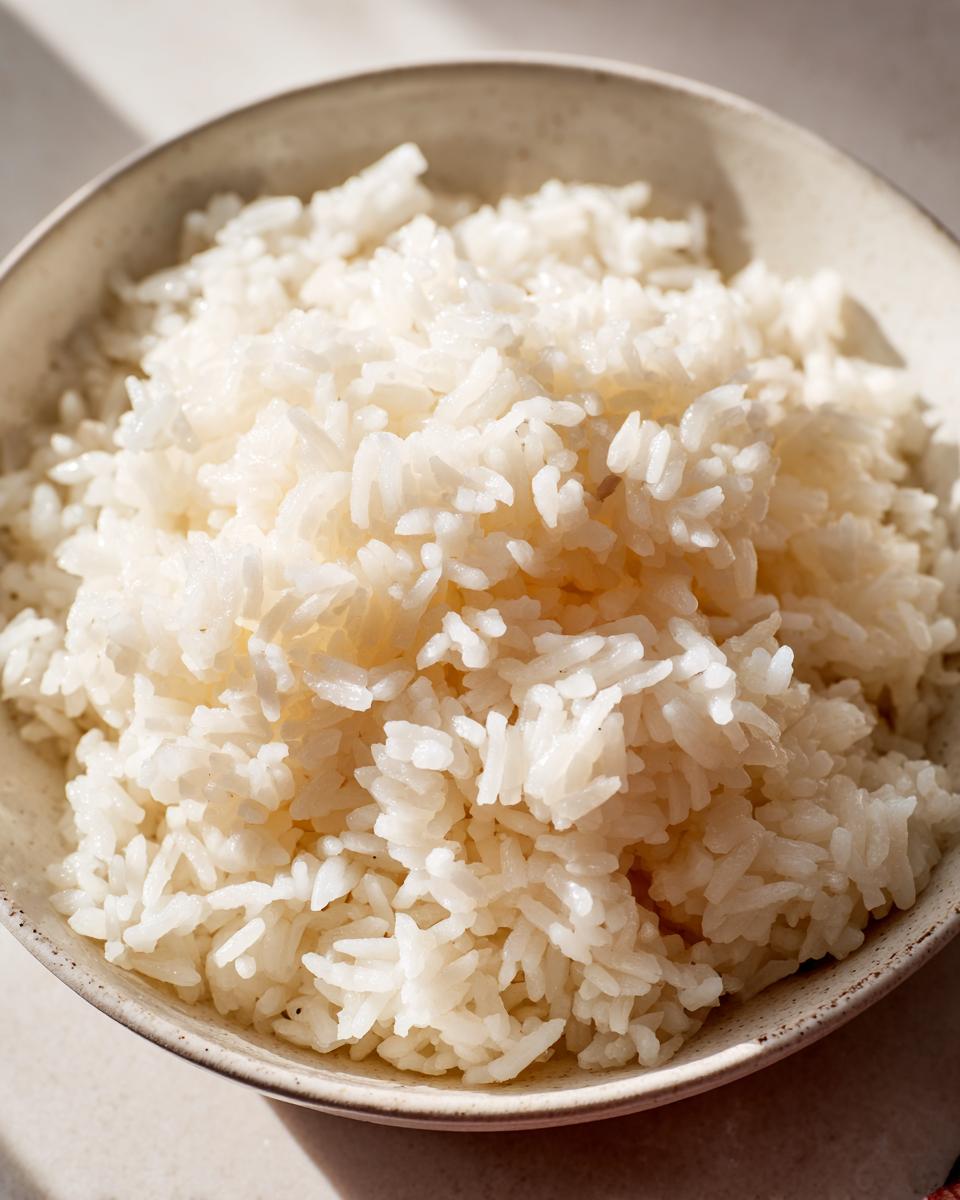
As you cut and fold, simultaneously fan the rice. If you have a small handheld fan, great! If not, wave a cutting board over it. This rapid cooling locks in that glossy sheen and moisture and stops the rice from overcooking itself with residual heat. When the rice has cooled down to around body temperature, it’s ready. It should look shiny, stick together when you press a small amount, but still have distinct, perfectly cooked grains.
Tips for Success When Making Easy Homemade Sushi Rice
If you made it this far, you’ve done the hard work of washing, syncing your soak, and cooking precisely. But listen, even with perfect instructions, things can go slightly sideways if you get overly enthusiastic during the final mixing! We’re talking about turning that gorgeous, fluffy bed of grains into something that threatens to rival wallpaper paste. I know, because I was that person! Early on, when I was learning how to make my best sushi rice recipe, I was so excited that I stirred the vinegar in like I was whipping cream, and bam—total disaster.
I pulled out this heavy, slightly sticky mound of rice that wouldn’t separate for anything. It was warm, it smelled right, but the texture was utterly ruined. I almost threw the whole batch out! That’s when I realized that the folding/cutting motion and the immediate fanning are just as important as the cooking time. You have to treat those grains gently; they’ve already been through so much!
So here are my essential cheats for ensuring your **easy homemade sushi rice** comes out restaurant-quality every single time:
- No Metal Bowls: Re-emphasizing this because it’s huge—never mix the vinegar into the rice in an aluminum or stainless steel bowl. The acid reacts, and you get a weird metallic tang that ruins the clean flavor we worked so hard for. I stick to my big wooden *hangiri* if I have one, or just plain glass otherwise.
- The Fan is Your Friend: If you don’t have a dedicated rice fan, just grab a piece of cardboard or even wave a dish towel rhythmically over the bowl while you mix. Rapid cooling prevents the rice from steaming itself further, which is the number one cause of gummy rice after it’s off the heat.
- Use It Fast: While this rice lasts fine for a day or so, genuinely perfect sushi rice is at its prime immediately after cooling to body temperature. If you’re planning on making rolls or nigiri, get everything else ready so you can use the rice right away. If you need ideas for what to pair it with, maybe try using it in my homemade teriyaki sauce over chicken!
Follow these steps, treat those grains gently, and you won’t end up with any disasters like my early attempts!
Storage & Reheating Instructions for Leftover Sushi Rice
You know, the best batch of **sushi rice** is the one that’s fresh out of the cooling process—it’s vibrant, perfectly glossy, and tender. If you happen to have leftovers (which usually means I made too much for one sushi night!), you definitely want to treat it right so it doesn’t become a sad, hard clump the next day. Ideally, you’re going to use it all within a few hours of making it, while it’s still slightly warm or at room temperature before you wrap your rolls.
But life happens! If you need to store it, ditch the plastic wrap straight onto the surface of the rice; that traps moisture and guarantees a gummy texture once it chills. Instead, use a wooden container if you have one, traditionally called a *hangiri*, or just transfer the rice to a shallow, non-metallic container. Cover it loosely with a slightly damp (not soaking wet!) paper towel before sealing the container with a lid.
Now, should it go in the fridge? This is a tricky one. Rice tightens up and hardens significantly in the cold, which isn’t great for sushi texture. If you plan on eating it within 24 hours, room temperature on the counter is actually *better* for maintaining some semblance of tenderness, provided your kitchen isn’t sweltering hot. If you have to go longer, you must refrigerate it, but be prepared for it to feel quite firm when you pull it out.
The reheating part requires care if you want to revive that beautiful texture. Don’t even think about microwaving it straight from the fridge! It will dry out the edges instantly. Take the amount you need and place it in a microwave-safe bowl. Sprinkle just a few drops of water over the top—seriously, just a teaspoon or two for a cup of rice—and cover the bowl tightly with a damp paper towel or a damp lid. Microwave on short bursts (maybe 15 seconds at a time) until it’s warmed through. The added moisture and trapped steam should help soften those grains back up just enough for you to use it in a quick poke bowl!
Frequently Asked Questions About Making Sushi Rice
Can I use Jasmine rice instead of short-grain rice for sushi rice?
Oh, bless your heart for trying to make things easy, but please don’t! I have to be firm here: No, you really shouldn’t use Jasmine rice, or Basmati, or Arborio, or any other long-grain rice type for this. The entire magic of great **sushi rice** comes down to the starch structure of short-grain Japanese rice.
Long-grain varieties just don’t have the right type or amount of starch—they stay drier, cook up fluffier but separate, and they won’t absorb that vinegar mixture correctly. You end up with rice that tastes good, but it won’t stick together for rolls. You’ll end up with a pile of seasoned flakes instead of perfectly sticky rice, so stick to the Japonica variety!
How long does the seasoning for sushi rice last once mixed?
That vinegar mix is a superstar because it keeps really well, which is handy! Since it’s hot with vinegar, salt, and sugar, it’s quite shelf stable. Once you make a big batch of the sushi rice vinegar mix, you can store it in a tightly sealed jar in the fridge for several months. It might look a little cloudy later on, but that’s totally fine.
Just remember one thing: when you reheat it to dissolve any salt crystals that might have settled, only warm it up slightly—don’t boil it again. If you’re planning on making sushi often, making a batch of the seasoning ahead of time cuts down your prep time immensely!
What is the best rice for maki rolls?
The answer is always the same: short-grain Japanese rice labeled specifically for sushi making! This is the grain that gives you that ideal combination of slightly chewy texture while still being sticky enough to neatly wrap around your fillings in a maki roll without exploding everywhere.
When you shop, look for names like Koshihikari or Calrose (though Calrose is technically medium-grain, it’s often used interchangeably for sushi). If the package doesn’t explicitly say “sushi rice,” check the label for “short-grain.” That’s your ticket to having rice that actually does what you want it to do when you roll it up!
What to Do Next with Your Perfect Sushi Rice
Alright, you beautiful miracle worker! You’ve washed, soaked, watched the clock, fanned like your favorite team was about to score, and you’ve got perfectly seasoned, glossy, sticky rice sitting right there. Seriously, take a moment and appreciate that! That’s the foundation for some genuinely incredible food.
Now comes the fun part—eating it! This rice isn’t just for those elaborate maki rolls you see in restaurants, though you should absolutely try making those. It’s also amazing paired down. If you’re looking for ideas now that you’ve mastered the base, you could use this rice for something incredibly simple but still packed with flavor, like my Korean BBQ Steak Rice Bowls. Or just toss some edamame and sesame seeds on top of a scoop!
I absolutely need to hear about your success! When you make your first batch of genuine, restaurant-quality **sushi rice**, please come back and let me know how it went in the comments below. Did the “cutting” motion feel weird at first? Did your family notice the difference? Are you planning to make nigiri next week? Tell me everything!
PrintThe Ultimate Foolproof Guide to Perfect Homemade Sushi Rice (Stovetop Method)
Learn the essential techniques for making restaurant quality sushi rice at home. This guide focuses on achieving the perfect sticky, fluffy texture and balanced seasoning for your homemade sushi rolls or poke bowls.
- Prep Time: 40 min
- Cook Time: 25 min
- Total Time: 65 min
- Yield: 4 servings 1x
- Category: Side Dish
- Method: Stovetop Cooking
- Cuisine: Japanese
- Diet: Vegetarian
Ingredients
- 2 cups short-grain Japanese rice (sushi rice)
- 2 cups cold water (for cooking)
- 1/2 cup rice vinegar
- 3 tablespoons granulated sugar
- 1 teaspoon fine sea salt
Instructions
- Wash the rice: Place the rice in a large bowl. Cover with cold water and gently swirl the rice with your hand. Drain the cloudy water. Repeat this washing process 5 to 7 times until the water runs mostly clear. This step removes excess starch, preventing mushy rice.
- Soak the rice: Drain the washed rice completely and let it sit in a fine-mesh sieve for 30 minutes. This allows the grains to absorb moisture evenly before cooking.
- Cook the rice (Stovetop): Transfer the drained rice and 2 cups of cold water to a heavy-bottomed pot with a tight-fitting lid. Bring the water to a boil over medium-high heat. Once boiling, immediately reduce the heat to the lowest setting, cover the pot, and simmer for exactly 15 minutes. Do not lift the lid during this time.
- Rest the rice: After 15 minutes, remove the pot from the heat and let it stand, still covered, for another 10 minutes. This resting period finishes the steaming process.
- Prepare the seasoning mix: While the rice rests, combine the rice vinegar, sugar, and salt in a small saucepan. Heat gently over low heat, stirring until the sugar and salt completely dissolve. Do not boil the mixture. Remove from heat and let it cool slightly. This is your seasoning for sushi rice.
- Season the rice: Transfer the hot, cooked rice to a large, non-metallic bowl (wood or glass is best). Pour the vinegar mixture evenly over the rice.
- Mix and cool: Using a cutting motion with a rice paddle or wooden spoon, gently fold the seasoning into the rice. Avoid stirring or mashing the grains. Fan the rice while mixing to cool it quickly to body temperature. This process gives the rice its signature glossy finish and prevents it from becoming mushy.
- Use immediately: Your restaurant quality sushi rice is now ready for making maki rolls or poke bowls.
Notes
- Use only short-grain Japanese rice labeled as sushi rice for the best sticky texture.
- Never use metal bowls when mixing the vinegar seasoning, as the acid can react with the metal.
- For an Instant Pot, use a 1:1 water-to-rice ratio (2 cups rice to 2 cups water) and cook on High Pressure for 5 minutes, followed by a Natural Pressure Release for 10 minutes.
Nutrition
- Serving Size: 1/2 cup cooked
- Calories: 180
- Sugar: 6
- Sodium: 150
- Fat: 0.3
- Saturated Fat: 0.1
- Unsaturated Fat: 0.2
- Trans Fat: 0
- Carbohydrates: 39
- Fiber: 0.5
- Protein: 3.5
- Cholesterol: 0