

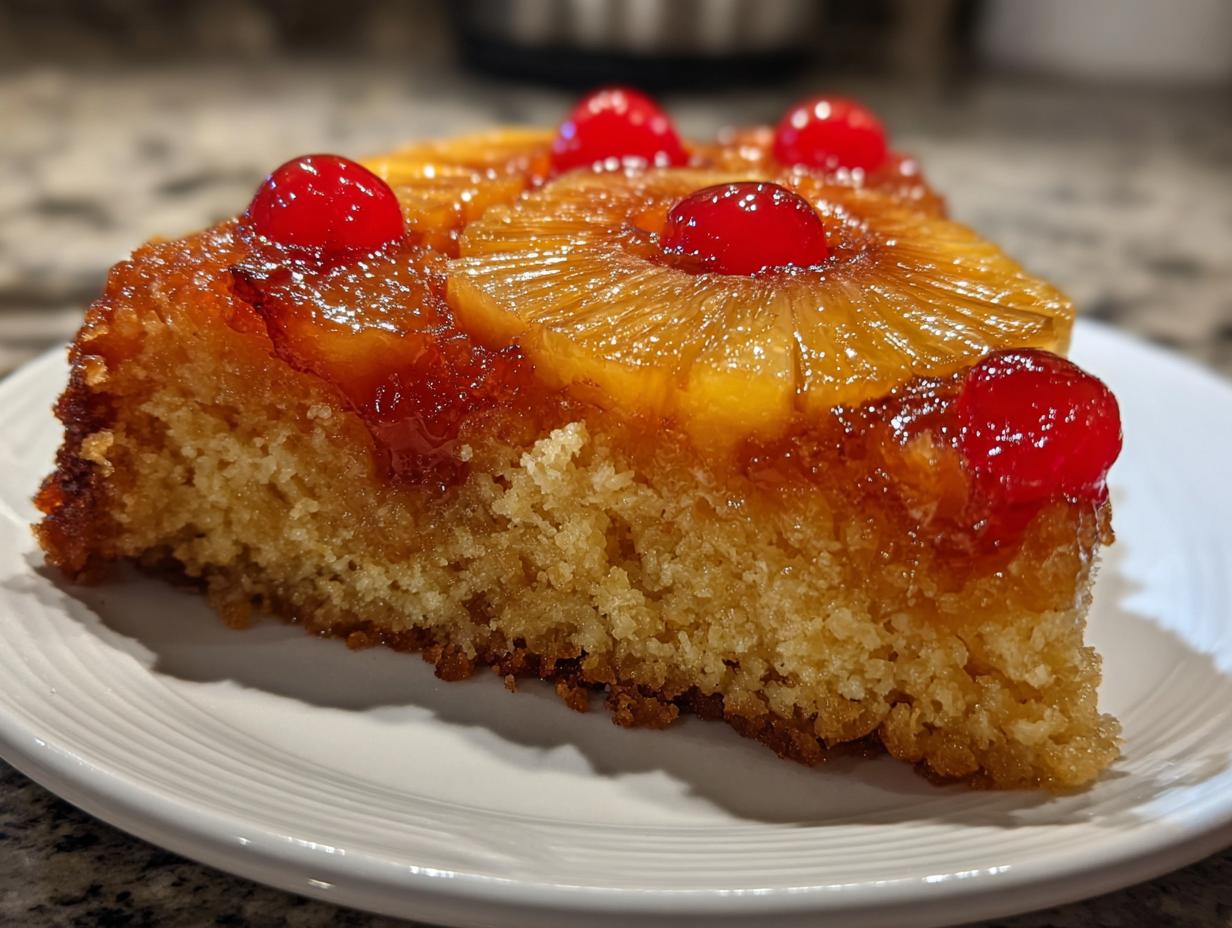
You know those desserts that just instantly transport you back to Grandma’s kitchen, smells mixing with laughter? Well, I’m bringing that feeling right back for you today with the absolute best Pineapple Upside Down Cake you will ever need. Forget those fussy, complicated bakes—this one is truly classic, unbelievably moist, and shockingly easy. I spent years watching how the busiest people still crave incredible flavor, and that’s why I focused on making this pineapple upside down cake simple enough for a quick weeknight treat but beautiful enough for a big family gathering. Trust me, Felix worked hard to make sure you get that gorgeous, sticky, caramelized topping without spending all day in the oven. If you want to know more about how we build our recipes around real life, check out our story over at Cooking by Felix.
- Why This Classic Pineapple Upside Down Cake Recipe Works
- Ingredients for the Best Pineapple Upside Down Cake
- Step-by-Step Instructions for Your Pineapple Upside Down Cake
- Variations on the Classic Pineapple Upside Down Cake
- Tips for Success with Your Homemade Pineapple Cake
- Storage and Reheating Instructions for Pineapple Upside Down Cake
- Serving Suggestions for This Retro Dessert Recipes
- Frequently Asked Questions About Pineapple Upside Down Cake
- Estimated Nutritional Information for This Pineapple Upside Down Cake
- Share Your Perfect Pineapple Upside Down Cake
Why This Classic Pineapple Upside Down Cake Recipe Works
Honestly, this Pineapple Upside Down Cake recipe is a winner because it respects flavor *and* your busy schedule. We promise you that gorgeous, sticky sweetness without any fussiness. It’s designed to look spectacular but only takes about 15 minutes of hands-on prep time. Wow!
- It’s a true throwback—a Retro Dessert Recipe that always brings smiles to family gatherings.
- The caramel layer is developed right in the pan while the oven heats up!
- It yields a wonderfully Moist Pineapple Cake texture, not dry or crumbly at all.
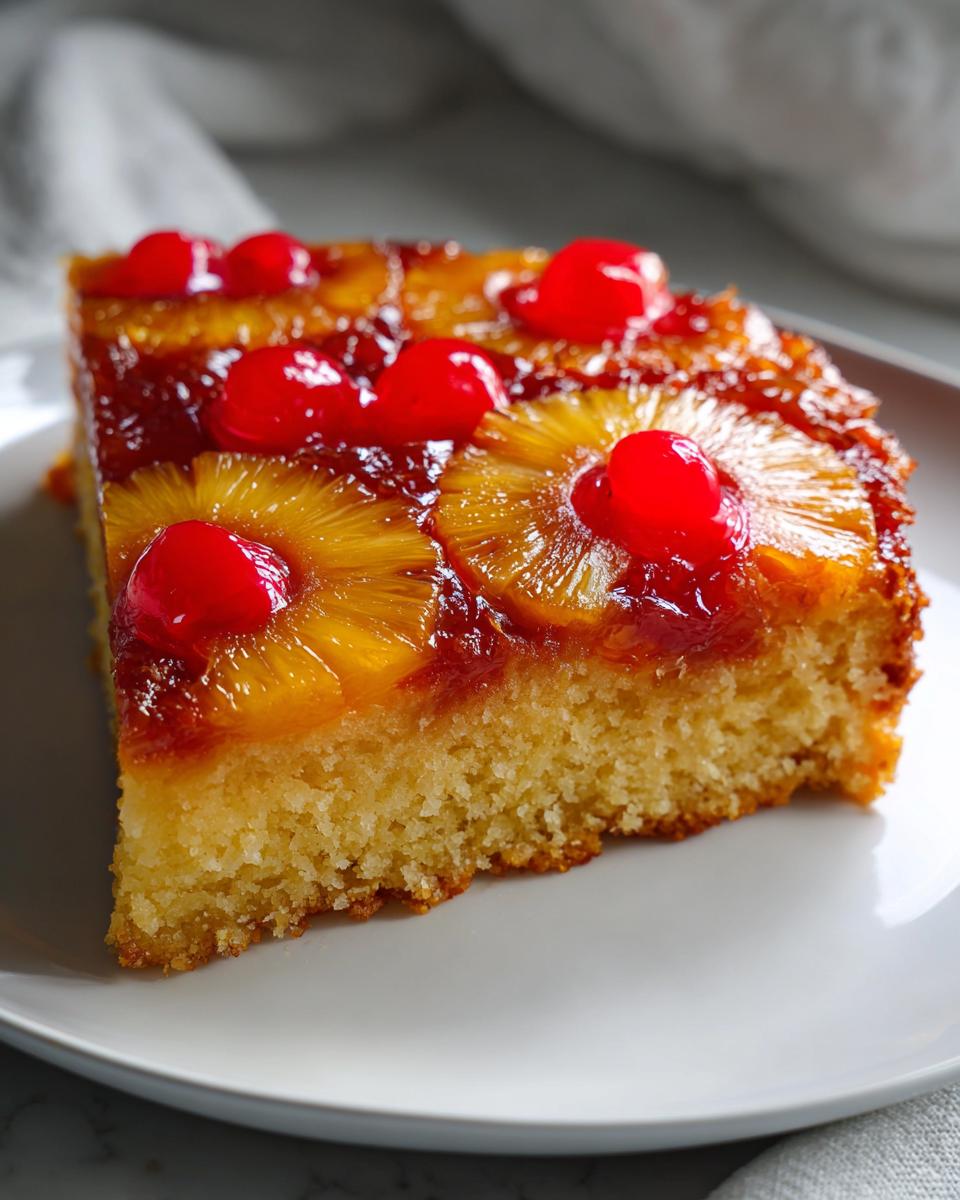
Achieving the Perfect Caramelized Pineapple Rings
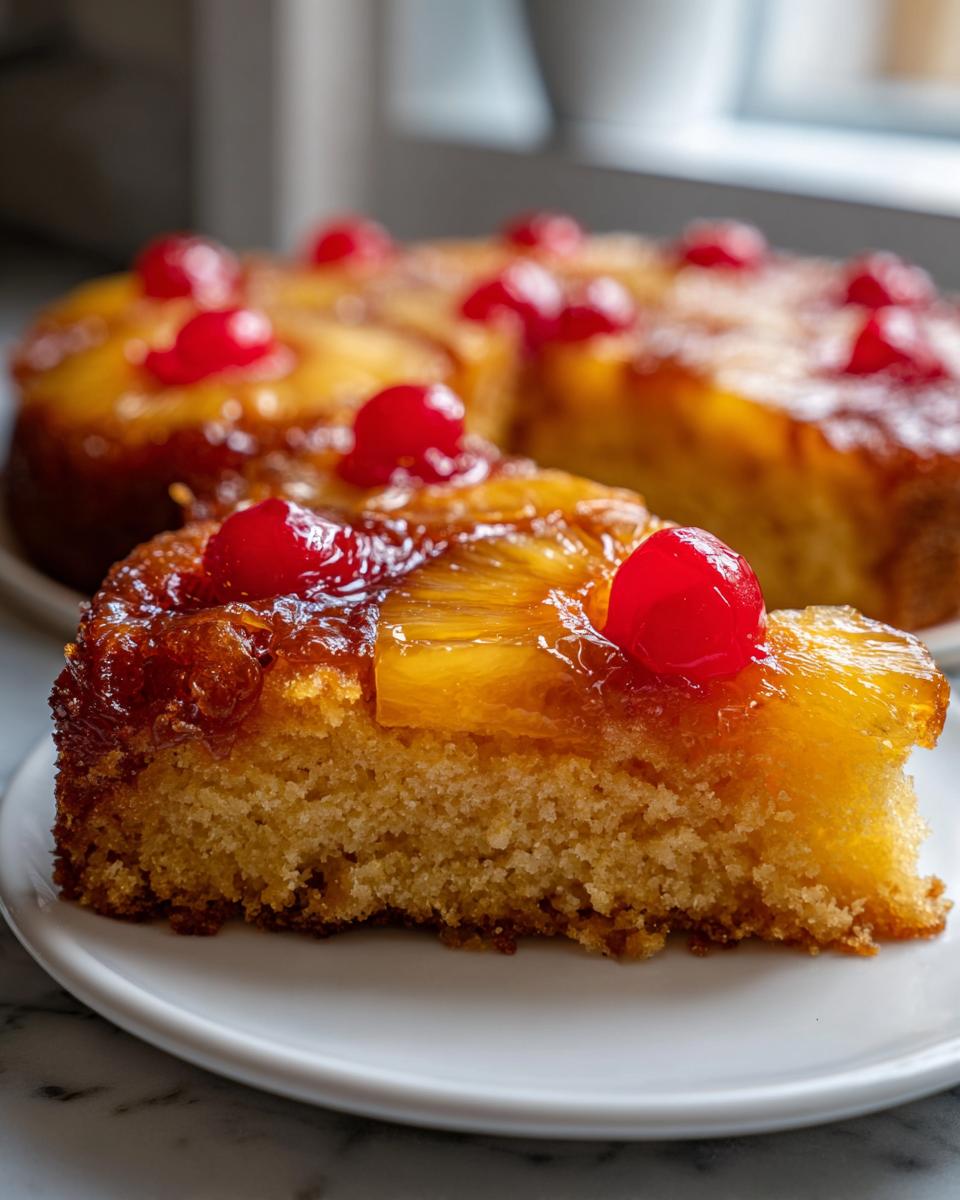
That jewel-toned topping is everything, right? The secret to those perfect Caramelized Pineapple Rings isn’t complicated at all. You just need that base layer of melted butter mixed right into the brown sugar in the bottom of the pan. When that melts and bubbles down around the fruit while baking, you get pure gold. Here’s a major tip: make sure those canned slices are well-drained! Too much liquid sitting in the pan means your sugar won’t caramelize properly; it’ll just steam. Pat them dry first, trust me on this one.
Tips for a Truly Moist Pineapple Cake
Nobody wants a dry cake, especially one this retro and beautiful. We get our unbeatable moisture from two places. First, we use the reserved juice from the pineapple can and mix it right into the cake batter. It adds a subtle sweet-tart flavor and keeps everything tender.
The second, and most important, technical tip for any great Pineapple Upside Down Cake is this: do *not* overmix your batter once you add the final flour mix. Stop mixing the second you don’t see dry streaks. Overmixing develops gluten, and gluten makes your tender cake heavy and tough. We want fluffy, not rubbery!
Ingredients for the Best Pineapple Upside Down Cake
Okay, time to gather our treasures! Because this is such a simple cake, the quality of the ingredients really shines through, especially that beautiful fruit topping. We are keeping this straightforward, focusing on accessible items to make your Pineapple Upside Down Cake a success on the first try. You only need a handful of things, but please use packed brown sugar—that’s important for getting the right caramel consistency at the bottom of the pan.
Here’s what you need to have ready before you start mixing:
- 1/2 cup unsalted butter (this needs to be melted for the topping base)
- 3/4 cup packed light brown sugar (don’t skip the ‘packed’ part!)
- 1 (20 ounce) can pineapple slices in juice, drained (and make sure you save about 1/4 cup of that juice for the batter!)
- 10 maraschino cherries (the brighter the red, the better the look!)
- 1 1/2 cups all-purpose flour
- 1 1/2 teaspoons baking powder
- 1/2 teaspoon salt
- 1/2 cup unsalted butter (this one needs to be softened for creaming later)
- 3/4 cup granulated sugar (for the actual cake part)
- 2 large eggs (room temperature is actually best here if you have time!)
- 1 teaspoon vanilla extract
- 1/2 cup milk
- 1/4 cup reserved pineapple juice
Step-by-Step Instructions for Your Pineapple Upside Down Cake
This is where the magic happens! Don’t feel intimidated by the topping. I promise that assembling this Pineapple Upside Down Cake is so much easier than any fancy layered creation. We’re going to work right inside the single 9-inch round cake pan, building our topping from the bottom up. It’s wonderfully satisfying, and remember, because this recipe is designed for success, you’ll find it sails right through the process!
Preparing the Caramelized Topping Layer
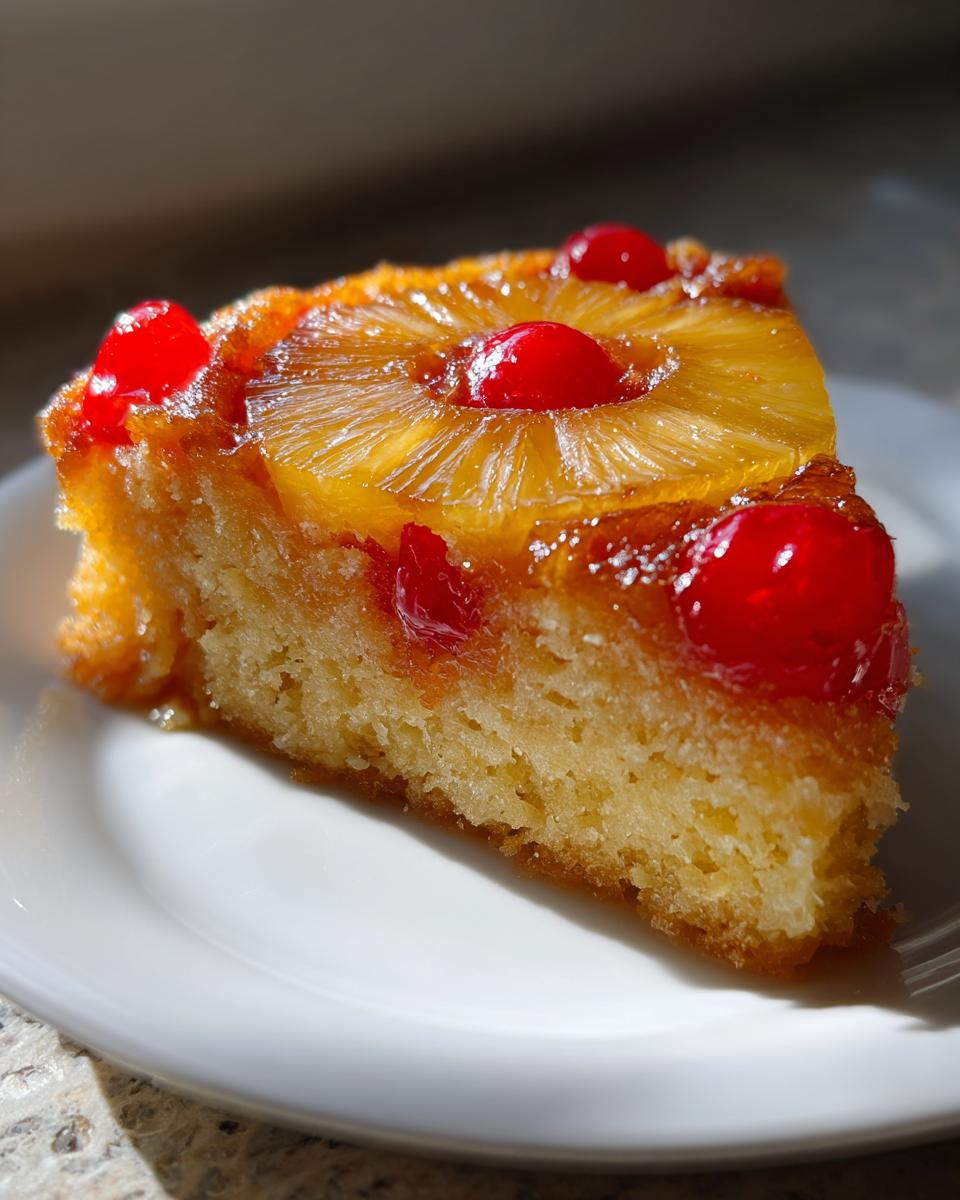
First thing first, get that oven preheated to 350 degrees F (175 degrees C). Now, grab your 9-inch round cake pan. Take that half cup of melted butter and pour it straight into the bottom. Don’t miss any corners! Next, sprinkle that packed brown sugar evenly over the butter. Seriously, take your time getting it flat; this is your glaze we’re mixing together here. Once that’s done, artfully arrange your drained pineapple slices right on top of the sugar mixture. I usually fit about five or six in a nice circle. Pop one beautiful maraschino cherry right in the hole of each pineapple ring. See? Total artistry!
Mixing the Simple Cake Batter
Time for the cake. In a separate big bowl, you want to cream that softened butter with the white granulated sugar until it’s light and fluffy. This traps the air we need for lift! Beat in your two eggs one at a time, mixing well after each one, then stir in the vanilla. Don’t forget to have your dry stuff (flour, baking powder, salt) ready, and whisk your milk and that precious reserved ¼ cup of pineapple juice together in a separate little cup.
Now, remember what I said about overmixing? We alternate! Add about a third of your dry mix, stir gently until *almost* combined. Then pour in half of your liquid mix, stir gently again. Repeat this pattern—dry, liquid, dry—and stop mixing the second it all comes together. It should look just barely incorporated. That will keep your cake beautifully moist!
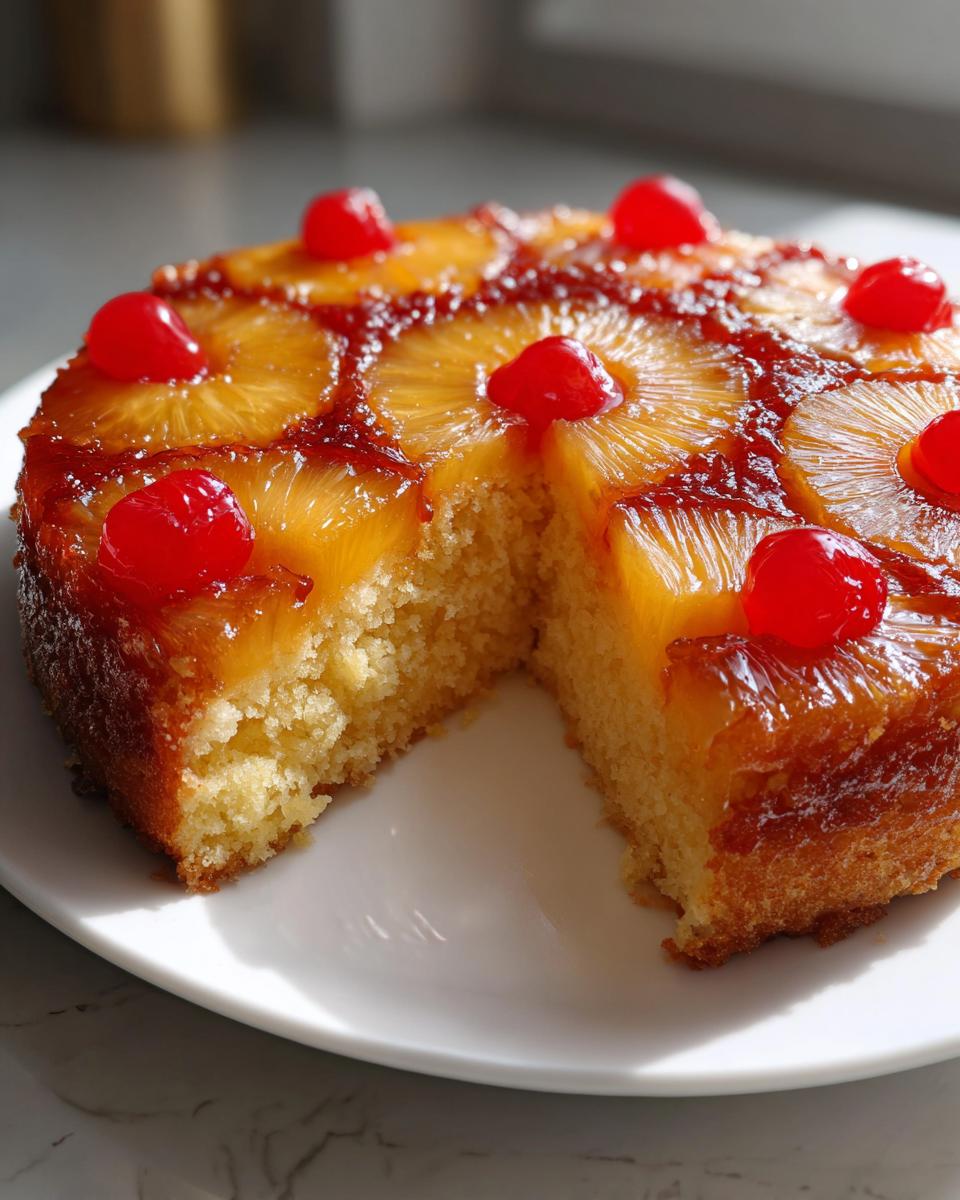
Baking and Inverting the Pineapple Upside Down Cake
Very carefully, pour that soft batter right over your beautiful fruit layer. Try not to bump the fruit around too much, okay? Pop it into the preheated oven for about 35 to 40 minutes. You know it’s ready when a wooden pick inserted right in the center comes out clean—no wet goo sticking to it! This is the trickiest part: You must let the cake cool in the pan on a wire rack for exactly 10 minutes. Not five, not twenty—ten! After that short rest, place a serving plate upside down over the pan and quickly, confidently flip the whole thing over. Give the bottom of the pan a little tap and lift it gently. If you followed the steps, you’ve just made an amazing simple tropical dessert!
Variations on the Classic Pineapple Upside Down Cake
Just because it’s a classic doesn’t mean we can’t play around a little, right? This recipe is so flexible! Once you’ve mastered the standard 9-inch round, you might be ready to try it in different shapes, especially when you’re baking for a crowd or want individual servings. This opens up possibilities for a gorgeous Pineapple Bundt Cake or fun little snacks.
Making a Pineapple Bundt Cake
If you want a show-stopping centerpiece, using a Bundt pan is wonderful for this Pineapple Upside Down Cake. You MUST take extra care here with the greasing and flouring; get into every single nook and cranny of that fancy pan! Since the batter is deeper, you’ll need to increase your baking time significantly—usually by about 10 to 15 extra minutes. Check the notes if you’re not sure, but always rely on that clean pick test!
Quick Summer Baking: Mini Pineapple Upside Down Cakes
Maybe you need something for a bake sale or just don’t want to deal with inverting a huge cake? Make Mini Pineapple Upside Down Cakes instead! I just butter and lightly flour a standard muffin tin, or even simpler, line it with cupcake liners. The topping goes on the bottom of the paper liner, then the batter over it. Because they are small, they bake way faster—usually in about 20 minutes. These are perfect for our simple, delicious desserts list!
Tips for Success with Your Homemade Pineapple Cake
So you’ve got your batter mixed, the fruit is placed just right, but we need to make sure the flip goes perfectly! This step—getting it out of the pan—is where most people stress when making a Homemade Pineapple Cake. Don’t you worry, I’ve got the tricks that Felix swears by to guarantee a beautiful presentation every single time.
Here are my three non-negotiable rules for a flawless release when making your Pineapple Upside Down Cake:
- Don’t Skip the Rest: That 10-minute cooling period after taking the cake out of the oven is crucial. If you flip it immediately, that molten brown sugar/butter mix will run everywhere. If you wait too long (over 15 minutes), the caramel will start to set hard into the pan, and you’ll tear your cake trying to pry it out. Ten minutes is the sweet spot!
- The Pan Prep Matters More Than You Think: Use the melted butter and brown sugar base, but make sure that sugar is spread edge-to-edge! If you leave a small dry spot, that’s where your cake will glue itself firmly to the pan.
- Use Quality Cherries: Sometimes the cherries look shiny because they’re packed in cheap syrup. A good maraschino cherry holds its shape better when baked. If you want to jazz up the flavor, drain the cherries and toss them with a tiny splash of almond extract before nestling them into the pineapple rings. Delicious!
Follow those steps, and you’ll be serving up a stunning, classic dessert that everyone will want the recipe for. Check out more simple, delicious desserts we love!
Storage and Reheating Instructions for Pineapple Upside Down Cake
Now, the hard part: not eating the entire Pineapple Upside Down Cake in one sitting! Good news—this dessert actually holds up really well compared to some sponge cakes, thanks to all that sugary, buttery topping keeping it cozy.
If you have any leftovers, my preference is always to store it covered loosely at room temperature for the first day. Since the topping is so rich, it stays moist enough just sitting on the counter, provided your kitchen isn’t scorching hot. You want to guard that caramel layer, though, so don’t leave it uncovered where it can dry out.
If you need to keep it longer than 24 hours, definitely transfer the cake to the refrigerator, covering it tightly with plastic wrap or putting it in an airtight container. I’ve kept it perfectly fine for three days this way.
Reheating to Bring Back the Gooey Goodness
When you’re ready for a slice later, don’t just eat it straight from the fridge; the cold mutes the buttery flavor! You want to gently bring that caramel back to life.
Here’s how I do it: Just take a slice, place it on a microwave-safe plate, and heat it for about 10 to 15 seconds on a very low power setting. You just want it slightly warm—enough to soften the cake base and get that topping feeling slightly oozy again. I avoid the oven for reheating individual slices because it can dry out the cake part too fast, but if you have half a cake, warming it gently in a 250-degree oven for about ten minutes works wonders!
Remember, even though this Pineapple Upside Down Cake is sturdy, it really shines the brightest on Day One, but these tips help keep those second-day slices tasting almost as good as fresh!
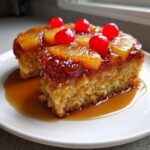
Serving Suggestions for This Retro Dessert Recipes
This Pineapple Upside Down Cake is already a superstar; it doesn’t *need* much accessorizing! But since we’re leaning into that beautiful, buttery, nostalgic vibe—perfect for your next big Family Gathering Cake—a few simple accompaniments just elevate it to legendary status. The best way to enjoy it is definitely served warm, while that caramelized topping is still slightly soft and gooey.
When I serve this at a potluck, I always make sure there’s something cool and creamy nearby to contrast that sticky sweetness. You can’t go wrong with a big dollop of freshly whipped cream. Keep it simple; nothing too flavored unless you really want to compete with the pineapple. Just plain fresh whipped cream is divine.
However, if you want to lean fully into that rich, Southern dessert feel—think big flavors and creamy textures—a scoop of really good vanilla bean ice cream is mandatory. It melts beautifully right into the warm caramel, making every bite feel decadent. For something a little different, especially if you love those deep, almost boozy dessert flavors, you could try serving it alongside something inspired by my Bananas Foster recipe—maybe a small side of lightly caramelized bananas drizzled with a tiny bit of rum glaze.
It’s a dessert that’s meant to be shared, so don’t stress too much about perfection. Just get it on a pretty platter while it’s still warm, and watch it disappear!
Frequently Asked Questions About Pineapple Upside Down Cake
I know sometimes when you’re reading a recipe, you have those little nagging questions pop up, especially when it comes to a colorful, layered bake like our Pineapple Upside Down Cake. Don’t worry, I’ve put together the most common things readers ask me, so you can bake with total confidence!
Can I use fresh pineapple instead of canned for this pineapple upside down cake recipe?
You absolutely can! I totally understand wanting to use fresh, ripe pineapple when it’s in season. The main difference is moisture content. Canned pineapple comes packed in liquid, but fresh fruit has way more water locked inside. If you use fresh rings, you need to slice them up, and then you *must* pat them down aggressively with paper towels until they feel quite dry. If they are wet, that water will seep out during baking and thin out your beautiful brown sugar caramel, making it runny instead of sticky.
Is this the easiest pineapple dessert to make from scratch?
Yes! I designed this From Scratch Pineapple Cake specifically for people who love that rich, traditional flavor but don’t have hours to mess around with complicated techniques. There are no fancy whipping methods or folding required for the cake itself; it’s a straightforward mix-and-pour situation once the topping is set. If you are looking for something quick, this definitely qualifies as an Easy Pineapple Dessert that tastes homemade—because it is!
What is the best way to prevent the topping from sticking when inverting the cake?
Listen, this is the make-or-break moment for any Pineapple Upside Down Cake! If you follow the initial steps perfectly—spreading that melted butter all the way to the edges and covering it evenly with brown sugar—you’ve done most of the work. But the absolute key is timing. Let the cake cool in the pan on the counter for exactly ten minutes after it comes out of the oven. This gives the molten sugar just enough time to start setting slightly around the edges, so when you flip it onto your serving plate, the caramel releases cleanly and doesn’t pull the cake apart. I’ve watched people fail by flipping too soon or waiting too long, so stick to those ten minutes!
Estimated Nutritional Information for This Pineapple Upside Down Cake
Okay, I always feel a little funny publishing strict nutritional facts because, let’s be real, this is a special occasion, truly comforting dessert! We aren’t pretending this is health food, but knowing the basics helps when you’re planning a big family meal. Felix has put together an estimate based on the ingredients list so you have a general idea of what you’re serving up with this amazing Pineapple Upside Down Cake.
Keep in mind these numbers change dramatically depending on exactly how much butter you spread around or if you decide to serve it with a big scoop of ice cream! These figures are calculated for one standard serving slice based on the recipe ingredients shown above.
- Serving Size: 1 slice
- Calories: Around 350
- Fat: About 18g (Yes, that’s the buttery goodness!)
- Carbohydrates: Roughly 45g
- Protein: A light 4g
- Sugar: Don’t be surprised—it’s about 35g, mostly from the fruit and that amazing caramel layer we worked so hard for!
This is classic baking, friends! It’s rich, it’s sweet, and that’s why it’s so good. Just enjoy every bite; that’s my official advice. We are focusing on flavor and tradition here, not calorie counting when we break out this show-stopping Classic Pineapple Cake.
Share Your Perfect Pineapple Upside Down Cake
Well, that’s it! You have officially made the most beautiful, buttery, and nostalgic Pineapple Upside Down Cake. Now that you’ve had your first glorious bite (and I hope you ate it warm with vanilla ice cream!), I really want to hear from you.
Home baking is supposed to be shared, and that’s what Felix and I are all about here at Cooking by Felix—building a community where we celebrate achievable, delicious meals together. Did the caramel drip perfectly? Did you manage to keep that cake from sticking? Tell me everything!
Please scroll down and leave a rating for the recipe in the star system. More importantly, drop a comment below! I read every single one, and knowing when a recipe like this classic works for your family means the world to me.
If you snapped a picture of your stunning, glossy fruit topping—and you absolutely should have!—please share it! Tag us on social media so we can admire your handiwork. It makes my day to see my kitchen notes come to life in your homes. And if you run into any snags or have any urgent questions that popped up during baking, don’t hesitate to reach out through the contact page—I’m always here to help troubleshoot your recipe needs!
PrintThe Ultimate Classic & Easy Pineapple Upside Down Cake (Moist & Caramelized)
Make this classic Pineapple Upside Down Cake for a moist, buttery dessert with a perfectly caramelized pineapple topping. This simple recipe is ideal for family gatherings or any time you want a nostalgic treat.
- Prep Time: 15 min
- Cook Time: 40 min
- Total Time: 55 min
- Yield: 8 servings 1x
- Category: Dessert
- Method: Baking
- Cuisine: American
- Diet: Vegetarian
Ingredients
- 1/2 cup unsalted butter, melted
- 3/4 cup packed light brown sugar
- 1 (20 ounce) can pineapple slices in juice, drained (reserve juice)
- 10 maraschino cherries
- 1 1/2 cups all-purpose flour
- 1 1/2 teaspoons baking powder
- 1/2 teaspoon salt
- 1/2 cup unsalted butter, softened
- 3/4 cup granulated sugar
- 2 large eggs
- 1 teaspoon vanilla extract
- 1/2 cup milk
- 1/4 cup reserved pineapple juice
Instructions
- Preheat your oven to 350 degrees F (175 degrees C). Lightly grease a 9-inch round cake pan.
- Pour the 1/2 cup melted butter into the prepared cake pan. Sprinkle the 3/4 cup brown sugar evenly over the butter.
- Arrange the drained pineapple slices on top of the sugar mixture. Place one maraschino cherry in the center of each pineapple ring.
- In a medium bowl, whisk together the flour, baking powder, and salt. Set aside.
- In a large bowl, cream together the 1/2 cup softened butter and 3/4 cup granulated sugar until light and fluffy.
- Beat in the eggs one at a time, mixing well after each addition. Stir in the vanilla extract.
- In a small bowl, whisk together the milk and the reserved pineapple juice.
- Gradually add the dry ingredients to the wet ingredients, alternating with the milk mixture, beginning and ending with the dry ingredients. Mix until just combined. Do not overmix.
- Carefully pour the cake batter over the pineapple and cherry layer in the pan. Spread the batter evenly.
- Bake for 35 to 40 minutes, or until a wooden pick inserted into the center comes out clean.
- Let the cake cool in the pan on a wire rack for 10 minutes.
- Place a serving plate upside down over the cake pan. Carefully invert the cake onto the plate. Remove the pan. Serve warm or at room temperature.
Notes
- For a Bundt cake variation, prepare the topping in the Bundt pan and increase baking time by about 10-15 minutes.
- If you want a richer caramel, you can cook the butter and brown sugar on the stovetop for 2 minutes before pouring it into the pan.
- This cake tastes great the next day, but it is best served the day it is made.
Nutrition
- Serving Size: 1 slice
- Calories: 350
- Sugar: 35g
- Sodium: 250mg
- Fat: 18g
- Saturated Fat: 11g
- Unsaturated Fat: 7g
- Trans Fat: 0.5g
- Carbohydrates: 45g
- Fiber: 1g
- Protein: 4g
- Cholesterol: 75mg