

Do you ever look at those gorgeous bakery photos and think, “I wish I had the time for that”? I totally get it. Life as a busy person means we often have to pick fast over fantastic. But that’s why I’m here—to prove you can have both!
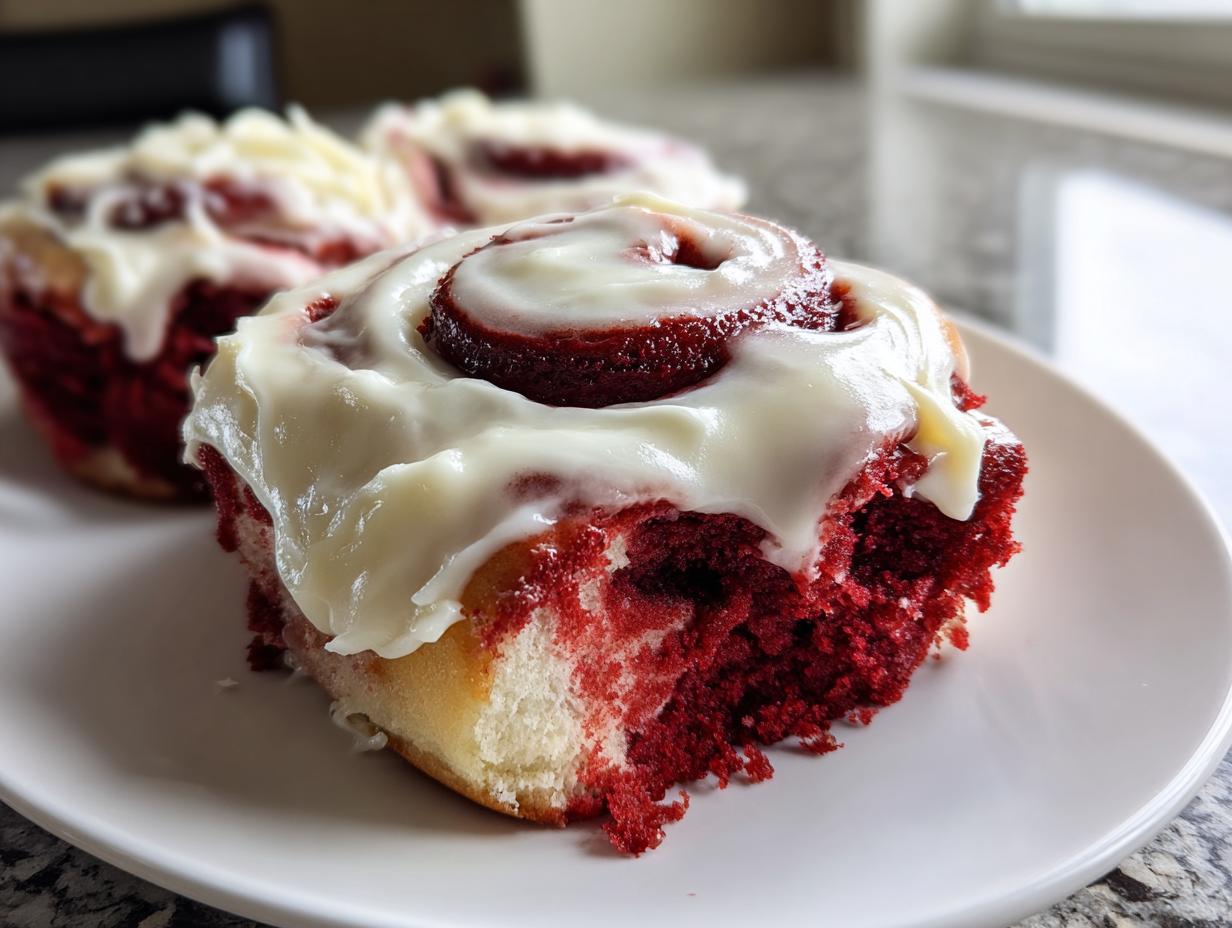
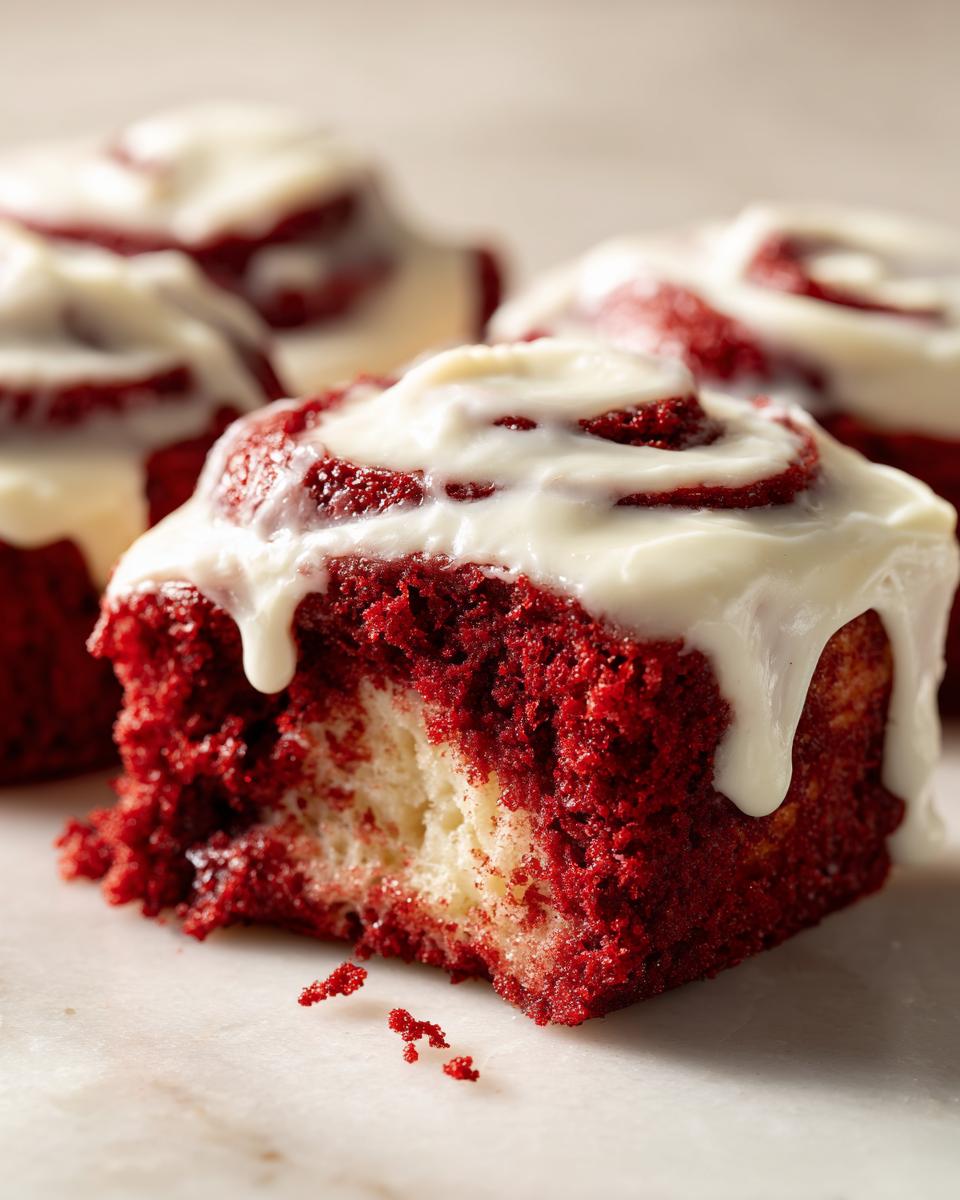
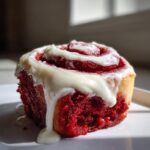
These aren’t just any weekend indulgence; these are the showstopping, vibrant, and unbelievably soft red velvet cinnamon rolls. We’re taking the deep, slightly chocolatey, tangy flavor of classic red velvet and wrapping it around that warm, gooey cinnamon swirl you crave. When I started Cooking by Felix, it was because I wanted to unlock these richer flavors without spending all day in the kitchen. You see that perfect ruby red color and rich cream cheese frosting? Every step here is designed to make that level of flavor achievable for you, even on a hectic morning.
Forget complicated techniques; we’re focusing on a rich, soft dough recipe that delivers pure comfort. Trust me, these are worth the little bit of effort, and they make any gathering feel instantly special. If you’re looking for some quick, easy, and rewarding breakfast options, check out my guide to quick and easy breakfast recipes for weeknights!
- Why You Will Love These Soft & Fluffy red velvet cinnamon rolls
- Gathering Ingredients for Your red velvet cinnamon rolls
- Step-by-Step Instructions for Fluffy red velvet cinnamon rolls
- Expert Tips for Perfect red velvet cinnamon rolls Success
- Ingredient Notes and Substitutions for red velvet cinnamon rolls
- Serving Suggestions for Your red velvet cinnamon rolls
- Storage and Reheating Instructions for red velvet cinnamon rolls
- Frequently Asked Questions About red velvet cinnamon rolls
- Estimated Nutritional Data for red velvet cinnamon rolls
- Share Your Festive red velvet cinnamon rolls Creations
Why You Will Love These Soft & Fluffy red velvet cinnamon rolls
I promise these are everything you dream about when you picture the perfect bake. They are designed to give you that ‘wow’ factor without the stress. Here’s exactly what seals the deal:
- Incredibly Soft Dough: We use a few tricks in the dough to guarantee these rolls stay fluffy for days. No more dry pastries!
- Vibrant Color: That signature red velvet hue comes through beautifully, making them perfect for any festive table—especially for Valentine’s Day Breakfast or Christmas.
- The Dream Filling: A rich layer of butter, cinnamon, and brown sugar melts into a delicious swirl that complements the cocoa notes perfectly.
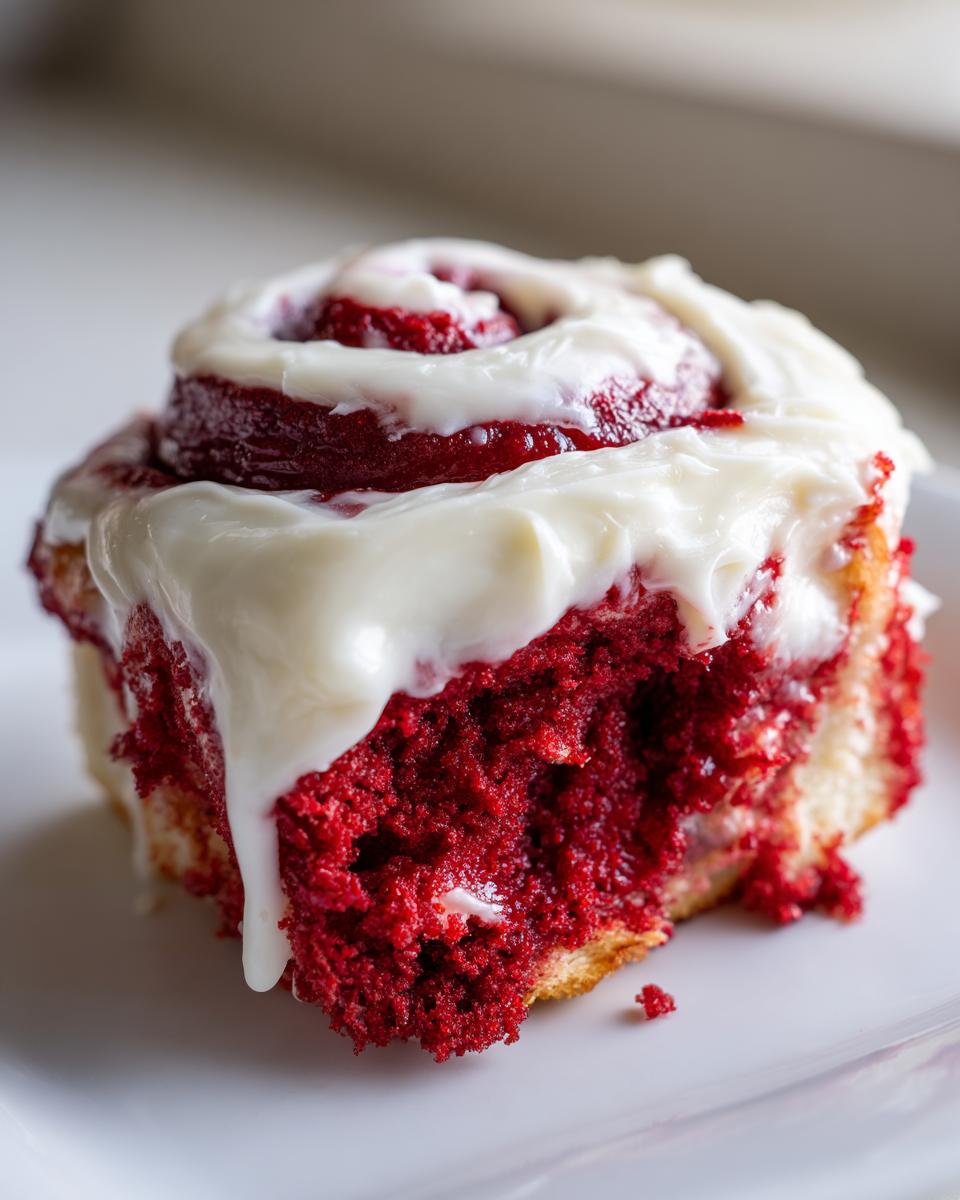
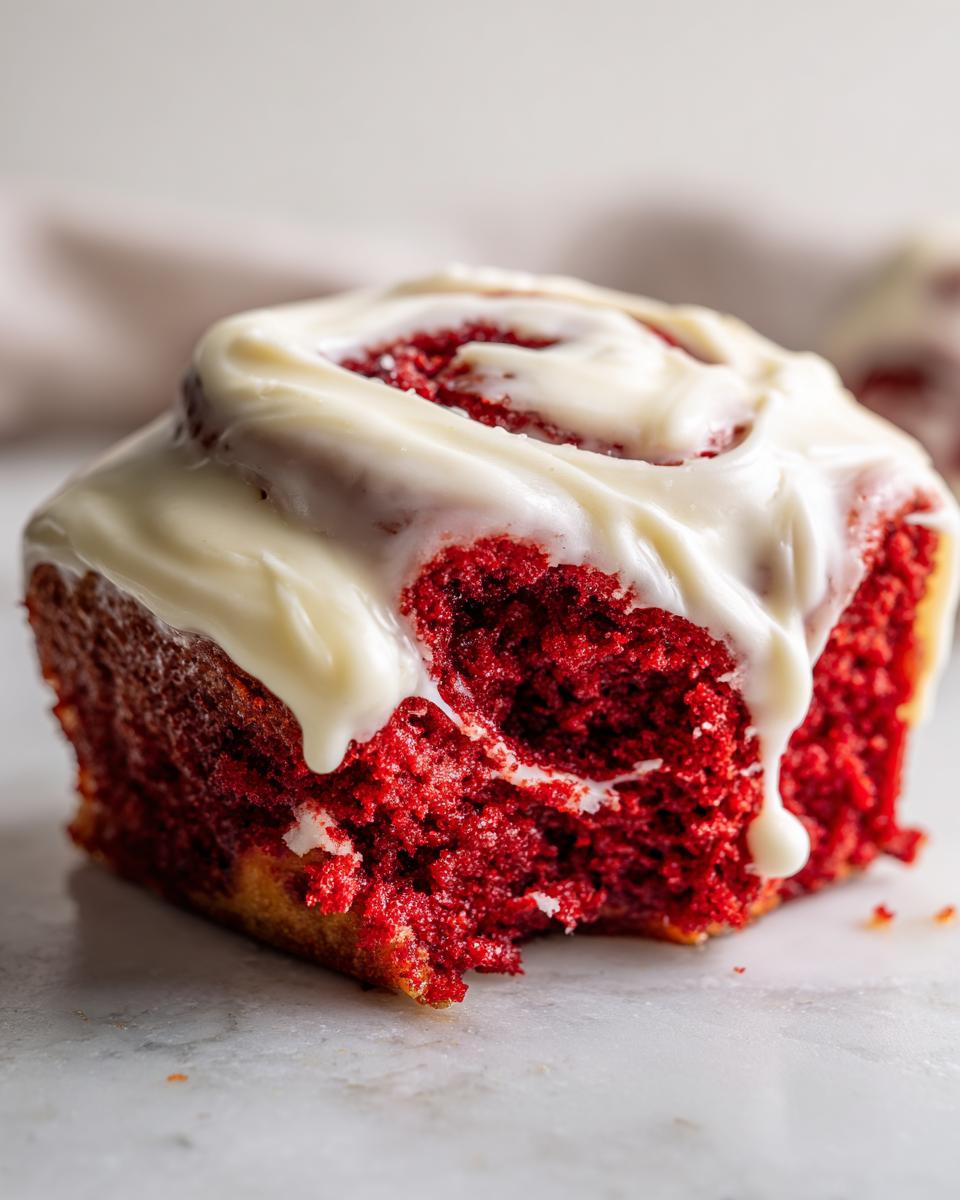
- Tangy Frosting Finish: That thick, slightly tart cream cheese glaze cuts the sweetness beautifully, making them utterly addictive.
Gathering Ingredients for Your red velvet cinnamon rolls
Okay, let’s get cooking! Having everything measured out before we start mixing is half the battle won, especially with yeast doughs. I always lay my ingredients out in little bowls so I can see exactly what I need. This clarity is key to turning out beautiful, consistent red velvet cinnamon rolls every time. If you miss one little thing, like using cold milk, the yeast throws a fit! Here’s the list, broken down so you don’t miss a thing.
For the Red Velvet Dough
This dough is where the magic starts, giving us that soft texture and signature look. For the best possible color—those truly vibrant red desserts—I really, really suggest using gel food coloring over the liquid stuff. You get way more punch with less liquid messing up your dough ratios.
- 1 cup warm milk (it needs to be about 110°F, go warm, not hot!)
- 2 1/4 teaspoons active dry yeast
- 1/2 cup granulated sugar, plus 1 teaspoon for the yeast
- 1/2 cup unsalted butter, melted
- 1 large egg
- 1 teaspoon vanilla extract
- 2 tablespoons unsweetened cocoa powder
- 1 teaspoon white vinegar
- 1/2 teaspoon salt
- 2 to 2 1/2 cups all-purpose flour, plus more for dusting
- 1/4 cup red food coloring (gel preferred!)
For the Cinnamon Swirl Filling
This is simple, but vital! The butter here must be soft, like, really soft. If it’s cold, you’ll tear your dough when you try to spread it. We want it nice and pliable for that perfect cinnamon swirl.
- 1/2 cup unsalted butter, softened
- 3/4 cup packed light brown sugar
- 2 teaspoons ground cinnamon
For the Sweet Cream Cheese Glaze
This topping is non-negotiable! To nail that luscious sweet cream cheese topping without any weird lumps, you absolutely have to sift your powdered sugar.
- 8 ounces cream cheese, softened
- 1/2 cup unsalted butter, softened
- 3 cups powdered sugar, sifted
- 1 teaspoon vanilla extract
- 2 to 4 tablespoons milk
Step-by-Step Instructions for Fluffy red velvet cinnamon rolls
This is where we turn ingredients into those famous soft gooey cinnamon rolls texture we are aiming for! Don’t rush the rising times; that’s the secret to light, airy bread, not dense logs. Patience pays off, I promise!
Making and Proofing the Red Velvet Dough
First things first, gotta wake up the yeast! Combine your warm milk, a tiny bit of sugar, and the yeast in your bowl. Let it sit for about 5 to 10 minutes until it looks bubbly and foamy on top. If nothing happens, your milk was probably too hot, and we need to start over!
Once you have that happy foam, whisk in the rest of your wet stuff: sugar, melted butter, egg, vanilla, cocoa, vinegar, and salt. Now, start adding the flour slowly, mixing until it gets shaggy. Drop in all that red coloring and mix until it’s mostly uniform. You need to work in about 2 cups of flour before turning it onto the counter. We knead this dough—really knead it—for a good 5 to 7 minutes. You are developing the structure here, which gives you those amazing soft rolls. When it feels smooth and elastic, put it in a lightly oiled bowl, cover it up, and let it chill out in a warm spot for 1 to 1.5 hours until it doubles. That first rise is crucial for fluffiness!
Assembling, Rolling, and Second Rise for red velvet cinnamon rolls
Once it’s doubled, gently punch it down. Turn that gorgeous red dough onto a lightly floured surface and roll it into a big rectangle, about 12 by 18 inches. Take that creamy filling we mixed up and spread it edge-to-edge, but leave about a half-inch border along one long side—this helps seal the deal.
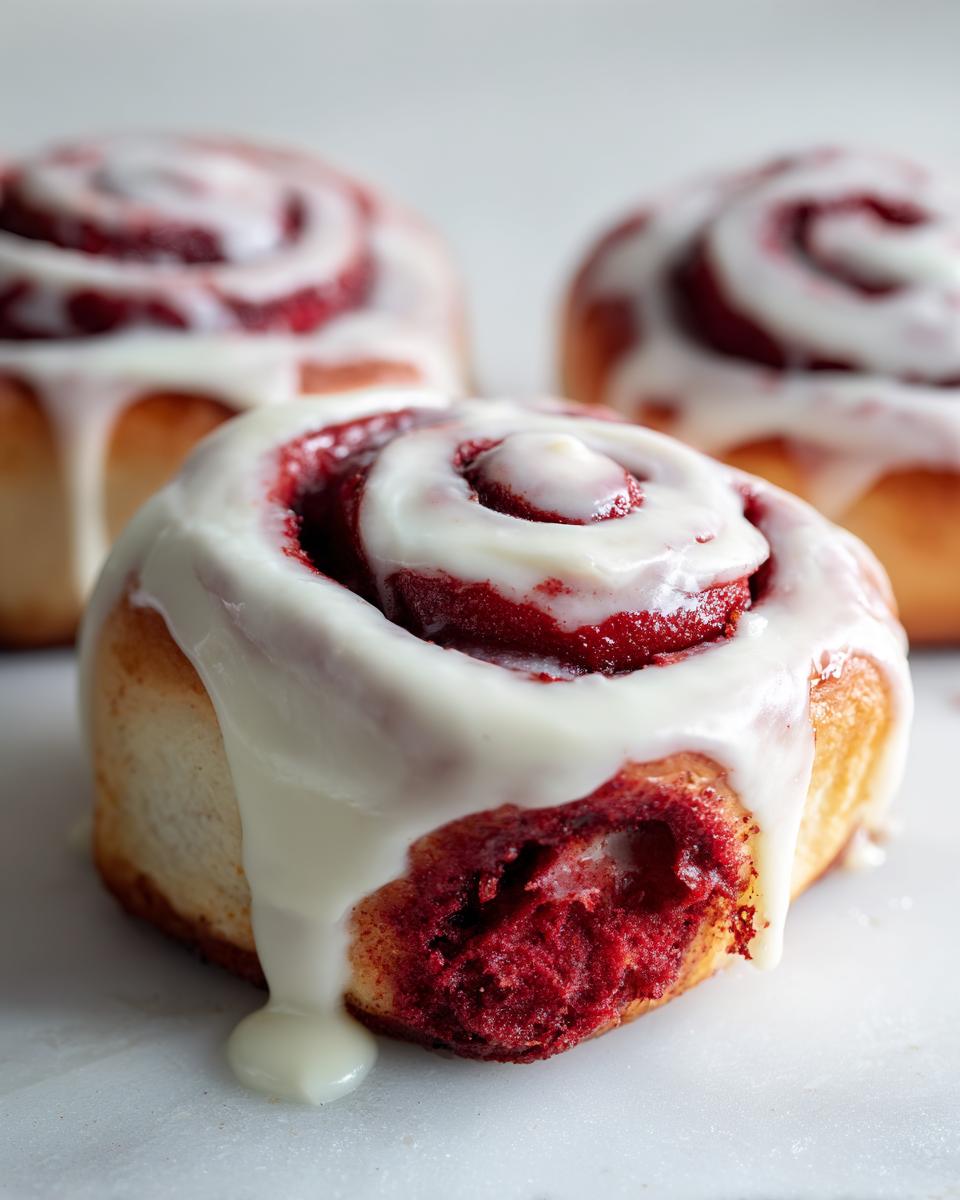
Now, this part takes focus: starting from the long edge *opposite* the border, roll that dough up as tightly as you can into a log. Pinch that empty border edge closed firmly to seal the log really well. Then, use a sharp, un-floured knife or—even better—unflavored dental floss to slice the log into 12 equal pieces, about an inch and a half thick. Pop them into your greased 9×13 pan close together. Cover them loosely and let them have their second nap for 30 to 45 minutes. They should look puffy and almost touching when they’re ready for the heat.
Baking and Preparing the Tangy Cream Cheese Glaze
Preheat your oven to 375°F (190°C). Time to bake these beauties for 20 to 25 minutes. Watch them closely! We want them set and maybe just starting to brown lightly at the edges. Over-baking is the enemy of soft rolls!
While those perfect red velvet cinnamon rolls are cooling just slightly—warm is better than cold for frosting—whisk up that glaze. Beat the softened cream cheese and butter until they look like silk. Gradually add that sifted powdered sugar and vanilla. If it’s too stiff to drizzle, add milk one tablespoon at a time until it flows nicely. Spread that thick, tangy glaze generously over the warm rolls right away so it melts just a little bit into all those cinnamon crevices. Enjoy that bakery-style magic!
Expert Tips for Perfect red velvet cinnamon rolls Success
Look, I’ve definitely messed up a batch or two over the years, which is how I figured out the real secrets to these red velvet cinnamon rolls. My biggest early mistake was rushing the proofing stages. I remember one disastrous Sunday: I thought I could skip the second rise because my kitchen was chilly. Oops! They came out dense, barely red, and totally sad.
So, my professional advice? First, use that gel coloring I mentioned; it’s key for that deep, gorgeous pigment without making your dough soupy. Second, watch your baking time like a hawk. If I take them out when the center looks just barely set but not wet, they always cool down into the softest, most luxurious texture. It’s way better to slightly underbake than overbake with sweet rolls!
If they look a little pale when you pull them out, don’t panic; the residual heat keeps cooking them while they rest under the foil. For more tips on moisture control in baking, check out how I handle less forgiving recipes like my favorite carrot cake.
Ingredient Notes and Substitutions for red velvet cinnamon rolls
I always encourage folks to bake from scratch because the texture is unmatched, but I know life happens! Sometimes you need a shortcut, and that’s totally okay. We can still get that wonderful red velvet flavor without having to measure every single dry item. That’s why I include the cake mix hack in my notes; it’s a great way to save prep time on a busy morning.
If you grab a box of red velvet cake mix to replace the dry goods (flour, sugar, salt, cocoa), remember you’re skipping the leavening agents the box calls for. You still need to follow the primary recipe’s yeast activation step—yeast is the key to the *roll* part of these red velvet cinnamon rolls!
What about the liquids? If you don’t have regular milk on hand, whole buttermilk works beautifully here, especially since red velvet dough loves that little tang. It might make the dough slightly sticker, so just use a tiny bit more flour during kneading.
And the vinegar? Please don’t skip that! It reacts with the baking soda (even the tiny bit in the cocoa powder) and the coloring to give that distinct red velvet lift and flavor profile. If you truly don’t have white vinegar, a half-teaspoon of apple cider vinegar works fine, but fresh is best for these gourmet cinnamon rolls!
Serving Suggestions for Your red velvet cinnamon rolls
Okay, so you’ve pulled off the most incredible, vibrant batch of red velvet cinnamon rolls you’ve ever made. Do not just stand there drooling! We need to talk about what goes best with these stunners. Since these rolls are so rich, I usually pair them with something that feels cozy but offsets the sweetness—we don’t want everything to be heavy, right?
For a true holiday brunch vibe that still lets the rolls shine, I love serving them alongside some fresh fruit—maybe some bright raspberries or sliced blood oranges. The acidity from the fruit just cleans the palate after that decadent cream cheese glaze.
If you are serving these for breakfast, coffee is non-negotiable. But if you’re trying to make it feel extra indulgent, especially around Christmas time, you absolutely have to whip up a small batch of fresh eggnog. My recipe for homemade eggnog is surprisingly simple; swirling that nutmeg spice into your coffee, or just sipping a small cup alongside the roll, is heavenly with the chocolatey red velvet flavor.
Honestly, sometimes I think these festive desserts are so good they don’t need a thing, but if you’re serving them for a crowd, having a simple side like a savory quiche or even just beautiful fruit keeps the meal balanced. They need to be the star, though—always!
Storage and Reheating Instructions for red velvet cinnamon rolls
Because these are such perfect gourmet cinnamon rolls, you absolutely want to save the leftovers! If you made a full batch and frosted them, just cover the dish tightly with plastic wrap or foil. They stay lovely at room temperature for about two days, or you can stash them in the fridge for up to five days. Don’t freeze them frosted, though; that glaze gets weird!
If you want to save them unfrosted, that’s even better. Wrap the unglazed rolls tightly with plastic wrap, then tuck that into a freezer bag. When you want one? The best trick is to microwave an unglazed roll for about 15 to 20 seconds. It warms right up and gets that incredible soft texture back. Then, just slather on some homemade cream cheese glaze. Perfection!
Frequently Asked Questions About red velvet cinnamon rolls
I get so many wonderful messages after people try making these, and most readers have similar questions when tackling a yeast dough for the first time. Here are the answers to the things I hear most often about achieving perfect red velvet cinnamon rolls!
Can I make these red velvet cinnamon rolls ahead of time?
Yes, definitely! Making these the night before is a lifesaver, especially for Christmas Morning Treats. You can assemble the whole thing, place the rolls in the greased baking dish, cover them tightly, and refrigerate them for up to 12 hours before the second rise. Just pull them out of the fridge about an hour before you want to bake them so they can warm up a little bit before that final proof. They’ll rise beautifully and be ready to bake in the morning. It’s one of the best ways to nail those indulgent breakfast recipes without waking up at 4 AM!
Why isn’t my cream cheese glaze thick enough for the topping?
This usually happens because the butter and cream cheese mixture was too soft, or you added the milk too quickly. Remember, we want that lovely cream cheese glaze recipe to be spreadable, not runny! If you add too much milk, stop immediately! You can fix it easily by whisking in a few extra tablespoons of sifted powdered sugar until it firms up to that thick, luxurious consistency that melts so nicely over your warm rolls.
What causes the dough to not turn out vibrant red enough?
This is almost always about the food coloring technique. If you try to use standard grocery store liquid dye, you end up pouring in way too much just to get a pale pink color, which messes up your dough structure. For those gorgeous showstopping baked goods, you need gel paste coloring. A little dollop goes a long way! If you already made the batch and it looks brownish-red, don’t sweat it; maybe next time try adding a drop or two more coloring right before your final knead, though you have to be careful not to add too much flour to compensate.
Can I skip the vinegar in the dough?
Oh, I wouldn’t recommend it for true red velvet flavor! That tiny bit of acid is essential because it reacts with the cocoa powder to bring out the traditional red velvet taste profile. Think of it like a key ingredient for those from scratch cinnamon rolls to really taste like red velvet and not just chocolate bread. If you don’t have white vinegar, you can use the same amount of apple cider vinegar, or even a teaspoon of lemon juice if you’re in a real bind. For stuffing ideas, if you ever need a good creamy filler, check out my recipe for cream cheese stuffed French toast!
Estimated Nutritional Data for red velvet cinnamon rolls
Now, let’s be real: these aren’t health food, but knowing the numbers can help when you’re planning a big brunch or just want to track things for yourself. Because we are using rich ingredients like butter and cream cheese in the filling and glaze, these red velvet cinnamon rolls definitely fall into the indulgent category. Remember, this is based on dividing the entire recipe into 12 equal servings. If you cut them bigger or use extra frosting, your numbers will shift!
I use these estimates as a general guideline. If you bake them for Christmas morning treats, you know it’s worth it for the celebration, right? But for daily baking, maybe stick to half a roll!
- Serving Size: 1 roll
- Calories: Approximately 550
- Total Fat: Around 30g (with about 18g being saturated fat)
- Carbohydrates: Roughly 68g
- Protein: About 7g
- Sugar: This one is high, coming in around 65g, mostly from the glaze and brown sugar filling.
These figures reflect the full flavor profile—the butter, the sugar, the cream cheese. They are truly showstopping baked goods meant for enjoying, not everyday eating!
Share Your Festive red velvet cinnamon rolls Creations
That’s it! You’ve made something truly special here. Remember, baking is meant to be shared, and trust me, these red velvet cinnamon rolls are too beautiful not to show off. I love seeing how they turn out in different kitchens.
Once those rolls are frosted and looking glorious, snap a picture! Tag me online when you do. I want to see your gorgeous vibrant red swirls and how generously you applied that cream cheese glaze. Did you make them for Valentine’s Day Breakfast or maybe as part of your grand spread of holiday brunch ideas?
If these rolls made your weekend brighter or solved a last-minute dessert emergency, please hop back here and leave a quick rating. Those stars really help other busy folks know they can trust this recipe. Your feedback means the world to me as I develop more achievable, delicious recipes!
PrintThe Ultimate Soft & Fluffy Red Velvet Cinnamon Rolls with Tangy Cream Cheese Frosting
Make these soft, fluffy red velvet cinnamon rolls from scratch. They feature a rich red velvet dough, a sweet cinnamon swirl filling, and a thick, tangy cream cheese glaze. This recipe delivers bakery-style rolls perfect for holiday brunch or a special dessert.
- Prep Time: 45 min
- Cook Time: 25 min
- Total Time: 145 min
- Yield: 12 servings 1x
- Category: Breakfast
- Method: Baking
- Cuisine: American
- Diet: Vegetarian
Ingredients
- 1 cup warm milk (about 110°F)
- 2 1/4 teaspoons active dry yeast
- 1/2 cup granulated sugar, plus 1 teaspoon for yeast
- 1/2 cup unsalted butter, melted
- 1 large egg
- 1 teaspoon vanilla extract
- 2 tablespoons unsweetened cocoa powder
- 1 teaspoon white vinegar
- 1/2 teaspoon salt
- 2 to 2 1/2 cups all-purpose flour, plus more for dusting
- 1/4 cup red food coloring (gel preferred)
- For the Filling:
- 1/2 cup unsalted butter, softened
- 3/4 cup packed light brown sugar
- 2 teaspoons ground cinnamon
- For the Cream Cheese Glaze:
- 8 ounces cream cheese, softened
- 1/2 cup unsalted butter, softened
- 3 cups powdered sugar, sifted
- 1 teaspoon vanilla extract
- 2 to 4 tablespoons milk
Instructions
- Activate the yeast: In a large bowl, combine the warm milk, 1 teaspoon of sugar, and the yeast. Let stand for 5 to 10 minutes until foamy.
- Mix the wet ingredients: Add the remaining 1/2 cup sugar, melted butter, egg, vanilla extract, cocoa powder, vinegar, and salt to the yeast mixture. Whisk until combined.
- Add flour and color: Gradually mix in 2 cups of flour until a shaggy dough forms. Add the red food coloring and mix until the color is uniform. Add more flour, 1 tablespoon at a time, until the dough is soft but no longer sticky.
- Knead the dough: Turn the dough out onto a lightly floured surface. Knead for 5 to 7 minutes until the dough is smooth and elastic.
- First rise: Place the dough in a lightly oiled bowl, turning to coat. Cover the bowl with plastic wrap or a clean towel. Let the dough rise in a warm place for 1 to 1.5 hours, or until doubled in size.
- Prepare the filling: While the dough rises, mix the softened butter, brown sugar, and cinnamon together in a small bowl until smooth. Set aside.
- Shape the rolls: Punch down the risen dough gently. Turn it out onto a lightly floured surface. Roll the dough into a large rectangle, about 12×18 inches.
- Spread filling and roll: Spread the cinnamon-butter mixture evenly over the dough, leaving a 1/2-inch border along one long edge. Starting from the long edge opposite the border, tightly roll the dough into a log. Pinch the seam closed.
- Slice the rolls: Cut the log into 12 equal pieces, about 1.5 inches thick. Place the rolls, cut-side up, in a greased 9×13 inch baking dish.
- Second rise: Cover the dish loosely and let the rolls rise again in a warm spot for 30 to 45 minutes, or until puffy.
- Bake the rolls: Preheat your oven to 375°F (190°C). Bake for 20 to 25 minutes, or until the tops are set and lightly golden brown around the edges.
- Make the glaze: While the rolls cool slightly, beat the softened cream cheese and butter together until smooth. Gradually beat in the sifted powdered sugar and vanilla extract. Add milk, 1 tablespoon at a time, until you reach a thick, spreadable consistency.
- Frost and serve: Spread the cream cheese glaze generously over the warm rolls. Serve immediately for the best texture.
Notes
- For a cake mix hack, substitute the dry ingredients (flour, sugar, cocoa, salt) with one box of red velvet cake mix, omitting the leavening agents listed on the box. You will still need yeast, milk, butter, egg, and coloring/vinegar adjustments.
- If you prefer a less intense red color, reduce the amount of red food coloring used.
- To achieve bakery-style softness, avoid over-baking the rolls. They should still look slightly pale in the center when removed from the oven.
Nutrition
- Serving Size: 1 roll
- Calories: 550
- Sugar: 65
- Sodium: 350
- Fat: 30
- Saturated Fat: 18
- Unsaturated Fat: 12
- Trans Fat: 0.5
- Carbohydrates: 68
- Fiber: 2
- Protein: 7
- Cholesterol: 75