

Hands up if you’ve ever grabbed a sad-looking, plastic-wrapped roll from the grocery shelf because you just couldn’t face another night wrestling with dinner? Yep, me too. That rushed convenience trade-off simply isn’t worth it when it comes to flavor, trust me on this one! That’s why I developed this Spicy Tuna Kimbap recipe. It’s my answer for anyone craving that authentic, vibrant taste of tuna kimbap without spending half the afternoon rolling around. Drawing on my background—balancing a demanding career with the rich Filipino and American flavors I grew up with—this recipe proves you can have an exceptionally delicious, quick meal ready faster than you can drive to the take-out spot. We’re focusing on the spicy mayo version because, wow, it just transforms everything! If you’re looking for more quick wins like this, check out my ideas for healthy lunch recipes.
- Why This Spicy Tuna Kimbap Recipe Beats Store-Bought Versions
- Gathering Ingredients for Authentic Tuna Kimbap
- Step-by-Step Directions for Spicy Tuna Kimbap
- Tips for Perfect Tuna Kimbap Every Time
- Serving Suggestions for Kimbap for Parties and Lunches
- Storage and Make Ahead Finger Foods Kimbap Instructions
- Frequently Asked Questions About Tuna Kimbap
- Nutritional Estimates for Spicy Tuna Kimbap
- Share Your Homemade Tuna Kimbap Success
Why This Spicy Tuna Kimbap Recipe Beats Store-Bought Versions
Honestly, making tuna kimbap at home is a total game-changer, and I promise you, once you try my version, those pre-made supermarket rolls will look pretty sad. We are aiming for flavor that pops! It’s about controlling the texture and the spice level, which you just can’t get when you rely on takeout.
- You control the rice seasoning—it’s perfectly balanced with sesame oil and salt, never bland or dried out.
- The freshness of the vegetables (even if you only use green onion here!) shines through because you assemble it moments before eating.
- It comes together incredibly fast. Seriously, you can have these ready in under 15 minutes using cooked rice. You can find more recipes that truly beat store-bought kimbap on the blog!
The Secret to the Best Tuna Kimbap Filling
Okay, let’s talk filling because that’s where the magic happens, especially for our spicy variety. The best tuna kimbap filling relies on two things: drained tuna (we don’t want watery rolls!) and incredible mayo. If you can find Japanese Kewpie mayonnaise, please, use it. It’s richer and tangier, which marries perfectly with the Sriracha kick we’re adding. It creates that creamy, savory binder that keeps everything together beautifully. Don’t skip mixing this component until it’s completely homogenous—it ensures every single bite delivers that perfect, spicy-creamy punch.
Gathering Ingredients for Authentic Tuna Kimbap
To make this tuna kimbap truly shine, you can’t eyeball things. We need precision, especially since this is such a quick recipe! Since we’re using canned tuna, the quality of the mayonnaise and how finely you chop the scallions makes a massive difference in the final texture. I always lay out every jar and package before I even turn the stove on, just to make sure I have everything ready for our 15-minute assembly window. It’s all about setting yourself up for success here!
Essential Components for Homemade Chamchi Kimbap at Home
Here is exactly what you need on your counter for two rolls. Remember, draining that oil from the tuna is non-negotiable—we want creamy filling, not soggy seaweed!
- You’ll need 2 cups of cooked short-grain rice.
- For the rice seasoning: 1 teaspoon of sesame oil, 1 teaspoon of sesame seeds, and 1 teaspoon of salt. Mix these in while the rice is still warm so everything blends nicely.
- For the protein: One 5.3 oz can of tuna packed in oil, which you must drain thoroughly.
- The green stuff: 2 tablespoons of green onion, chopped super, super fine. I mean almost minced, honestly!
- For that spicy creaminess: 2 tablespoons of rich Japanese mayonnaise (Kewpie is best if you have it) and 1 tablespoon of Sriracha sauce.
- For rolling: 2 full sheets of nori (the roasted seaweed wrapper).
- The secret layer: 4 perilla leaves, washed and dried well—make sure those stems are pulled off so they don’t poke holes in your roll!
- The finishing touch: About 1/2 teaspoon of sesame oil for brushing the outside and a fresh sprinkle of sesame seeds.
Step-by-Step Directions for Spicy Tuna Kimbap
This is where the speed comes in! You can absolutely have perfect tuna kimbap on the table in under 15 minutes, especially if you have your cooked rice ready to go. We break this down into manageable bursts, focusing first on prep, then on the assembly line movement that gets the roll sealed tight. If you’re planning these amazing wraps for your kids, check out my ideas for Korean lunch box ideas to keep things exciting!
Preparing the Seasoned Rice Base
First things first: your rice base needs flavor! Take your 2 cups of already cooked short-grain rice—it should be warm, but not piping hot, which can make the nori soggy. In the bowl, mix in that 1 teaspoon of sesame oil, 1 teaspoon of sesame seeds, and 1 teaspoon of salt. Gently fold it together with a paddle or a wet hand until everything is evenly distributed. Then, just set this aside to cool down just a touch while you tackle the filling. We don’t want hot rice steaming up the wrapper!
Mixing the Spicy Mayo Tuna Kimbap Filling
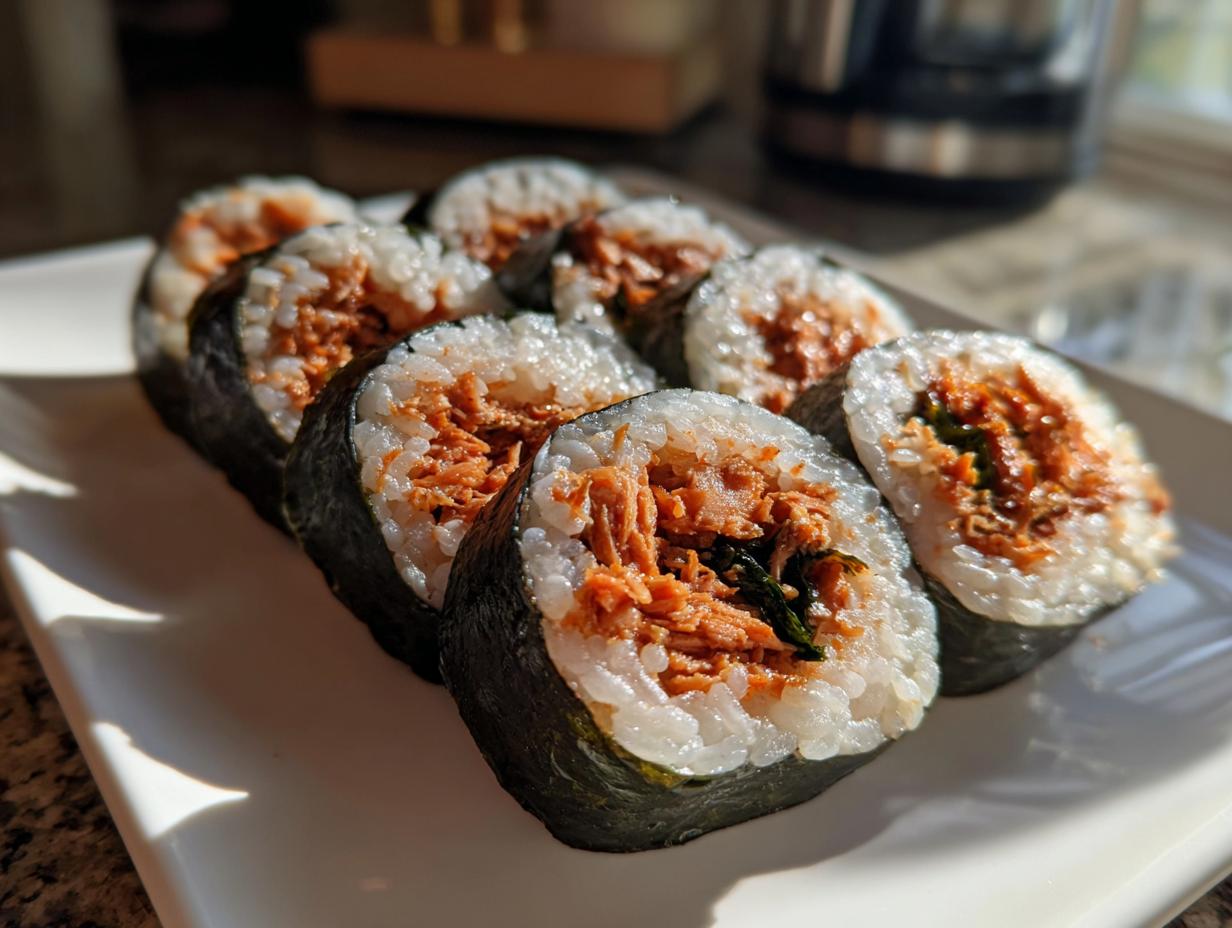
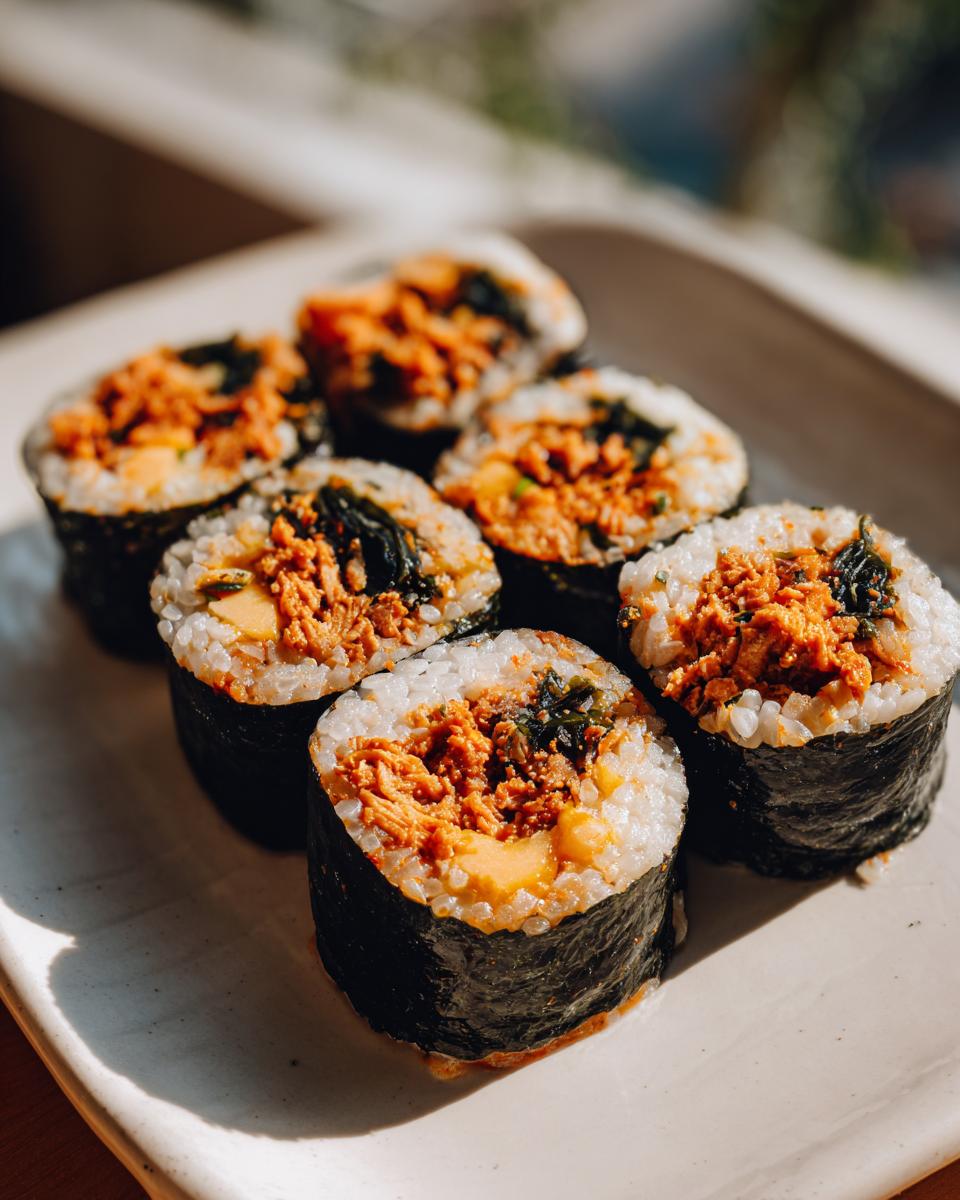
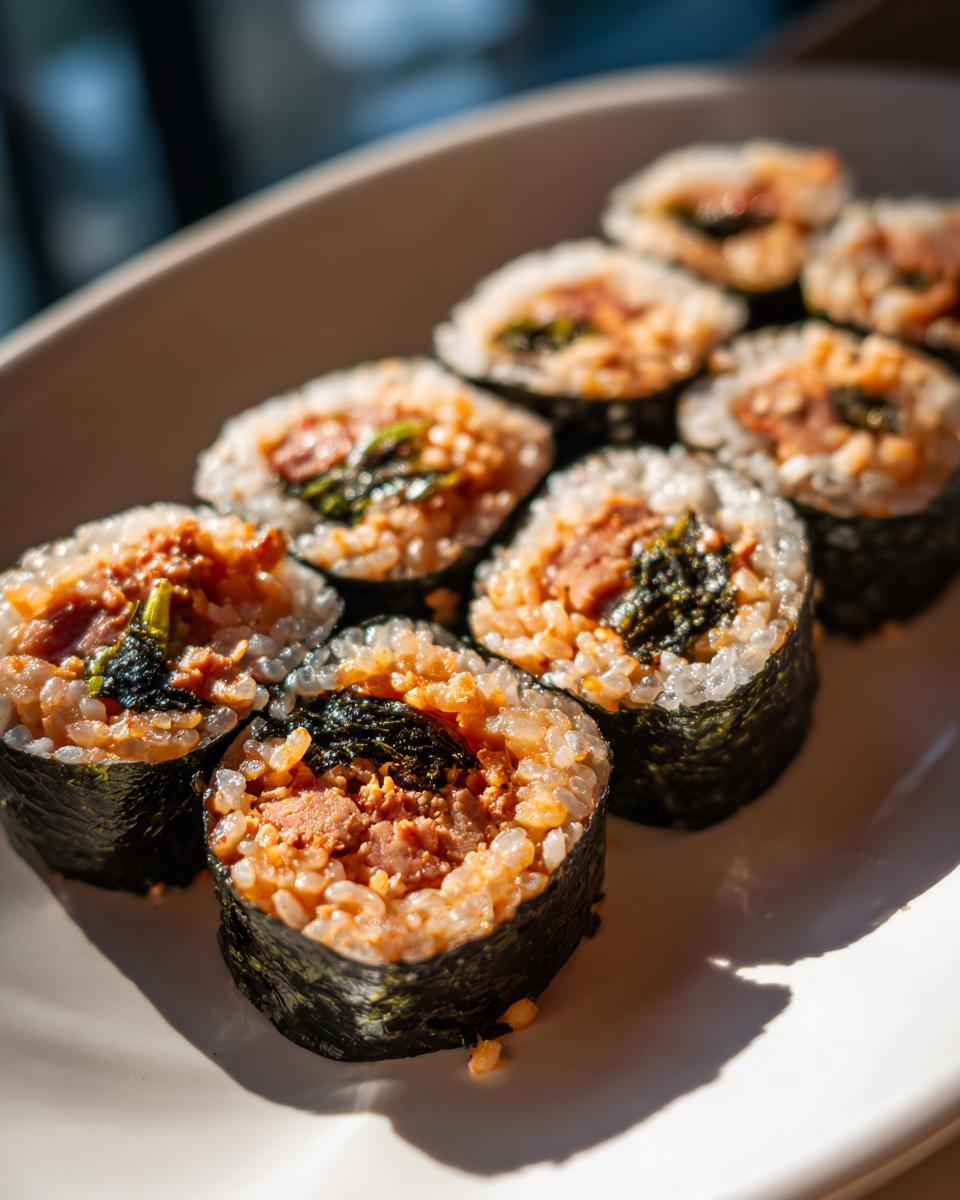
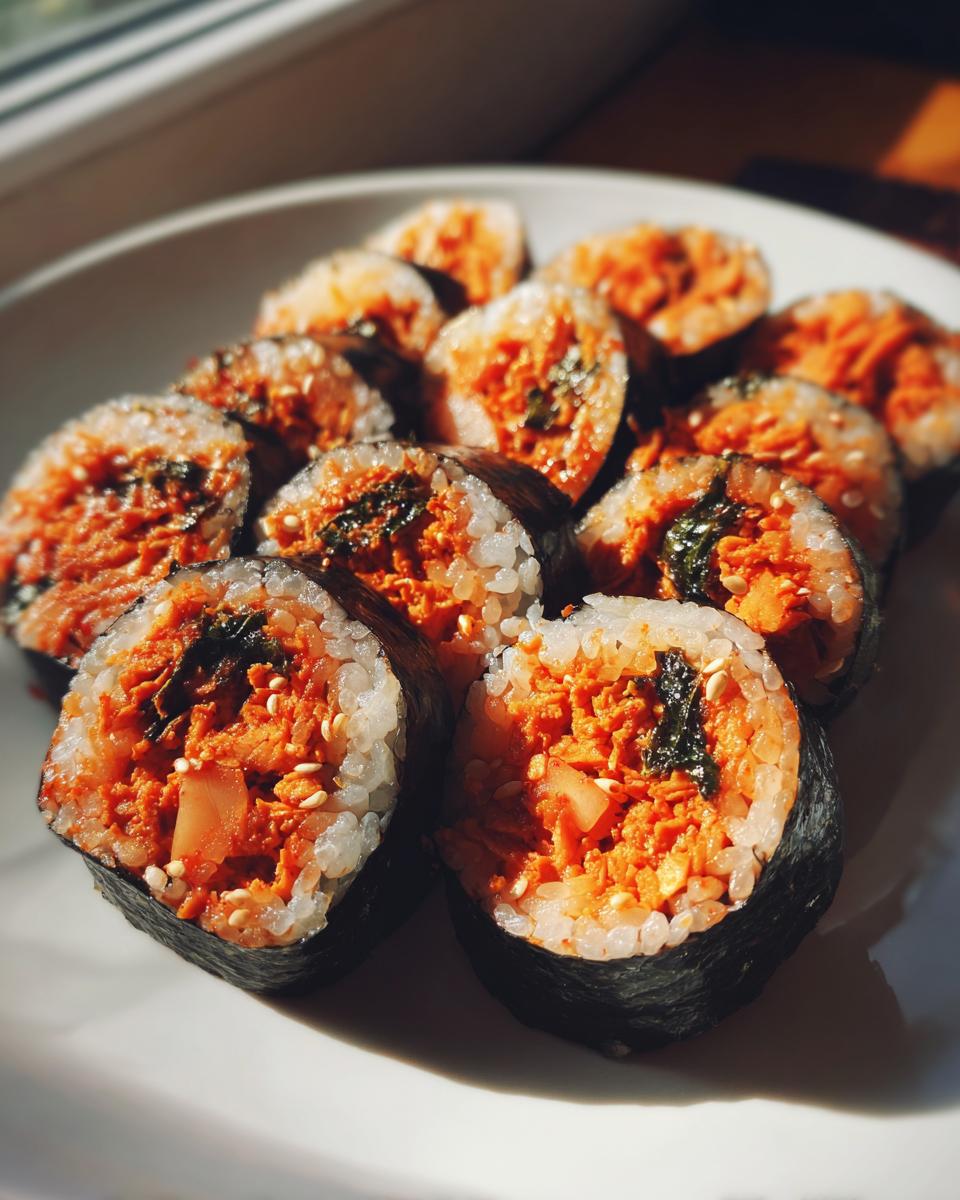
Next up is the star of the show: the filling. Grab that bowl with your well-drained canned tuna. Add your super-finely chopped green onion, the wonderful Japanese mayo, and the secret ingredient for this recipe, the Sriracha. Mix it all up vigorously until you have one consistent, pale-orange, gorgeous mash. This spicy mayo tuna kimbap mix needs to be homogenous so every slice has the right amount of zing and creaminess. It should look thick and ready to hold its shape perfectly in a neat log.
The Kimbap Rolling Technique Easy
Now for the fun part—rolling! Lay your bamboo mat down and place one sheet of nori shiny-side down. Cover about 90% of the nori surface with a thin layer of your seasoned rice, leaving a clear 1-inch strip bare at the top end—this is your seal. Next, lay down two perilla leaves right over the rice, slightly off-center. Spoon half of that spicy tuna mixture in a line right down the middle of those leaves. Here’s the trick to the kimbap rolling technique easy: Use your thumbs to lift the edge of the mat closest to you, folding the rice and nori up and over the filling, tucking that first edge in snugly. Roll forward tightly, applying gentle, even pressure as you go. You want a firm cylinder, not a loose tube! Once you hit that bare strip of nori, just wet it lightly with a dab of water—it acts like glue. Seal it, give it one final squeeze on the mat, and you’ve done it! Repeat for the second roll.
Tips for Perfect Tuna Kimbap Every Time
We’ve got the spicy tuna kimbap rolling now, but a few little tweaks can really elevate these from great to unforgettable. Since this is such a quick recipe, ingredient quality matters immensely. Don’t be afraid to play around with the textures inside. This tuna kimbap is so versatile, and experimentation is basically mandatory in my kitchen! Remember, the goal is always to build up that amazing, savory base flavor.
Ingredient Notes and Variations for Tuna Kimbap
If you want to bulk this up into a more substantial dinner roll, don’t just add extra tuna, because that makes it fall apart! Instead, add some crunch. The recipe notes mention cucumber or avocado, and I highly recommend both. A crisp slice of cucumber adds that necessary watery snap, which balances the richness of the mayo filling. If you’re making this for super spice-haters, pull back on the Sriracha dramatically or skip it entirely for a plain tuna kimbap. But if you want even *more* heat? Try whisking a tiny bit of Gochujang paste into the mayo mixture instead of Sriracha! It gives a deeper, fermented heat that’s just fantastic.
For reference on technique and more flavor journeys, you can read up on how to make Korean tuna rolls right here on the site!
Serving Suggestions for Kimbap for Parties and Lunches
Part of why I love these rolls so much is that they adapt to whatever chaos your week throws at you! They are the perfect quick kimbap lunch idea. If I’m packing them for a road trip, I slice them slightly larger so they feel more substantial, and I serve them cold right out of the cooler. They are also fantastic as kimbap for parties; they look so colorful and vibrant on a platter.
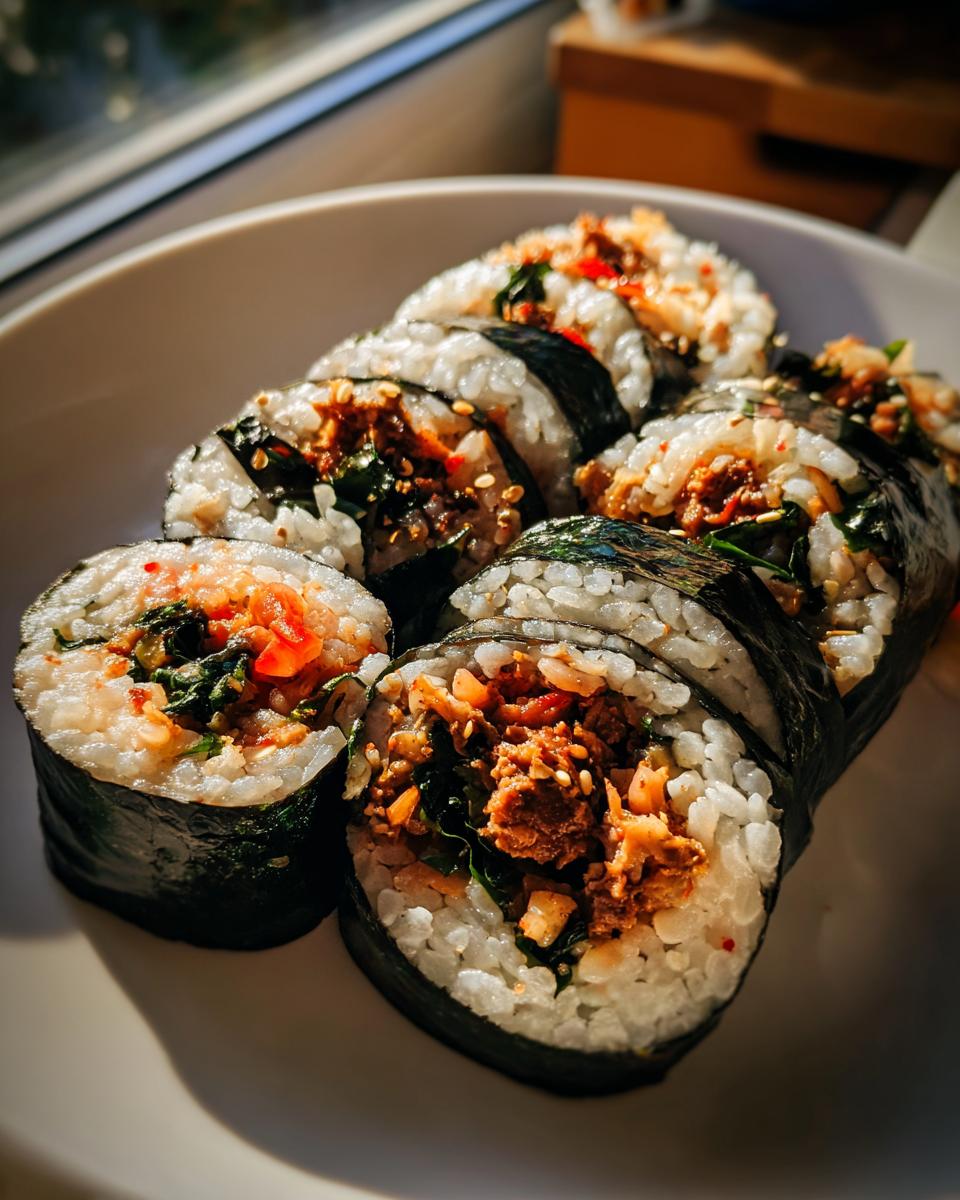
When I make a huge batch specifically for that purpose, I make sure to brush them lightly with sesame oil right before I slice them. That little bit of shine and the nutty aroma just makes them feel special, whether they’re headed into a lunch box or sitting out for guests. Need more make-ahead magic? I’ve got a whole post on meal prep kimbap rolls that will change your week!
Storage and Make Ahead Finger Foods Kimbap Instructions
If you’re making this tuna kimbap for next day’s lunch or prepping for a party spread, storing them correctly is everything. The biggest enemy here is moisture leeching out of the rice and making the nori soggy. For the best experience as make ahead finger foods kimbap, I always recommend slicing them just before serving, rather than in advance. If you absolutely must slice them ahead of time, use plastic wrap and squeeze it gently around the whole roll to keep it tight while it rests in the fridge.
They honestly taste best the day they are made, but they’ll keep nicely for about 24 hours in an airtight container. Don’t leave them out at room temperature too long—that’s when the soft rice starts drying out! A little brush of fresh sesame oil right before you present your beautiful rolls really perks them up.
Frequently Asked Questions About Tuna Kimbap
It’s totally normal to have questions when you’re trying a new cuisine or a recipe that feels a little intimidating, even if this one is super fast! I’ve collected the questions I get most often when I’m showing people how to make these rolls. They are great for anyone looking for savory snack roll recipes or planning ahead.
Can I use a no-cook tuna kimbap variation?
Oh, absolutely! This is what makes homemade chamchi kimbap at home so fantastic for busy days. The filling itself requires no cooking whatsoever—we are just mixing canned tuna with mayo and spice. That said, you do need cooked rice. Unless you’re aiming for a truly *no-cook* version where you use store-bought rice that’s slightly closer to room temperature, you’ll need pre-cooked short-grain rice. But don’t worry; the filling stays raw and fresh, which is part of why they are so light and quick!
What is the difference between Kimbap and Sushi?
This is my absolute favorite clarifying point! People often confuse them, but they are cousins, not twins. The biggest difference is what goes into the rice seasoning. Sushi rice is seasoned with rice vinegar, sugar, and salt—it has that distinctive tangy flavor. Our korean seaweed rice rolls tutorial here uses rice seasoned heavily with sesame oil, salt, and sometimes a little sugar. It’s purely savory and nutty. Also, traditionally, sushi focuses on raw fish, whereas Kimbap almost always uses cooked or preserved ingredients like pickled radish, egg, and, in our case, canned tuna.
If you’re looking for other lightning-fast treats to go alongside these amazing rolls, you might want to check out this quick, easy 5-minute Oreo fudge recipe—it balances out the savory snack perfectly!
Nutritional Estimates for Spicy Tuna Kimbap
You know I keep things real around here, so while this recipe is fast and packed with flavor, it’s good to have a general idea of what you’re enjoying! Please remember these numbers are just my best guess for the exact ingredients listed, especially since the exact amount of mayonnaise or Sriracha you toss in can shift things. If you add extra fixings like cucumber or avocado, those points will change, of course. This is just a snapshot to show you that homemade chamchi kimbap at home can still be a balanced part of your meal planning!
- Serving Size: 1 roll (6 pieces)
- Calories: Roughly 350 per serving
- Total Fat: About 15g (Watch that serving size!)
- Carbohydrates: Around 40g
- Protein: A solid 15g, thanks to that tuna!
- Sugar: Kept low, only about 3g in this estimation.
See? It fits right into a healthy Asian roll recipe profile! It’s satisfying because of the protein and fiber, but still keeps the sugar low. It’s a victory for quick, flavorful eating.
Share Your Homemade Tuna Kimbap Success
Hearing from you always brings the biggest smile to my face because it means you took a few minutes out of your busy day to create something real and delicious! If this tuna kimbap recipe gave you a dose of joy or made weeknight dinner super simple, please leave a rating below. I truly want to see your beautiful rolls! Tag me on social media with your creations; I love celebrating every success story where we choose flavor over the fast lane. If you want to learn more about why I created this whole site, you can read all about me and my mission here!
PrintEasy 15-Minute Spicy Tuna Kimbap (Chamchi Kimbap)
Make homemade Tuna Kimbap that beats store-bought versions. This quick recipe focuses on a spicy tuna mayo filling, perfect for a fast lunch, road trip snack, or easy dinner.
- Prep Time: 10 min
- Cook Time: 5 min
- Total Time: 15 min
- Yield: 2 rolls (about 12 pieces) 1x
- Category: Lunch
- Method: Rolling
- Cuisine: Korean
- Diet: Vegetarian
Ingredients
- 2 cups cooked short grain rice
- 1 teaspoon sesame oil for rice
- 1 teaspoon sesame seeds for rice
- 1 teaspoon salt for rice
- 5.3 oz canned tuna in oil, drained
- 2 tablespoons green onion, very finely chopped
- 2 tablespoons Japanese mayonnaise (Kewpie or regular)
- 1 tablespoon Sriracha sauce
- 2 sheets nori (roasted seaweed)
- 4 perilla leaves, washed and dried, stems removed
- 1/2 teaspoon sesame oil for coating rolls
- 1/2 teaspoon sesame seeds for sprinkling
Instructions
- Prepare the rice: In a bowl, mix the cooked short grain rice with 1 teaspoon sesame oil, 1 teaspoon sesame seeds, and 1 teaspoon salt. Set aside to cool slightly.
- Make the spicy tuna filling: In a separate bowl, combine the drained canned tuna, finely chopped green onion, Japanese mayonnaise, and Sriracha sauce. Mix well until fully combined. This is your best tuna kimbap filling.
- Prepare the rolling station: Lay one sheet of nori, shiny side down, on a bamboo rolling mat. If you are making a quick kimbap lunch idea, work quickly.
- Layer the ingredients: Place a thin, even layer of seasoned rice over the nori, leaving about a one-inch border at the top edge.
- Place the perilla leaves over the rice, slightly offset from the center.
- Spoon half of the spicy tuna mixture in a line across the center of the rice, over the perilla leaves.
- Roll the kimbap: Starting from the bottom edge, tightly roll the kimbap using the mat, pressing gently to compact the filling. Moisten the top edge of the nori with a little water to seal the roll.
- Repeat the process for the second sheet of nori.
- Finish the rolls: Brush the outside of each finished roll lightly with the remaining 1/2 teaspoon of sesame oil and sprinkle with sesame seeds.
- Slice the rolls: Use a sharp, slightly damp knife to cut each roll into bite-sized pieces. Serve immediately or pack for meal prep kimbap rolls.
Notes
- For an authentic chamchi gimbap recipe, use Kewpie mayonnaise for the creamiest texture.
- If you prefer a less spicy version, reduce the Sriracha or omit it entirely for a standard tuna kimbap.
- You can add thin strips of cucumber or avocado for extra crunch and freshness in your korean tuna rolls.
- These rolls hold up well for make ahead finger foods kimbap, perfect for parties.
Nutrition
- Serving Size: 1 roll (6 pieces)
- Calories: 350
- Sugar: 3
- Sodium: 450
- Fat: 15
- Saturated Fat: 3
- Unsaturated Fat: 12
- Trans Fat: 0
- Carbohydrates: 40
- Fiber: 2
- Protein: 15
- Cholesterol: 30