

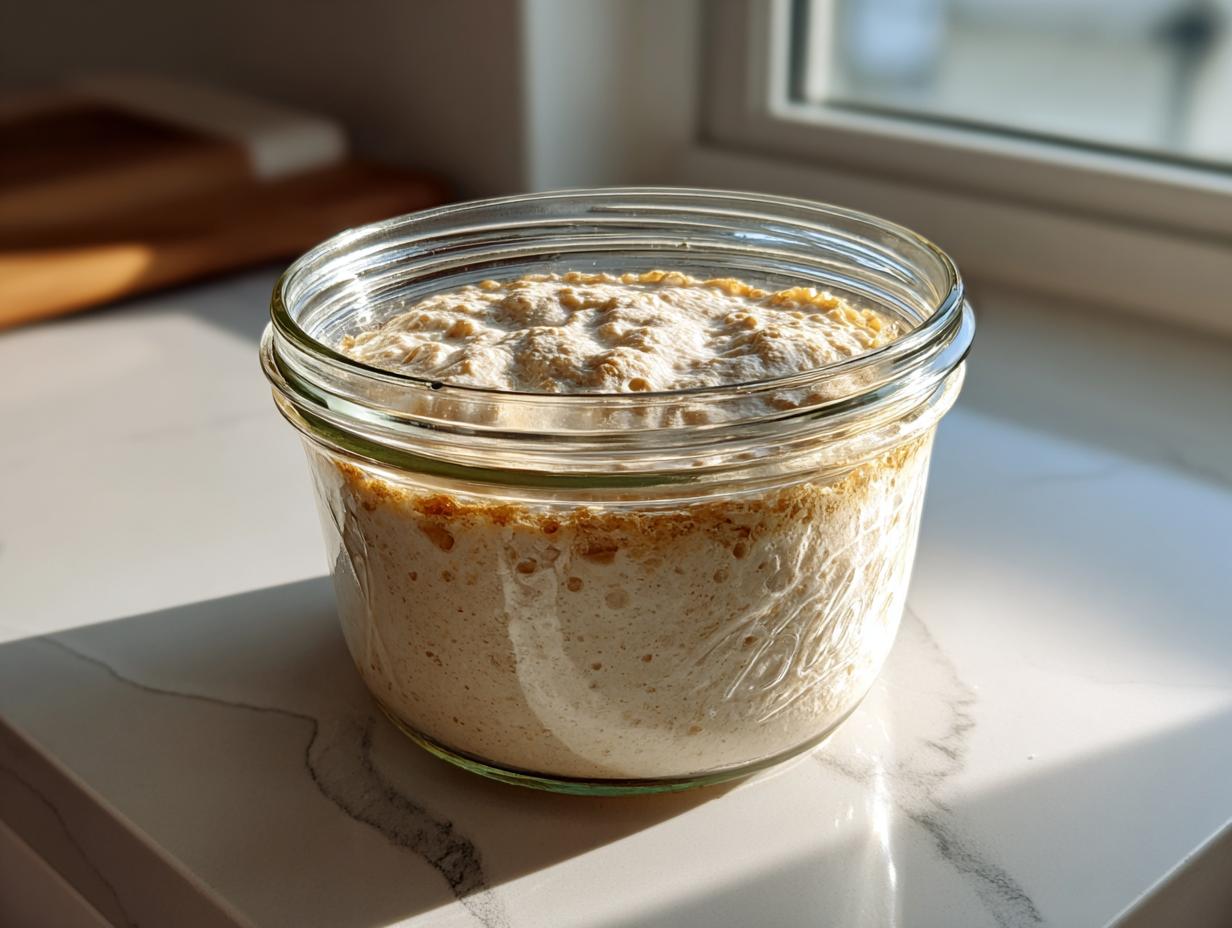
I know life feels crazy busy sometimes. That’s exactly why I founded Cooking by Felix—because we shouldn’t have to choose between eating well and having a moment to breathe! For me, reclaiming that joy starts right back at the very beginning: with the foundational magic of fermentation. Forget those grocery store loaves; the real flavor revolution starts when you learn how to make sourdough starter from scratch. It sounds intimidating, I promise it’s not! This guide proves that creating your own sourdough starter for beginners is completely achievable, even for the busiest cook. It’s all about those simple ingredients—flour and water—working together to create something amazing. And trust me, once you see that first bubble, you’ll understand the connection between simple effort and wildly rewarding results.
- Why Making Your Own Sourdough Starter is Worth the Effort
- Ingredients Needed to Make Sourdough Starter From Scratch
- Day-by-Day Guide to Creating Your Sourdough Starter
- Sourdough Maintenance: How to Feed Sourdough Starter Regularly
- Troubleshooting Common Issues with Your First Sourdough Starter
- What to Do With Sourdough Discard Recipes
- Sourdough Starter Care Tips for Long-Term Success
- Frequently Asked Questions About Your New Sourdough Starter
- Next Steps After Creating Your Sourdough Starter
Why Making Your Own Sourdough Starter is Worth the Effort
I get it. You see those gorgeous, open-crumb loaves online and think, “That takes hours and secret knowledge!” But honestly, the hardest part is just getting the culture going. Once you have your own active bubbly sourdough starter, everything else just clicks into place. Trust me, once you start nurturing this little jar of life, you’ll feel a real connection to your baking. It’s simply better than anything you can buy. These starters have a life of their own, much like the beautiful rise you get in my fluffy old-fashioned buttermilk pancakes!
- You get superior flavor development—that signature tang is irreplaceable!
- You control every ingredient that goes into your bread.
- You get that wonderful, reliable rise using real, unprocessed microorganisms.
The Power of a Natural Yeast Starter
Think of commercial yeast as the ready-made shortcut, but this natural yeast starter is the original source! It’s just flourishing wild yeast and bacteria captured from the air and the flour itself. That slow, natural fermentation is what breaks down the wheat differently, releasing those beautifully complex, deeply flavored notes. It’s richer, tangier, and just tastes… real.
Understanding Sourdough Starter Ratios for Beginners
Don’t let the word “ratio” scare you off! It’s super simple once you see it in action, and it’s the secret weapon for controlling your starter. For beginners, we start with a basic 1:1:1 ratio. That just means equal parts starter, flour, and water when you feed it. Knowing this simple balance gives you the confidence to manage its timing later on. It sounds complicated, but it’s really just basic math for baking joy!
Ingredients Needed to Make Sourdough Starter From Scratch
Okay, this next part is where people often overcomplicate things! They worry about special equipment or fancy ingredients. Nope! To make your very own sourdough starter from scratch, you only need three things. That’s the beauty of it. We are focusing purely on flour and water to wake up those wild microbes.
But here’s my expert tip, and please, listen to Felix on this one: the source matters for your first sourdough starter. The first few days are critical for building a strong foundation for your starter maintenance, so pay attention!
Flour and Water Clarity for Your Sourdough Starter
For the very beginning—Day 1—we are using something hearty to get things kicked off right. I want you to grab about 50 grams of Whole Wheat or Rye Flour. These flours have more stuff on them that the wild yeasts love to eat, which gives your starter for beginners that big initial boost. For the rest of the week, you’ll switch over to about 50 grams of Unbleached All-Purpose Flour for your regular feedings. See? It’s a two-flour system to start, which is much easier than trying to source specialty grains right away.
Now, the water! This is non-negotiable, so don’t skip this part if you want an active bubbly sourdough starter. You absolutely need 50 grams of Unchlorinated Water at room temperature. Chlorine kills those tiny organisms we are trying to invite into our kitchen! If your tap water is heavily chlorinated, just let it sit out on the counter with the lid off overnight. That allows the chlorine to evaporate, making it safe for your little culture. Quality flour and great water—that’s how you ensure success!
Day-by-Day Guide to Creating Your Sourdough Starter
This is the heart of the whole process, and I swear it’s easier than assembling IKEA furniture! We’re going to follow a very simple, predictable rhythm for the first week. Don’t worry if you don’t see immediate dramatic bubbling on Day 2—that’s totally normal while the good vs. bad bacteria fight it out. Keep checking that jar and trust the timeline. We need to build up the strength of this flour and water starter so you can rely on it later!
Days 1 & 2: Initial Mix and Rest for Your Flour and Water Starter
On Day 1, grab your clean glass jar—I love glass so I can spy on the action—and combine 50 grams of that hearty whole wheat or rye flour with 50 grams of your room-temperature, unchlorinated water. Whisk it until it looks like a thick, consistent paste, almost like pancake batter that’s too thick. Cover it loosely. I use a coffee filter and a rubber band because it needs to breathe, but it also needs protection from dust bunnies. Now, leave it alone for a full 24 hours in a warm spot—ideally between 70 and 75 degrees Fahrenheit. Don’t stress if nothing happens on Day 2! You just let it rest for another 24 hours. Think of this as letting the microbes get settled in their new home.
Days 3 & 4: First Feedings and Observing Activity in Your Sourdough Starter
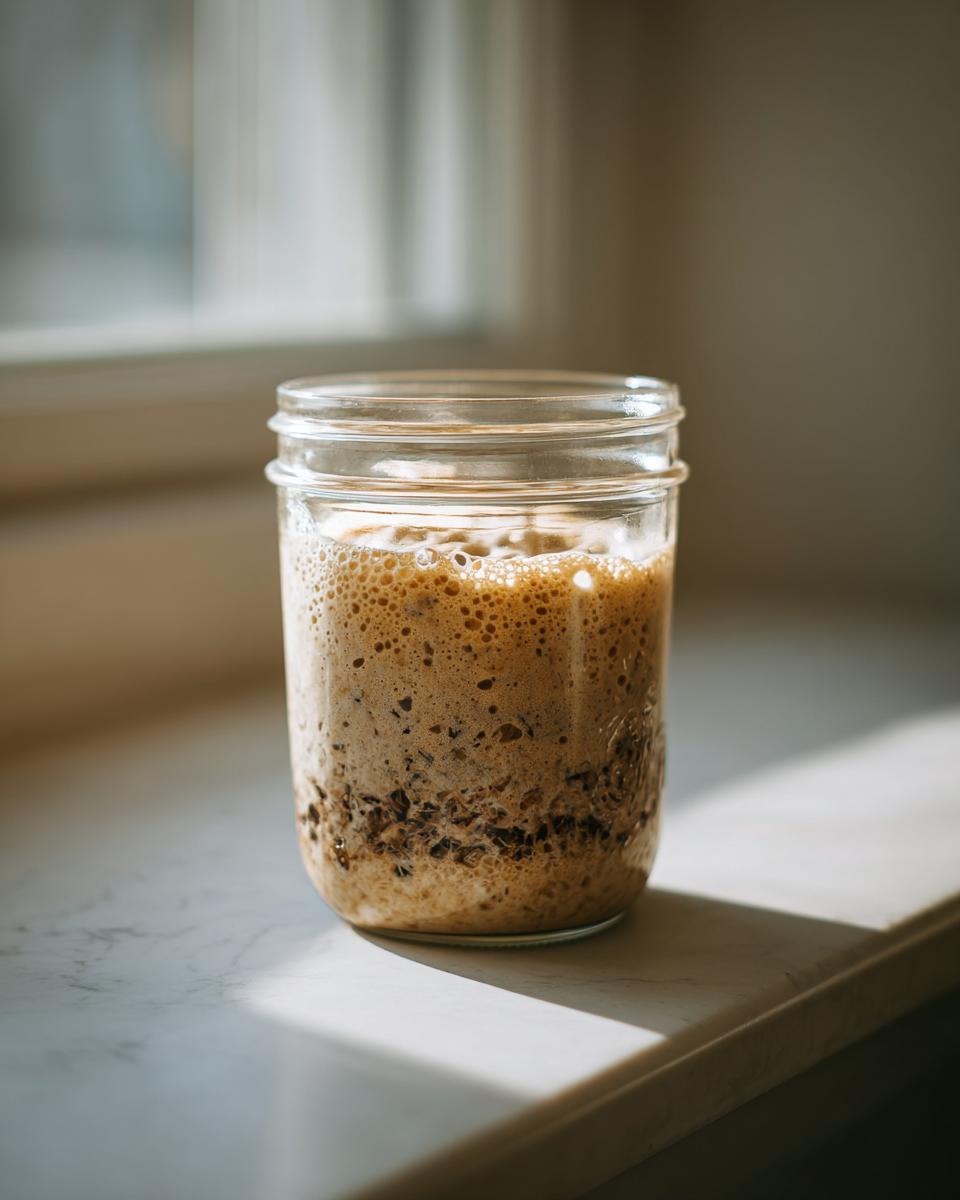
Okay, Day 3 is when things often get exciting, or sometimes a little disappointing, but we stick to the plan! You might see some tiny bubbles popping up, or maybe you’ll just smell something a bit sour. That sour scent is a good sign! Now, for the first crucial step: we discard half of what’s in the jar—probably about 50 grams. Don’t feel guilty tossing it; you are strengthening the culture we keep! To what’s left, add 50 grams of your all-purpose flour and 50 grams of water. Mix well, cover loosely, and return it to its warm spot for 24 hours. Day 4 follows the exact same pattern: discard half, then feed it 50g AP flour and 50g water. We are consistently feeding them to build up their population.
Days 5, 6, & 7: Establishing an Active Bubbly Sourdough Starter
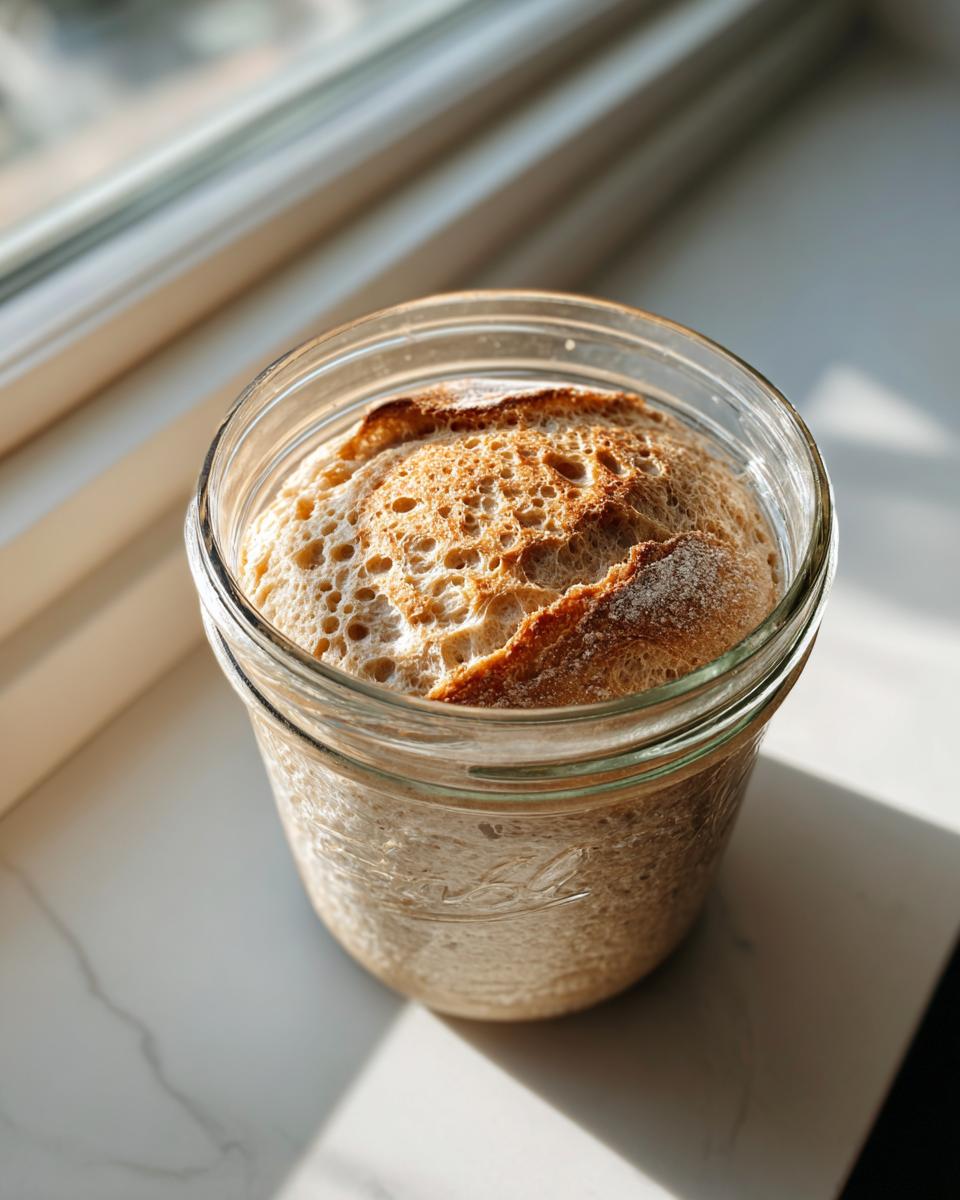
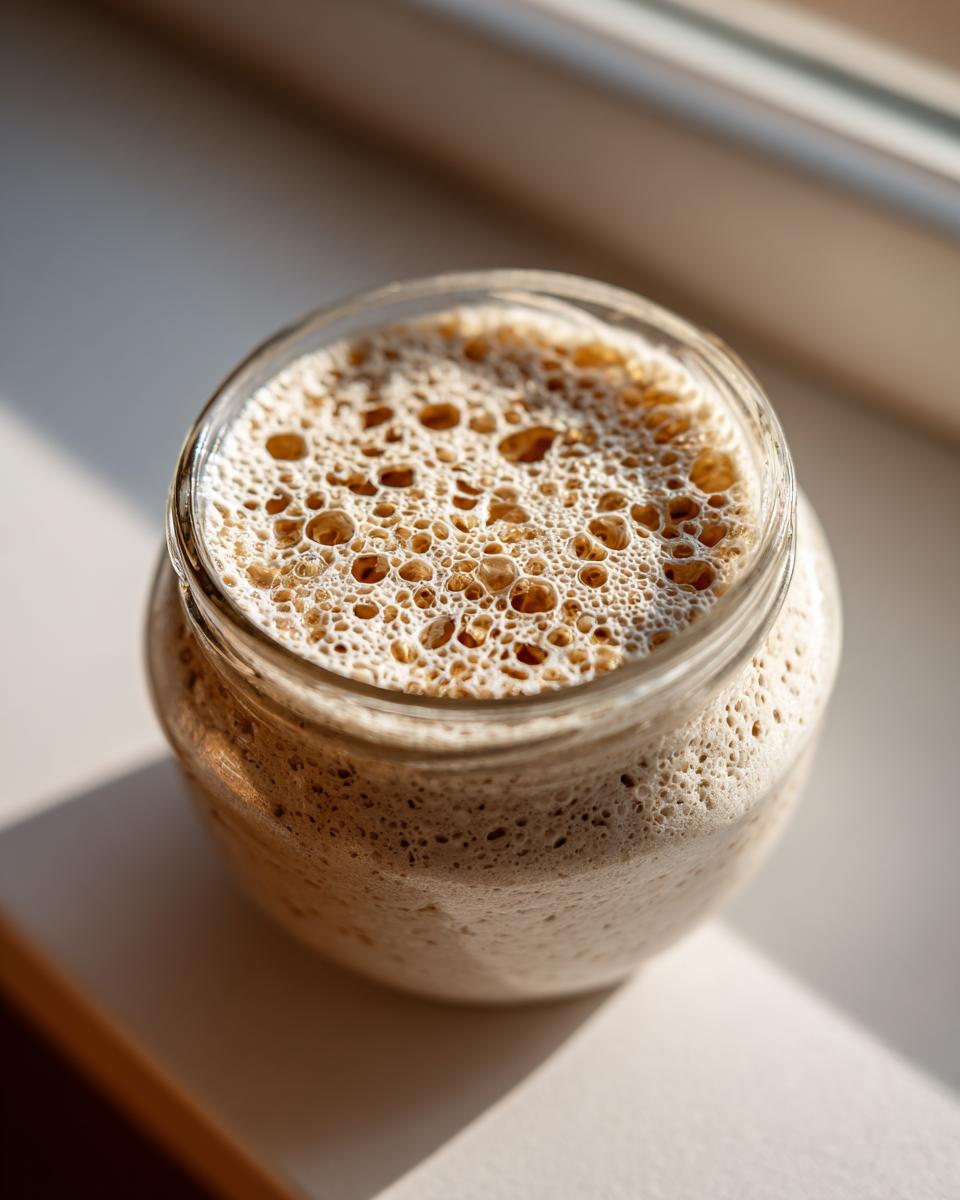
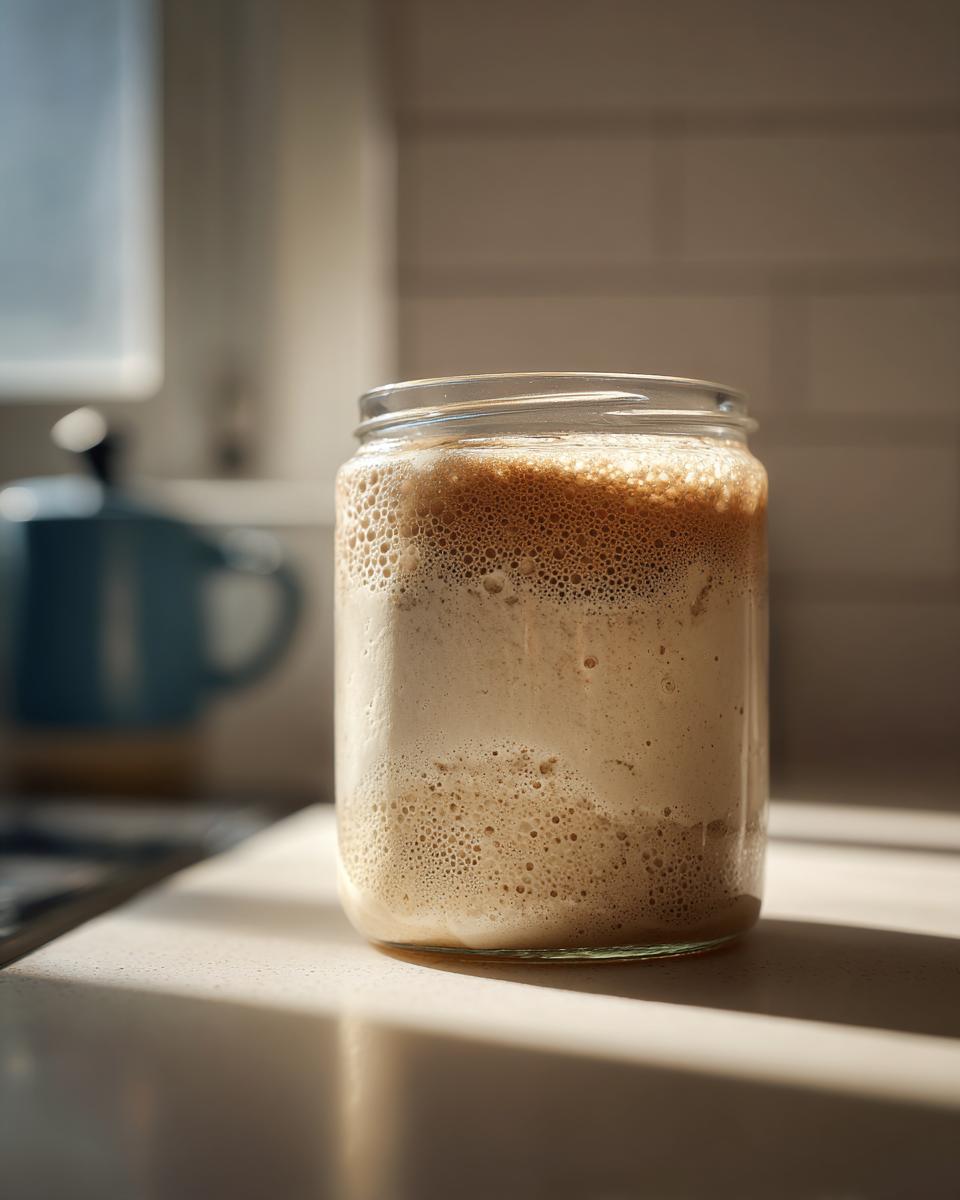
By Day 5, we hope to see real action! If your starter is reliably climbing and even starting to double in size roughly every 12 hours, it’s time to bump up the feeding frequency to twice a day—that means feeding every 12 hours. Remember those sourdough ratios explained? We are now feeding using a 1:1:1 ratio: equal weights of starter, flour, and water. If it’s not doubling yet, just stick to feeding it once a day for now. The goal by Day 7 is to have an active bubbly sourdough starter that consistently doubles its volume in 4 to 8 hours after you feed it. Once it’s doing that like clockwork, congratulations—you’re officially a sourdough parent and ready to bake!
This whole process taught me so much about patience, which I definitely needed after my marketing career! If you want some inspiration before diving into your first loaf, I’ve got a great guide on managing your new culture over at crazyespresso.com that covers some advanced timing!
Sourdough Maintenance: How to Feed Sourdough Starter Regularly
So, you’ve got this vibrant, hungry little culture bubbling away! That’s fantastic. But now the real long-term fun—or chore, depending on how you look at it—begins: setting up a consistent sourdough feeding schedule. You need to decide where it’s going to live in your kitchen. Will it be on the counter, ready to bake with any day, or hanging out in the fridge, waiting for weekend projects?
Counter storage means your natural yeast starter is happy and active, but it needs daily feeding, maybe even twice a day if your kitchen is warm. If you let it go too long without food, it gets hungry, acidic, and sleepy. When I keep mine on the counter, I usually feed it every 12 to 24 hours, sticking strictly to those ratios we talked about.
The refrigerator is your best friend when life gets hectic. Think of the fridge as putting your starter into hibernation. You only need to feed it once a week, which is such a relief! When you pull it out of the cold, you’ll need to wake it up first with a couple of regular feedings at room temperature to get it truly active before you start baking again. It’s all about managing its schedule!
And speaking of management, let’s talk ratios again. Once you have a strong starter, you don’t always need that 1:1:1 ratio. If you want to slow down the feeding cycle slightly to save flour, you can move to a 1:2:2 ratio (one part starter, two parts flour, two parts water). This gives the yeast more food to munch on before it peaks. It’s a great way to gain control, and you can see more details on how changing those numbers affects timing over at this great guide on sourdough ratios. It’s such a game-changer for making your sourdough maintenance fit your life!
Troubleshooting Common Issues with Your First Sourdough Starter
In the beginning, every little change in your jar can make you panic, right? I’ve been there! When you’re trying to nail that easy homemade sourdough starter, things sometimes look, smell, or feel weird. That’s okay! This is fermentation, not a science experiment with exact rules. The important thing is knowing what’s a natural hiccup and what means you need to start over. We want you to feel confident, which means handling these little crises head-on. If you see some unusual activity, check out the tips I gathered for you from folks who’ve been managing their sourdough starter care tips for years.
Why is My Sourdough Starter Sluggish?
The number one reason a starter seems sluggish—meaning it just isn’t building up the bubbles or rising like it did on Day 5—comes down to temperature. These wild little guys are sensitive creatures! If your kitchen has cooled down significantly, maybe you turned the heat down or it was a chilly morning, they slow right down. They need warmth to thrive and eat their food quickly enough to balloon up.
What’s my fix when I feel like my starter development has stalled? I get it motivated again by feeding it something super nutritious. If you’ve been using only all-purpose flour, try stirring in just a tiny bit of that whole wheat or rye flour we started with. Just 10 or 15 grams mixed into the feed can give it the boost it needs because those whole grains have more fuel. It’s like giving it a high-energy snack immediately! You can find some great quick advice on jump-starting sleepy cultures at The Fed Up Foodie, too.
Now, let’s talk about the scary stuff, because everyone asks about it. If you see any pink, orange, or—heaven forbid—mold growing on top, that’s a clear sign that some bad bacteria have taken over. Do not try to scrape it off! That entire batch needs to be tossed out, and you start fresh. It feels painful, but protecting your health is always job number one in the kitchen. A dusty or strange-smelling layer of liquid (called hooch) on top just means it’s hungry, but mold is the absolute end of the road.
What to Do With Sourdough Discard Recipes
This is the question that haunts every new sourdough baker! You’re working so hard to create this perfect, active bubbly sourdough starter, and every time you feed it, you have to scoop out half of it. You look at the jar and think, “I can’t just dump this tangy, active flour mixture down the drain!” I promise you, you absolutely do not have to waste it. That portion you remove before feeding is what we affectionately call “discard,” and it’s packed full of flavor potential.
Don’t think of discard as waste; think of it as pre-fermented batter that’s ready to go. Because it’s already active—it just hasn’t had a full meal yet—it’s perfect for quick recipes where you don’t need that massive oven spring you’d want in a loaf of bread. It adds a lovely, subtle tanginess to things that commercial yeast can’t quite replicate.
I use my discard all the time to whip up things when I need a quick satisfaction boost! It works wonderfully in batters where you add baking soda or powder, as those chemical leaveners do most of the heavy lifting for the rise. You can fold it right into quick breads, pancakes, or even some savory items.
For example, the tanginess it brings to biscuits is just incredible—way better than just using plain old buttermilk. I often drop mine right into recipes just like I do when I make my amazing brown butter chocolate chip cookies, or sometimes I just mix it into a quick batch of muffins. My personal favorite way to deal with a big amount of discard is in a batch of banana nut muffins; the slight sourness really cuts through the sweetness! So, don’t stress about the remnants of your feeding; they are just waiting to become your next easy snack!
Sourdough Starter Care Tips for Long-Term Success
Now that you’ve got your beautiful, active bubbly sourdough starter going through its initial growth spurt, we have to talk about keeping it happy! This is where most people get stressed about sourdough maintenance, but honestly, it just depends on how often you plan to bake. Do you want to bake bread every day, or just once a month? That decision dictates where your natural yeast starter lives.
If you are going to bake frequently, you want it living on the counter. This means it needs regular food—usually daily, maybe twice a day if your house runs warm. When it lives on the counter, you keep it in that consistent feeding rhythm. If you go more than 24 hours without feeding it, you risk it becoming too acidic and sluggish, which means it won’t rise your bread as well for a while.
But if you’re anything like me and you’re juggling work and life balances, storing it in the refrigerator is the gold standard. It slows down the yeast activity almost completely. Think of it as hitting the pause button! For counter storage, I always try to feed it right before I head off to bed so it’s ready to go when I wake up. You can read more about my own journey and why making time for these simple processes matters so much to me over at my About Page.
When it’s chilling in the fridge, you only need to pull it out and feed it once a week, minimum. You take it out, let it warm up for an hour or two, discard most of it, and feed it at least once (or twice!) using the normal 1:1:1 ratio mentioned for maintenance. Once it shows good activity again, you can pop it right back into the cold. It seems like a lot of fuss, but honestly, setting a weekly calendar reminder makes the whole sourdough starter care tips routine super easy.
If you’re finding it sluggish after a long nap in the fridge, don’t worry! You just need to give it a refresh before you bake. A good trick before baking day is to feed it three times in a row, about 12 hours apart, just to confirm it’s definitely peaking strong. If you need some visual guidance on what temperature affects the starter speed, check out this great resource on managing fermentation from Wild Thistle Kitchen. It really helps clarify why you sometimes need to warm things up!
Frequently Asked Questions About Your New Sourdough Starter
It is totally natural to have questions popping up once you start nurturing your first sourdough starter! Building up that wild yeast culture is a learning process, and having a few easy answers on hand makes the whole journey smoother. I’ve pulled together some of the things I hear most often from others starting out on their sourdough beginner guide journey. These aren’t just technical answers; these are the things I wish someone had told me when I first mixed flour and water together!
How long does it take to get an active bubbly sourdough starter?
This is the most common question, and the honest answer is always: it depends! But for a reliable sourdough starter for beginners, expect the full journey to take anywhere between 7 to 14 days. Don’t fret if you don’t see massive activity by Day 7; sometimes the good bacteria take a little longer to establish dominance over any competing, unwanted bacteria. You know it’s truly ready, truly active and bubbly, when it reliably doubles in size within 4 to 8 hours after you feed it. When you see that consistent doubling, that’s your green light to start baking!
Can I use any type of flour for my sourdough starter for beginners?
You absolutely shouldn’t use just any flour! Remember how we talked about giving those microbes the best environment for growing? Whole grains are your best friend right at the start. That initial whole wheat or rye flour jump-starts the process beautifully because it contains more nutrients for the yeast to grab onto. Once you have established culture—meaning it reliably rises and falls—you can comfortably switch over to using unbleached all-purpose flour for your routine sourdough maintenance feeding. Switching too early can confuse the culture, so stick with the hearty whole grain for those first few days. For more detailed thoughts on flour selection, check out the guide linked here from Little Walnut Cottage!
We want that flour to be unbleached, always! Bleached flour has chemicals that can really inhibit the growth we are looking for. If you’re struggling with a sluggish starter, sometimes swapping back to whole grain for a feed or two is the ultimate way to bring it back to life. These little tips are the reason why I love knowing the science behind my quick and easy breakfasts—it all comes back to good ingredients!
Next Steps After Creating Your Sourdough Starter
Whew! You did it! You’ve navigated the week, you’ve fed, you’ve discarded, and now you have a vibrant, reliable natural yeast starter bubbling away in your jar. You should be so proud! But now what? Staring at an active starter can be just as daunting as making it was. The next logical—and most exciting—step is putting that hard work into an actual loaf of bread!
First, a quick word of wisdom from me, Felix. Don’t jump straight into a complicated overnight country loaf recipe. You want your first experience using your new culture to be a resounding success so you stay motivated, right? Learning the timing and the way your starter performs is key before you tackle rustic, high-hydration doughs.
I highly recommend starting with an easy, straightforward recipe. Something that doesn’t require complex folding schedules or shaping acrobatics. You need a recipe where the starter is the main focus, not complicated technique. When I was learning to bake with my very first successful starter, I kept it simple so I could really learn how my culture acted when mixed with flour and water when it peaked.
This is the perfect time to lean into something straightforward, like a no-fuss sandwich bread or simple pizza dough where the flavor of your starter really shines through. I have a recipe for easy brioche bread that, while rich, uses a very manageable technique that lets you focus on the starter’s power without getting overwhelmed by sourdough specifics yet. Once you’ve used your culture a few times in simple recipes, you’ll feel ready to take on those more advanced loaves. Go bake something delicious; you’ve earned it!
PrintHow to Make a Sourdough Starter From Scratch: A Beginner’s Day-by-Day Guide
Learn the simple, step-by-step process to create your own active, bubbly sourdough starter using only flour and water. This guide covers the daily feeding schedule you need for success.
- Prep Time: 5 min per day
- Cook Time: 0 min
- Total Time: 7 days (active time is minimal)
- Yield: Approx. 1 cup of starter
- Category: Baking Foundation
- Method: Fermentation
- Cuisine: General
- Diet: Vegetarian
Ingredients
- 100g Whole Wheat or Rye Flour (for initial activation)
- 100g Unbleached All-Purpose Flour (for maintenance)
- 100g Unchlorinated Water (room temperature)
Instructions
- Day 1: Initial Mix. In a clean glass jar, combine 50g of whole wheat or rye flour with 50g of room temperature water. Stir well until no dry flour remains. Cover loosely (a coffee filter secured with a rubber band works well) and leave at room temperature (ideally 70-75°F or 21-24°C) for 24 hours.
- Day 2: Rest. You may see little to no activity. Do nothing today. Let the mixture rest for another 24 hours.
- Day 3: First Feed. You might see small bubbles or a slightly sour smell. Discard half of the starter (about 50g). To the remaining starter, add 50g of all-purpose flour and 50g of water. Mix thoroughly, cover loosely, and let sit for 24 hours.
- Day 4: Increase Feeding. You should see more consistent bubbling. Discard half of the starter. Feed the remainder with 50g of all-purpose flour and 50g of water. Let sit for 24 hours.
- Day 5: Twice-Daily Feeding Begins. If your starter is doubling in size within 12 hours, begin feeding twice a day (every 12 hours) using a 1:1:1 ratio (e.g., 50g starter, 50g flour, 50g water). If it is not consistently active, continue feeding once a day.
- Day 6 – Day 7: Establishing Strength. Continue the twice-daily feeding schedule if activity is strong. You are looking for the starter to reliably double in volume within 4 to 8 hours after feeding. This indicates you have an active, bubbly sourdough starter ready for baking.
- Maintenance: Once mature, switch to a 1:2:2 or 1:3:3 ratio for less frequent feeding if storing on the counter, or move it to the refrigerator for weekly feeding.
Notes
- Use a clear jar so you can easily track the rise and fall of your natural yeast starter.
- If you see mold, discard the entire batch and start over. Pink or orange streaks also mean discard and restart.
- If your starter seems sluggish, try feeding it with a small amount of whole grain flour again to boost activity.
- For sourdough discard recipes, use the portion you remove before feeding.
Nutrition
- Serving Size: 100g (Unfed)
- Calories: 200
- Sugar: 0.5
- Sodium: 1
- Fat: 0.5
- Saturated Fat: 0.1
- Unsaturated Fat: 0.4
- Trans Fat: 0
- Carbohydrates: 40
- Fiber: 2
- Protein: 5
- Cholesterol: 0