

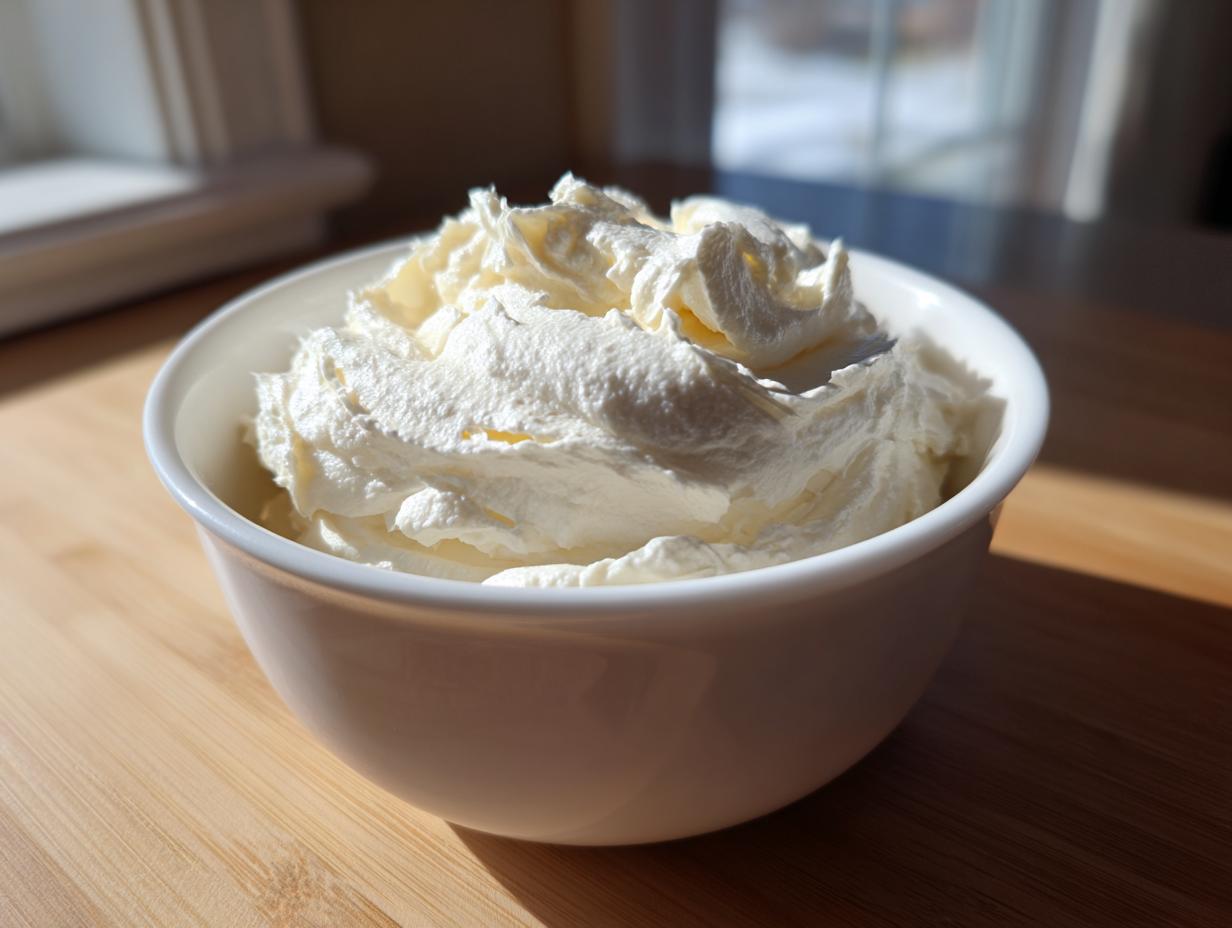
Let’s be honest, a cake or a pile of cupcakes is just waiting for its crown. If you skip the right finish, all that hard work baking falls flat! That’s why I spent so much time perfecting this reliable recipe. Felix Hayes built this whole brand on making tricky things easy, and trust me, this classic vanilla buttercream frosting is totally foolproof. If you need the best buttercream for cakes that’s always supremely smooth and fluffy, you’ve found your forever recipe. It whips up fast—seriously, under 10 minutes—and holds its shape like a dream for decorating!
- Why This Classic American Vanilla Buttercream Frosting Works Every Time
- Gathering Ingredients for Your Vanilla Buttercream Frosting
- Step-by-Step Instructions for Easy Homemade Frosting
- Ingredient Notes and Substitutions for Perfect Vanilla Buttercream Frosting
- Troubleshooting Common Vanilla Frosting Issues
- Storage & Reheating Instructions for Your Vanilla Buttercream Frosting
- Serving Suggestions for This Simple Desserts Topping
- Frequently Asked Questions About Vanilla Buttercream Frosting
- Share Your Perfect Vanilla Buttercream Frosting Results
Why This Classic American Vanilla Buttercream Frosting Works Every Time
You’ve probably tried a few versions of frosting that ended up gritty or soupy. Don’t worry, that doesn’t happen here! My goal is to give you a flawless vanilla buttercream frosting every single time, and that’s why we focus so hard on two simple technique points. You’ll find this easy homemade frosting is ready in about 10 minutes, which is perfect for my busy readers.
It’s not just the ingredients; it’s how we treat them. We are aiming for the light, fluffy texture that makes this classic American buttercream so sought after. When you follow these steps closely, you get a decorator-quality finish at home!
The Secret to Fluffy Vanilla Buttercream Frosting Texture
This is non-negotiable for a truly light texture! You must fully beat the butter first, and I mean fully. Don’t rush past the first step. We need that butter to turn almost pale and fluffy on its own before a single grain of powdered sugar even thinks about coming near it.
This creaming action forces tiny air pockets right into the fat. Those pockets become the structure that keeps your whipped vanilla frosting airy instead of dense. If your butter is too cold or you stop beating too soon, you end up with heavy, dense frosting. Treat the butter right, and it rewards you!

Achieving Perfect Buttercream Frosting Piping Consistency
If you want those sharp edges and beautiful swirls on your cupcakes, stability is everything. The way we layer the ingredients—butter first, then sugar slowly, then liquids last—ensures the mixture stays emulsified. The fat-to-sugar ratio here is spot on for strength.
Also, that final whipping time matters! We beat this until it’s pale and light, which just reinforces that structure. This is honestly the best buttercream for cakes because it doesn’t melt down the sides of your layers halfway through a summer party. It holds up!
Don’t forget to check out some of my favorite simple uses for this frosting over at Simple Delicious Desserts when you’re done whipping!
Gathering Ingredients for Your Vanilla Buttercream Frosting
Okay, before we get to the magic mixing, we have to talk about what goes into the bowl. This vanilla buttercream frosting is based on just a few humble things, but their quality matters! Don’t skimp here; this is going straight onto your beautiful baked goods.
For this creamy miracle, you need:
- 1 cup unsalted butter, softened to room temperature
- 4 cups powdered sugar, sifted
- 1 tablespoon pure vanilla extract
- 3 tablespoons heavy cream or milk
- 1/4 teaspoon salt
My absolute first rule for any butter and sugar frosting? Sift that powdered sugar! It breaks up clumps and is crucial if you want to avoid grainy results. Trust me on this one; it’s worth the 30 seconds.
Step-by-Step Instructions for Easy Homemade Frosting
This is where the magic happens! Seriously, once you have your ingredients ready, this whole vanilla buttercream frosting comes together in about 10 minutes flat. That’s why I love this recipe so much; it gives you huge results with minimal time investment. We are going to follow the mixing order exactly; it’s the difference between a stiff, grainy mess and the fluffy icing you see on the best cakes!
Follow this sequence closely, and you’ll have the perfect homemade vanilla cake frosting ready for your spatula.
Preparing the Butter Base for Creamy Vanilla Frosting Recipe
Okay, let’s start with Step 1. Grab your stand mixer—and please use the paddle attachment, not the whisk for this part! Put your room-temperature butter in there. We are not adding sugar yet. You need to beat that butter on medium speed for a solid two minutes until it looks completely smooth, almost like soft silk. Stop the mixer and scrape down every bit of butter clinging to the sides and the bottom of the bowl.
This initial beating step is the foundation for our creamy vanilla frosting recipe. If the butter isn’t perfectly smooth now, the final frosting won’t be either. Take your time here; that scraping is crucial!
Incorporating Sugar and Achieving Whipped Vanilla Frosting
Now we go low and slow. Start adding that sifted powdered sugar one cup at a time. Keep the mixer speed on low until the sugar is *just* incorporated before adding the next cup. We do this so the sugar doesn’t turn into a gritty cloud that suffocates your kitchen! Once all the sugar is in there, toss in your vanilla, salt, and 2 tablespoons of your heavy cream or milk.
Here comes the transformation! Turn the mixer up to medium-high speed and let it go—seriously, don’t touch the dial—for a full three to five minutes. This is the time you’re paying for when you want that light, perfect structural quality. This long whip is what separates a good frosting from this iconic whipped vanilla frosting. If it looks too tight after five minutes, add that last tablespoon of cream a teaspoon at a time until it spreads beautifully. You’re done! Now you have that amazing vanilla frosting for cupcakes we talked about.
Need an idea for what to frost next? Pop over and check out my guide on Quick and Easy Breakfast ideas while your mixer is running!
Ingredient Notes and Substitutions for Perfect Vanilla Buttercream Frosting
Okay, now that you have the main steps down, let’s geek out just a little bit on the ingredients. Since this is a no-cook recipe—a true buttercream from scratch situation—what you put in matters a lot to the final texture of your vanilla buttercream frosting.
First off, unsalted butter is my law here. Why? Because salt levels vary wildly between brands, and we added our own perfect 1/4 teaspoon of salt for balance. Using salted butter means you risk making your beautiful frosting taste like the ocean! Also, please, please use pure vanilla extract. The imitation stuff tastes artificial when it’s the dominant flavor, and we want that warm, rich note, not that chemical aftertaste.
If you need to swap out the heavy cream or milk, don’t panic. You can use half-and-half, but you might need less of it. If you are aiming for a very stiff buttercream frosting piping consistency, use less liquid overall. If you need it looser for a quick icebox cake topping, add a tiny splash more.
Butter Temperature: Key to Smooth Buttercream
If you remember one thing from this whole tutorial on making the best vanilla buttercream frosting, let it be this: Butter temperature is everything. I know we said ‘room temperature,’ but what does that actually mean to a frantic baker?
It means the butter should yield slightly when you gently press your finger into it, leaving an indent. It should feel cool to the touch, not warm or greasy. If it’s too soft or melted, it can’t hold the air bubbles we beat into it, and your final butter and sugar frosting will be oily and runny.
If you use straight-from-the-fridge cold butter, the mixer will just tear it up, and it never combines properly with the sugar. You end up with a chunky, grainy texture that simply won’t smooth out, no matter how long you whip it. So take your butter out early! Five minutes of careful prep here saves you 20 minutes of fixing a chunky mess later.
Troubleshooting Common Vanilla Frosting Issues
Even with the best instructions, sometimes the kitchen has other plans! Don’t stress if your vanilla buttercream frosting doesn’t look perfect immediately. This is where knowing your stuff comes in handy. We’ve all been there, staring at a bowl wondering what went wrong.
If your frosting looks grainy, it usually means we stopped beating too soon, or maybe your powdered sugar wasn’t totally sifted. Don’t give up! Just put the mixer back on medium-high and let it run for two more minutes. That friction often dissolves the sugar crystals and magically smooths things out. Check those notes about continuing to beat!
Is it too stiff for spreading? That’s easy to fix. Just mix in that last teaspoon of cream, just one at a time, until it loosens up into a beautiful, spreadable texture for your simple desserts topping.
And if, heaven forbid, it gets too soft or starts looking soupy—maybe your kitchen got too warm—cover the whole mixing bowl and stick it right in the fridge for about ten minutes. Give it a quick whisk again after chilling, and you’ll be back on track for perfect piping.
Storage & Reheating Instructions for Your Vanilla Buttercream Frosting
So you made too much—who hasn’t! This vanilla buttercream frosting is incredibly stable, but how you store it will depend on when you plan to use it next. If you’re just chilling out overnight and plan to use it the next day, you can store it right under a layer of plastic wrap at room temperature. It should be fine for a day or two if your kitchen isn’t tropical hot, since it’s mostly sugar and fat.
However, if you aren’t touching this gorgeous topping again until next week, you absolutely need to refrigerate it. Pop it into an airtight container before it hits the fridge. It stays perfectly usable for up to a week this way. But here’s the deal: when you pull that cold tub out, DO NOT just try to start frosting immediately! Cold butter is rock hard, and your mixer will struggle.
To bring it back to life—to get that beautiful, spreadable texture again—you need to treat it just like softened butter. Leave it on the counter for at least an hour, or maybe use the microwave method if you’re desperate (a few quick 5-second bursts, check it, repeat). Once it’s softened up again, put it back in the stand mixer with the paddle attachment and beat it for a good three minutes. This re-whipping process re-incorporates the air you beat in the first time, making it light and gorgeous for your next cake project. It’s like reviving the magic!
If you’re looking for another quick treat you can make without the oven, check out my recipe for 5-Minute Oreo Fudge—great for using up any extra frosting!
Serving Suggestions for This Simple Desserts Topping
Now that you have mastered the vanilla buttercream frosting, the fun part begins—putting it on things! This sweet, classic American buttercream is versatile, but oh boy, does it shine with certain partners.
If you are looking for my absolute favorite pairing, try this frosting on my Easy Chocolate Cupcakes. The rich cocoa flavor just balances the sweetness perfectly. It’s also fantastic spread thick on a slice of my Moist Classic Carrot Cake.
Remember how we aimed for that perfect stability? That means this is the ideal vanilla frosting for cupcakes. It pipes like a dream and doesn’t collapse, so go wild with your decorating tips! This is your go-to simple desserts topping for any celebration.
Frequently Asked Questions About Vanilla Buttercream Frosting
We’ve covered the technique, but I know you might have a few last-minute questions floating around, especially if you’re deviating slightly from the plan. That’s totally normal! Here are a few things I hear all the time about making this creamy vanilla frosting recipe at home.
Can I make this a no-cook buttercream recipe?
Yes, absolutely! This recipe is designed specifically to be a no-cook buttercream recipe. We rely entirely on the proper temperature of the butter and the power of your mixer—no heating, melting, or cooking necessary at all! It’s the fastest, simplest way to get a dessert topping this delicious, which is fantastic when you need something quick.
How do I adjust the sweetness of this homemade vanilla cake frosting?
This homemade vanilla cake frosting is definitely sweet—that’s the signature of a classic American style! If you find you or your family prefer something a touch less sugary, you have a couple of options. The easiest move is knocking back the powdered sugar by about a quarter cup across the whole batch. Since we used salt, try adding just one extra tiny pinch of salt to brighten up the other flavors, or even bump up that pure vanilla extract by half a teaspoon. A little less sugar with more vanilla helps balance the richness beautifully for an even better finish on your cakes.
Also, if you want to explore how other simple savory recipes come together, I share my thoughts on my Homemade Teriyaki Sauce Recipe—sometimes understanding acid and salt in savory cooking helps you balance sweetness in desserts!
And finally, for those wondering: Yes, this frosting is wonderful for filling between layers or creating a beautifully rustic “naked cake” look, as it’s thick enough to hold its own without being too heavy!
Share Your Perfect Vanilla Buttercream Frosting Results
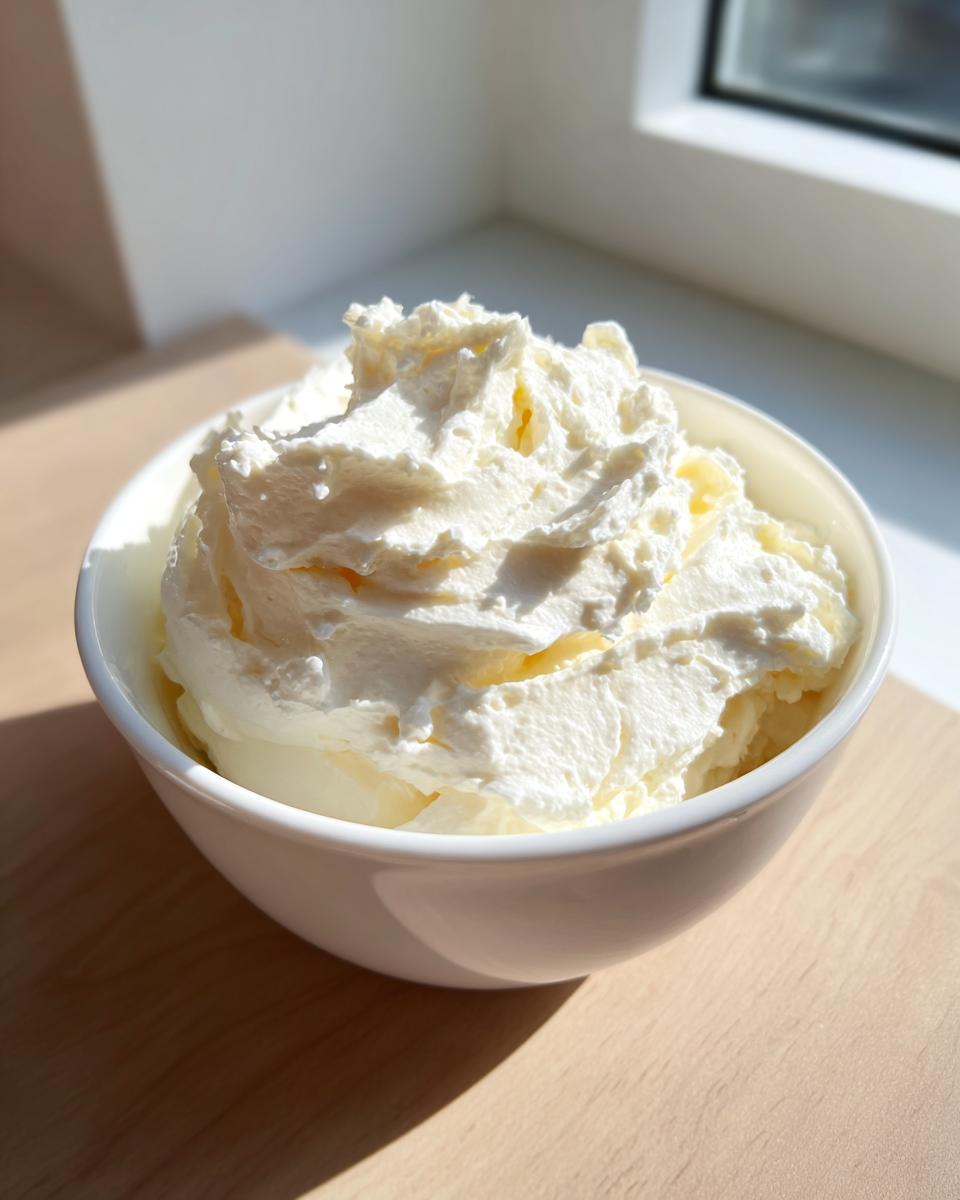
Well, you made it! You conquered the creaming, you sifted your sugar, and now you have this gorgeous, impossibly smooth, vanilla buttercream frosting sitting in your bowl.
Honestly, that’s the best part for me—seeing the results of your hard work! I truly hope this recipe delivered exactly what you needed, whether it was that perfect buttercream frosting piping consistency for your niece’s birthday cupcakes or just a rich, simple topping for a Tuesday night dessert.
I always want to know how it turned out for you! If you loved how light and fluffy this fluffy vanilla icing tutorial turned out, please take a second to rate the recipe right below this section. Stars tell me that the execution was clear and the recipe is reliable for others looking for the best buttercream for cakes!
If you used it on a fun cake, or if you tried adding a splash of almond extract instead of vanilla, leave a comment below! Share your creation, your little victory, and your tips for anyone else whipping up this batch next week. I read every single note, and connecting with you all is exactly why I put these recipes out there. You can always reach out directly through my contact page too if you have a burning question!
PrintThe Best Classic American Vanilla Buttercream Frosting

Make this creamy, smooth, and fluffy vanilla buttercream frosting. It is the best buttercream for cakes and holds its shape well for piping cupcakes.
- Prep Time: 10 min
- Cook Time: 0 min
- Total Time: 10 min
- Yield: About 3 cups 1x
- Category: Dessert Topping
- Method: Mixing
- Cuisine: American
- Diet: Vegetarian
Ingredients
- 1 cup unsalted butter, softened to room temperature
- 4 cups powdered sugar, sifted
- 1 tablespoon pure vanilla extract
- 3 tablespoons heavy cream or milk
- 1/4 teaspoon salt
Instructions
- Place the softened butter in the bowl of a stand mixer fitted with the paddle attachment. Beat the butter on medium speed until it is completely smooth and creamy, about 2 minutes. Scrape down the sides of the bowl.
- Gradually add the sifted powdered sugar, one cup at a time, mixing on low speed until just combined after each addition.
- Add the vanilla extract, salt, and 2 tablespoons of the heavy cream or milk. Increase the mixer speed to medium-high.
- Beat the mixture for 3 to 5 minutes until the vanilla buttercream frosting is light, fluffy, and pale in color. This whipping time is key for a smooth texture.
- If the frosting seems too stiff, add the remaining tablespoon of cream, one teaspoon at a time, until you reach your desired consistency for spreading or piping.
- Use immediately to frost cakes or cupcakes.
Notes
- For the smoothest vanilla buttercream frosting, ensure your butter is truly at room temperature—soft enough to press a finger into easily, but not melted.
- If your frosting looks grainy, continue beating it for another 2 minutes; the friction helps dissolve the sugar crystals.
- If the frosting becomes too soft while working, chill the entire bowl for 10 minutes before beating it again briefly.
- This recipe yields enough classic American buttercream for one 9-inch layer cake or about 18 cupcakes.
Nutrition
- Serving Size: 1/4 cup
- Calories: 320
- Sugar: 55
- Sodium: 45
- Fat: 12
- Saturated Fat: 7
- Unsaturated Fat: 5
- Trans Fat: 0
- Carbohydrates: 56
- Fiber: 0
- Protein: 0
- Cholesterol: 30