

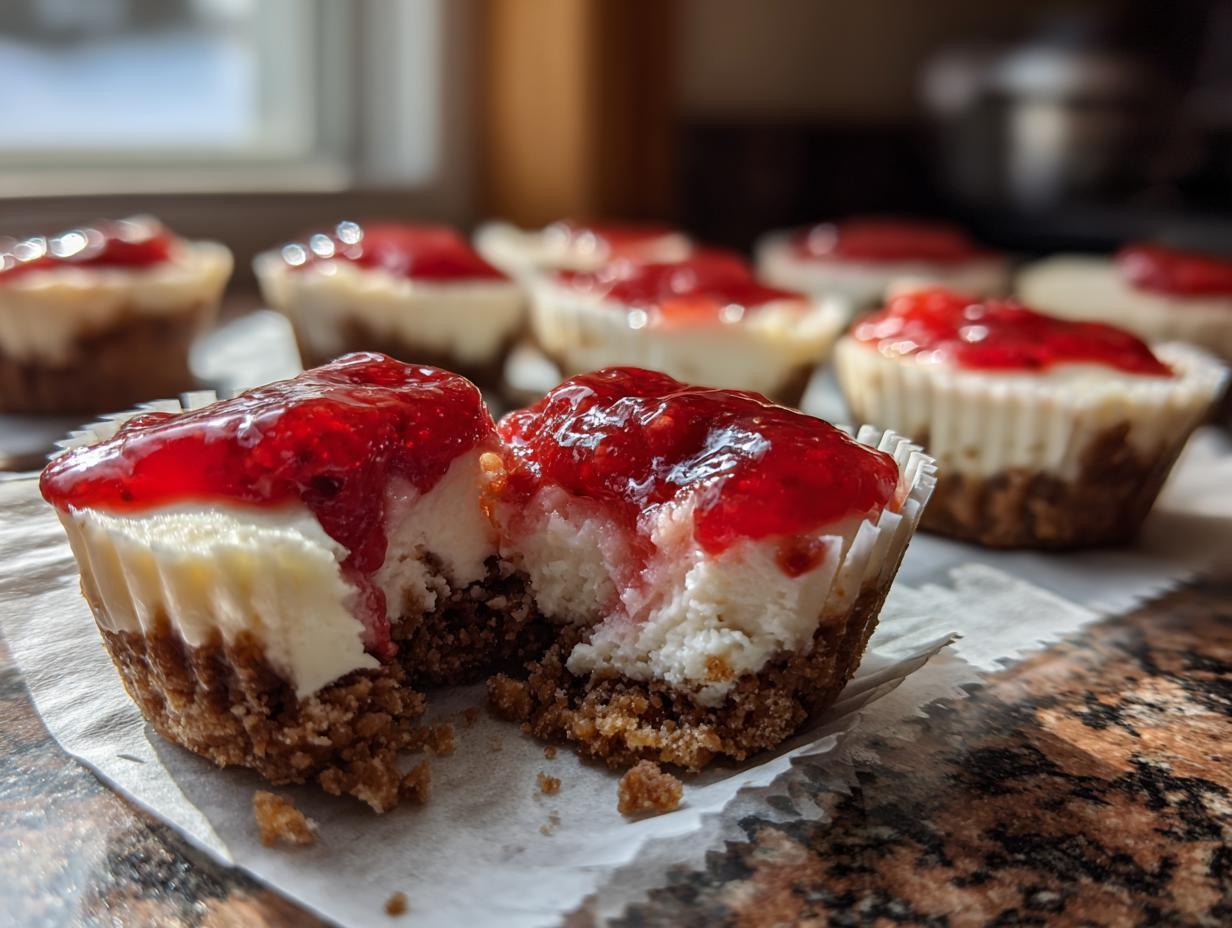
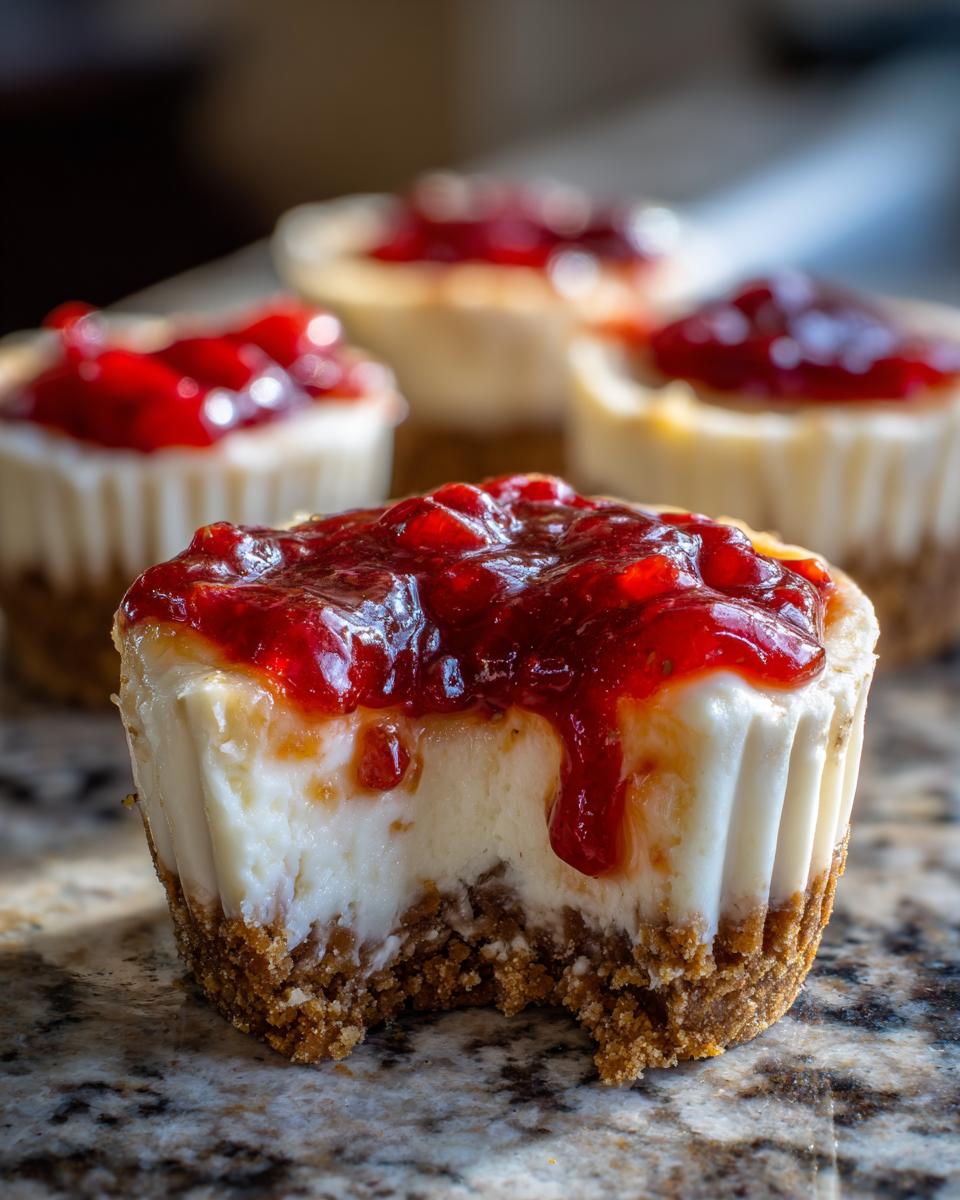
Let’s be honest, sometimes you need a stunning dessert that looks like you slaved away all afternoon, but you only have about twenty minutes between getting home from work and company arriving. That’s why I’m obsessed with these recipes! When I was juggling my marketing career and trying to keep up with family traditions, I learned quickly that elegance doesn’t have to mean hours in the oven. These **cheesecake bites** are the answer to that modern dilemma. They are unbelievably creamy, require absolutely zero baking, and deliver that rich, decadent flavor we all crave in small, perfect portions. If you liked my quick and easy Oreo fudge recipe, you’re going to love these. Seriously, these No-Bake Mini Cheesecake Bites are unbelievably simple and the ultimate party trick.
- Why These No-Bake Cheesecake Bites Are Your New Favorite Party Desserts
- Gathering Ingredients for Perfect Cheesecake Bites
- Step-by-Step Instructions for Easy No-Bake Cheesecake Bites
- Tips for Achieving Perfect Creamy Cheesecake Treats
- Storage and Make-Ahead Guide for Your Bite Sized Desserts
- Flavor Variations for Your Mini Dessert Ideas
- Frequently Asked Questions About Making Cheesecake Bites
- Estimated Nutritional Snapshot for Small Cheesecake Portions
- Share Your Decadent Bite Sized Treats
Why These No-Bake Cheesecake Bites Are Your New Favorite Party Desserts
I can’t overstate how much I lean on these treats when I’m entertaining! If you’re looking for show-stoppers that don’t stress you out, this is it. Forget complicated folding or tricky water baths; these delicious simple desserts are genius because they skip the oven entirely.
Here’s why they always disappear first at any gathering:
- They are the definition of perfect party desserts—cute, manageable, and eaten in one or two bites.
- You get that signature, decadent, creamy cheesecake texture without turning the kitchen into a sauna.
- They look incredibly elegant once you add your colorful toppings.
- They qualify as amazing Bite Size Desserts for when you want something sweet but don’t want a giant slab of cake.
Gathering Ingredients for Perfect Cheesecake Bites
Okay, gathering supplies for these **cheesecake bites** is super straightforward, which is part of why I love them so much! Since we’re skipping the oven, the chilling process does all the heavy lifting, but we have to treat our main ingredient—the cream cheese—like royalty. Seriously, if your cream cheese isn’t fully softened to room temperature, you’ll end up with lumps, and that ruins the whole creamy vibe we’re going for. Don’t rush this step! If you’re ever debating how soft your butter or cream cheese should be, go check out my brown butter cookies post; the lesson on ingredient temp is the same!
For the Graham Cracker Crust
You just need three things to make a sturdy, flavorful base for our little treats:
- 1 1/2 cups graham cracker crumbs (you can crush these yourself or use store-bought!)
- 1/4 cup granulated sugar
- 6 tablespoons unsalted butter, melted
For the Creamy Cheesecake Filling
This is where the magic happens. Remember what I said about temperature? Make sure you set out your cream cheese and especially those **2 large eggs, room temperature**. This is a huge tip from my professional baking days—it keeps everything emulsifying beautifully.
- 16 ounces cream cheese, softened enough to easily press a finger into it
- 1/2 cup granulated sugar
- 1 teaspoon vanilla extract
- 2 large eggs, room temperature
- 1/4 cup sour cream (this adds a wonderful little tang!)
Customizable Topping Suggestions
The best part about these individual dessert portions is choosing your own adventure for the top! You can make a huge batch plain and let everyone customize them, or you can prep a few different styles. I usually keep it simple:
- Strawberry sauce
- Chocolate ganache
- Fresh berries (raspberries are gorgeous!)
Step-by-Step Instructions for Easy No-Bake Cheesecake Bites
Alright, pop quiz: what’s better than cheesecake? Cheesecake you don’t have to bake that you can eat in one glorious mouthful! These instructions are quick, I promise. We’re getting everything into those little muffin cups so we can get them into the freezer ASAP. Trust me, these **cheesecake bites** come together faster than you think. If you need a quick filler dessert while this sets, check out my no-bake pumpkin fluff dip!
Preparing the Crust and Tins
First things first, grab a mini muffin tin and line all 24 cups with paper liners. Don’t skip that step, or you’ll be prying them out later! Next, mix your graham cracker crumbs, 1/4 cup sugar, and that melted butter until it looks like damp sand. Use a little measuring spoon or even your thumb to press about one tablespoon of that mixture firmly into the bottom of every single liner. Once done, get this whole tin into the freezer right away while you work on the next step. That initial chill helps the crust stay locked in place.
Mixing the Smooth Cheesecake Filling
Now for the creamy part! Grab your big bowl and an electric mixer. Beat that beautiful, room-temperature cream cheese with the 1/2 cup of sugar until it’s totally smooth—no lumps allowed! Beat in the vanilla. Then, add your room-temperature eggs one at a time, mixing only until they just disappear into the batter. The absolute crucial part for keeping these **cheesecake bites** smooth? When you add the sour cream, gently fold it in. Do *not* whip it aggressively! Overmixing eggs and sour cream introduces too much air and can mess up the texture when they freeze down.
Freezing and Setting Your Individual Cheesecake Cups
Spoon that gorgeous filling evenly over your chilled crusts, making sure each cup is about three-quarters full. Back into the freezer they go. You need a minimum of 4 hours in the freezer until they are rock solid. Honestly, though, I always make these the day before and leave them overnight in the fridge. They turn into the most perfect, firm yet smooth **Individual Cheesecake Cups** that way. Once they are set, just peel off the liner and top them right before you serve them!
Tips for Achieving Perfect Creamy Cheesecake Treats
Just because these are no-bake doesn’t mean we can skip proper technique! Texture is everything when it comes to these delicate **cheesecake bites**. Since these are going to be frozen or heavily chilled, we have to make sure the filling sets up perfectly creamy, not icy or grainy. My biggest lesson learned from trying to rush things is that you just can’t cheat the temperature game with dairy products.
Ingredient Temperature Matters for Cheesecake Bites
I know I sound like a broken record, but listen up: soft cream cheese and room temperature eggs are non-negotiable for smooth **cheesecake bites**! If the cream cheese is cold, those little lumps will never dissolve, no matter how long you whip it. And those cold eggs? They can actually cause the batter to curdle slightly when they hit the room-temperature cream cheese mixture. Let everything sit out for at least an hour before you even think about turning on the mixer. It’s worth the wait, trust me!
Optional: Baking the Crust for Extra Crunch
Usually, our crusts just firm up in the freezer, which is fast and easy. But if you’re bringing these to a big event and you want that extra layer of crunch assurance, you have an optional step you can take while you prepare the filling. You can absolutely slide that mini muffin tin into a 350°F oven for just 5 minutes before you add the filling and chill them. This pre-baking step locks the crust down really nicely, giving you a crisper base. Just let them cool completely before spooning on the filling, of course! If you’re interested in a longer bake time dessert that still hits that creamy note, you should look at my easy blueberry cheesecake recipe.
Storage and Make-Ahead Guide for Your Bite Sized Desserts
Planning ahead is the secret weapon for tackling any party menu, and these **cheesecake bites** are perfect for planning! Since they need that long chill anyway, you might as well get them tucked away for later. You can make the entire batch, unfrosted, and keep them safely tucked into the refrigerator for up to three days. Just make sure they are in a really good airtight container; we don’t want them picking up any weird fridge smells!
If you need them to last longer, going into the freezer is great, too! They freeze really well as long as you wrap them carefully—I like to place them in a single layer on a small baking sheet first, freeze them until hard, and then transfer them into a freezer bag. That way, when you pull them out later to thaw in the fridge, they shouldn’t stick together. If you’re looking for other make-ahead joys, you have to check out my easy no-bake Oreo cheesecake recipe—it follows a similar concept!
Remember, only add toppings like fresh berries or drizzles right before serving. Soggy toppings are a crime against delicious **bite sized desserts**!
Flavor Variations for Your Mini Dessert Ideas
If you’ve mastered the basic vanilla flavor of our no-bake cheesecake bites, you’re probably ready to start having some fun! That’s the beauty of a simple base recipe; it’s like a blank canvas for flavor. You see how many people go wild with toppings like strawberry crunch or special colors? We can easily adapt this recipe to be just as exciting without adding any baking time.
Since customizing is key for making these **mini dessert ideas** memorable, here are a few ways I switch things up when I get bored with the classic look:
- Chocolate Lover’s Dream: For a rich twist, replace 1/4 cup of the graham cracker crust with finely crushed Oreos, and add about 1/4 cup of melted semi-sweet chocolate chips (cooled slightly!) to the cheesecake filling before you fold in the sour cream. It results in decadent little chocolate clouds!
- Pink Velvet Fun: If you want that gorgeous, celebratory color, add just a few drops of red or pink food coloring to the filling mixture right before you add the eggs. It doesn’t change the flavor much, but it makes the presentation incredible, perfect for bridal showers or Valentine’s Day.
- Fruity Crunch Factor: My friends absolutely rave when I make strawberry crunch versions. Once you’ve chilled your plain bites, use my blueberry cheesecake base idea but swap blueberries for strawberries. Then, drizzle strawberry sauce over the chilled bites and sprinkle them with crushed, buttery shortbread cookies for that famous crunch!
- Caramel Coconut Indulgence: If you love those layered flavors, check out my Samoa cheesecake recipe for inspiration on how to drizzle caramel and toasted coconut shavings over these bites right before serving.
Want to try a baked version next time but still want that signature smoothness? You should compare this easy method to my red velvet cheesecake recipe to see the difference temperature makes!
Frequently Asked Questions About Making Cheesecake Bites
When I make batches of these **Individual Dessert Portions** for holidays, I always get the same questions, so I figured I’d put the answers right here! It’s fun to see the little tweaks people make to their crusts and fillings. Don’t be shy about experimenting once you nail the basics of our **Easy Cheesecake Recipe**! If you’re looking to go a different route entirely, I recommend checking out my keto cheesecake recipe for a lower-carb option later.
Can I substitute the graham crackers for a different crust?
Absolutely! That’s the great thing about these minimal-effort desserts. If you don’t have graham crackers on hand, vanilla wafer crumbs work like a dream—they lend a slightly sweeter, more buttery base. If you’re feeling wild, crushed Oreos (filling and all!) make amazing chocolate bases for an indulgent twist. If you switch to Oreos, you might want to cut the added sugar in the crust by about half, since most cookies already have plenty!
How long do I need to freeze the bites?
I know, waiting is the worst part when you want a sweet treat! The absolute minimum time needed for these **No Bake Cheesecake Bites** to set up so you can easily remove the paper liner is about 4 hours in the freezer. However, if you can resist, chilling them overnight in the refrigerator is truly the best route. That longer, slower chill time helps the filling achieve that incredibly dense, creamy texture that makes **Quick Desserts** feel luxurious instead of rushed.
Can I use Greek yogurt instead of sour cream in this Easy Cheesecake Recipe?
Sour cream is in there for a reason—it adds richness and a specific, necessary tang that cuts through the sweetness. If you have to swap it out for a lower-fat option, plain Greek yogurt is your best bet. But you have to be careful! Since Greek yogurt is usually much thicker than sour cream, I suggest starting with maybe half the amount (1/8 cup) and then tasting the mixture before adding more. It might make your **cheesecake bites** firm up slightly differently, but it should still taste delicious!
Estimated Nutritional Snapshot for Small Cheesecake Portions
Look, these **cheesecake bites** are a treat, not a health food—and that’s totally fine! Sometimes my family just needs that rich, satisfying flavor, and these deliver it perfectly in a small dose. But because I know some of you track things, I ran the numbers based on the ingredients in our recipe.
Take this snapshot with a grain of salt, okay? Since we aren’t baking these and we’re using standard measurements, these numbers are just a great guideline for what to expect from these **Small Cheesecake Portions**. If you add tons of chocolate ganache or caramel to your top, that’s going to change the totals! For a different way to enjoy cheesecake while keeping an eye on macros, you should check out my recipe for protein cheesecake in a jar.
Here is the breakdown:
- Serving Size: 1 bite
- Calories: 180
- Sugar: 14g
- Sodium: 110mg
- Fat: 12g
- Saturated Fat: 7g
- Unsaturated Fat: 5g
- Trans Fat: 0g
- Carbohydrates: 15g
- Fiber: 0g
- Protein: 3g
- Cholesterol: 35mg
Share Your Decadent Bite Sized Treats
Now that you know the absolute easiest way to make **Decadent Bite Sized Treats** that people will seriously rave about, I want to know what you think! Creating these recipes for you guys is the best part of my day, but I thrive on hearing how it goes in your kitchens. Did you stick to the classic vanilla, or did you go wild with the toppings?
Seriously, drop a comment below! Let me know if you chose strawberry sauce, dark chocolate, or maybe something totally unique I haven’t even thought of yet. It helps me build community with all you amazing home cooks out there, and honestly, seeing your pictures of these perfect little **Individual Dessert Portions** just makes my day. If you have any pictures, feel free to tag me on social media—I always love seeing your creations!
If you loved how simple this was and want to send me a note about how this recipe saved your last-minute party plans, you can always reach out through my contact page. Happy baking—or, well, happy *no-baking*!
PrintEasy No-Bake Mini Cheesecake Bites
Make these creamy, bite-sized desserts without turning on your oven. This simple recipe delivers decadent flavor perfect for parties or quick sweet cravings.
- Prep Time: 20 min
- Cook Time: 0 min
- Total Time: 4 hr 20 min
- Yield: 24 bites 1x
- Category: Dessert
- Method: No-Bake
- Cuisine: American
- Diet: Vegetarian
Ingredients
- 1 1/2 cups graham cracker crumbs
- 1/4 cup granulated sugar
- 6 tablespoons unsalted butter, melted
- 16 ounces cream cheese, softened
- 1/2 cup granulated sugar
- 1 teaspoon vanilla extract
- 2 large eggs, room temperature
- 1/4 cup sour cream
- Optional Toppings: Strawberry sauce, chocolate ganache, fresh berries
Instructions
- Prepare your mini muffin tin by lining 24 cups with paper liners.
- Make the crust: In a bowl, combine graham cracker crumbs and 1/4 cup sugar. Pour in the melted butter and mix until the crumbs are evenly moistened.
- Press about 1 tablespoon of the crust mixture firmly into the bottom of each paper liner. Place the tin in the freezer while you prepare the filling.
- Make the filling: In a large bowl, use an electric mixer to beat the softened cream cheese and 1/2 cup sugar until smooth. Mix in the vanilla extract.
- Beat in the eggs one at a time, mixing just until combined after each addition. Gently stir in the sour cream until the mixture is uniform. Do not overmix.
- Spoon the cheesecake filling evenly over the chilled crusts, filling each liner about three-quarters full.
- Chill the bites: Place the muffin tin back into the freezer for at least 4 hours, or until completely firm. For best results, chill in the refrigerator overnight.
- Once firm, remove the paper liners. Top each mini cheesecake bite with your desired topping just before serving.
Notes
- For a firmer crust, bake the crusts for 5 minutes at 350°F before chilling, though this recipe is designed to be no-bake.
- If you want to make these ahead, store the plain, unfrosted bites in an airtight container in the refrigerator for up to 3 days.
- To achieve the creamiest texture, ensure your cream cheese is fully softened to room temperature before mixing.
Nutrition
- Serving Size: 1 bite
- Calories: 180
- Sugar: 14g
- Sodium: 110mg
- Fat: 12g
- Saturated Fat: 7g
- Unsaturated Fat: 5g
- Trans Fat: 0g
- Carbohydrates: 15g
- Fiber: 0g
- Protein: 3g
- Cholesterol: 35mg