

I don’t know about you, but when the holidays roll around, I want that perfect, nostalgic crunch—the kind you only get from homemade Italian waffle cookies. I’m Felix, and I want to bring that tradition right onto your counter without stealing an entire afternoon. Forget those heavy, dense versions you sometimes find. We are making pizzelle cookies that are unbelievably light, buttery, and perfectly crisp. My goal here at Cooking by Felix is always to simplify the classics, and this recipe honors that Italian tradition while respecting your busy schedule. You can find more simple, delicious desserts like this one over at our collection page. Get your iron warmed up; this batter comes together faster than you think!
- Why You Will Love This Classic Vanilla and Anise Pizzelle Cookies Recipe
- Essential Equipment for Perfect Pizzelle Cookies
- Gathering Ingredients for Traditional Pizzelle Cookies
- Step-by-Step Instructions for Authentic Pizzelle Baking
- Tips for Success When Making Crispy Pizzelle Recipe Batches
- Serving Suggestions for Light & Crispy Italian Treats
- Storage & Reheating Instructions for Pizzelle Cookies
- Frequently Asked Questions About Pizzelle Cookies
- Share Your Experience Making These Pizzelle Cookies
Why You Will Love This Classic Vanilla and Anise Pizzelle Cookies Recipe
I know you’re busy, so I need you to see exactly what makes this recipe worth pulling out the iron for. This isn’t just another cookie; it’s an experience! Trust me, these buttery lacy cookies cook up beautifully every time.
-
Texture and Flavor Profile
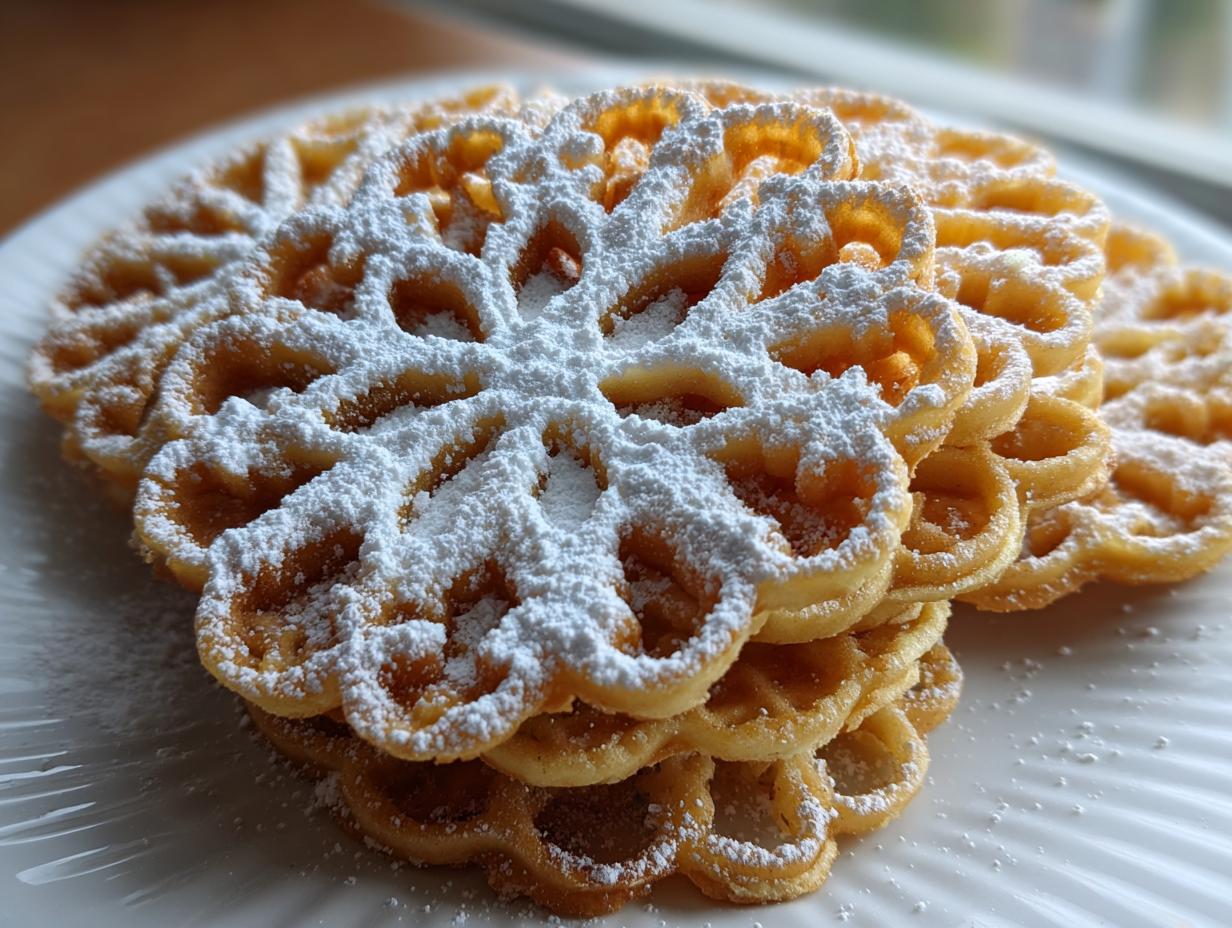
We are aiming for the absolute best: those light & crispy Italian treats! The combination of rich butter, sweet vanilla, and that traditional little kick of anise is just magic. They come off the iron looking delicate and patterned, which is half the fun.
-
Simplicity for the Modern Cook
This really is an easy cookie recipe. Once the batter is mixed—which takes about 15 minutes—the actual cooking is quick. You can whip up a whole batch of these traditional pizzelle cookies while you’re waiting for the oven to preheat for something else! It’s efficiency meets deliciousness.
Essential Equipment for Perfect Pizzelle Cookies
Okay, let’s talk tools. You can’t make pizzelle cookies without the right machine; they aren’t just stamped cookies, they are cooked almost like mini waffles! This is one piece of equipment you absolutely need to invest in if you want that classic, patterned look. I always tell people, preparation starts before you even measure the flour—it starts with making sure your iron is ready to go.
The most important thing you need is a pizzelle iron, of course. I strongly recommend an electric one over the old stovetop type. Seriously, unless you’re trying to channel your great-aunt who has forearms like Popeye, the electric ones are just easier and safer for daily use. They heat up fast and maintain a steady heat, which is crucial if you want consistent results.
Choosing Your Homemade Pizzelle Iron Recipes Tool
When you’re looking up Homemade Pizzelle Iron Recipes online, remember that whatever iron you buy, whether it has simple concentric circles or fancy holiday shapes, it needs to be HOT. I mean, really hot. Before you even think about dropping batter on it, heat that thing up for a full ten minutes. Seriously. Don’t rush it!
My personal, earned wisdom on this? Give it a quick test puff of steam or just a tiny little drop of batter and watch how it cooks. If the first cookie burns instantly or the second one comes out pale and floppy, your temperature is off. You need that consistent, high heat so the cookie cooks through fast enough to set the structure, creating those beautifully delicate patterned cookies, while keeping the moisture low so they turn out crispy later.
Gathering Ingredients for Traditional Pizzelle Cookies
Making traditional pizzelle cookies is exciting because you probably have most of this list in your pantry right now! We aren’t using any complicated or weird stuff today. This recipe for Christmas cookie classics is built on simple, buttery goodness. Pay attention to the quality of your extracts though; since we aren’t using a ton of flavorings, a good vanilla and anise extract really makes the difference between good and *amazing*.
Here is what you need for about three dozen of these light & crispy Italian treats:
- 1 cup unsalted butter, softened (And I mean truly softened, not melted around the edges – take it out early!)
- 1 cup granulated sugar
- 4 large eggs (Definitely get the big ones; size matters here for structure!)
- 1 teaspoon vanilla extract
- 1 teaspoon anise extract (If you’re new to this, start with just a half teaspoon and test it!)
- 2 teaspoons baking powder
- 2 cups all-purpose flour
- Pinch of salt
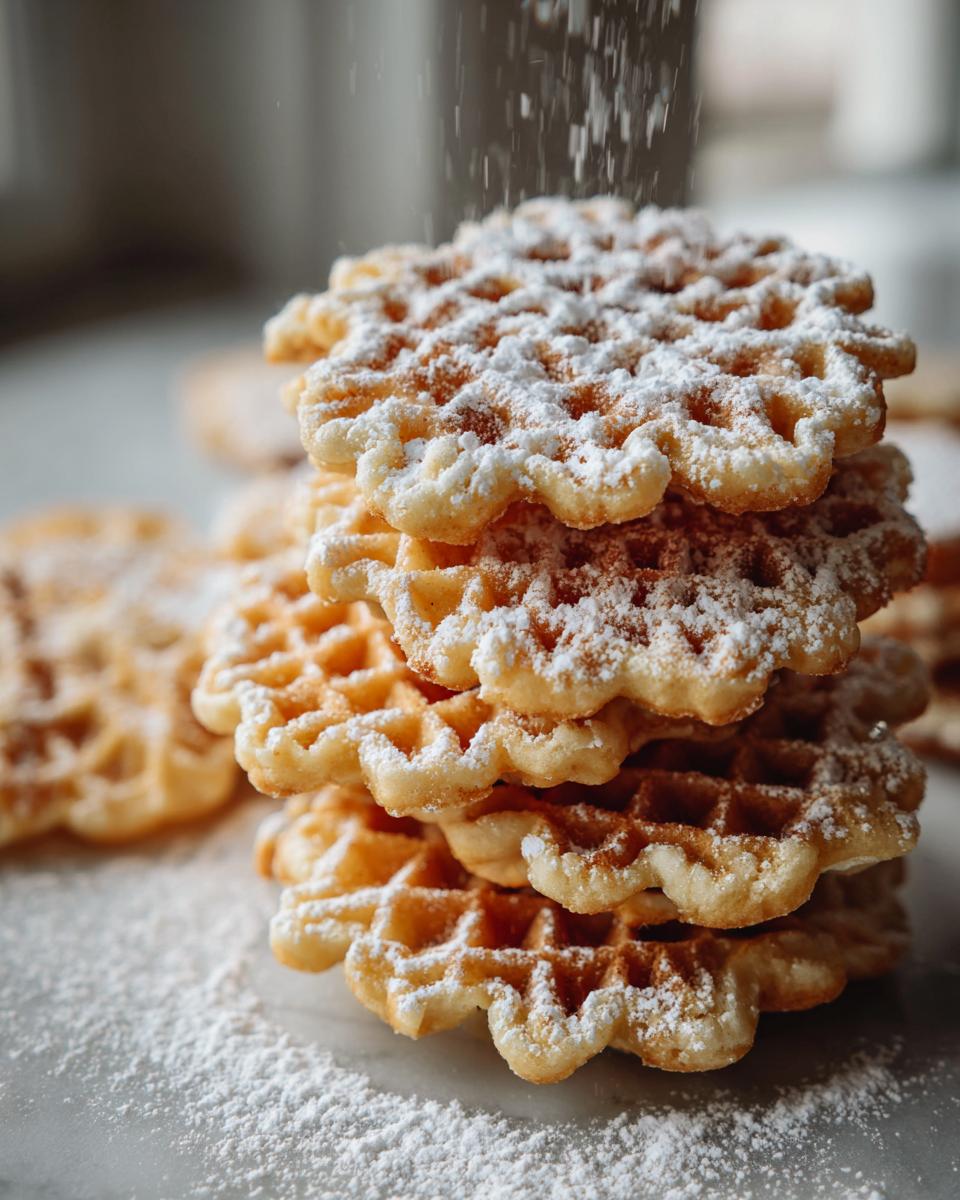
- Confectioners’ sugar for dusting (Optional, but highly recommended for that lovely finish!)
If you’re looking for other crowd-pleasers to make alongside these, check out my recipe for easy white chocolate fudge; it’s another holiday staple that uses minimal fuss!
Ingredient Notes and Substitutions
This is where we get creative without crossing the line into sacrilege! My grandmother always wrote notes on the margins of her cards, and these flavor variations are based on her little scribbles.
If the anise flavor feels a little too bold for your first go—don’t worry, I completely get it! You can easily make pure Vanilla Pizzelle by skipping the anise and just bumping that vanilla up to 2 whole teaspoons. It gives you that wonderful crispy pizzelle recipe flavor base but without the spice.
Now, for the dark side, or rather, the Chocolate Pizzelle Ideas! If you want to adapt this batter for a richer, cocoa version, just swap out 1/4 cup of your main flour measurement for 1/4 cup of unsweetened cocoa powder. Mix that dry cocoa in with the rest of your dry ingredients.
Remember, these adjustments make this recipe super flexible, letting you cover all bases for your next big baking day!
Step-by-Step Instructions for Authentic Pizzelle Baking
Alright, let’s get cooking! Remember what I said about this being fast? I wasn’t kidding. Once the iron is screaming hot, the actual working time is super short, which is why getting your system down is key for making these authentic pizzelle baking batches.
First things first, and this is non-negotiable: prep and preheat! Get that pizzelle iron warmed up according to its rules—you want it ripping hot before anything else happens. Then, we mix the wet and dry, but we do it patiently. Think of creaming the butter and sugar as building the foundation for that airy structure. It needs to be pale and fluffy before we even think about adding the eggs. If you rush this part, your cookies will be heavy, guaranteed.
If you’re looking for another great recipe where technique matters for texture, take a look at my creamy egg salad; blending things right makes all the difference there, too!
Mixing the Batter for Buttery Lacy Cookies
We treat the butter and sugar with respect first—beat them together until they look lighter and fluffy. Then, add the eggs one by one, making sure each one is fully incorporated before you move to the next. Don’t try to dump them all in at once, I promise it won’t mix right! Next, you need to handle the extracts: vanilla and that signature anise. Mix those in gently.
Now, for the flour part. Mix your flour, baking powder, and salt separately—this ensures everything is distributed evenly. Add the dry ingredients slowly to the wet, mixing *just* until you don’t see any more streaks of flour. Stop mixing right then! Overmixing develops gluten, and gluten means tough pizzelle cookies, not the delicate buttery lacy cookies we want!
Cooking and Shaping Your Pizzelle Cookies
This part goes fast, so be ready! Drop just a tiny dollop of batter right in the middle of your hot iron—the perfect amount depends entirely on your specific iron, so you’ll need to test this on your very first one. Close it up and press down firmly—you’ll see the steam coming out, right? That’s the moisture escaping. When the steam slows down or stops (usually 30 to 45 seconds), it’s time to pull it out.
Here’s the crucial tip that proves you’ve mastered authentic pizzelle baking: You must remove the cookie immediately with a thin spatula and put it on a wire rack *right away*. Why? Because they harden incredibly fast as they cool! If you want to shape them into little cones or cannoli shells, you have maybe five seconds while they are still hot and soft to roll them up. If you wait too long, they shatter when you try to bend them. Keep them flat for simple dusting.
Tips for Success When Making Crispy Pizzelle Recipe Batches
We’ve made the batter, the iron is hot, and we’re cooking cookies that look gorgeous. But what happens when you take a bite and it’s slightly… soft? That’s the absolute worst letdown when aiming for that perfect crispy pizzelle recipe! Getting the crunch is the final boss battle of making these treats.
I have been there, believe me. My very first batch, years ago, came out looking beautiful—all lacy patterns intact—but they felt like limp crackers. I thought my iron was broken, or maybe I hadn’t used enough baking powder. Nope! The issue was simply time. I was pulling them off the iron too soon, scared they would burn.
The rule you need to tattoo on your brain is this: Steam equals moisture, and moisture means chewiness.
If your cookies are coming off the iron and seem soft after cooling for a minute, trust me and go back and cook the next batch longer. Ten or fifteen seconds can make a huge difference. Watch the steam! You want that initial heavy burst of steam to dramatically slow down or just completely stop before you lift that spatula. That’s your cue that the interior moisture has cooked out enough for them to crisp up properly while they rest on the rack.
Also, cooling is non-negotiable. They must cool completely on a wire rack. If you stack them while they are even slightly warm, the trapped heat and steam will instantly soften them again, undoing all your hard work! Don’t stack them until they feel totally cool to the touch.
If you’re looking for a bit of a change next time, I have a fantastic guide for making soft and chewy cookies, but for these Italian beauties, crisp is the goal, and patience in the cooking stage is how you win!
Serving Suggestions for Light & Crispy Italian Treats
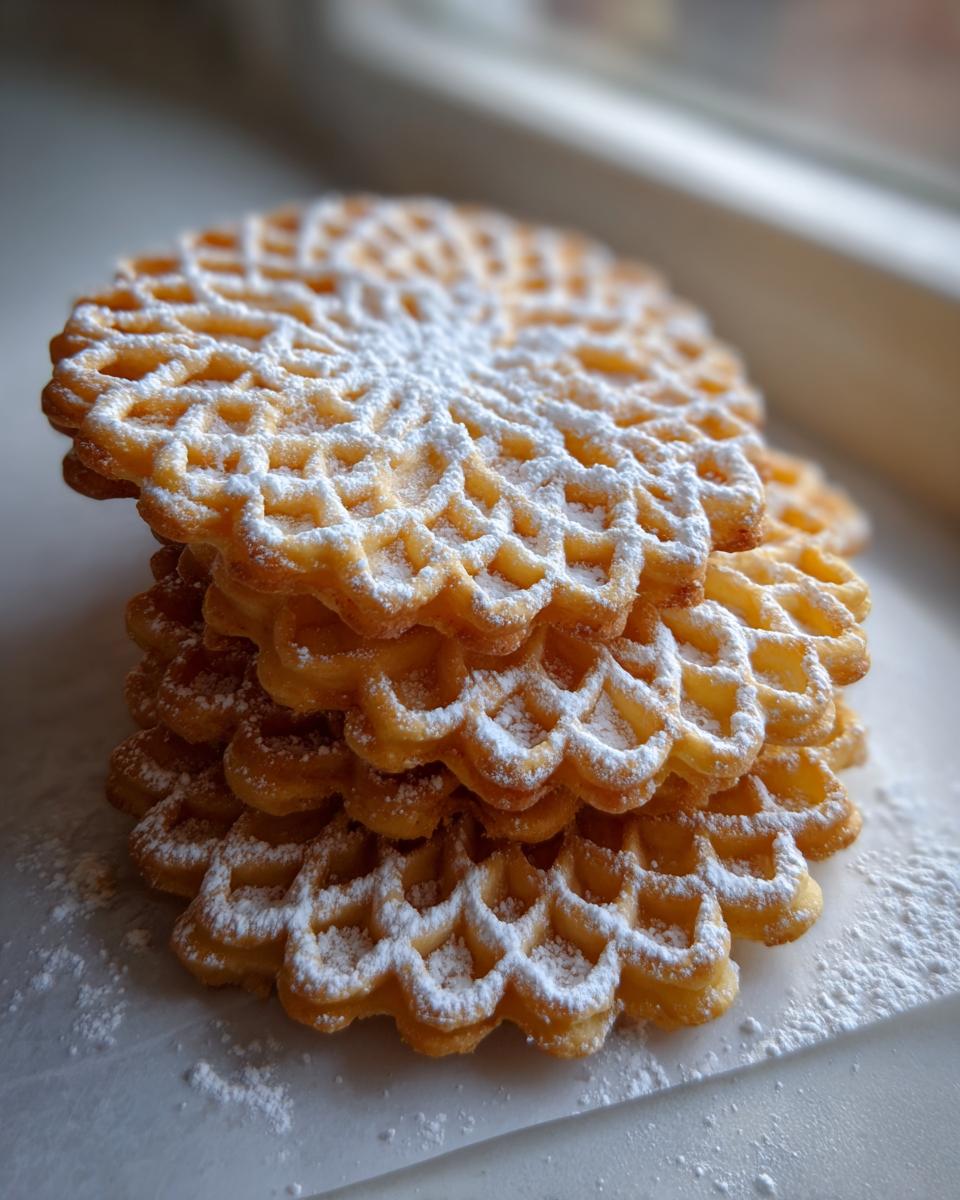
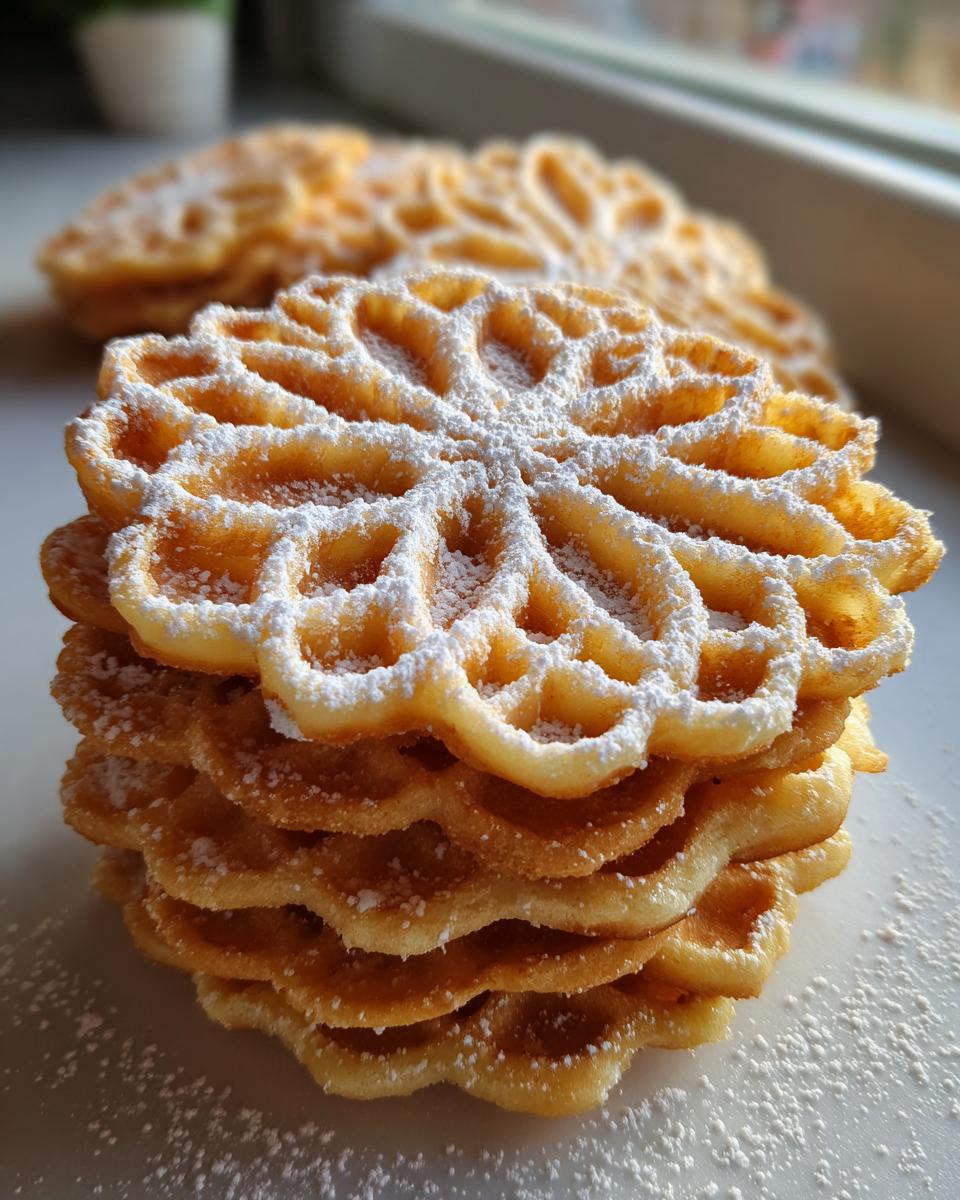
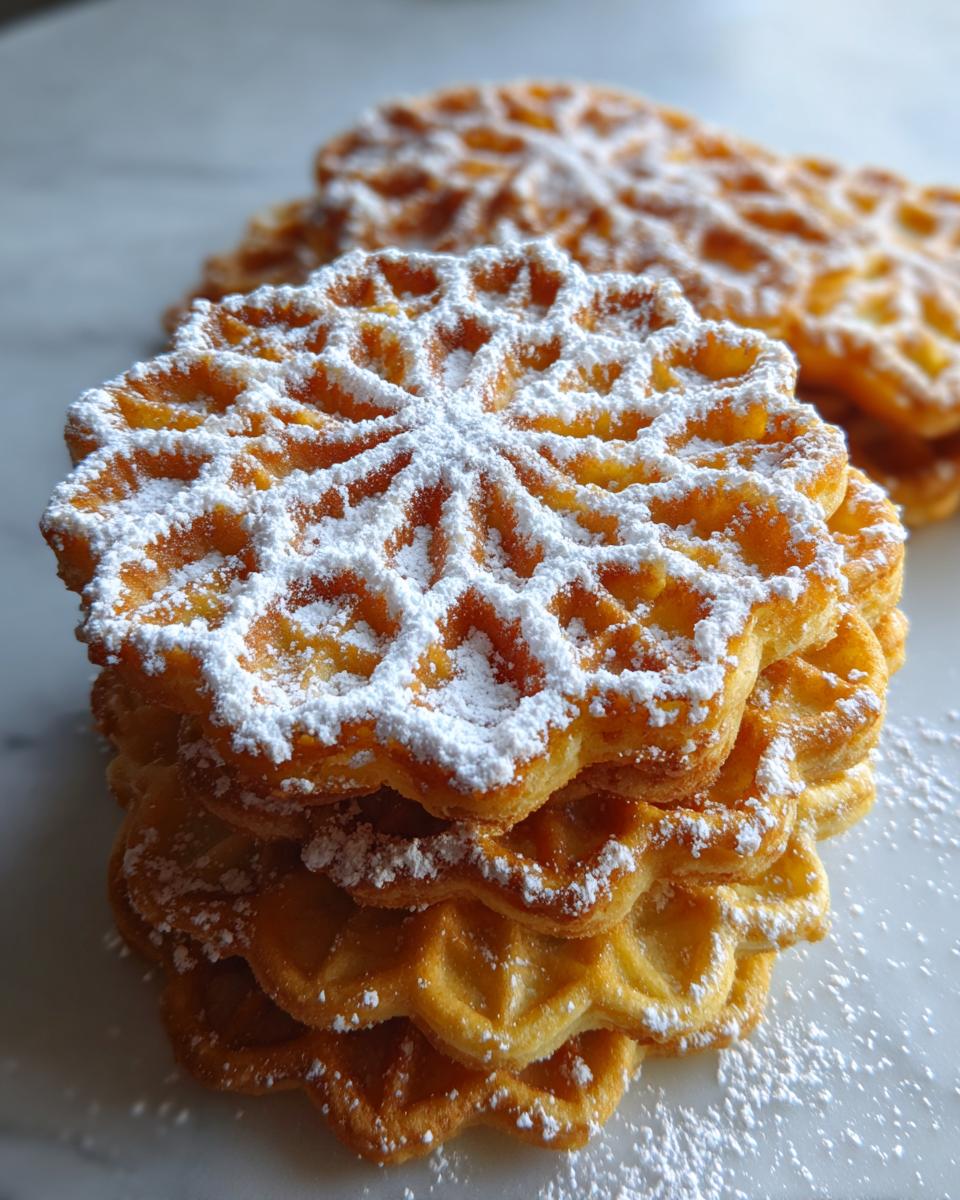
Once you have that perfect stack of crisp, patterned beauties, the question becomes: how do I serve these amazing light & crispy Italian treats? Honestly, they are incredible just as they are, lightly dusted with powdered sugar. That simple finish lets that vanilla and anise flavor really sing!
My absolute favorite way to enjoy them—especially the ones made with anise—is alongside a strong, dark-roast coffee or maybe a little espresso when I’m having a mid-day break. They dip perfectly without immediately dissolving, which is the hallmark of a well-made pizzelle! They also look stunning arranged on a platter for any gathering; they scream “homemade holiday” without demanding any extra work from you.
But you absolutely have to play around with shaping them while they are still piping hot, right after they come off the iron. That pliable moment is short, so be ready to move fast! You can gently roll them around a wooden dowel or handle to create little cones—perfect for filling later. Think of them as edible bowls for gelato or even whipped cream.
Or, if you want to save yourself the filling step, you can shape them into these fantastic, slightly curved shells. These work wonderfully if you are looking for other Italian-inspired desserts to serve alongside the pizzelle. If you want to try tackling another amazing Italian creation that uses similar dairy richness, take a look at my recipe for cannoli cookies—another simple way to get that festive feeling!
Storage & Reheating Instructions for Pizzelle Cookies
This is the part where all your hard work pays off, but you have to be patient! We want these pizzelle cookies to stay light and crisp for as long as possible. If you treat them right, they’ll last a full week, maybe even longer, which is great news for batch baking!
The absolute number one rule here is that they must be 100% completely cool before you even think about putting them in a container. I mean it—cool to the touch, not warm at all. If there’s any residual heat, that steam gets trapped, and suddenly you have chewy cookie tops instead of crisp wonders. Let them chill out on that wire rack for at least an hour after they come off the iron.
Once they are totally cool, move them into an airtight container. I prefer a sturdy plastic one with a good snap lid, but a cookie tin works fine as long as the seal is tight. Keep them stored at room temperature—never in the fridge! Refrigeration introduces moisture, and we are fighting moisture tooth and nail right now.
These are so good, I doubt they’ll last seven days, but that’s the official shelf life for these Traditional Pizzelle Cookies made with butter. They are truly one of the best Christmas Cookie Classics because they hold up so well for gifting!
What If They Lose Their Crunch?
Life happens. Maybe you had to store them near the kettle, or maybe the humidity in your house spiked. If you grab one later in the week and it seems like it’s lost a little of that snap, don’t panic! You can totally salvage them. No need to throw out your hard work.
The trick to reviving them is a quick, dry blast of heat. Pop those cookies—just one or two at a time—on a baking sheet. Stick them into an oven that’s warmed up to about 300°F (150°C) for just about three to five minutes. You aren’t baking them; you are just drying them out again! Pull them out, let them cool for about 60 seconds on the pan, and they should snap right back to their original glorious texture. It works like magic every time!
Frequently Asked Questions About Pizzelle Cookies
I always get so many questions when I post these classic beauties, especially around the holidays! People want to know how to make sure their Traditional Pizzelle Cookies come out perfectly lacy and crisp. I pulled together the most common things I hear so we can troubleshoot ahead of time. If you’re looking for more simple treats after this, don’t forget to check out our dessert roundup!
Can I make pizzelle cookies without anise?
Absolutely, yes! You know I love that traditional anise kick—it’s what makes them feel like straight-from-the-old-country, but it’s definitely not for everyone. If you want a purer, sweeter taste for your holiday platter, just skip the anise extract completely. Head back up to the ingredient notes section; when you do that, I recommend bumping your vanilla extract up to 2 teaspoons. That way, you get a beautiful, clear Vanilla Pizzelle flavor that pairs wonderfully with chocolate for dipping!
How do I ensure my pizzelle cookies are perfectly crisp?
This is the most important question for achieving that perfect, satisfying snap! Remember that steam is the enemy of crispness. You need to cook them just long enough—and I often mean slightly longer than the recipe seems to suggest—until that heavy burst of steam slows down significantly. More importantly, you have to let them cool completely flat on a wire rack without stacking them. If they are not fully cooled, they will soften up, no matter how perfectly you cooked them. Just give them space, and they will crisp up like magic!
Are these considered festive Italian sweets?
Oh, my gosh, yes! These are the ultimate Holiday Italian Desserts! If you look at any classic Italian household’s cookie tray in December, you are guaranteed to see these delicate, patterned cookies sitting right there. They are definitely counted among the top Christmas Cookie Classics for a reason—they look so elegant just dusted with a little powdered sugar, and they travel really well when you’re taking food to a party!
Share Your Experience Making These Pizzelle Cookies
I genuinely can’t wait to hear how your first batch of these pizzelle cookies turns out! Baking is so much better when we share the results, right? Please, please, leave me a comment below. Tell me what you thought of that vanilla and anise combination. Did you try making the Almond Pizzelle Recipe variation, or maybe the chocolate ones?
I love seeing your beautiful, patterned cookies! If you snap a picture, tag me on social media so I can admire your handiwork. Seriously, seeing your patterned buttery lacy cookies come to life in your kitchens is the best part of my day here at Cooking by Felix.
And if you have any little tips or tricks you discovered while perfecting your timing on the iron—maybe a specific temperature that worked wonders for your machine—please share those too! We all learn best from each other. Your feedback helps me keep refining these recipes, making them the best and easiest they can be for everyone.
If you need to chat about a specific step or have another baking question, you can always reach out directly through my contact page. Happy baking, everyone!
PrintClassic Vanilla and Anise Pizzelle Cookies
Make light, crispy Italian waffle cookies using this simple recipe. These buttery pizzelle are flavored with vanilla and traditional anise, perfect for holiday baking or serving with coffee.
- Prep Time: 15 min
- Cook Time: 20 min
- Total Time: 35 min
- Yield: About 3 dozen 1x
- Category: Dessert
- Method: Waffle Iron Cooking
- Cuisine: Italian
- Diet: Vegetarian
Ingredients
- 1 cup unsalted butter, softened
- 1 cup granulated sugar
- 4 large eggs
- 1 teaspoon vanilla extract
- 1 teaspoon anise extract
- 2 teaspoons baking powder
- 2 cups all-purpose flour
- Pinch of salt
- Confectioners’ sugar for dusting
Instructions
- Prepare your pizzelle iron according to the manufacturer’s directions and preheat it.
- In a large bowl, cream together the softened butter and granulated sugar until light and fluffy.
- Beat in the eggs one at a time, mixing well after each addition.
- Stir in the vanilla extract and anise extract.
- In a separate bowl, whisk together the flour, baking powder, and salt.
- Gradually add the dry ingredients to the wet ingredients, mixing until just combined to form a thick batter. Do not overmix.
- Using a small spoon or measuring cup, drop a small amount of batter onto the center of the hot pizzelle iron. The amount needed will vary based on your iron size.
- Close the iron quickly and press firmly. Cook for 30 to 45 seconds, or until the steam stops escaping and the cookie is golden brown.
- Carefully remove the hot, delicate cookie using a thin spatula.
- Immediately place the cookie on a wire rack to cool completely. The cookies will crisp up as they cool.
- If you wish to shape the cookies (into cannoli shells or cones), do so immediately while they are still hot and pliable.
- Repeat with the remaining batter, dusting the finished, cooled pizzelle cookies with confectioners’ sugar before serving or storing.
Notes
- For a purely vanilla flavor, omit the anise extract and increase the vanilla extract to 2 teaspoons.
- To make chocolate pizzelle, substitute 1/4 cup of the flour with 1/4 cup unsweetened cocoa powder.
- If your cookies are not crisping, cook them for an additional 10 to 15 seconds per batch.
- Store completely cooled pizzelle in an airtight container at room temperature for up to one week.
Nutrition
- Serving Size: 1 cookie
- Calories: 95
- Sugar: 7g
- Sodium: 30mg
- Fat: 5g
- Saturated Fat: 3g
- Unsaturated Fat: 2g
- Trans Fat: 0g
- Carbohydrates: 11g
- Fiber: 0g
- Protein: 1g
- Cholesterol: 25mg