

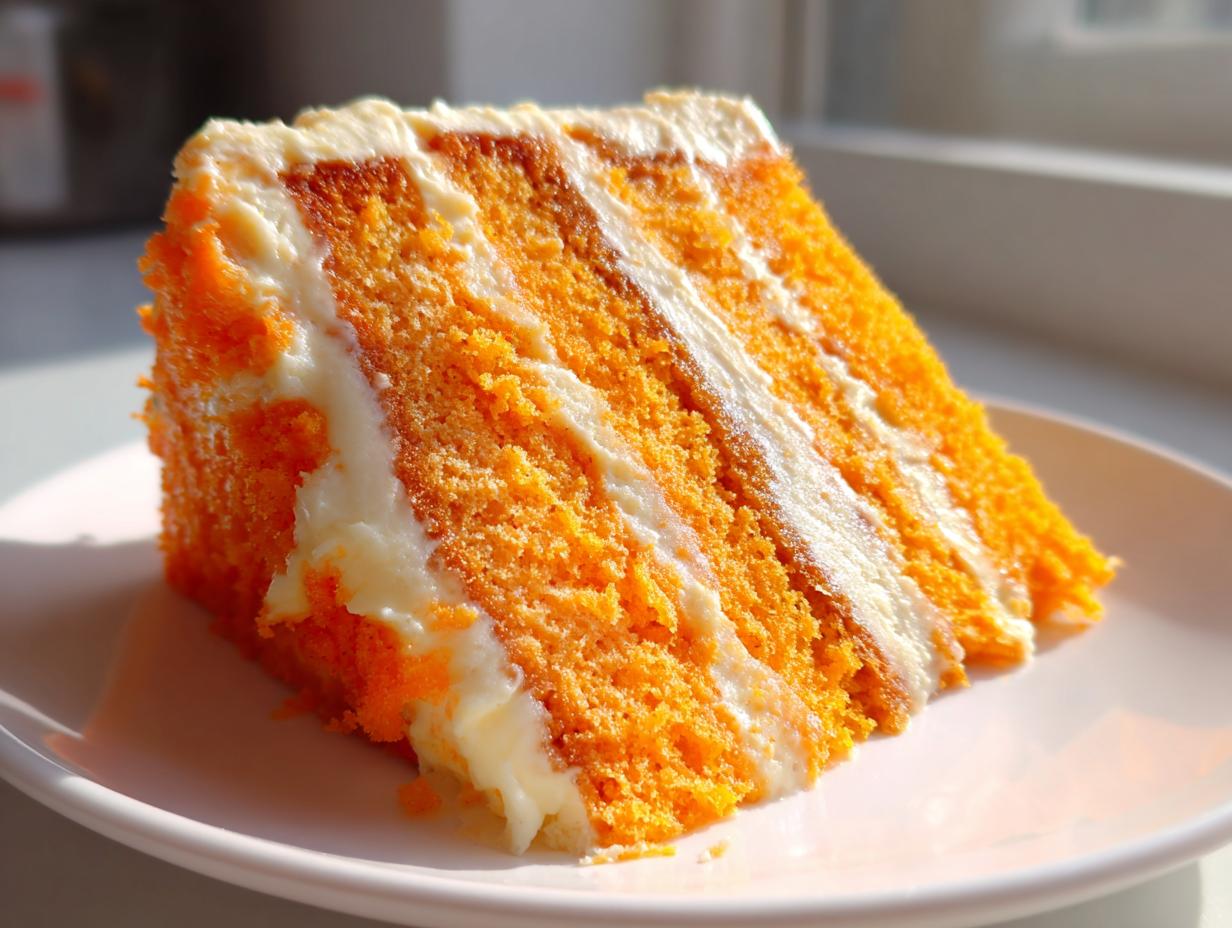
Remember those brilliant, striped popsicles you’d race home for on the hottest summer day? That perfect marriage of bright, tangy orange and sweet, creamy vanilla? Well, I bottled that feeling just for you. I’m Felix, and I know how hectic life gets, which is why I developed this to be the ultimate, non-negotiable Creamsicle Cake recipe. This isn’t some dry, sad imitation. This is a moist, layered cake that truly tastes like a creamsicle exploded into something better. I took the reliability I learned from managing demanding marketing schedules and poured it into ensuring this retro orange and vanilla flavor comes through perfectly, every single time you bake it.
Forget complicated steps; we’re keeping things accessible while demanding incredible flavor. Get ready to bake the best Creamsicle Cake you’ve ever tasted. Trust me, you want the recipe in this orange juice cake for comparison later, but today, we’re going layered!
- Why This Layered Creamsicle Cake is Your New Favorite Summer Dessert
- Gathering Ingredients for Your Perfect Creamsicle Cake
- Step-by-Step Instructions for the Creamsicle Cake
- Tips for the Best Creamsicle Cake Success
- Ingredient Notes and Substitutions for Your Orange Creamsicle Dessert
- Serving Suggestions for Your Nostalgic Citrus Cake
- Storing and Reheating Your Creamsicle Cake
- Frequently Asked Questions About This Creamsicle Cake Recipe
- Share Your Experience Making This Orange Creamsicle Dessert
Why This Layered Creamsicle Cake is Your New Favorite Summer Dessert
I get it, you have a million desserts you should make. But you need one that delivers that effortless summer nostalgia without tasting artificial. This Creamsicle Cake is that keeper. It’s truly a Light and Refreshing Cake that won’t weigh down your picnic blanket or backyard party.
Here’s why I promise this recipe will earn a permanent spot in your rotation:
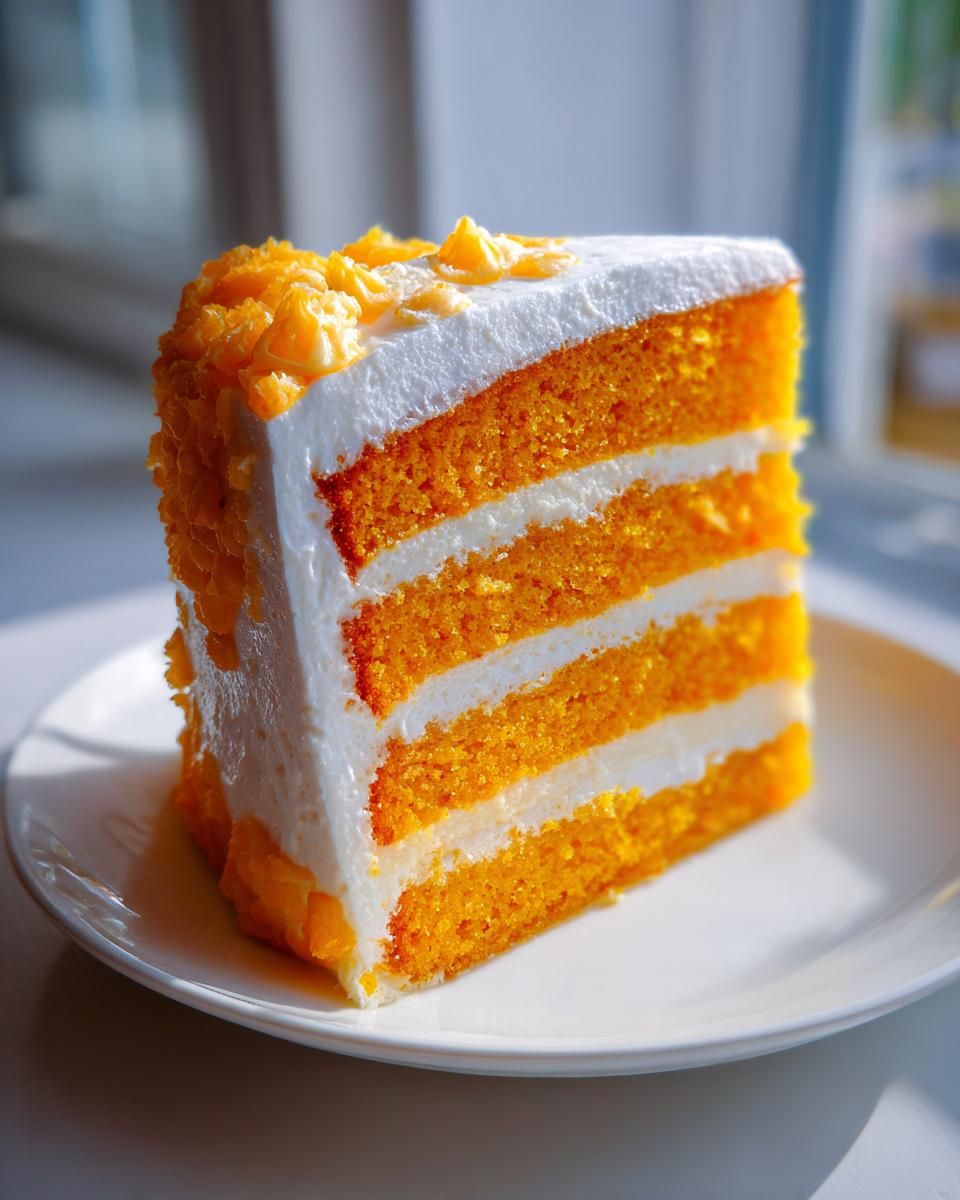
- It’s outrageously moist, thanks to our clever layering technique—no dry edges here!
- The flavor is bright citrus and sweet vanilla, not overpowering food coloring. It’s a genuine Crowd Pleasing Orange Cake.
- We skip heavy syrups and rely on simple elegance. Looking for something quick? Check out this easy white chocolate fudge too!
For me, this flavor brings me right back to my childhood summers in Chicago. It’s comfort in cake form, and I’m so excited for you to taste that simple happiness!
Gathering Ingredients for Your Perfect Creamsicle Cake
Okay, ready to make some magic? The secret to this gorgeous Creamsicle Cake really does start at the grocery store. We’re not relying on obscure items here—everything is accessible, but we need the right *quality*. Since we are layering the flavor, we need the cake part to be wonderfully citrus-forward to balance that creamy frosting later on. That bright orange flavor comes straight from using fresh zest and juice; don’t skimp on that step! It’s what gives us that wonderful Citrus Burst Dessert finish.
For the Fluffy Orange Cake Layers
Grab your standard ingredients, but make sure you have lovely fresh orange juice and zest ready to go! This is what elevates it from box mix status. You’ll need:
- 1 box (15.25 ounces) white or vanilla cake mix
- 1 cup all-purpose flour
- 1 teaspoon baking powder
- 1/2 teaspoon salt
- 1 cup whole milk
- 1/2 cup vegetable oil
- 4 large eggs (make sure they are room temperature!)
- 1 teaspoon vanilla extract
- 1/4 cup fresh orange juice
- 1 tablespoon orange zest
- 1 package (3 ounces) orange gelatin mix
- 1/2 cup boiling water
- 1/2 cup cold water
For the Creamy Orange Frosting Cake
Now for the part that makes it luxurious! If you want that perfectly smooth, dreamy buttercream, you absolutely must sift your powdered sugar. I cannot stress this enough; lumps will ruin the texture we worked so hard for in the cake layers.
- 1 cup (2 sticks) unsalted butter, softened—and I mean really softened, leave it out early!
- 4 cups powdered sugar, sifted
- 1/4 cup fresh orange juice
- 1 teaspoon vanilla extract
- 1/4 teaspoon orange extract (this is optional, but trust me, it locks in that intense flavor!)
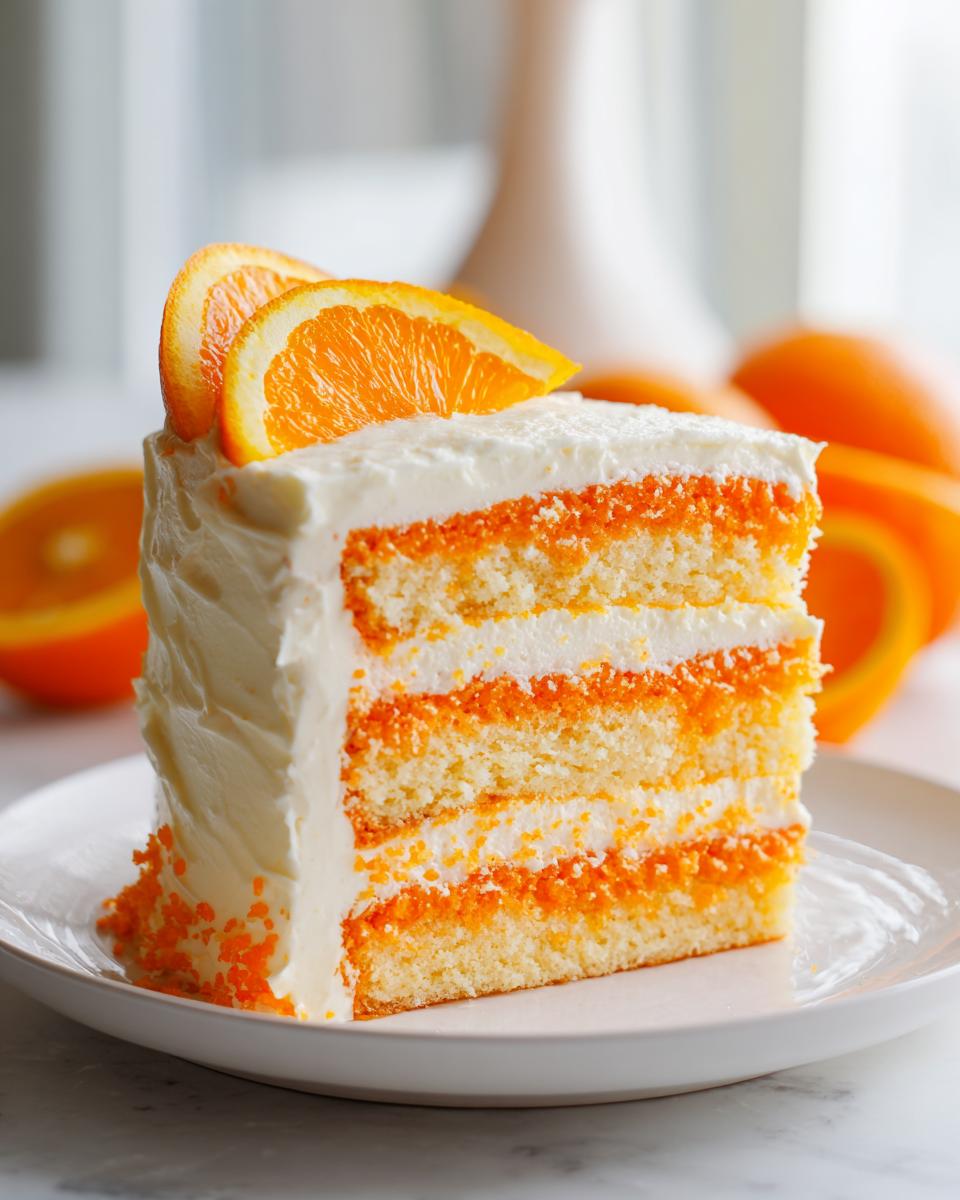
Don’t forget your garnish—a little fresh orange slice on top makes this look stunning!
Step-by-Step Instructions for the Creamsicle Cake
This is where the fun really starts! Don’t let the multiple steps intimidate you; most of the work is hands-off waiting time. We’re using a mix method that locks in moisture from the start, and then we use that jiggle of gelatin to really infuse that orange sunshine deep into the crumb. Timing matters here, particularly when we are dealing with the poke step, so read ahead! If you’ve ever made this orange juice cake, you know the frosting process is crucial for texture—though this frosting differs significantly from my cream cheese one.
Baking the Orange Cake Layers
First things first, let’s get the oven ready. Preheat yours to 350°F (175°C) and make sure you’ve greased and floured those two 8-inch round pans really well. In a big bowl, whisk your dry stuff: the cake mix, flour, and baking powder. In another bowl, mix your wet stuff—milk, oil, eggs, and vanilla. Then, mix wet into dry until it’s *just* combined. Seriously, stop mixing! Then, gently stir in the 1/4 cup of orange juice and that beautiful zest. Divide the batter evenly and bake them for about 28 to 32 minutes. You know they’re done when a toothpick slides out clean.
Creating the Orange Gelatin Soak and Poking the Cake
As soon as they come out—and I mean while they are still warm!—it’s time for the secret weapon. Dissolve that orange gelatin mix in the boiling water, stir in the cold water, and set it aside. Now, take a skewer or a fork and poke holes all over the top of both warm layers, spacing them about an inch apart. Slowly pour half of that orange gelatin mixture over each cake. Let them cool completely in the pans on a rack first, then gently flip them out to finish cooling. They’ll soak all that wonderful jiggle up!
Whipping the Orange-Vanilla Buttercream
While those cake layers are cooling down totally, we tackle the frosting. Make sure your butter is truly soft—if it’s cold, the frosting will be lumpy, guaranteed! Beat that butter until it’s looking light and creamy, then start adding that sifted powdered sugar one cup at a time. Once it’s mixed, slowly pour in the orange juice, vanilla, and that optional orange extract. Keep beating it until it’s fluffy and spreadable. For the fluffiest texture, you really want to follow the principles in this perfect vanilla buttercream guide. If it seems too stiff, just thin it out with a tiny splash of milk, but don’t add too much, or it gets runny!
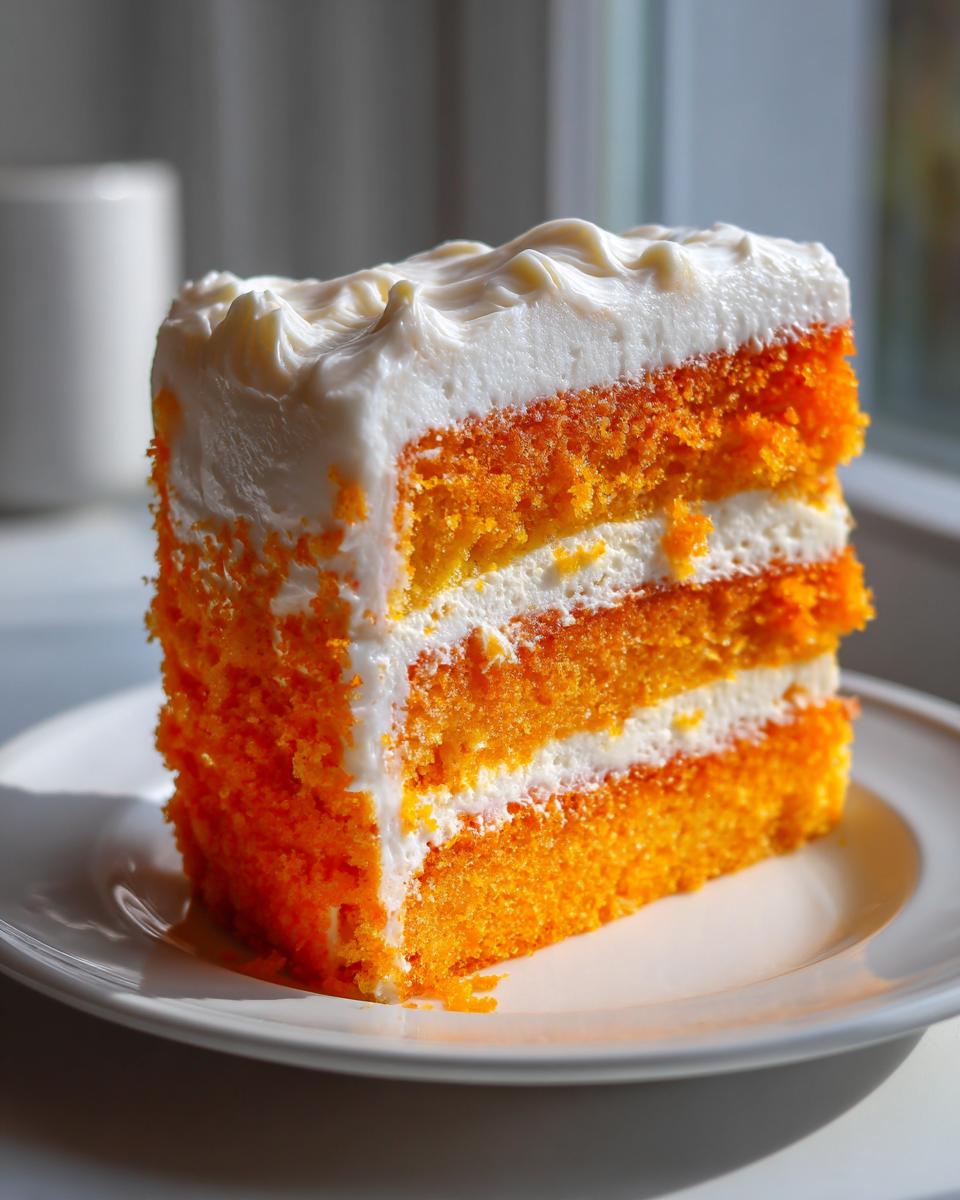
Assembling Your Fluffy Orange Layer Cake
This is the grand finale! Place one cooled, gelatin-infused layer on your serving plate. Take about a third of your beautiful frosting and spread it evenly over the top. Careful when you place the second layer on top—it’s delicate now! Then, just frost the top and sides with the rest of that gorgeous Creamy Orange Frosting Cake. A little extra zest or a slice of orange on top and there you have it: the perfect Creamsicle Cake!
Tips for the Best Creamsicle Cake Success
Now that you have the basic steps down, let me share a few little tricks I use to guarantee this Creamsicle Cake tastes exactly like that nostalgic frozen treat every time. Don’t worry if you didn’t plan ahead; some of these tips are for saving time while keeping quality high. I always tell people that the magic isn’t just in the recipe, but in how you show up for the ingredients. For more inspiration on moist bakes, check out my recipe for moist lemon loaf!
First off, let’s talk about that frosting! If you’re rushing, the number one reason buttercream fails is cold butter. Make sure your butter is truly at room temperature for the frosting steps. It should be soft enough to leave an easy dent without melting. Cold butter = sad, ripped cake layers when you try to frost.
For an even more intense orange flavor boost—if you really want to lean into that citrus punch—try substituting the whole milk in the cake batter with chilled orange soda. It adds a little fizz that helps tenderize the crumb, but use it cold! This little hack makes it taste even brighter, which I learned trying to nail the perfect Citrus Burst Dessert.
Remember those notes I mentioned earlier? If you want to skip the layering entirely, this recipe is fantastic as a Creamsicle Poke Cake. Just use a single 9×13 pan instead of two rounds. Pour all of that lovely orange gelatin soak over the warm cake right out of the oven and then chill it completely before frosting. It’s easier for potlucks and still delivers a huge flavor payoff, just like the folks over at this version do!
Finally, about resting—this cake gets better as it sits because the gelatin has time to fully infuse the layers. If you can resist? Wait. If you can’t? At least chill the finished cake for 30 minutes before slicing. It helps the creamy frosting set up nicely for a cleaner slice.
Ingredient Notes and Substitutions for Your Orange Creamsicle Dessert
Let’s talk specifics for a moment because sometimes using the right ingredients matters more than the mixing itself. When we talk about achieving that bold Orange Creamsicle Dessert profile, the orange extract is your secret weapon. Honestly, while the fresh juice and zest give you that bright, zesty note, the extract is what really pushes that recognizable, manufactured creamsicle flavor we love into the background of the frosting. It’s optional, sure, but only use a tiny bit—too much can taste soapy!
Also, don’t stress too much about the cake mix brand. Whether you grab the blue box or the yellow box, this recipe is forgiving, which is part of my philosophy for busy cooks like you. The added flour, baking powder, and citrus juice are what really make the batter shine, regardless of the brand name on the box. If you’re looking for something savory next, check out this amazing orange chicken for a change of pace!
Serving Suggestions for Your Nostalgic Citrus Cake
This Nostalgic Citrus Cake is honestly happy all on its own, but since we’re aiming for a spectacular summer dessert experience, we should think about what complements that bright orange and soft vanilla!
Because this Creamsicle Cake is already so rich from the buttercream and moist from the gelatin soak, you don’t need heavy sides. The goal here is light, refreshing contrast. I love serving a thin slice alongside something cool and slightly tangy. Think about plating it next to just a small scoop of really good vanilla bean ice cream—it enhances the vanilla notes in the buttercream without competing with the orange.
If you are having a big gathering, especially outside, keep the accompaniments simple. A fresh berry salad featuring raspberries or blueberries works beautifully; their slightly tart flavor cuts right through the richness of the cake. For something really elegant, a light sprinkle of candied orange zest on the serving plate is just stunning.
And here’s a really important note for texture: always try to serve this cake chilled, or at least cool. When it’s cold, that creamy frosting firms up just enough, and the **Orange Vanilla Cake Flavor** really pops. If you serve it straight from the counter on a hot day, the frosting might get a little too soft. If you need a savory break after all that sugar, you can always revisit my creamy egg salad later!
For more great citrus ideas, you should definitely check out the visuals on this lovely outdoor setup for inspiration on presentation!
Storing and Reheating Your Creamsicle Cake
Since this gorgeous Creamsicle Cake is covered in that rich, creamy buttercream, we have to treat it a little differently than, say, a simple loaf cake. It’s loaded with butter and dairy, so for food safety and to keep that frosting firm and beautiful, refrigeration is your best friend here.
You’ll want to store any leftover cake in an airtight container right in the fridge. If you don’t have a container big enough, cover the serving plate tightly with plastic wrap, pressing the wrap gently against the frosting to prevent it from getting crusty or absorbing any funny fridge smells. It keeps beautifully for about three to four days this way—if you can resist eating it that long, that is!
Now, here’s the most important part about reheating, or rather, *not* reheating, this dessert. This is the exact opposite of reheating our cassava cake! You absolutely should not microwave this cake. Why? Because that lovely, fluffy frosting will melt into a greasy puddle, and the tender cake layers will get strangely dense.
Instead, if you plan on serving leftovers, pull the covered cake out of the refrigerator about 45 minutes to an hour before you want to eat it. Allowing it to come up to closer to room temperature makes a huge difference!
When it warms up just slightly, that Orange Vanilla Cake Flavor softens up, the frosting becomes creamy again (not hard and cold), and you get that perfect, melt-in-your-mouth bite that tastes exactly like it just came out of the oven. Enjoy those leftovers!
Frequently Asked Questions About This Creamsicle Cake Recipe
I always get a ton of great questions after posting a new favorite recipe, so I put together the most common ones here. We want everyone to succeed in making this incredibly moist dessert. Don’t worry about being a beginner; that’s why I break everything down so clearly! If you need more inspiration after this, check out these fantastic brie bites!
Can I make this Orange Vanilla Cake Flavor ahead of time?
You absolutely can! This is a huge time saver, especially if you’re aiming for an Easy Summer Cake Recipe for a weekend barbecue. You can bake the layers one day ahead of time. Once they are completely cool, wrap each layer tightly in plastic wrap. Don’t poke them with the gelatin yet! Keep them wrapped at room temperature for up to 24 hours. You can also make the buttercream a day early; just store it in the fridge. When you’re ready to assemble, let the butter soften on the counter for about an hour until it’s workable again, and then you can build your beautiful Fluffy Orange Layer Cake!
How do I achieve a truly Creamy Orange Frosting Cake texture?
This comes down almost entirely to butter temperature and mixing action! You must make sure your one cup of butter is perfectly softened—if you press your finger into it and it sinks without resistance, it’s perfect. When you start beating the butter before adding the sugar, you need to whip it until it goes noticeably pale and fluffy. That process incorporates the air needed for lift. Once you add the powdered sugar, always mix on low or medium-low initially. If you blast it on high right away, you’ll end up with a cloud of sugar dusting your whole kitchen! Use medium speed for the final incorporating of the liquids to maintain that light, Creamy Orange Frosting Cake structure.
Is this recipe easily adaptable into a Creamsicle Poke Cake Tutorial?
Yes, it is! That’s one of the best parts about using a cake mix base—it’s so versatile. If you want to follow a Creamsicle Poke Cake Tutorial instead of layering, simply bake the entire batter in one 9×13 inch baking pan instead of dividing it into two 8-inch rounds. Bake it a little longer, checking closer to 35-40 minutes. Then, while it’s still warm, poke holes all over the single, larger cake and pour *all* of the prepared orange gelatin mixture over the top before cooling.
Share Your Experience Making This Orange Creamsicle Dessert
Wow, we made it! You went from staring at an empty counter to having a stunning, beautifully layered Creamsicle Cake ready to serve. I truly hope the smell of orange zest and vanilla filling your kitchen brought you a little bit of calm and a whole lot of happiness.
Now that you’ve tasted that perfect combination—that actual slice of sunshine—I need to hear all about it! Did you use the orange extract or skip it? Did the kids rave about the gelatin soak? Don’t keep those triumphs to yourself!
Please hop down to the comments below and leave a star rating for this **Creamsicle Cake**. Seriously, giving it a rating helps other busy cooks find this reliable recipe when they are looking for that perfect summer treat. If you snap a picture of your finished masterpiece, tag me on social media! I absolutely love seeing your creations and hearing how this **Orange Creamsicle Dessert** played out at your table. If you need a savory palate cleanser after all that sweet perfection later, try whipping up my no-cook pizza sauce!
Making a great meal shouldn’t feel like another chore; it should feel like this—successful, flavorful, and fun. Thanks so much for baking with me!
PrintClassic Layered Orange Creamsicle Cake with Orange-Vanilla Buttercream

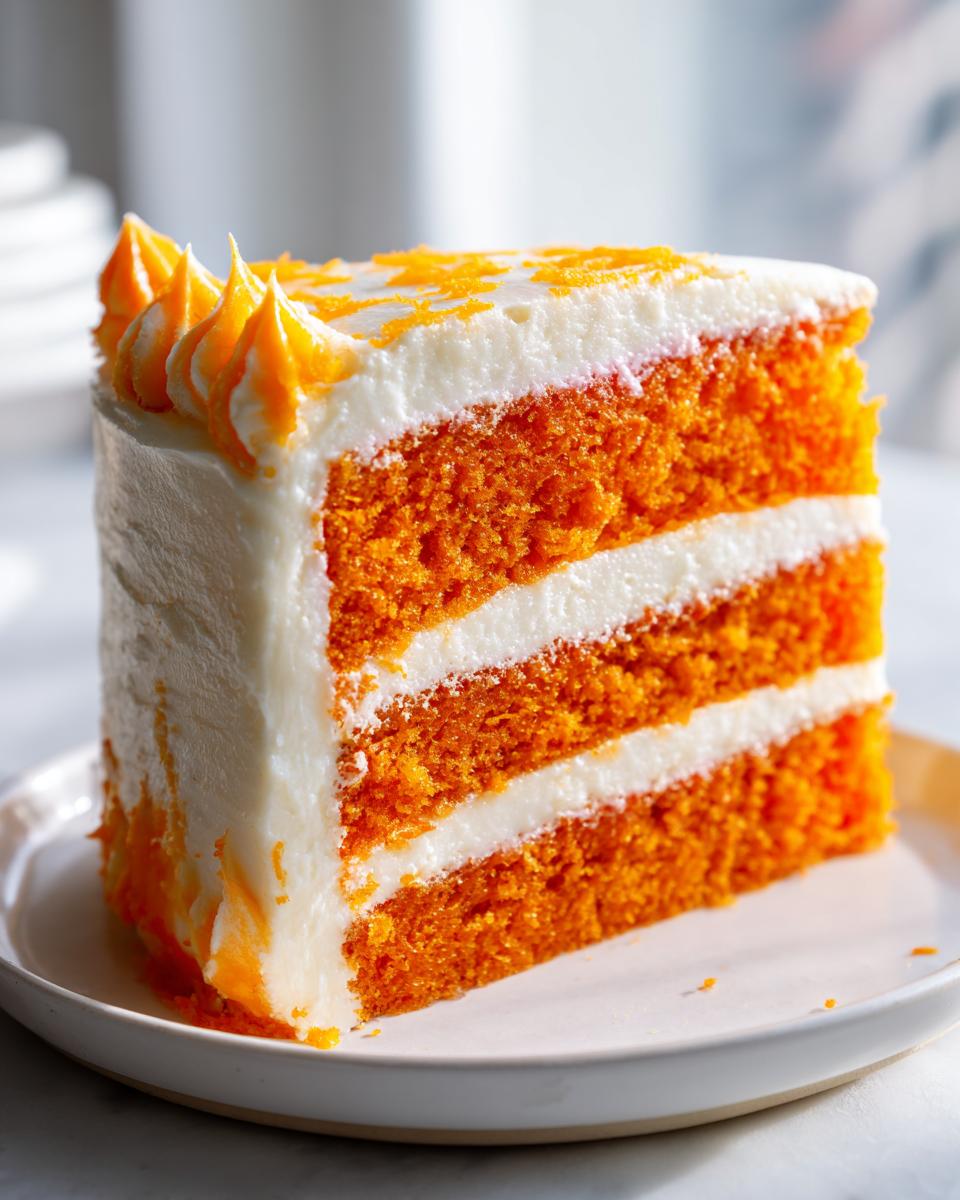
You can make this moist, refreshing layered cake that captures the nostalgic flavor of an orange creamsicle. It features bright citrus cake layers and a creamy orange-vanilla buttercream frosting, perfect for summer gatherings.
- Prep Time: 25 min
- Cook Time: 30 min
- Total Time: 55 min
- Yield: 12 servings 1x
- Category: Dessert
- Method: Baking
- Cuisine: American
- Diet: Vegetarian
Ingredients
- 1 box (15.25 ounces) white or vanilla cake mix
- 1 cup all-purpose flour
- 1 teaspoon baking powder
- 1/2 teaspoon salt
- 1 cup whole milk
- 1/2 cup vegetable oil
- 4 large eggs
- 1 teaspoon vanilla extract
- 1/4 cup fresh orange juice
- 1 tablespoon orange zest
- 1 package (3 ounces) orange gelatin mix
- 1/2 cup boiling water
- 1/2 cup cold water
- 1 cup (2 sticks) unsalted butter, softened
- 4 cups powdered sugar, sifted
- 1/4 cup fresh orange juice
- 1 teaspoon vanilla extract
- 1/4 teaspoon orange extract (optional, for stronger flavor)
- Orange slices or zest for garnish
Instructions
- Preheat your oven to 350°F (175°C). Grease and flour two 8-inch round cake pans.
- In a large bowl, whisk together the cake mix, flour, and baking powder.
- In a separate bowl, whisk together the milk, oil, eggs, and vanilla extract. Add the wet ingredients to the dry ingredients and mix on medium speed until just combined.
- Stir in the 1 tablespoon of orange zest and 1/4 cup of orange juice until smooth. Do not overmix.
- Divide the batter evenly between the prepared cake pans. Bake for 28 to 32 minutes, or until a toothpick inserted into the center comes out clean.
- While the cakes cool slightly, prepare the gelatin soak. In a small bowl, dissolve the orange gelatin mix in the boiling water. Stir in the cold water. Set aside.
- Once the cakes are slightly warm (about 10 minutes out of the oven), use a skewer or fork to poke holes all over the top surface of both cakes, about 1 inch apart.
- Slowly pour half of the orange gelatin mixture evenly over each cake layer. Let the cakes cool completely in the pans on a wire rack. Once cool, carefully invert them onto the rack and allow them to finish cooling completely before frosting.
- To make the orange-vanilla buttercream, beat the softened butter in a large bowl with an electric mixer until creamy.
- Gradually add the sifted powdered sugar, one cup at a time, mixing well after each addition.
- Beat in the 1/4 cup of orange juice, vanilla extract, and optional orange extract until the frosting is light and fluffy. If the frosting is too thick, add 1 teaspoon of milk at a time until you reach a spreadable consistency.
- Place one cooled cake layer on your serving plate. Spread about one-third of the frosting evenly over the top. Place the second layer on top.
- Frost the top and sides of the entire cake with the remaining buttercream. Garnish with fresh orange slices or extra zest.
Notes
- For an even more intense orange flavor, you can substitute the milk in the cake batter with orange soda.
- If you want a poke cake variation, use a single 9×13 pan and skip the layering steps, pouring all the gelatin over the warm cake.
- Chill the cake for at least 30 minutes before slicing to help the frosting set.
Nutrition
- Serving Size: 1 slice
- Calories: 450
- Sugar: 55g
- Sodium: 280mg
- Fat: 22g
- Saturated Fat: 12g
- Unsaturated Fat: 10g
- Trans Fat: 0g
- Carbohydrates: 60g
- Fiber: 1g
- Protein: 4g
- Cholesterol: 85mg