

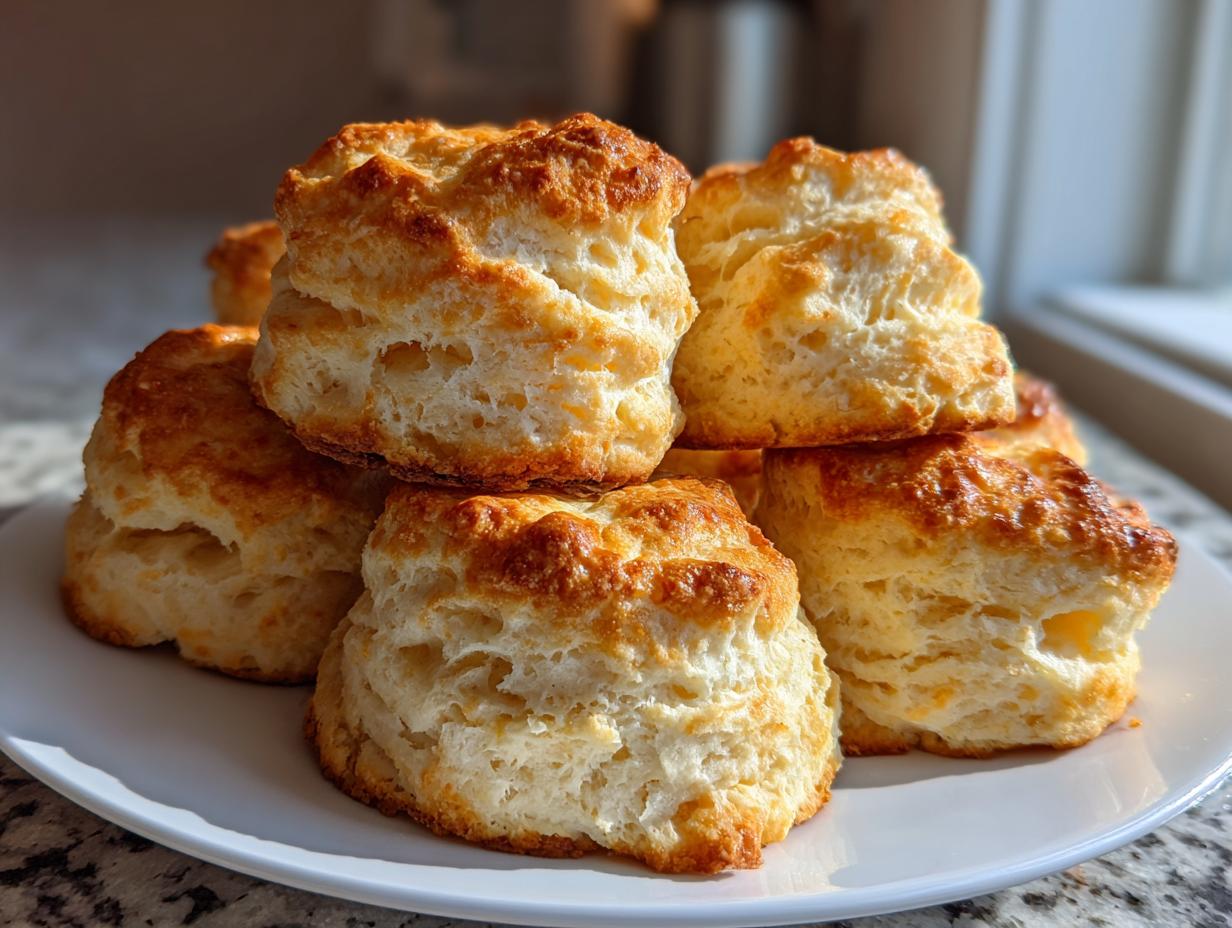
There’s just nothing better than walking into the kitchen and smelling that warm, buttery scent of fresh-baked bread, is there? For me, the ultimate comfort food has always involved a stack of perfectly risen, tender buttermilk biscuits right out of the oven. I grew up understanding that the best meals, especially in Southern cooking traditions, rely on simple techniques done right. Trust me when I say this recipe delivers exactly what you want: ultra flaky and wonderfully tender homemade buttermilk biscuits made completely from scratch.
- Why This Recipe Delivers the Best Buttermilk Biscuits
- Gathering Ingredients for Homemade Buttermilk Biscuits
- Step-by-Step Guide to Making Flaky Buttermilk Biscuits
- Tips for Success Making Classic Southern Buttermilk Biscuits
- Serving Suggestions for Your Buttermilk Biscuits
- Storing and Reheating Flaky Buttermilk Biscuits
- Frequently Asked Questions About Buttermilk Biscuits
- Nutritional Estimates for These Buttermilk Biscuits
- Share Your Golden Brown Buttermilk Biscuits
Why This Recipe Delivers the Best Buttermilk Biscuits
It’s not magic; it’s technique. I know so many people struggle to get that high rise, but the truth is, it comes down to how you treat the ingredients before they even see the oven. My goal here is to share the exact steps needed so you can guarantee a Fluffy Biscuit Recipe every single time. We focus on simplicity, but precision matters immensely if we want those Tender Buttermilk Biscuits everyone raves about. These taste incredible on their own, but wait until you try them with my famous sausage gravy!
Here is what sets this batch apart from the rest:
- We rely on physics, not luck, to make them rise high.
- We respect the chill factor for maximum flakiness.
The Secret to Tall and Flaky Buttermilk Biscuits
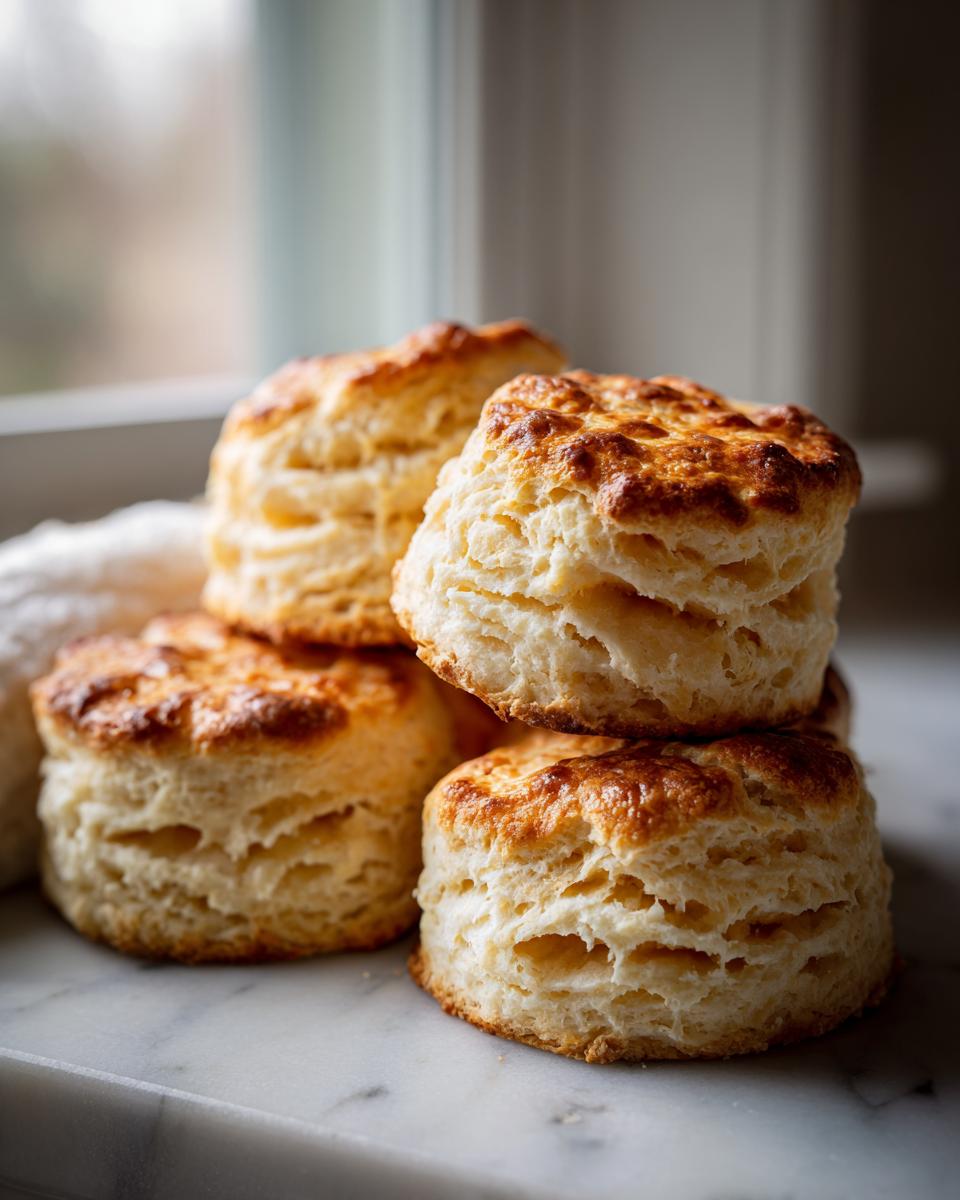
This is honestly where the Southern magic happens. You must, and I mean *must*, use ice-cold butter. Those little chunks of butter trapped in the dough steam up instantly in the oven, creating pockets of air that lift and separate the layers. After mixing, that one crucial fold—the letter fold—is what builds the structure. It laminates the dough, giving you those gorgeous, distinct layers that make a truly great biscuit.
Achieving That Perfect Buttery Biscuit Recipe Flavor
The flavor hinges almost entirely on the butter and the buttermilk. Use a high-quality, full-fat butter; it contributes so much more richness than lighter options. The buttermilk doesn’t just provide moisture; its natural acidity reacts beautifully with the baking soda, giving these biscuits the perfect slight tang and helping them brown up beautifully. That slight tang is what keeps them from tasting flat, honestly.
Gathering Ingredients for Homemade Buttermilk Biscuits
I love that this recipe proves you don’t need a pantry full of complicated things to pull off incredible From Scratch Baking. Mostly, we are dealing with pantry staples here, but I have one absolute non-negotiable rule: the butter must be high-quality and must be kept utterly icy cold. Don’t let that butter warm up even slightly before you cut it into the flour mix! That’s the best defense for those flaky layers we are aiming for. Get your ingredients ready—and maybe bookmark this delicious peach cobbler recipe for later!
Ingredient Clarity: What You Need for Perfect Buttermilk Biscuits
- 2 cups all-purpose flour
- 1 tablespoon baking powder
- 1 teaspoon baking soda
- 1 teaspoon salt
- 1/2 cup (1 stick) cold unsalted butter, cut into small cubes
- 3/4 cup cold buttermilk (plus extra for brushing)
After you’ve got those laid out, we’re ready to move right into the mixing stage. Don’t wander off!
Step-by-Step Guide to Making Flaky Buttermilk Biscuits
Okay, this is where we actually make the magic happen! Remember, with these buttermilk biscuits, it’s less about speed and more about respecting the ingredients—especially keeping that butter cold. If you rush this process, you end up with dense hockey pucks, and nobody wants that for breakfast. We’re aiming for light, towering, melt-in-your-mouth tenderness. If you’ve ever had trouble getting height, pay close attention to the folding section!
Preparing the Dry Mix and Cutting in the Butter for Buttermilk Biscuits
First things first, you need everything fully combined before the liquid goes in. Take your dry ingredients—flour, baking powder, baking soda, and salt—and whisk them together really well in a roomy bowl. I mean it; blend them thoroughly so you don’t end up with a pocket of baking soda later!
Now, introduce the cold butter cubes. This is the critical moment for establishing flakiness. You need to work the butter into that flour mixture until it looks like what I call “coarse breadcrumbs.” Felix’s Tip: You absolutely must leave some pieces of butter visible—they should be about the size of small peas or maybe even a lima bean. If it all blends into one uniform grainy texture, the steam won’t be able to lift the layers later on. Use a pastry blender or, my favorite way, just use your fingertips to quickly squish and rub the butter in before it melts from the heat of your hands. Don’t linger!
The Lamination Fold: Creating Layers in Your Buttermilk Biscuits
Once you add the required cold buttermilk all at once, stir it just until the dough barely holds together. Stop stirring the second you get no major dry patches left. Seriously, it will look shaggy and messy, but that’s perfect. Turn this shaggy mass out onto your lightly floured counter. Remember the goal here is to achieve Tall and Flaky Biscuits.
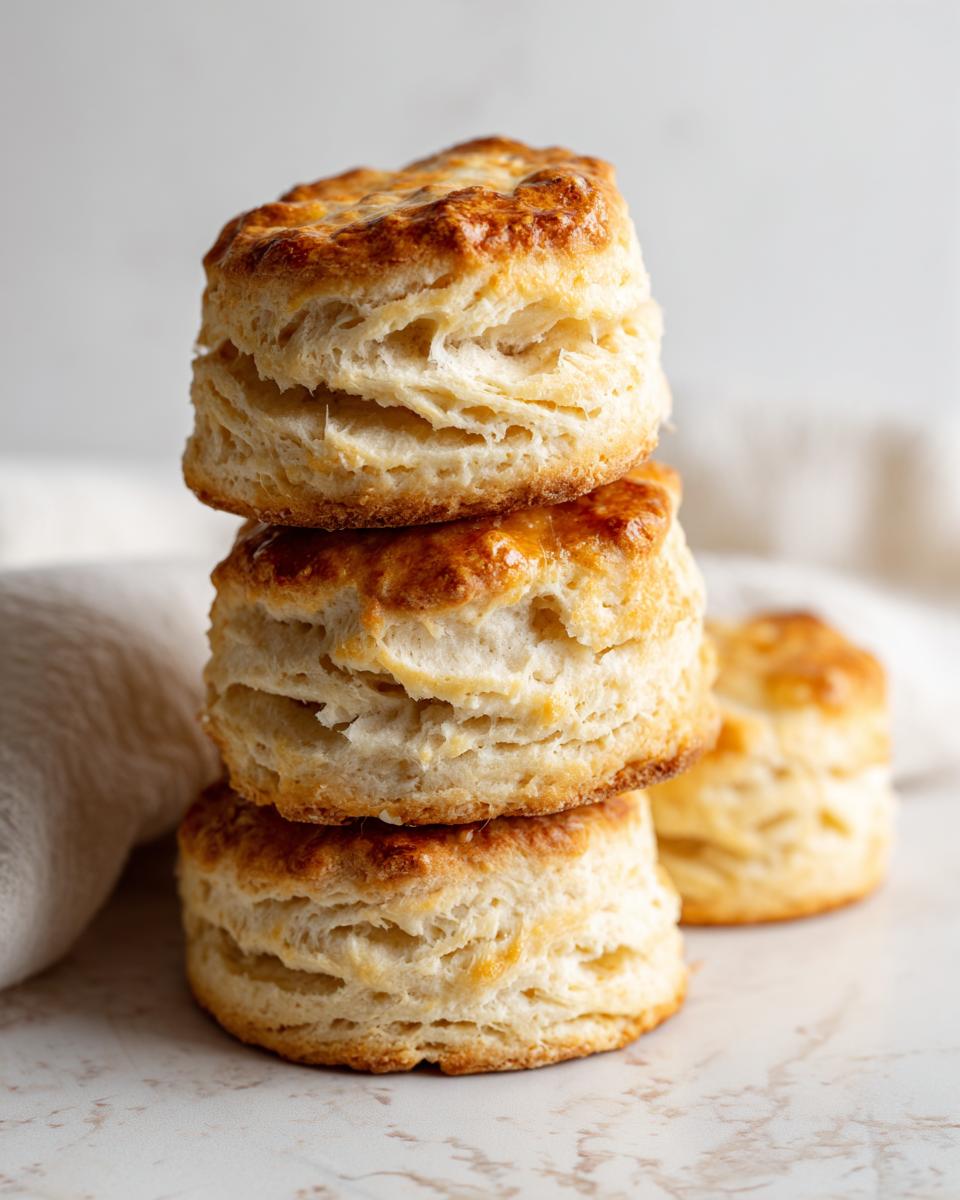
Gently pat the dough into a rough rectangle, aiming for about 3/4 inch thick. Now, this is the key step: literally fold the dough into thirds, like you’re folding a business letter. Turn that folded dough 90 degrees, then pat it out again to that same 3/4 inch thickness. Repeating this folding—maybe doing it just once or twice total—is what creates the incredible layers you see in the Best Southern Biscuits. Handle this dough as little as possible; don’t press, knead, or flatten aggressively. We want those air/butter pockets preserved!
If you want to see some amazing visual examples of this method, I saw a great one posted by the folks at this site that shows exactly how gentle you should be.
Cutting and Baking Your Tender Buttermilk Biscuits
Time to cut! Use a sharp biscuit cutter—I prefer about 2.5 inches wide—and press straight down. Do not, under any circumstances, twist the cutter as you pull it up. Twisting seals the edges shut, which completely stops the biscuit from rising straight up. Pushing straight down keeps those sides smooth so they can climb high!
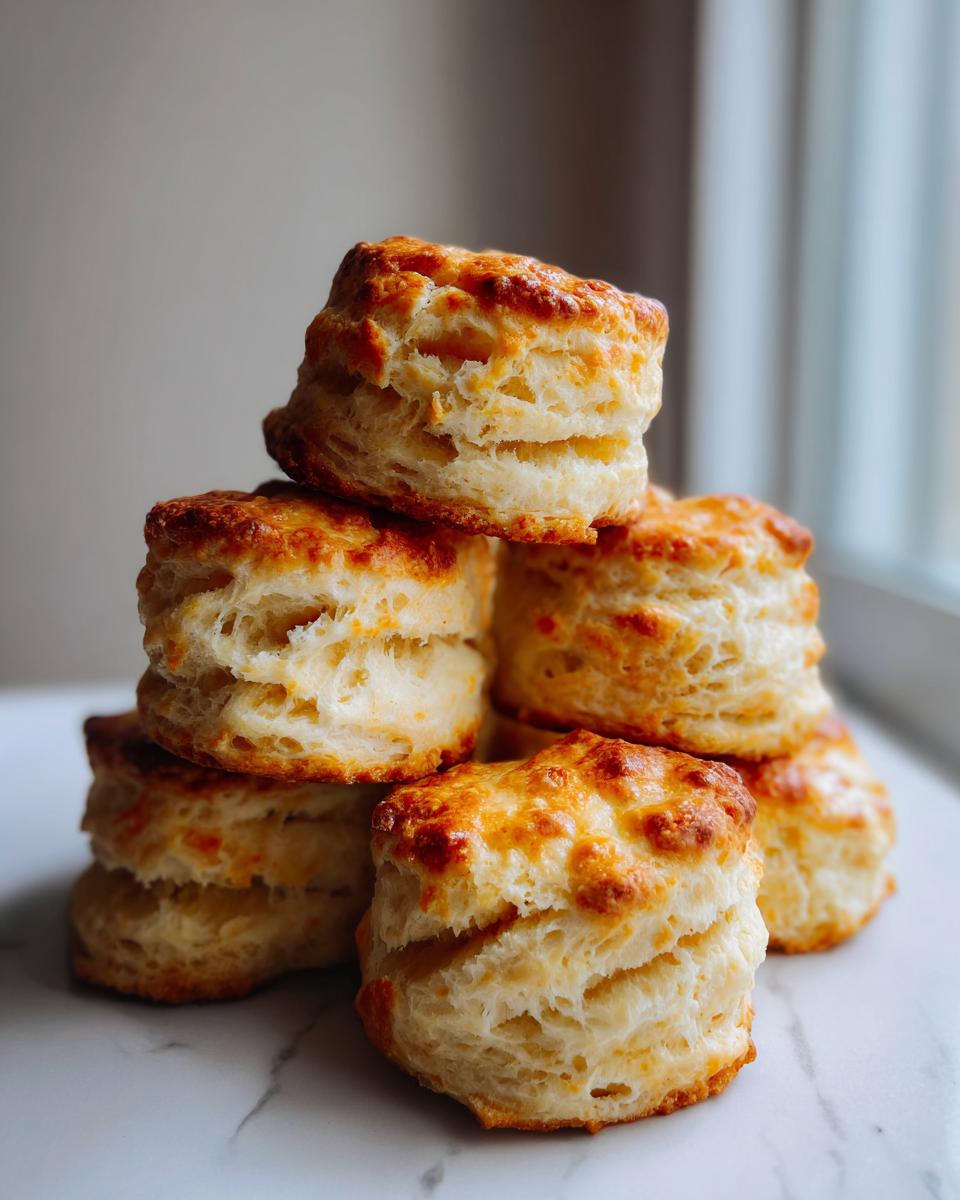
Place your biscuit cutouts close together on an ungreased baking sheet if you like soft, pull-apart sides, or space them an inch apart if you prefer crispier edges. Before they go in, brush the tops lightly with just a little extra cold buttermilk—this helps them get that classic golden color. Get your oven preheated to 425°F. Bake them for about 12 to 15 minutes. They are done when they are puffed up nicely and beautifully golden brown on top. Don’t forget to check out my tips on achieving perfectly cooked eggs to serve alongside these masterpieces!
Tips for Success Making Classic Southern Buttermilk Biscuits
Making these truly great Classic Southern Cooking staples means being prepared to troubleshoot. I’ve learned over the years that even deviating slightly from the cold rule can change the final result entirely. My grandmother always said that you need to respect the temperature of your butter and milk—it is the foundation of the biscuit’s texture, not just an afterthought!
My top notes focus on these key areas:
- If your biscuits are flattening out instead of climbing high, your butter wasn’t cold enough, or you twisted the cutter. It’s usually one of those two things!
- For an extra buttery punch—and this is a step I never skip—brush the tops with a little melted butter the second they come out of the oven. It soaks right in and adds amazing aroma.
- Always use very cold buttermilk. If you don’t have any, you can mix 3/4 cup of regular milk with 1/2 teaspoon of white vinegar or lemon juice and let it sit for five minutes before using. This mimics the necessary acidity.
Troubleshooting Common Buttermilk Biscuits Issues
If you find your biscuits aren’t browning enough, double-check your oven temperature; I find that many home ovens run a little cool, and that 425°F needs to be accurate for that golden crust. Also, brushing the tops with a tiny bit of extra buttermilk right before baking really helps achieve that beautiful finish. If they bake too far apart, they spread wide instead of tall because they aren’t supporting each other. Make sure you place them right next to each other on the pan for soft sides!
If you want to see a few other tried-and-true methods for achieving that perfect texture, the folks over at Blessed Dish have some great insights on handling the dough gently.
For more easy baking ideas that fit into a busy life, check out my recipe for classic French apple tart!
Serving Suggestions for Your Buttermilk Biscuits
These flaky wonders are so versatile, they almost feel like cheating! They are an absolute centerpiece for any big breakfast or weekend brunch, but honestly, I love having them on standby for quick weeknight dinners when I want something comforting without a huge fuss. That incredible buttery flavor means they stand up beautifully to rich savory toppings, but they shine just as brightly with something sweet.
When I pull a batch of these golden beauties out of the oven, the first thing I usually reach for is homemade sausage gravy. It’s pure, unadulterated Comfort Food Baking at its finest, and the biscuits soak up that creamy sauce perfectly. Don’t worry if gravy isn’t your thing, though! We also use them completely differently around here.

For savory pairings, try these alongside a hearty bowl of my roasted tomato bisque or maybe even split open and stuffed with smoked ham and a slice of sharp cheddar cheese.
If you need a quick sweet side, break them open while they are still steaming hot and slather them with good quality preserves—strawberry or blackberry jam is always great—or just simple honey butter. If you have extra, they even work wonderfully broken up over a fruit crumble!
Storing and Reheating Flaky Buttermilk Biscuits
Now, I know the struggle. These buttermilk biscuits smell so amazing when they come out of the oven that you want to eat them all in one sitting! But if you manage to save a few for the next morning—and you absolutely should—you need to treat them right so they don’t lose that tender crumb.
The fridge is usually the enemy of a perfectly flaky biscuit. Cold air dries them out fast! For short-term storage—say, the next day—keep them in an airtight container at room temperature. Plastic wrap works wonders to seal in that initial moisture, especially if you left them touching on the baking sheet for those soft sides.
When you are ready for your second-day biscuit, the microwave is actually the fastest way to bring back some softness in a pinch, but it can easily turn them chewy if you’re not careful. I pop just one biscuit on a paper towel and microwave it for about 10 to 15 seconds on 50% power. That quick burst of steam resurrects the softness without turning it rubbery.
However, for the absolute best texture resurrection, you need the oven. Wrap your leftover biscuits tightly in aluminum foil—this traps the moisture inside—and reheat them slowly at about 350°F for about 8 to 10 minutes. This method warms them all the way through while keeping that wonderful tenderness intact. If you are feeling extra indulgent after reheating, brush the tops with a little bit of melted butter, just like we did when they were fresh. If you want another great cozy baking recipe to try that freezes well, check out my recipe for soft, buttery brioche!
Frequently Asked Questions About Buttermilk Biscuits
I always love hearing from you all after you try a recipe, and usually, the questions that come up are things I should have covered more clearly earlier on. Since we are talking about achieving those perfect Homemade Buttermilk Biscuits, let’s quickly tackle the most common hurdles so your next batch is a total success. It’s all about getting those reliable results, whether time is on your side or you are rushing through a quick breakfast session!
Can I substitute regular milk for buttermilk in these buttermilk biscuits?
You certainly can, but you must replace the acidity that buttermilk brings to the party! If you find yourself out of buttermilk, just measure out 3/4 cup of regular milk—whole milk works best. Then, stir in about 1/2 teaspoon of white vinegar or fresh lemon juice. Let that mixture sit on the counter for a solid five minutes until it looks slightly curdled. That acidity works with the baking soda to give you the lift you’re missing out on without that special ingredient. It’s a fantastic little trick for baking in a pinch.
How do I freeze dough for the best Homemade Buttermilk Biscuits later?
Yes, freezing dough is a game-changer for quick mornings! Instead of refrigerating extras, immediately place your cut biscuits close together on a parchment-lined baking sheet. Pop the whole tray into the freezer for about an hour until they are solid. Then, transfer the frozen biscuits into a freezer bag. The best part? You can bake these straight from frozen! Just add about 5 to 7 minutes onto the original baking time. They come out just as flaky as if you’d made them right then and there. I found a great visual guide on freezing over at Kitchen by Clara if you want to see their method.
If your biscuits ever end up flat, remember that you either twisted the cutter or forgot how cold your butter was! Don’t let one flat batch discourage you; just check those two things for your next attempt.
Nutritional Estimates for These Buttermilk Biscuits
Now, I know many of you focus on wholesome eating, and while these are certainly comfort food, knowing what’s in them is helpful knowledge! As a chef, I always remind folks that these numbers are just estimates based on the specific ingredients listed, like the 1/2 cup of cold butter we call for. The real measurements can shift depending on the brand of flour or the exact percentage of fat in your buttermilk, so take this as a good ballpark figure for one of these glorious, golden beauties.
Here is a quick look at the approximate breakdown when you make a batch yielding 8 servings:
- Serving Size: 1 biscuit
- Calories: 250
- Fat: 14g
- Saturated Fat: 9g
- Carbohydrates: 28g
- Protein: 5g
- Sugar: 1g
See? Not too bad for something that tastes this decadent! We keep the sugar low because these biscuits are best served with savory things like gravy or even just lightly salted butter. Enjoy them warm, straight from the oven, knowing you created something wonderful entirely from scratch!
Share Your Golden Brown Buttermilk Biscuits
You did it! You faced down the fear of flat bread and turned out a batch of perfectly flaky, buttery buttermilk biscuits. That smell filling your kitchen right now? That’s the scent of success, and I want to hear all about it. My whole goal here at Cooking by Felix is to empower you to reclaim your kitchen, and seeing your results truly finishes the process for me.
Whether you served them alongside chili or smothered them in homemade gravy, I’d absolutely love to know how they turned out. Did you manage those beautiful tall sides? Did your family notice the difference when you pressed straight down instead of twisting the cutter? Please take a moment to leave a rating right below this section.
And if you snapped a photo of your golden brown success story—maybe showing off those magnificent layers—don’t keep it to yourself! I want to see your beautiful creation on social media. Tag me so I can celebrate with you! Sharing these wins helps build our community of successful home cooks. If you ever have questions or want to tell me about a batch that just didn’t turn out, please feel free to reach out directly on my contact page. Happy baking, friends!
PrintUltra Flaky and Tender Southern Buttermilk Biscuits From Scratch
Make perfectly tender, tall, and flaky buttermilk biscuits every time. This recipe uses simple ingredients and clear steps to achieve classic Southern style results for your breakfast or dinner table.
- Prep Time: 15 min
- Cook Time: 15 min
- Total Time: 30 min
- Yield: 8 servings 1x
- Category: Breakfast
- Method: Baking
- Cuisine: American
- Diet: Vegetarian
Ingredients
- 2 cups all-purpose flour
- 1 tablespoon baking powder
- 1 teaspoon baking soda
- 1 teaspoon salt
- 1/2 cup (1 stick) cold unsalted butter, cut into small cubes
- 3/4 cup cold buttermilk (plus extra for brushing)
Instructions
- Combine the flour, baking powder, baking soda, and salt in a large bowl. Whisk to mix the dry ingredients well.
- Add the cold, cubed butter to the flour mixture. Use a pastry blender or your fingertips to cut the butter into the flour until the mixture resembles coarse crumbs with some pea-sized pieces of butter remaining.
- Make a well in the center and pour in the cold buttermilk all at once. Stir gently with a fork just until the dough comes together. Do not overmix.
- Turn the dough out onto a lightly floured surface. Gently pat the dough into a rectangle about 3/4 inch thick.
- Fold the dough into thirds, like a letter. Turn the dough 90 degrees and gently pat it down again to about 3/4 inch thickness. This folding creates the flaky layers.
- Use a biscuit cutter (about 2.5 inches) to cut out the biscuits. Press straight down without twisting the cutter to keep the sides straight for maximum height.
- Place the cut biscuits close together on an ungreased baking sheet for softer sides, or slightly apart for crispier sides.
- Brush the tops lightly with extra cold buttermilk.
- Bake in a preheated oven at 425 degrees Fahrenheit (220 degrees Celsius) for 12 to 15 minutes, or until the tops are golden brown.
- Serve the warm buttermilk biscuits immediately with butter or gravy.
Notes
- Keep all your ingredients, especially the butter and buttermilk, very cold for the flakiest results.
- Do not twist the biscuit cutter; pushing straight down helps the biscuits rise tall.
- For extra buttery flavor, brush the tops with melted butter immediately after they come out of the oven.
Nutrition
- Serving Size: 1 biscuit
- Calories: 250
- Sugar: 1
- Sodium: 450
- Fat: 14
- Saturated Fat: 9
- Unsaturated Fat: 5
- Trans Fat: 0
- Carbohydrates: 28
- Fiber: 1
- Protein: 5
- Cholesterol: 35