

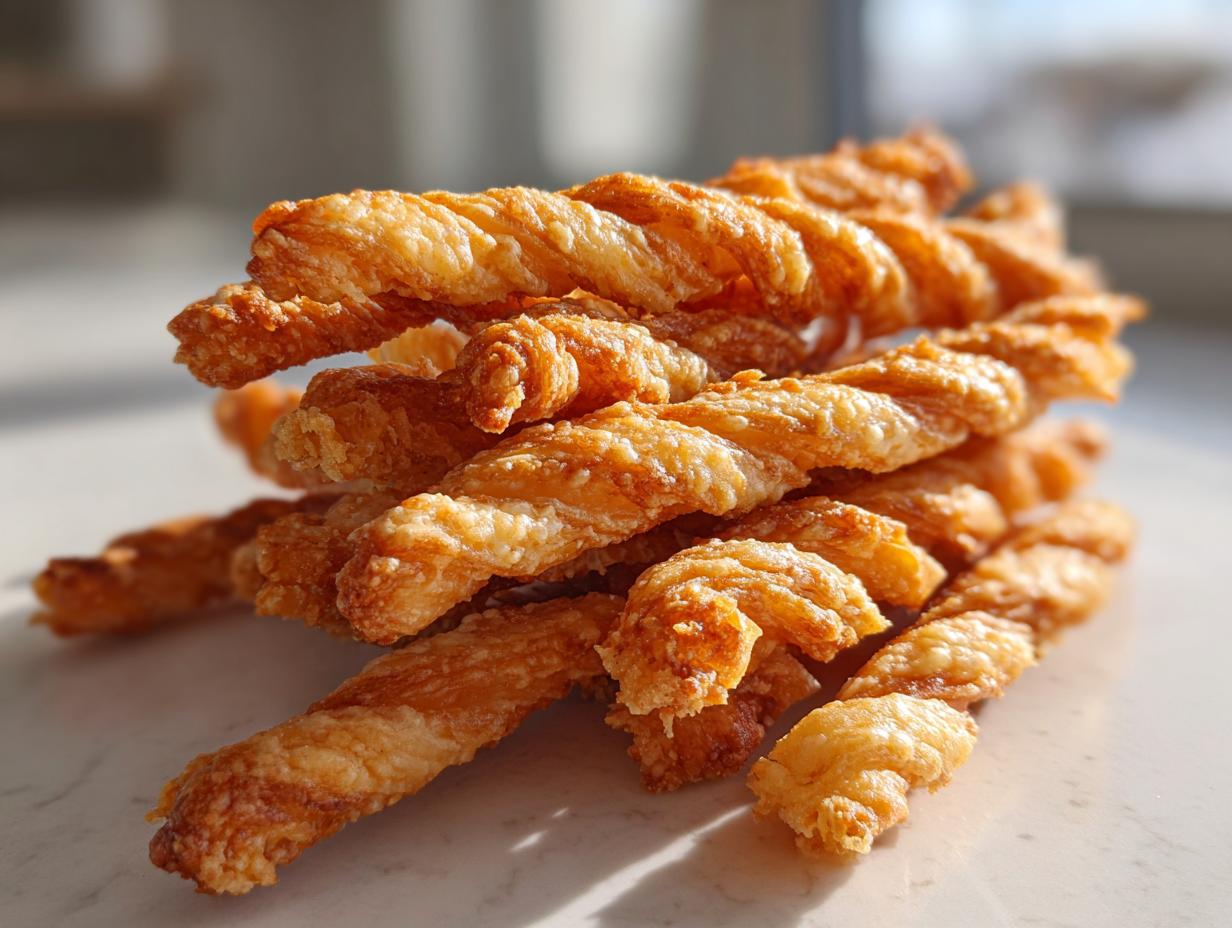
I don’t know about you, but when I think about putting out the perfect spread for game day or a holiday party, nothing beats that savory *snap* of a perfectly made cracker. Forget the chips; we’re talking about the real deal: proper **cheese straws**. These aren’t those puffy, soft things you sometimes get when you rush the recipe. These are the classic, flaky, intensely cheesy bites rooted deeply in Southern tradition.
That’s why I spent so much time perfecting this version. If my brand, Cooking by Felix, is about anything, it’s about proving that exceptional, home-cooked flavor doesn’t have to take up your whole evening. We are focusing relentlessly on technique here, making sure every single straw achieves that shatteringly crispy texture. Trust me, once you make these homemade cheese straws, you’ll never buy a store-bought box again. You will find this dedication to simple, successful results across all my recipes, including my favorite marinated cheese appetizer. We’re aiming for buttery perfection that always succeeds.
- Why These Are the Best Crispy Cheese Straws You Will Ever Make
- Ingredients for Perfect Homemade Cheese Straws
- Step-by-Step Instructions for Easy Cheese Straws
- Making Cheese Straws for Entertaining and Parties
- Savory Variations for Your Cheese Straws Recipe
- Make Ahead Appetizers: Storing and Freezing Cheese Straws
- Troubleshooting Common Issues with Cheese Straws
- Frequently Asked Questions About Classic Cheese Straws
- Nutritional Estimates for Your Savory Snack
Why These Are the Best Crispy Cheese Straws You Will Ever Make
When I set out to create my definitive recipe, I was tired of spending money on store-bought versions, only to find them stale or disappointingly soft. My goal was simple: develop the ultimate savory snack that delivers that loud *crunch* every single time. These Southern cheese straws are rich, intensely cheesy, and deliver that buttery cheese cracker experience we all crave.
- Guaranteed crispiness—no sad, chewy center here!
- Deep, authentic flavor from using real, sharp cheddar.
- They’re quick enough to be an easy, last-minute party appetizer.
The secret to avoiding sogginess is all in the technique, which I lay out below. This recipe honors the traditional method of keeping everything cold and mixing minimally. It creates the most addictive buttery cheese crackers you can imagine.
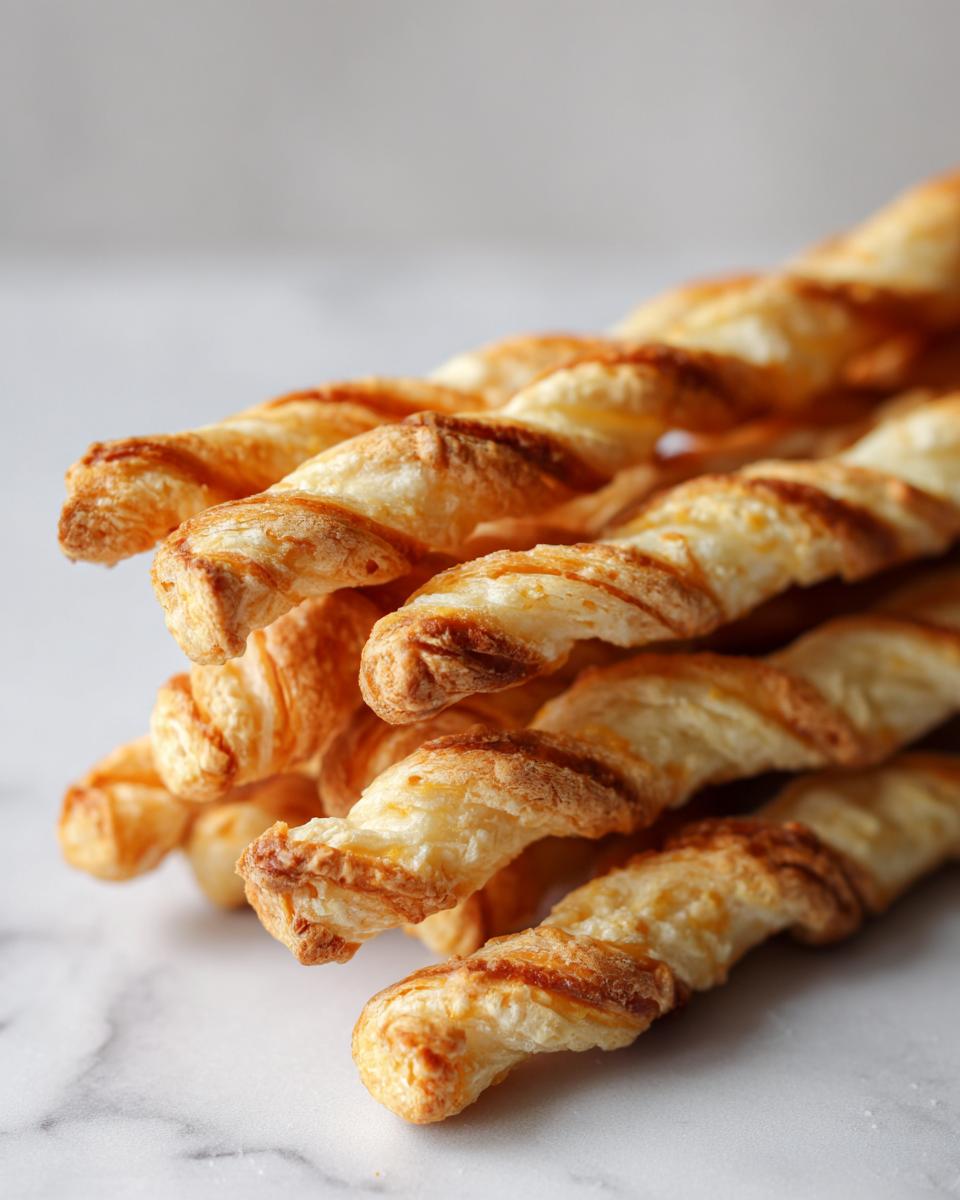
Achieving That Classic Southern Cheese Straws Texture
Look, texture is everything when it comes to a good cheese straw. You want something that shatters slightly when you bite into it. We hit this by controlling two main things. First, we use very cold butter cut into the flour, which creates those necessary layers so the straw doesn’t just puff up like bread. Second, we roll the dough out super thin—we’re talking 1/8th of an inch! If you roll it thick, it stays softer. Keep those two things in mind, and you’ve nailed the classic feel of perfect homemade cheese straws.
Ingredients for Perfect Homemade Cheese Straws
When you’re working with something as pure as great savory snacks like this, you can’t cut corners on what goes in! This recipe keeps things wonderfully simple, relying on quality ingredients rather than a long shopping list. We need flour, salt, a little bit of heat if you’re brave, butter, cheese, and ice water. That’s it! Remember my rule: for the best **cheese straws**, your butter must be rock solid cold right before you mix it, and please, grate that sharp cheddar yourself. It makes a world of difference, I promise.
Here is exactly what you need:
- 1 cup all-purpose flour
- 1/2 teaspoon salt
- 1/4 teaspoon cayenne pepper (optional, for a spicy kick)
- 1/2 cup (1 stick) very cold unsalted butter, cut into small cubes
- 1 cup freshly grated sharp cheddar cheese
- 2 tablespoons ice water
Ingredient Notes and Sharp Cheddar Appetizer Tips
Let’s talk about those two heroes: the butter and the cheese. Do *not* reach for the bag of pre-shredded cheese. Seriously, those bags have anti-caking agents mixed in that prevent cheese from melting smoothly; they actually inhibit that beautiful, flaky texture we are hunting for in these **cheddar cheese straws recipe** components. Freshly grated means better melt and better flavor! Sharp cheddar is non-negotiable for that deep, tangy taste that defines a classic **Southern cheese straw**.
Also, that tiny bit of cayenne? It’s optional, but it gives the **cheese straws** that little savory background warmth that keeps people grabbing another one without realizing why. Don’t skip the spice if you like a little punch!
Step-by-Step Instructions for Easy Cheese Straws
Even though these are incredibly flavorful, making these **homemade cheese straws** is straightforward! The key is moving quickly when the butter is involved, and then respecting the chilling time. Don’t try to rush that chill! It’s the difference between a savory snack and a buttery cracker that actually *snaps*. We’re going to combine the dry stuff, work in the butter, introduce the cheese, and then bring it all together just long enough to form a dough. Remember, this recipe is designed for success, but only if you follow the timing I’ve laid out.
Mixing the Dough for Flaky Cheese Straws
Grab your biggest bowl! Whisk your flour, salt, and cayenne pepper until they are all happy together. Now, here is where speed matters: toss in those ice-cold cubes of butter. Use a pastry blender or, honestly, just your fingertips—work it fast! You’re aiming for things to look like coarse gravel or tiny peas mixed throughout the flour. You want pockets of butter, not smooth paste. Once that’s done, stir in your freshly grated cheese. Lastly, drizzle in the ice water, just a tablespoon at a time, mixing until the dough *just* starts holding hands. Stop mixing the second it clumps together. If you overmix, you lose those beautiful layers that make the **cheese straws** flaky.
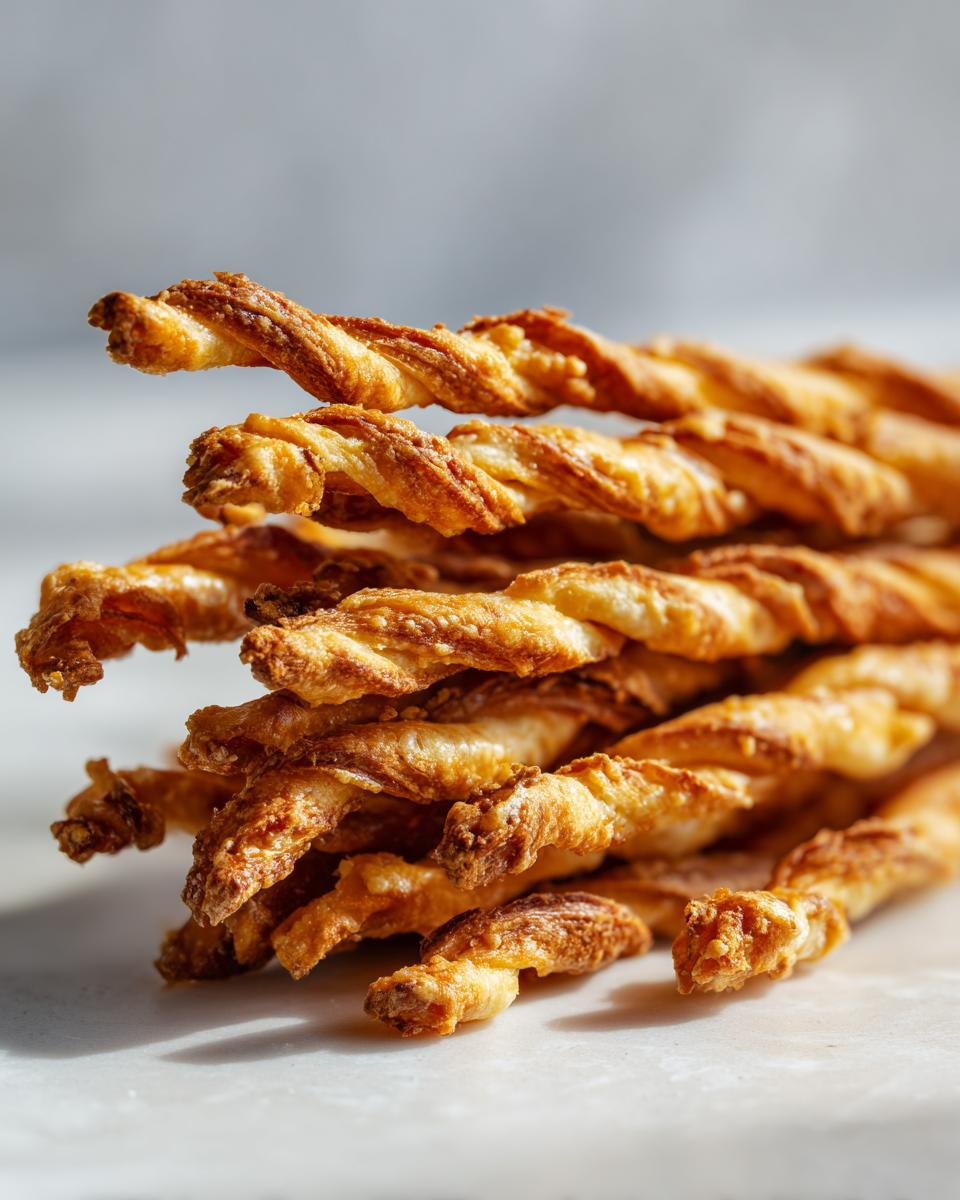
Shaping and Baking Your Cheese Straws That Don’t Puff Up
Now for the mandatory break: wrap that dough disk tightly and stick it in the fridge for at least 30 minutes. Don’t even think about skipping this if you want those fantastic savory snacks! When chilled, roll that dough out on a lightly floured surface until it’s very thin—I mean about 1/8-inch thick. Seriously, aim for thinness! Then, cut them into strips, about half an inch wide and four or five inches long. Twisting them slightly is fun for looks, but remember, it’s the thinness that guarantees they won’t puff up into weird little blobs. Pop them on parchment paper and bake at 400 degrees F for about 10 to 14 minutes. Watch them closely! They’re done when the edges are golden brown. Let them cool completely on the pan; they crisp up even more once they think they’re done!
Making Cheese Straws for Entertaining and Parties
These aren’t just a fantastic snack—they are the ultimate party hack! Since these **homemade cheese straws** are naturally savory and crunchy, they pair beautifully with everything from a crisp white wine to a hearty beer during game day. Because they hold up so well, they are one of my absolute favorite holiday appetizers to make ahead of time.
When presenting them, keep it simple. You don’t need fancy platters! They look great piled high in a rustic wicker basket or in simple glass bowls. If you’re serving them alongside dips or spreads, make sure to check out my recipe for easy cranberry brie bites—that sweet and savory combo makes people swoon!
If you are worried about people taking too many (trust me, it happens!), you can always serve them warm right out of the oven, which encourages slower grazing. But honestly, the best way to present them is loose and plentiful. People feel comfortable grabbing them when you set them out liberally. I based this whole recipe philosophy on making entertaining easy, so use these straws to your advantage at your next gathering!
If you want a deeper dive into perfecting the Southern presentation style—which often involves serving them alongside strong cocktails—I found this article on Southern cheese straws fascinating for gathering ideas!
Savory Variations for Your Cheese Straws Recipe
While this classic sharp cheddar is truly my gold standard—it’s what Southern kitchens have counted on for generations—I totally get the urge to mix things up sometimes! Maybe you’re serving them alongside roasted chicken or perhaps you just bought a wedge of fancy cheese that needs using. That’s where experimentation comes in, and it’s one of my favorite ways to show off these **cheese straws**!
Because the base recipe is so simple, it’s begging for little savory additions. If you want to make Parmesan cheese straws, you can easily swap out about half of that sharp cheddar for finely grated Parmigiano-Reggiano. You get a nuttier, saltier flavor that is just divine.
Don’t be afraid of herbs either! Fresh rosemary, chopped incredibly fine, works magically with cheddar. Think about it: rosemary and butter are best friends. If you’re making a big batch, try reserving a third of the dough to make a seasoned batch. Throw in a teaspoon of dried thyme or finely chopped fresh sage for an amazing aroma.
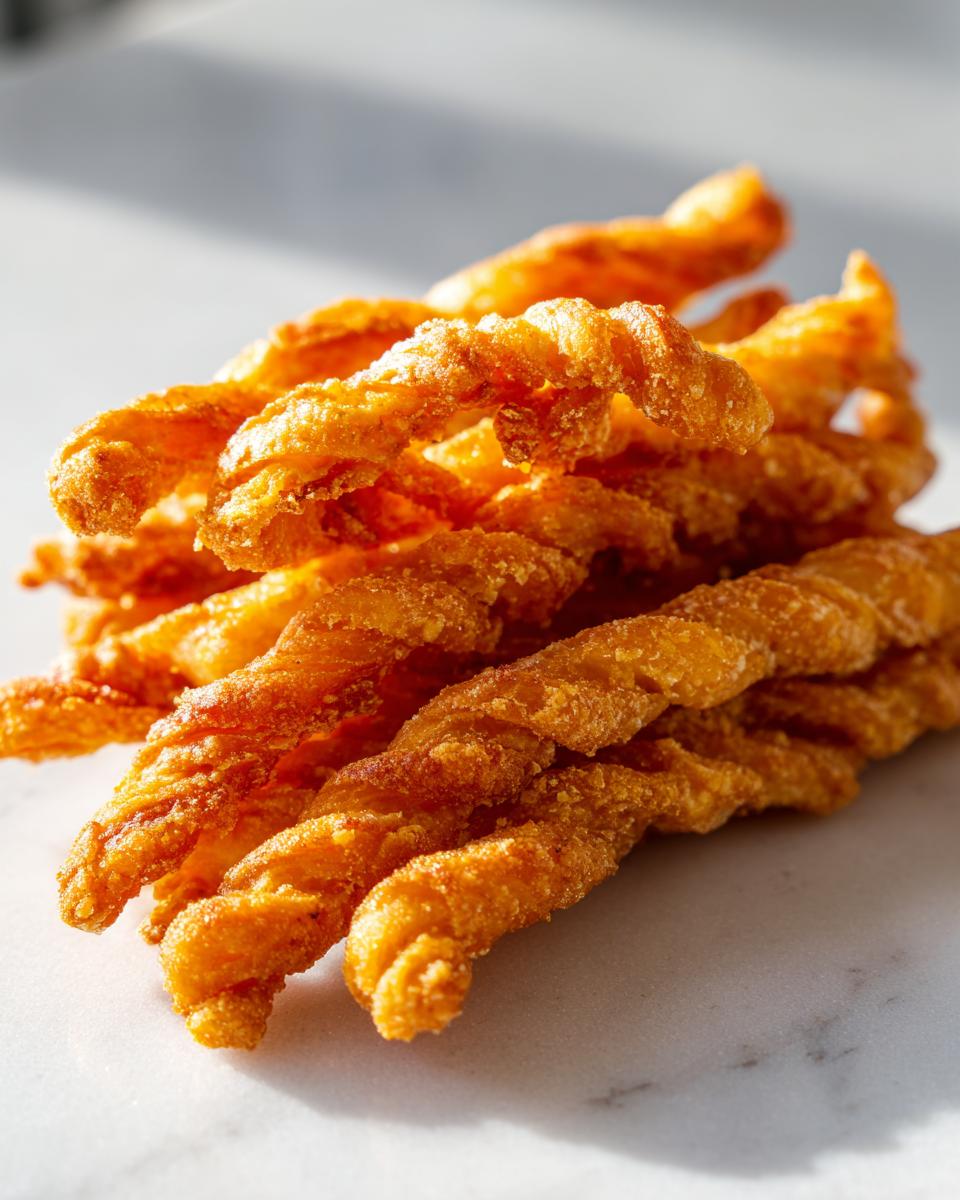
Making Spicy Cheese Straws
We already added a tiny whisper of cayenne in the main recipe, but let’s kick that up if you like fire! If you want genuinely **spicy cheese straws**, you can increase that cayenne to a full 1/2 teaspoon, or try substituting it with a pinch of smoked paprika for color and depth, along with some red pepper flakes. Just remember, the heat carries well through the butter, so taste your raw dough mixture lightly before chilling if you are unsure!
If you’re feeling adventurous and want to try pairing these with something richer later, you might want to check out how I prepare garlic butter mushrooms. The savory intensity of the straws cuts through that richness perfectly!
Make Ahead Appetizers: Storing and Freezing Cheese Straws
One of the best things about making these **homemade cheese straws** is that you absolutely do not have to make them the day you plan to serve them! This is huge when you’re planning big menus or dealing with holiday stress. Having a successful appetizer ready to go is a massive win for me, and these absolutely qualify as great **make ahead appetizers**.
I always tell people to make the dough first. You can wrap that dough disk tightly in plastic wrap—like you’re packing it for space travel!—and stash it in the fridge for up to two days. When you’re ready to bake, just let it sit on the counter for about ten minutes to soften just enough to roll out. You still need it cold, but not so stiff you can’t work it.
Now, what about the leftovers? Because these are baked until deeply golden and crisp, they store beautifully. Once they are completely, totally cool—and I mean refrigerator temperature cool, not kitchen counter temperature cool—toss them into an airtight container. If you layer them between sheets of wax paper, they last great at room temperature for about a week. They might lose a *tiny* bit of their edge after day five, but honestly, they usually don’t last that long!
If you bake a huge batch for a major event and know you won’t get to them sooner, you can freeze the baked straws too. Just make sure they are perfectly cooled, seal them tightly in a heavy-duty zip-top bag, and lay them flat in the freezer. When you want to serve them, just let them thaw on the counter. They stay crisp, which is fantastic for **easy cheese straws**!
If you’re storing desserts instead of savory snacks, you might want to look at my recipe for easy white chocolate fudge—that stores even longer in the fridge!
Troubleshooting Common Issues with Cheese Straws
Even with the best intentions, sometimes baking throws us a curveball, right? Don’t panic if your beautiful cheese straws don’t come out looking exactly like the picture! It usually comes down to temperature control or how much you handled the dough. As someone who has definitely made a batch of soft, sad straws, I can tell you exactly how to fix these hiccups next time. My philosophy is that every baking mistake is just a lesson learned on the road to a perfect **savory snack**!
Here are the two issues I hear about most often, and how we solve them so you get that glorious, audible *snap* every time.
Why Are My Cheese Straws Soft Instead of Crispy?
This is the most heartbreaking outcome! If you bite into your straws and they feel chewy or soft, it almost always points back to two main culprits. First, check your bake time. Did you pull them out too early? Puffiness and softness mean uncooked dough centers. Even if they look golden, if they are too thick, the inside traps moisture. Next time, leave them in an extra three to five minutes until they are a deeper, more uniform golden brown, especially around the edges.
The second reason? Your butter wasn’t cold enough, or you worked it into the flour too much. Warm butter melts immediately when it hits the oven, which leads to puffing and softness rather than that distinct flaky layer structure. For the next batch of **cheese straws**, really focus on working the cold butter in fast, aiming for those coarse crumbs.
My Cheese Straws Puffed Up Like Little Pillows!
Oh, those puffy guys! If yours look more like little baked cheese cushions than elegant sticks, it means you developed too much gluten or your butter melted before it could create steam pockets. This usually happens if you over-knead the dough after adding the water. When mixing, remember: you just want the dough to *come together*—don’t work it! The second it forms a shaggy ball, stop.
Also, rolling them too thick contributes to this puffiness. If you roll the dough out to over 1/4 inch, it won’t crisp up properly, leading to a soft center that puffs. Aiming for that thin 1/8-inch layer is key to avoiding puffy results and ensuring you get those beautiful, crisp **cheese straws** that are perfect for entertaining.
Frequently Asked Questions About Classic Cheese Straws
It’s natural to have questions when you’re aiming for perfection, especially with a classic like this! I know I certainly did when I was developing this recipe to finally get those consistently flaky, sharp **Southern cheese straws**. People always ask me about substitutions or how to get that shatteringly crisp texture we talked about. I’m happy to lay out the answers here so your next batch is an absolute success!
Can I use a different cheese besides cheddar in these cheese straws?
You can definitely experiment, yes! While sharp cheddar gives you that quintessential tangy kick and color that defines the best **cheese straws**, hard, aged cheeses work well too. I’ve used a mix where half the cheddar is replaced with grated Parmesan for a nuttier flavor profile, which is delicious. Gruyère also melts nicely and adds depth. The main thing to remember is that soft cheeses, like mozzarella, will melt too quickly, making your dough greasy and resulting in something closer to a **buttery cheese cracker** that puffs up instead of snapping cleanly. Stick to hard cheeses for the best results.
What is the secret to making cheese straws that are truly crispy?
If you take one thing away from this whole post, let it be this: keep everything cold and don’t fall in love with your dough! The secret to making **crispy cheese straws** lies entirely in limiting gluten development and maximizing the effect of the cold butter. When you cut the cold butter into the flour, it creates layers that turn to steam in the oven—that steam creates flakiness. If the butter warms up during mixing, those layers merge, and you get puffiness. Also, roll them thin! Thin dough bakes faster and crisps up better. It’s all about restraint and temperature!
For more great hosting tips on appetizers, check out my guide to the best classic creamy egg salad recipe, because you always need a variety on your spread!
If you are looking for how other great cooks handle their traditional snacks, Blanche’s approach to Southern cooking really nails the authentic vibe for these Southern cheese straws.
Nutritional Estimates for Your Savory Snack
Now, I know we don’t usually bake these beautiful, buttery **cheese straws** because we are counting macros, right? They are a treat, a party staple, and a perfectly acceptable indulgence! But, because my goal here at Cooking by Felix is transparency and giving you all the information you need to feel confident in what you’re serving, I pulled together some estimated nutritional information for you.
This data is based on serving size being about three of the baked straws, using the ingredients listed in the recipe above. Remember, because we rely on sharp cheddar and real butter—which we absolutely should—the fat content is going to be accurate for this rich, traditional style. Every brand of cheese or butter is slightly different, so treat these numbers as a close estimate for your **party appetizers**.
Here is what you can generally expect per serving (3 straws):
- Calories: About 110
- Total Fat: Roughly 8g
- Saturated Fat: About 5g (That’s where the rich flavor comes from!)
- Carbohydrates: Around 6g
- Protein: Approximately 4g
- Sodium: Around 180mg
See? It’s a wonderfully satisfying little savory snack that packs a flavor punch without taking up too much room in your day. Speaking of flavor, if you ever want to move on to something smoky and sweet, my recipe for quick and easy homemade BBQ sauce is a huge hit at gatherings, too!
PrintClassic Crispy Southern Cheddar Cheese Straws

Make these classic, crispy, and savory cheese straws using sharp cheddar. This recipe focuses on technique to give you a flaky texture perfect for game day or any party appetizer.
- Prep Time: 20 min
- Cook Time: 14 min
- Total Time: 64 min
- Yield: About 3 dozen 1x
- Category: Appetizer
- Method: Baking
- Cuisine: American
- Diet: Vegetarian
Ingredients
- 1 cup all-purpose flour
- 1/2 teaspoon salt
- 1/4 teaspoon cayenne pepper (optional, for a spicy kick)
- 1/2 cup (1 stick) very cold unsalted butter, cut into small cubes
- 1 cup freshly grated sharp cheddar cheese
- 2 tablespoons ice water
Instructions
- Combine the flour, salt, and cayenne pepper in a large bowl.
- Cut the cold butter into the flour mixture using a pastry blender or your fingertips until the mixture resembles coarse crumbs. Work quickly to keep the butter cold.
- Stir in the freshly grated sharp cheddar cheese until evenly distributed.
- Add the ice water one tablespoon at a time, mixing just until the dough comes together. Do not overmix.
- Form the dough into a flat disk, wrap it in plastic wrap, and chill in the refrigerator for at least 30 minutes. This step is key for crispy cheese straws.
- Preheat your oven to 400 degrees F (200 degrees C). Line baking sheets with parchment paper.
- On a lightly floured surface, roll the chilled dough out to about 1/8-inch thickness.
- Cut the dough into strips about 1/2-inch wide and 4 to 5 inches long. You can twist the strips slightly for a classic look.
- Place the strips on the prepared baking sheets, leaving a small space between them.
- Bake for 10 to 14 minutes, or until the edges are golden brown and the straws are crisp. Baking time varies based on thickness.
- Let the homemade cheese straws cool completely on the baking sheet or a wire rack. They will crisp up more as they cool.
Notes
- Use freshly grated, cold, sharp cheddar cheese for the best flavor and texture. Pre-shredded cheese contains anti-caking agents that prevent optimal crispness.
- For a variation, substitute half the cheddar with grated Parmesan cheese for a nuttier flavor.
- If you want a make ahead appetizer, you can store the unbaked dough wrapped tightly in the refrigerator for up to 2 days.
Nutrition
- Serving Size: 3 straws
- Calories: 110
- Sugar: 0.2
- Sodium: 180
- Fat: 8
- Saturated Fat: 5
- Unsaturated Fat: 3
- Trans Fat: 0.2
- Carbohydrates: 6
- Fiber: 0.3
- Protein: 4
- Cholesterol: 25