

Oh, I totally get it. Sometimes you crave that soul-soothing comfort of warm, homemade bread, but honestly? Who has the time for yeast to rise when life is moving at warp speed? That’s why I’m convinced this Traditional Irish Soda Bread is the hero product for the busy home cook. It’s my absolute favorite quick bread because it proves you don’t need yeast or huge time commitments to get that perfect, crusty loaf. Here at Cooking by Felix, our whole philosophy centers on making real food accessible, and this simple soda bread recipe is proof that amazing flavor doesn’t require all day in the kitchen. You can have this masterpiece on the table in under an hour!
- Why This Easy No Yeast Baking Delivers the Best Soda Bread
- Gathering Ingredients for Your Traditional Irish Soda Bread
- Mastering the Best Soda Bread Technique for a Crusty Loaf Recipe
- Ingredient Notes and Substitutions for Your Soda Bread
- Savory Variations: Making Cheddar Herb Soda Bread
- Serving Suggestions: Pairing Your Rustic Loaf for Soup
- Storage and Reheating Instructions for Fresh Soda Bread
- Frequently Asked Questions About Irish Soda Bread Recipe
- Sharing Your Quick Homemade Bread Success
Why This Easy No Yeast Baking Delivers the Best Soda Bread
When I developed this formula, the main goal was speed without sacrificing that beautiful, rustic texture. Why wait hours for yeast when you can get a fantastic loaf on the table in about 50 minutes total? That’s the beauty of using simple pantry ingredients to create a truly reliable quick homemade bread experience.
Trust me, this method is foolproof. Here’s what you gain instantly:
- Zero proofing time needed—it’s ready for the oven fast.
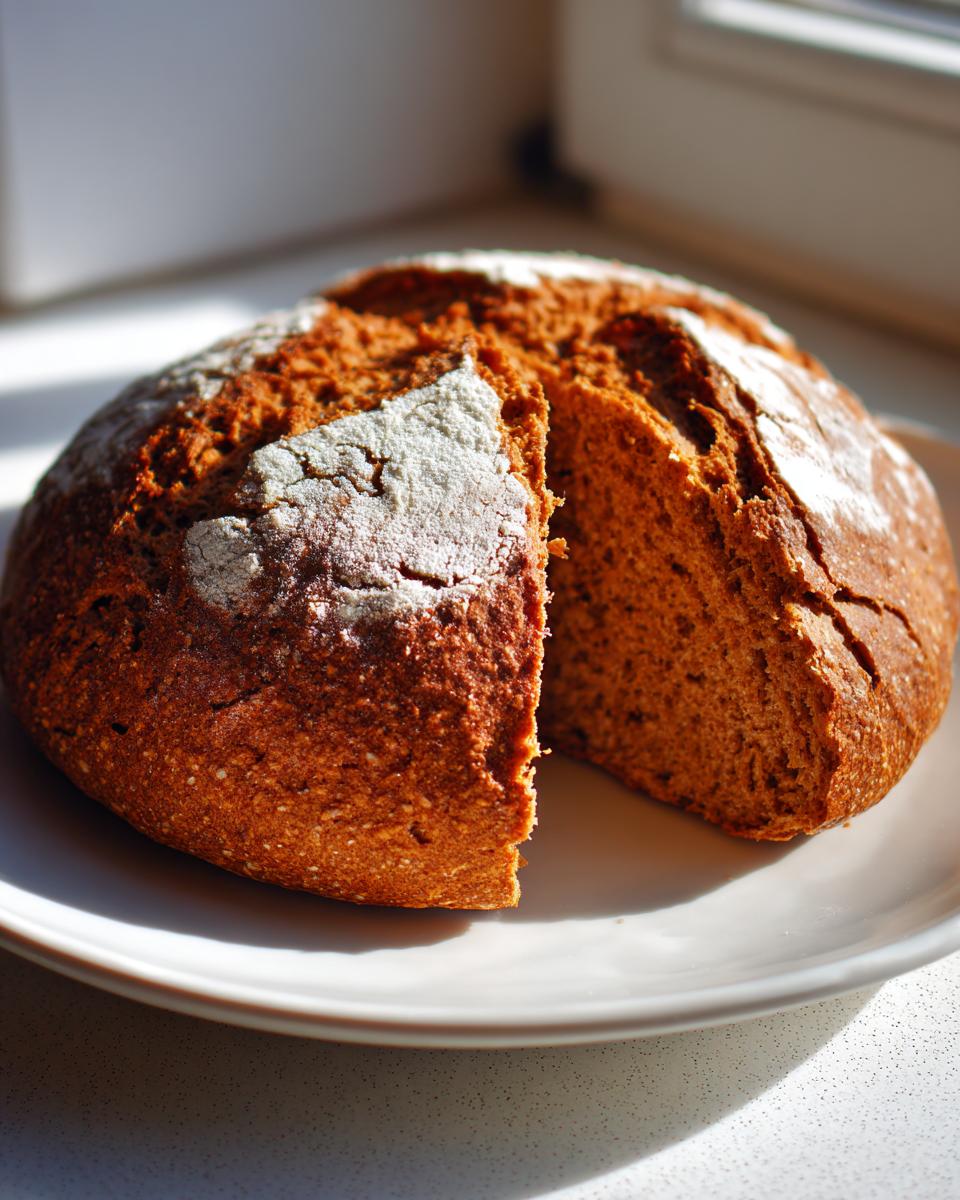
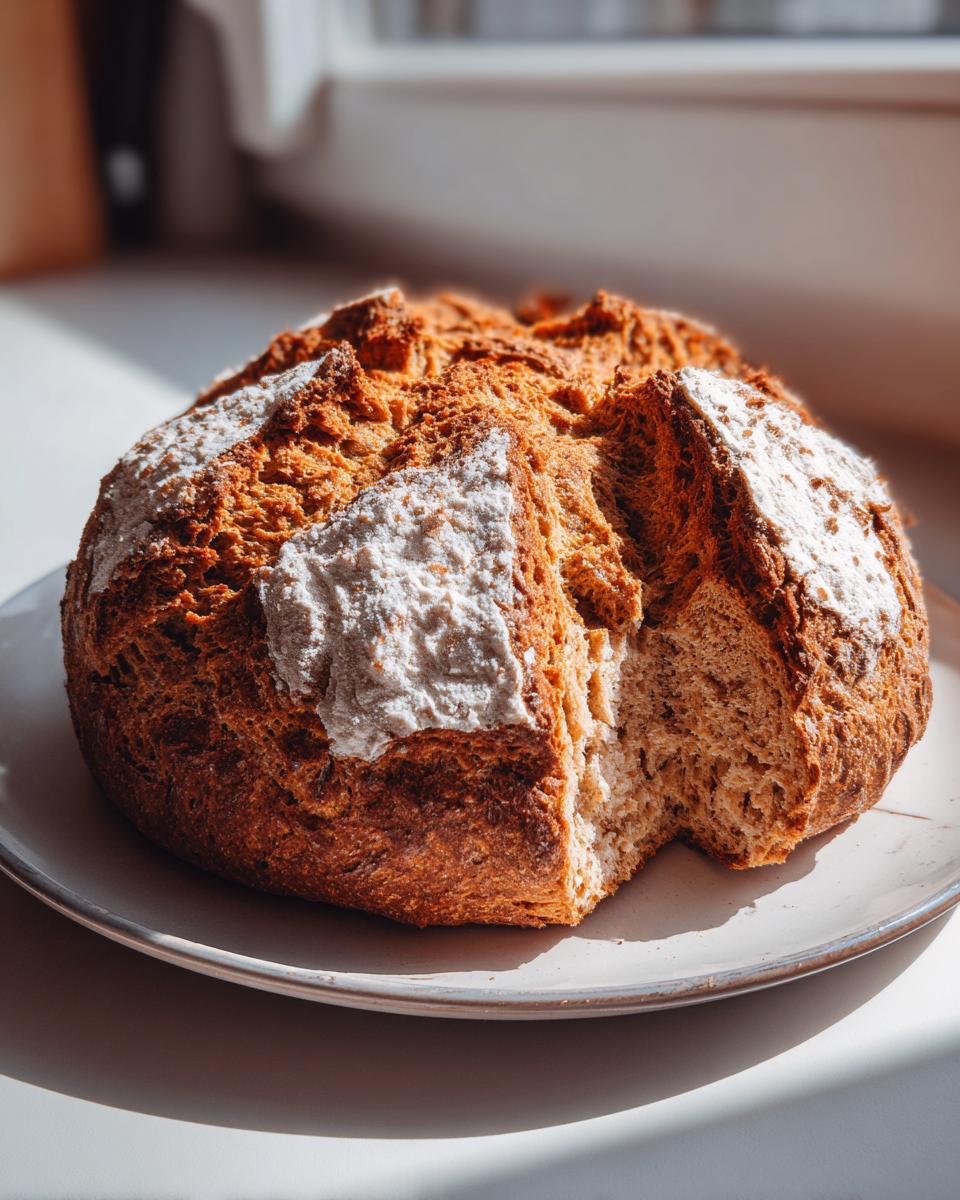
- A beautiful, crackly crust that makes everyone think you spent all day cooking.
- It fits perfectly into a busy weeknight schedule (hello, 30 minute bread recipe magic!).
- It consistently yields a soft, tender interior.
The Magic of Buttermilk Bread Recipe Chemistry
The secret to ditching the yeast is chemistry, plain and simple! We rely on the reaction between the acid in the buttermilk and the alkaline baking soda. When they meet, they create carbon dioxide bubbles immediately. Those bubbles are what lift your dough, giving you that quick rise and that satisfying, tender texture so you don’t have to worry about waiting for yeast to activate. It’s instant volume, ready when you are!
Gathering Ingredients for Your Traditional Irish Soda Bread
You know the best part about this recipe? It calls for ingredients you probably already have sitting in your pantry! That’s why this is truly the ultimate simple pantry bread. We aren’t messing around with specialty flours here; we’re sticking to the essentials.
You are going to need:
- Four cups of good, all-purpose flour.
- Exactly one teaspoon of baking soda—don’t skimp!
- One teaspoon of salt to balance everything out.
- And the star liquid: one and three-quarter cups of proper buttermilk.
If you like a slightly sweeter loaf, go ahead and add one tablespoon of sugar. For that classic Irish texture, if you’re feeling traditional, mix in about a cup of raisins or currants while you’re combining your dry bits. If you want that beautiful golden top, have one tablespoon of melted butter ready for brushing right before it goes into the oven.
Mastering the Best Soda Bread Technique for a Crusty Loaf Recipe
Alright, listen up because this is where the magic—and the speed—really happens. We are aiming for that perfect crusty loaf recipe texture thanks to our hands-off approach. Since we aren’t developing gluten over time like yeasted dough, our goal is speed and gentleness!
Preheating and Preparing the Loaf
First things first, get that oven cranked up to 400°F (200°C)! You want it hot when the dough hits the pan. Lightly dust a baking sheet with some flour to keep things from sticking. Now, here’s the crucial part: once you start adding the buttermilk, you have to move fast! The entire process from mixing to shaping should take less than five minutes because we need that baking soda to start working right away.
Mixing: The Key to Tender Soda Bread
Once that buttermilk hits the dry ingredients, you grab a spoon or your hands and mix quickly until everything is just incorporated. I mean it—stop as soon as you don’t see any dry streaks of flour left. If you start kneading this dough like you would for a pizza, you’re activating all that gluten, and your beautiful, tender loaf will turn into a rock. We want the dough to still look a little sticky and shaggy; that’s the sign it’s ready for the shaping step.
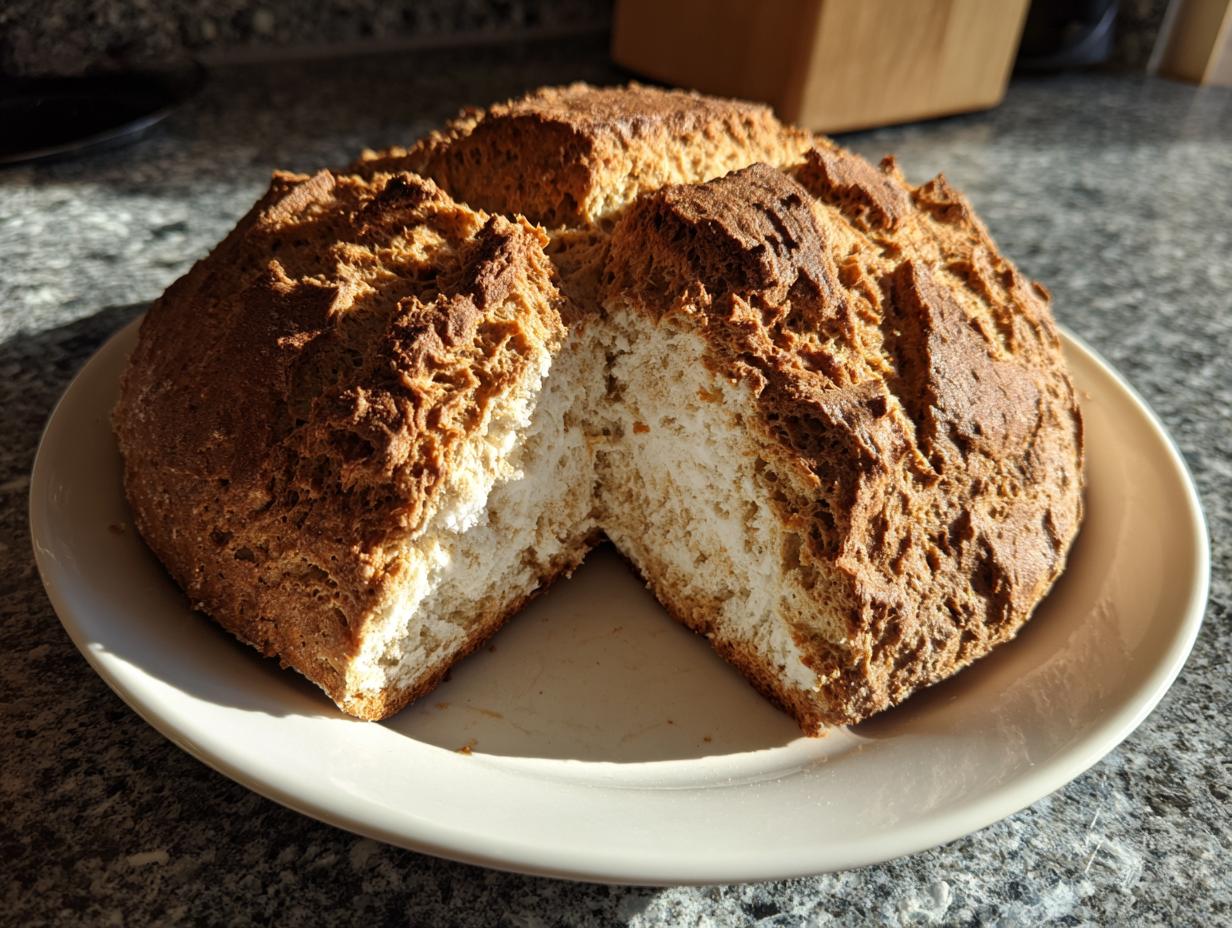
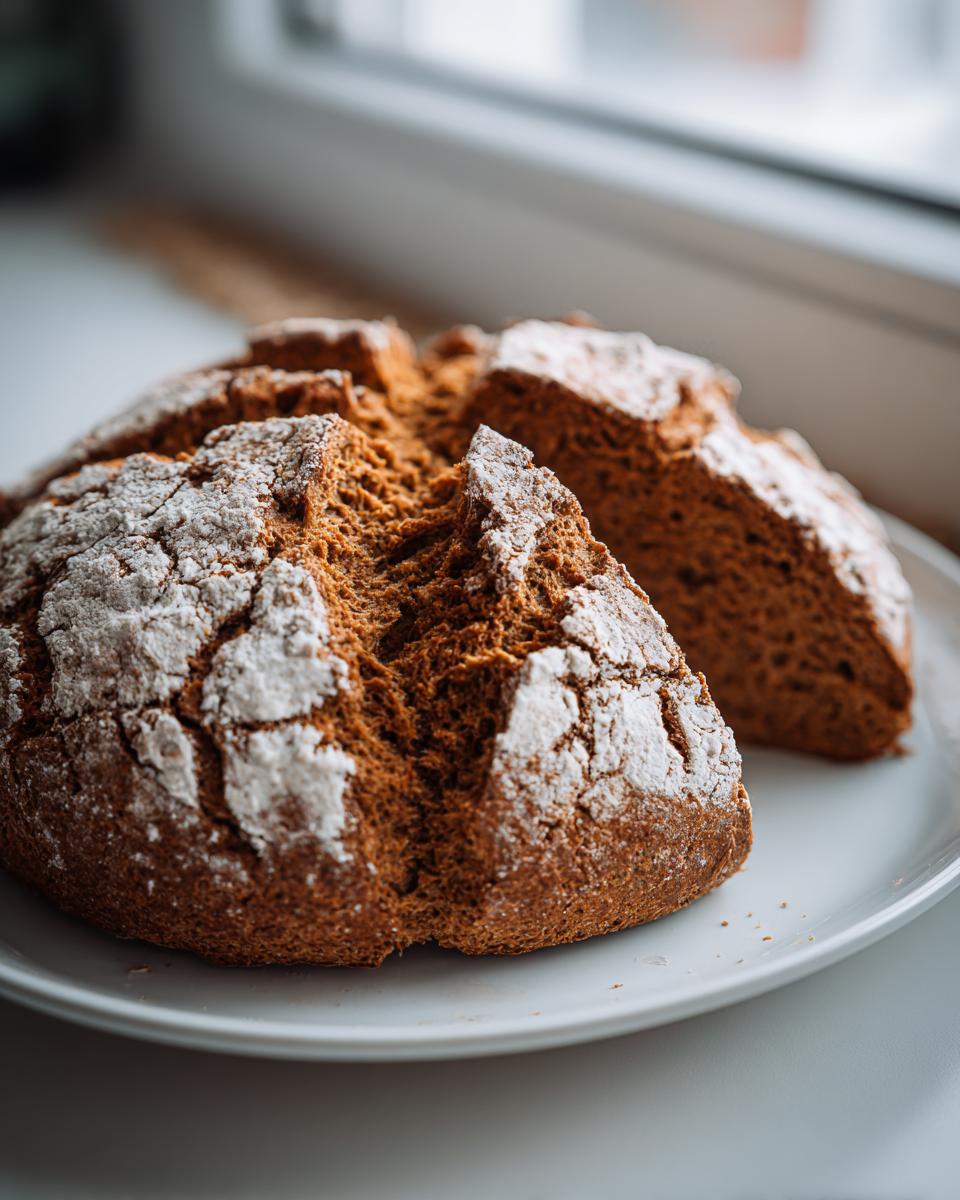
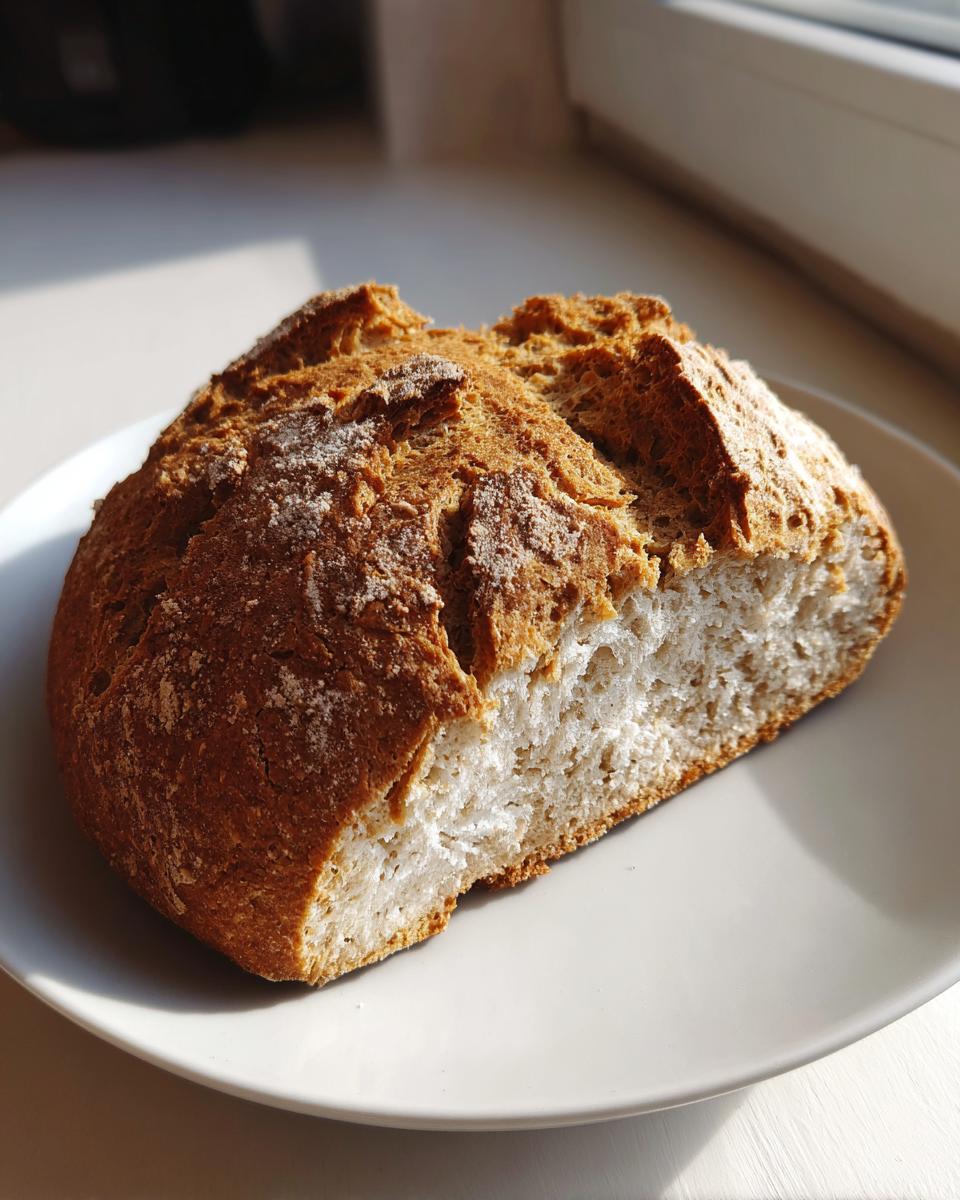
Gently turn that shaggy dough onto your floured surface and pat it into a round shape, about an inch and a half thick. Do not squish it or punch it down! Just shape it gently. Then, use a sharp knife to cut a deep cross right into the top, almost to the bottom. This isn’t just for looks; what I always tell everyone is that this cross helps the heat penetrate that dense little loaf so the center cooks through properly. Tradition says it lets the fairies out, but I say it makes for a perfectly baked easy no yeast baking result!
Baking Time and Testing for Doneness
Brush the top lightly with melted butter before it slides into that hot oven. It bakes for about 30 to 40 minutes. You’ll know it’s done when the crust is a deep, gorgeous golden brown. But the real test? Carefully lift the loaf (careful, it’s hot!) and tap the bottom. If it sounds hollow, like tapping on a wooden table, you nailed it! That’s how you guarantee a beautiful, fully cooked loaf every single time.
Ingredient Notes and Substitutions for Your Soda Bread
Listen, sometimes you’re in the middle of a craving and you realize you’re out of buttermilk. Don’t panic! That’s why I always keep a little backup trick up my sleeve for this buttermilk bread recipe. If you don’t have the real stuff, just take one and three-quarter cups of regular whole milk—even skimmy milk will work in a pinch, though whole is better—and stir in one tablespoon of white vinegar or fresh lemon juice.
Let that mixture sit for about five minutes. It’ll curdle slightly, and boom! You’ve got homemade sour milk acting just like buttermilk for our soda bread. It’s an awesome demonstration of how pantry staples can save the day.
Also, remember those optional additions? Today you feel like the sweet, fruity kind with raisins, great! But tomorrow you might want plain. That’s the beauty of this flexible recipe. Just make sure that if you skip the sugar and raisins, you’re ready to pivot into the savory zone, which we talk about in the next section!
Savory Variations: Making Cheddar Herb Soda Bread
Now, if you’re serving this crusty loaf alongside a big bowl of stew or soup—which is honestly my favorite way to eat it—you might want to skip the sweetness entirely. That’s how we end up with this incredible savory version: the Cheddar Herb Soda Bread!
It’s just as quick, I promise, but the flavor profile flips completely. To make this savory magic happen, you ditch the step where you add that optional tablespoon of sugar, and you absolutely leave out the raisins or currants. No room for sweet fruit when sharp cheddar is coming to town!
Instead, while you are mixing your dry ingredients—the flour, baking soda, and salt—you need to fold in about a cup of shredded sharp cheddar cheese. Sharp is key here; the flavor is strong enough to shine through the baking process. Along with that cheese, toss in about a tablespoon of freshly chopped herbs. Chives are fantastic, but a mix of parsley and just a tiny bit of thyme works wonders, too. Make sure those herbs are pretty finely chopped so they distribute nicely throughout the dough.
You mix that all together exactly the same way—gently—pour in your buttermilk, mix until just combined, shape it into that round loaf, cut your cross, and bake it! I love brushing the top of this savory version with a tiny bit of olive oil instead of butter just before it goes into the oven. It gives you a slightly different kind of golden, savory crust. It’s unbelievable ripped apart while still warm!
Serving Suggestions: Pairing Your Rustic Loaf for Soup
This rustic loaf for soup is almost too good to share, but it’s truly designed to be a table companion! Whether it’s sweet or savory, this soda bread is the ultimate comfort food bread. You just can’t beat tearing off a warm chunk right when it comes out of the oven.
When I first started making this for my busy friends back in Chicago, it was nearly always served alongside something hearty and simple. If I made the plain or raisin version, it was heavenly just swimming in good quality, salted butter—the soft inside soaks it right up! A drizzle of local honey or tart jam is also incredible if you want a touch of sweetness.
But let’s be honest, it really shines when paired with a big, steaming bowl of something savory. My absolute go-to is a thick, creamy soup. Ever tried dipping this crusty loaf into my velvety roasted cauliflower soup? Oh my gosh, it’s perfection. The slight tang of the buttermilk in the bread cuts right through the richness of the soup beautifully.
If you’ve made the Cheddar Herb version, it’s robust enough to stand up to a beef stew or chili. Honestly, after a long day, the sound of that crust cracking as you slice into it is just as comforting as the stew simmering on the stove. It turns a simple midweek meal into something truly special and nourishing, all thanks to that 50-minute turnaround time!
Storage and Reheating Instructions for Fresh Soda Bread
Now, I have to be direct with you: this Irish soda bread recipe truly shines on the day it comes out of the oven. That crust is crisp, the inside is soft as a cloud—it’s at its peak performance! Because we use baking soda instead of yeast, it doesn’t have the long shelf life of a traditional loaf. But don’t worry, we have simple ways to manage leftovers so you can still enjoy this comfort food bread later in the week.
The biggest enemy of fresh soda bread is air! If you leave it exposed, that gorgeous crust will go soft and leathery almost instantly. So, the second it’s cool enough to handle—and I mean *cool*, cutting it hot traps steam and makes it gummy—you need to wrap it up tight. I wrap mine completely in plastic wrap, pressing out as much air as possible, and then slip that into a zip-top bag or an airtight container. Stored this way at room temperature, it stays pretty good for two days.
If you’re not going to eat it within 48 hours, you should absolutely freeze it. I recommend slicing it first! Freezing it already sliced means you can just pull out what you need later without thawing the whole loaf. Wrap the slices well in plastic, then foil, and it will keep beautifully for about a month. It’s an excellent trick for having quick homemade bread ready whenever you need it.
When you’re ready to bring that crusty loaf back to life, skip the microwave! The microwave will just make it go tough. Instead, toss the slices or the whole cooled loaf back into a 350°F oven for about five to ten minutes. You want to heat it just long enough until the exterior begins to crisp up again and it’s warm all the way through. You’ll get that satisfying crackle back, and you’re instantly transported back to serving it fresh!
Frequently Asked Questions About Irish Soda Bread Recipe
I always get so many questions once people realize how incredibly simple this recipe is! Here are a few things I hear most often about making the perfect Irish soda bread recipe.
Can I use regular milk instead of buttermilk?
You totally can, but you need to turn it into a substitute! If you don’t have buttermilk, just measure out 1 and 3/4 cups of regular whole milk, and stir in one tablespoon of white vinegar or fresh lemon juice. Let it sit on the counter for five minutes until it starts to look a tiny bit curdled. That acid reacting with the baking soda is what helps activate your leavening, so don’t skip that waiting time!
Why is my soda bread dense or heavy?
This is almost always an overmixing situation, which is easy to do when you’re in a rush! Remember, we are using chemical leavening, not slow-rising yeast. As soon as that buttermilk hits the flour, you stop mixing the second you don’t see any dry pockets of flour. If you knead or stir too much after that point, you develop gluten, and BAM! You get a heavy, tough loaf instead of a tender crumb.
Is this easy soda bread suitable for St. Patrick’s Day baking?
Absolutely! This is the perfect recipe for St. Patrick’s Day. It’s traditional Irish baking made fast. It only takes about 50 minutes total, which leaves you plenty of time to focus on the rest of your green feast! You can make the sweet version with currants or go savory with cheese and herbs for a real centerpiece.
Why do I need to cut a cross in the top?
While my grandmother swore it let the good spirits out, the real reason is practical! Because this loaf cooks quickly but is quite thick, that deep cross cut—going almost all the way to the bottom—ensures the heat penetrates the center of the dough efficiently. It helps the middle bake through evenly so you don’t end up with raw dough inside that beautiful crust.
Sharing Your Quick Homemade Bread Success
Now that you’ve mastered this incredibly simple yet traditional soda bread, I really want to hear from you! That’s the whole point here at Cooking by Felix—building a community where we can share what works in our busy lives.
Did you make the sweet raisin version, or did you go bold with the savory Cheddar Herb variation? Tell me about it! I want to know how it paired with your dinner. Did you serve it with soup or just slather it with butter straight from the loaf? Don’t be shy!
Please hop down into the comments below and leave a rating—five stars if this speedy recipe saved your dinner plan! If you snapped a photo of your gorgeous, crusty loaf, I would absolutely love to see it. You can tag us on social media or send a picture via the contact page. Seeing your success makes all the recipe development worthwhile!
And hey, if you loved how quickly this came together, you should definitely tell your friends about it! Maybe share this recipe with someone else who thinks they don’t have time to bake. If you want to see where others are sharing their loaves, you can check out some other great versions, like this one on Old-Fashioned Irish Soda Bread. Happy baking, and I can’t wait to read your results!
PrintTraditional Irish Soda Bread: Quick, Easy, No Yeast Baking
Make this classic Irish soda bread with simple pantry ingredients. It is soft inside, crusty outside, and requires no yeast, making it a quick homemade bread perfect for serving with soup or butter.
- Prep Time: 10 min
- Cook Time: 40 min
- Total Time: 50 min
- Yield: 8 servings 1x
- Category: Bread
- Method: Baking
- Cuisine: Irish
- Diet: Vegetarian
Ingredients
- 4 cups all-purpose flour
- 1 teaspoon baking soda
- 1 teaspoon salt
- 1 3/4 cups buttermilk
- 1 tablespoon sugar (optional)
- 1 cup raisins or currants (optional)
- 1 tablespoon melted butter (for brushing)
Instructions
- Preheat your oven to 400°F (200°C). Lightly dust a baking sheet with flour.
- In a large bowl, whisk together the flour, baking soda, and salt. If using, mix in the sugar and raisins or currants.
- Make a well in the center of the dry ingredients and pour in the buttermilk all at once.
- Mix the ingredients quickly with your hands or a wooden spoon until just combined into a soft, sticky dough. Do not overmix.
- Turn the dough out onto a lightly floured surface. Gently shape it into a round loaf, about 1.5 to 2 inches thick. Avoid kneading.
- Place the loaf on the prepared baking sheet. Use a sharp knife to cut a deep cross into the top of the loaf, cutting almost to the bottom.
- Brush the top of the loaf lightly with melted butter.
- Bake for 30 to 40 minutes, or until the crust is deep golden brown and the loaf sounds hollow when tapped on the bottom.
- Transfer the soda bread to a wire rack to cool slightly before slicing. Serve warm.
Notes
- If you do not have buttermilk, mix 1 3/4 cups of whole milk with 1 tablespoon of white vinegar or lemon juice and let it sit for 5 minutes before using.
- For a savory option, omit the sugar and raisins, and add 1 cup of shredded sharp cheddar cheese and 1 tablespoon of chopped fresh herbs (like chives or parsley) to the dry ingredients.
- This quick homemade bread is best eaten the day it is baked.
Nutrition
- Serving Size: 1 slice
- Calories: 250
- Sugar: 3
- Sodium: 350
- Fat: 3
- Saturated Fat: 2
- Unsaturated Fat: 1
- Trans Fat: 0
- Carbohydrates: 50
- Fiber: 2
- Protein: 7
- Cholesterol: 10