


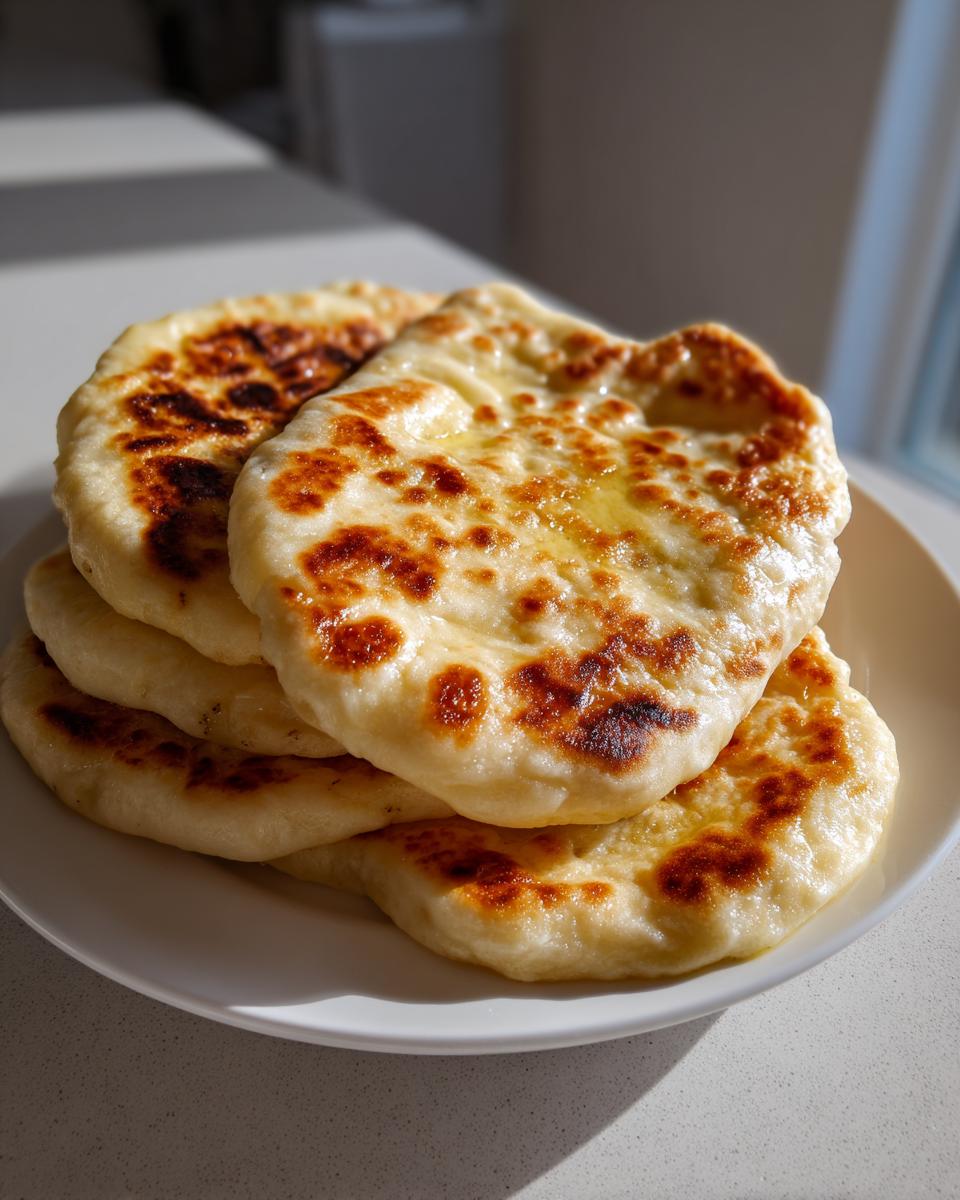
Okay, let’s be real for a second. You know that moment when you’re eating Indian food and you take a bite of that incredible, soft, slightly smoky naan bread? You always think, “I wish I could make that at home,” but then you remember the terrifying idea of needing a tandoor oven. Ugh, not today. That’s exactly why my journey here at Cooking by Felix started. I got so tired of good food being held up by complicated equipment and endless waiting times. This **Homemade Naan Recipe** is my promise to you—we get that amazing, fluffy, chewy texture you crave, and we do it fast, right on your stovetop. No sweat, just incredible bread ready before the curry even cools down a bit! You can read more about my mission to simplify weeknight cooking over at the About Felix page.
- Why This Is the Best Homemade Naan Recipe for Busy Cooks
- Gathering Your Ingredients for Soft Naan Bread
- How to Make Naan at Home: Simple Naan Dough Preparation
- Cooking Your Skillet Naan Bread Perfectly
- Finishing Touches for Buttery Naan and Garlic Naan Bread Recipe
- Tips for Success Making Fluffy Flatbread Tutorial
- Serving Suggestions: Naan for Curry and Beyond
- Storing and Reheating Your Homemade Naan Recipe
- Frequently Asked Questions About Making Naan Bread
Why This Is the Best Homemade Naan Recipe for Busy Cooks
If you’re looking for the **Best Naan Recipe** that doesn’t demand every minute of your evening, you’ve found it! We ditched the yeast entirely here because who has time for rising dough? Trust me, this recipe focuses on speed without sacrificing that dreamy texture.
- It’s lightning fast—only 30 minutes resting time!
- We use simple baking powder for incredible lift.
- You get that satisfyingly **Soft Naan Bread** and chewy bite every single time.
- Everything happens on your stovetop skillet. No fancy gear needed!
You’ll find the full steps over at the Easy, Soft, Chewy Homemade Naan guide.
Achieving Restaurant Style Naan Texture Without a Tandoor
The secret to that gorgeous, bubbly cloud-like flatness you get at your favorite Indian spot? It’s pure, punishing heat! A scorching hot cast-iron skillet mimics the wall of a traditional tandoor oven. When that little piece of **naan bread** hits that dry, blazing surface, it immediately puffs up and blisters beautifully.
It’s about technique, not technology. I developed this specific method so that every home cook, even if you think you’re failing at baking, can get that authentic, slightly charred finish. It’s incredible how much flavor those little burnt spots add!
Gathering Your Ingredients for Soft Naan Bread
Okay, before we get to the fun part of cooking, we need to assemble our tools! Because this is a **Quick Indian Bread** recipe, we rely on quick-acting stuff instead of yeast. Don’t skimp on checking your measurements here; precision in the start means super **fluffy flatbread** later!
Here is exactly what you need sitting on your counter:
- 1 1/2 cups all-purpose flour (just regular stuff works great!)
- 1 teaspoon baking powder (this is our magic leavening agent!)
- 1/2 teaspoon salt
- 1/2 cup plain yogurt (get this out of the fridge early!)
- 1/4 cup warm water (not hot, warm!)
- 1 tablespoon olive oil, plus more for brushing
- 2 tablespoons melted butter, for brushing
- 1 clove garlic, minced (if you are making the **Buttery Naan** topping!)
Ingredient Notes and Simple Substitutions
The yogurt is non-negotiable for me—it brings lactic acid which tenderizes the dough beautifully, giving you that perfect soft chew. If your yogurt is super thick, maybe drop down to 1/3 cup of warm water to start. If you’re in a total pinch and don’t have yogurt, you can use a mix of 1/2 cup milk combined with half a teaspoon of white vinegar or lemon juice. Let that sit for five minutes to look a little curdled before adding it in. We want that tiny bit of acidity! Also, make sure that baking powder is fresh—old baking powder means flat bread, and nobody wants sad, flat **naan bread**.
How to Make Naan at Home: Simple Naan Dough Preparation
This is where the magic really starts to happen! Once you have your ingredients lined up, making the **Simple Naan Dough** is straightforward, but don’t rush the process here. First, combine everything in a big bowl—the yogurt and warm water go straight into your dry mix. You’ll mix it until it looks shaggy, almost like messy clumps. Don’t worry if it’s not smooth yet; that’s normal for our quick flatbread!
Now, dump that mess onto a lightly floured surface and get ready to work it. Kneading is non-negotiable here because we want that elasticity for a **Chewy Flatbread**. I aim for a solid 5 to 7 minutes of working it until it feels smooth and springy under your hands. Once it’s perfect, give it a little oil bath in a bowl, cover it tightly, and send it off to rest for 30 minutes. This rest is crucial; it lets the gluten relax, which is exactly what stops your **naan bread** from turning into a hard cracker in the pan later. It’s all about patience in these small steps!
You can check out my tips for other soft doughs, like my Easy Brioche Bread, which also relies on a good rest to achieve peak softness.
Cooking Your Skillet Naan Bread Perfectly
Okay, this is the section where the magic happens! Forget about dusting off the grill or finding your pizza stone—we’re using the heavy hitter already in your kitchen: a cast-iron skillet. The key here is to get that skillet screaming hot over medium-high heat before the dough even thinks about touching it. Seriously, it needs to be ripping hot, and you cook this first batch totally dry. Don’t put any oil or butter in yet!
We divide our rested dough into about six equal balls. Then, roll them out thin—think about 1/8 of an inch thick. If you roll them too thick, they get bready instead of flat. Get one rolled piece into that dry, hot skillet. I remember the first time I tried this method, the immediate puffing was so satisfying! You’ll see big bubbles form almost instantly. Cook that side for just a minute or two until you see nice dark brown spots developing underneath.
Flip it over, cook the second side for just a moment longer until it puffs up nice and big. Because this recipe is so quick, you can see how it delivers on being true **Easy Flatbread Recipes**. If you want to see how I handle puffy pockets for my homemade pita bread, it uses a similar high-heat blast! Once both sides are cooked, take it out and move fast to brush it with butter. If your dough starts sticking between batches, that’s when you add just a tiny slick of olive oil to the pan. For another fast version, check out what they are doing over at Veggie Desserts for their yeast-free approach!

Finishing Touches for Buttery Naan and Garlic Naan Bread Recipe
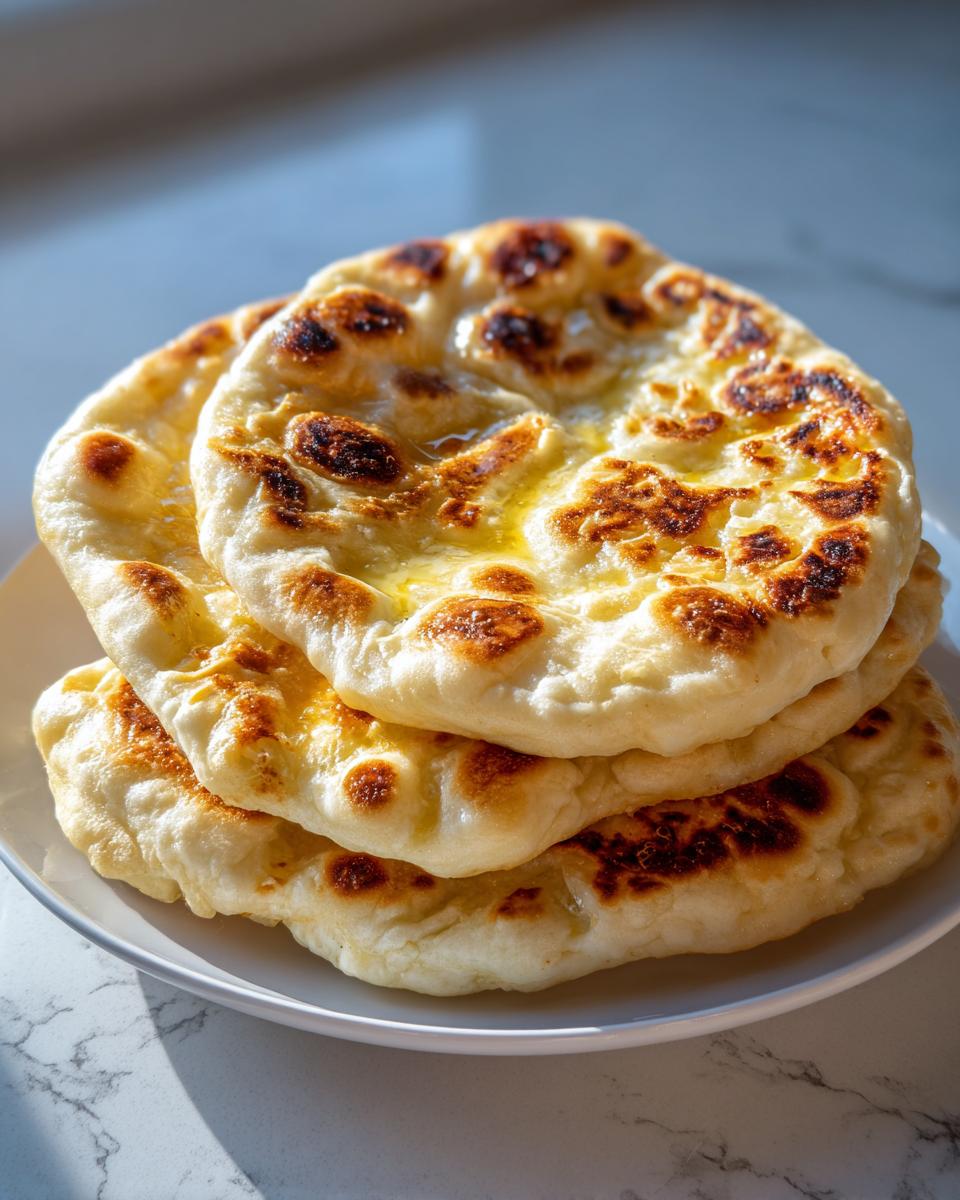
The moment that **naan bread** comes off that hot skillet, you have to move fast! This is where we transform it from just cooked dough into that amazing, luxurious **Buttery Naan** we all dream about. Have your melted butter ready, and if you’re making the garlic version—which you totally should be—mix that beautiful minced garlic right into the butter right away.
As soon as you pull a piece out, brush that melted goodness generously over the top. Don’t be shy! The residual heat melts the butter right into those little air pockets you worked so hard to create. If you want that truly authentic, slightly blistered char like you get at the restaurant, use tongs to carefully hold the naan right over a low gas flame for just a few seconds until you see those signature dark spots appear. Just be super careful with that part, obviously!
It’s this rich topping that makes all the difference. If you love that hint of savory garlic, you’ll definitely want to check out how I use garlic in my creamy mashed potatoes—it shows how one ingredient can elevate everything! For more inspiration on big flavor toppings, take a peek at the amazing garlic naan from Cooking Lola.
Tips for Success Making Fluffy Flatbread Tutorial
Even though this is one of the **easiest flatbread recipes** out there, there are always a few little tricks I rely on to guarantee fluffy, non-stick results. The biggest thing I learned making this **naan bread** over and over again is consistency in the rolling process. Don’t let any one piece be significantly thicker than the others!
Here are my absolute must-do tips:
- Evenness is Everything: Roll every piece out to that 1/8-inch thickness. If one piece is fat and one is skinny, the skinny one will burn before the thick one is even cooked through.
- Skillet Temperature Management: Keep that skillet hot! If it cools down too much between batches, the bread just sits there and steams instead of puffing up. If it starts smoking aggressively, turn the heat down just a hair—but aim high!
- Don’t Over-Oil: We keep the pan dry for the first side to promote charring and puffing. Only add a tiny bit of oil right before you start the next piece if you notice any sticking whatsoever. Too much oil equals frying, not baking, and you lose that cool restaurant texture.
If you want to build up your baking confidence overall, my guide for bread recipes for beginners covers the core skills needed for success in any dough!
Serving Suggestions: Naan for Curry and Beyond
Now that you have this pile of warm, buttery **naan bread**, the real fun begins! These aren’t just sides; they’re carriers of flavor, so use them generously. Obviously, they are the perfect tool for scooping up rich sauces. Think about pairing this pillowy bread with something like my Easy Butter Chicken; the richness of the bread soaks up that tangy tomato sauce perfectly.
But please, don’t stop there! I love tearing pieces up and dipping them straight into hummus or a sharp yogurt dip. And when you have a few pieces left over the next day? Tear them up, throw on some sauce and cheese, and you’ve instantly got an amazing, quick snack—homemade **naan pizza**! It’s so much better than using store-bought crusts, I promise.
Storing and Reheating Your Homemade Naan Recipe
The best part about **naan bread** is that it’s delicious right off the skillet, but nobody wants leftovers to go hard and dry! If you have any left from your batch, keep them wrapped up tightly in an airtight container at room temperature for up to two days. Keeping them cold in the fridge tends to stiffen them up, and we want softness!
To bring them back to life, skip the microwave! That just makes them tough. Instead, just pop them back into that hot, dry skillet for about 30 seconds per side. That gentle heat warms them through and restores that fluffy texture we worked so hard for. You’ll have fresh **soft naan bread** again in no time!

Frequently Asked Questions About Making Naan Bread
I get so many questions about tweaking this recipe, which is great! It means you’re already thinking about making this amazing **comfort food bread** all the time. Here are answers to the things I hear most often about making **naan bread** on a busy weeknight. If you are wondering about quick meal ideas to serve alongside this bread, check out my thoughts on quick and easy breakfasts!
Can I make this a quick No Yeast Naan?
Guess what? You already are! This recipe is designed specifically to be a **No Yeast Naan**! We skip that whole rising business by relying on baking powder and yogurt for our lift. That’s why this is such a wonderfully **quick Indian bread**—you mix it, rest it briefly, and cook it. No waiting around for the dough to double in size!
What if I want Vegan Naan Bread?
That’s easy to swap out! Since yogurt is mostly about moisture and a touch of acid, you can sub in a thick, unsweetened vegan yogurt alternative. If you don’t have that, mix 1/2 cup of any plant-based milk (like soy or oat) with about a teaspoon of white vinegar or lemon juice. Let that sit for five minutes until it looks a little funky, and use that in place of the yogurt. It keeps the dough nice and tender for perfect **soft naan bread**.
What works if I don’t have a cast-iron skillet?
If you don’t have cast iron, don’t panic! The cast iron is just fantastic because it holds heat so incredibly well, which is what gives you the charring. You can absolutely use a heavy-bottomed stainless steel pan, or even a non-stick pan if you have one that can handle medium-high heat. Just be careful not to oil the pan for the first side—the hotter the pan, the better the puff for your **homemade naan recipe**.
Can I freeze this naan bread?
Yes, you definitely can! Once your **buttery naan** has cooled completely, you can stack them between pieces of parchment paper and wrap the whole stack tightly in plastic wrap and then foil. They freeze beautifully for about two months. When you want to eat them, just thaw them on the counter for an hour and reheat them briefly in a dry, hot skillet until they are warm and soft again. It makes prepping for a **naan for curry** night so much easier!
How thick should I roll the naan?
This is key for getting that **restaurant style naan** look! You want them relatively thin—about 1/8 of an inch, or maybe a little thinner if you like them crispy around the edges. If you roll them too thick, they turn out more like a thick pita bread instead of the classic thin, pliable naan. Keep them consistent so they cook evenly!
PrintEasy Skillet Naan Bread (Soft and Buttery)

Make soft, fluffy, restaurant-style naan bread at home using only your stovetop skillet. This simple recipe skips the yeast for a quick flatbread perfect for curries.
- Prep Time: 15 min
- Cook Time: 15 min
- Total Time: 45 min
- Yield: 6 servings 1x
- Category: Side Dish
- Method: Stovetop Skillet
- Cuisine: Indian
- Diet: Vegetarian
Ingredients
- 1 1/2 cups all-purpose flour
- 1 teaspoon baking powder
- 1/2 teaspoon salt
- 1/2 cup plain yogurt
- 1/4 cup warm water
- 1 tablespoon olive oil, plus more for brushing
- 2 tablespoons melted butter, for brushing
- 1 clove garlic, minced (for topping)
Instructions
- In a large bowl, whisk together the flour, baking powder, and salt.
- Add the yogurt and warm water to the dry ingredients. Mix until a shaggy dough forms.
- Turn the dough out onto a lightly floured surface and knead for 5 to 7 minutes until the dough is smooth and elastic.
- Place the dough in a lightly oiled bowl, cover it with plastic wrap, and let it rest at room temperature for 30 minutes. This resting period helps create a soft texture.
- Divide the dough into 6 equal pieces. Roll each piece into an oval or teardrop shape, about 1/8 inch thick.
- Heat a dry cast-iron skillet or heavy-bottomed pan over medium-high heat until very hot. Do not add oil to the pan yet.
- Place one rolled naan into the hot, dry skillet. Cook for about 1 to 2 minutes until large bubbles appear on the surface and the underside has brown spots.
- Flip the naan and cook the second side for about 1 minute until lightly browned. The dough should puff up slightly.
- Remove the cooked naan from the skillet and immediately brush the top generously with melted butter mixed with minced garlic.
- Repeat the process with the remaining dough pieces, adding a small amount of oil to the skillet between each batch if the bread starts sticking.
- Serve your soft, buttery naan immediately with your favorite curry or dip.
Notes
- For a truly restaurant-style finish, after brushing with garlic butter, you can briefly place the cooked naan directly over a gas flame using tongs for a few seconds to get authentic char marks.
- If you prefer a plain naan, skip the garlic in the melted butter topping.
- This recipe works well for making quick naan pizza bases.
Nutrition
- Serving Size: 1 piece
- Calories: 210
- Sugar: 1
- Sodium: 350
- Fat: 6
- Saturated Fat: 3
- Unsaturated Fat: 3
- Trans Fat: 0
- Carbohydrates: 34
- Fiber: 1
- Protein: 6
- Cholesterol: 10