

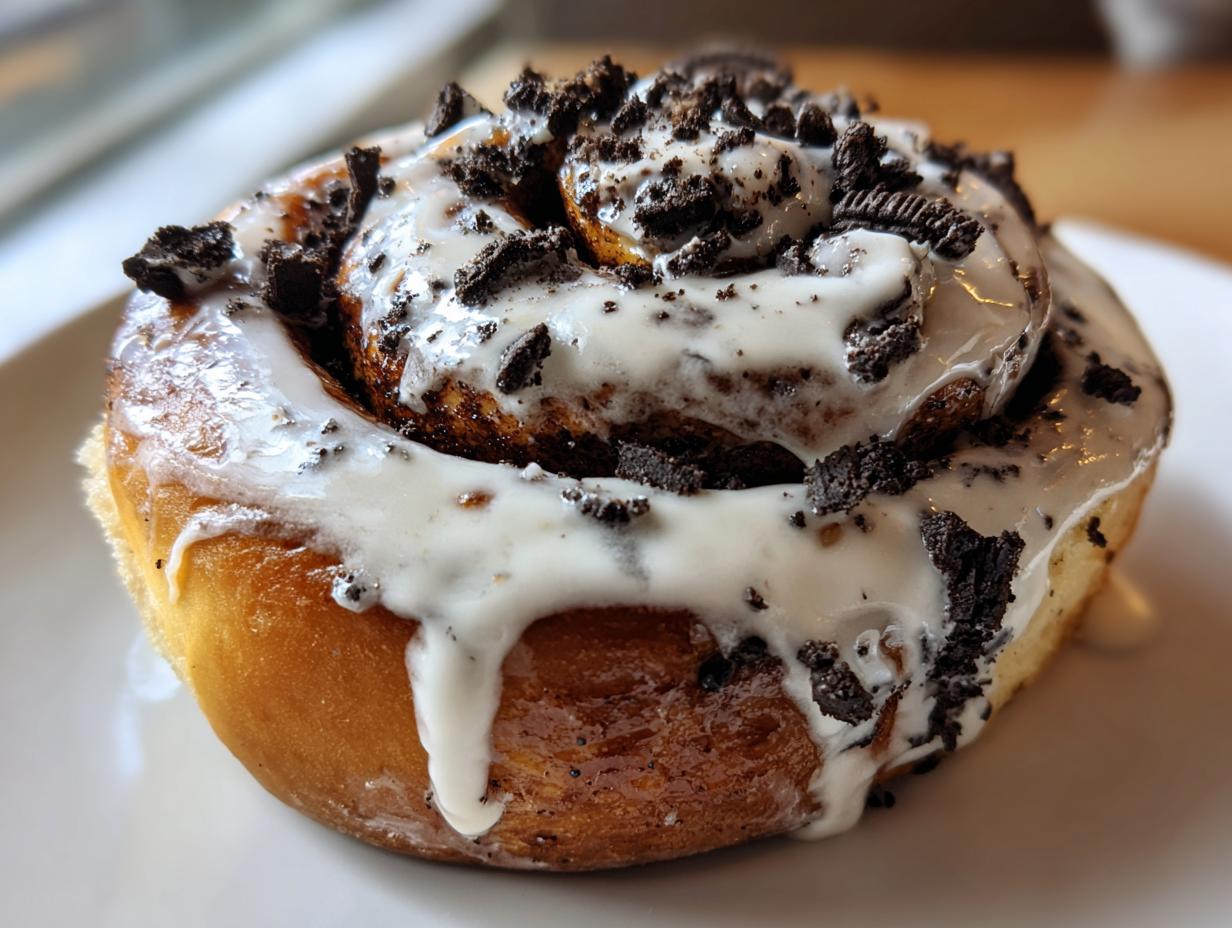
Tell me honestly, don’t you ever just crave a breakfast mashup that feels completely over-the-top decadent? I know I do! Life gets busy, my marketing background taught me that well enough, but that doesn’t mean we have to skip joy. That’s why I’ve perfected these oreo cinnamon rolls—they are the ultimate comfort food upgrade. We’re taking everything you love about a fluffy, sticky cinnamon roll and swirling in that beloved cookies and cream flavor you just can’t quit.
These rolls are shockingly gooey, even if you take the shortcut with refrigerated dough. Seriously, they taste like you spent an entire Sunday afternoon lovingly crafting them, even though they come together so much faster. Trust me on this one: busy lives deserve treats that taste like they took all day, and these rich, chocolatey swirls deliver exactly that. Let’s get rolling!

- Why You Will Love Making These Oreo Cinnamon Rolls
- Gathering Ingredients for Your Oreo Cinnamon Rolls Recipe
- Step-by-Step Instructions for Fluffy Oreo Cinnamon Rolls
- Tips for Achieving the Best Gooey Oreo Buns
- Ingredient Substitutions for Your Oreo Cinnamon Rolls
- Serving Suggestions for This Indulgent Brunch Recipe
- Storage and Reheating Instructions for Leftover Oreo Cinnamon Rolls
- Frequently Asked Questions About Cookies and Cream Cinnamon Rolls
- Share Your Decadent Sweet Treats Experience
Why You Will Love Making These Oreo Cinnamon Rolls
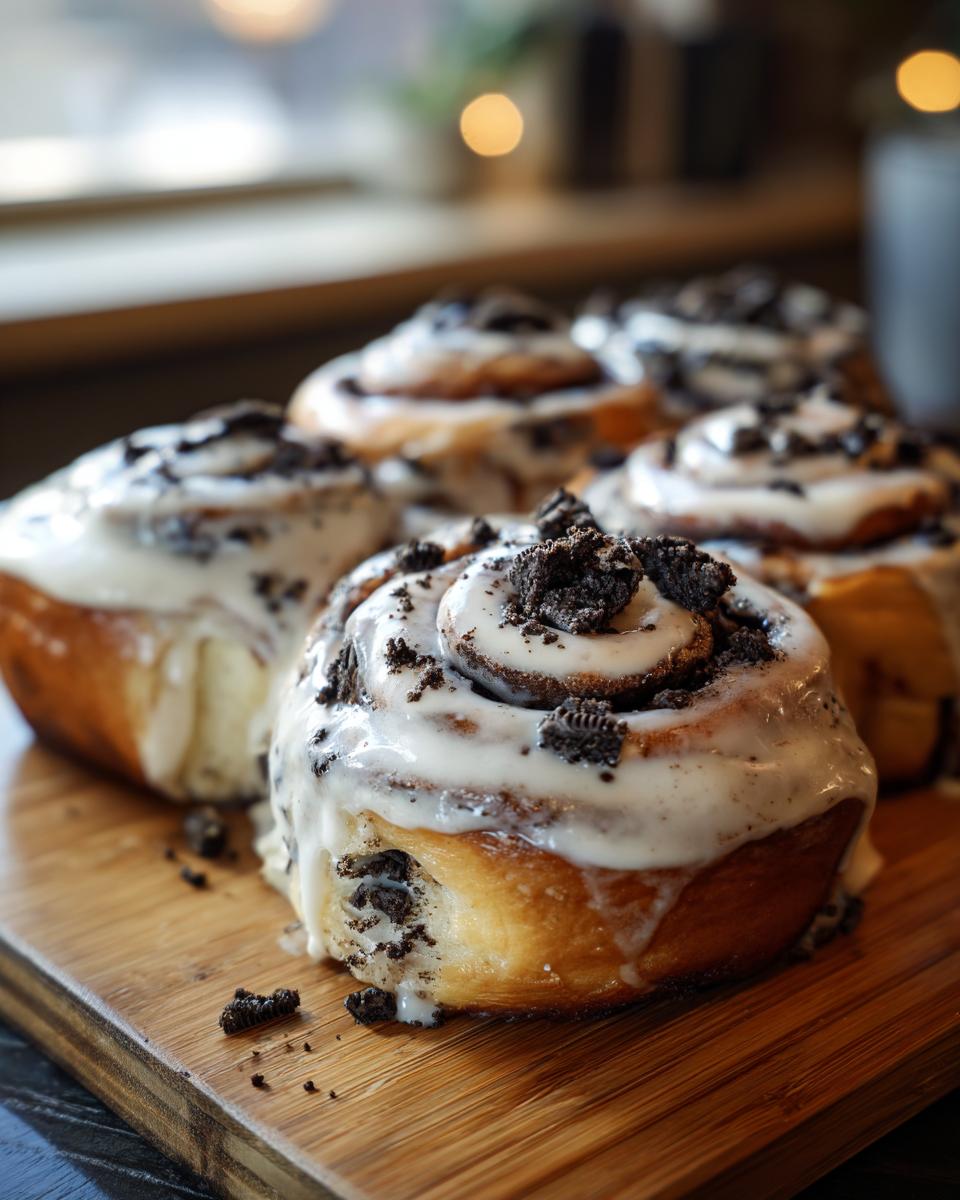
- They achieve that amazing gooey texture everyone craves. Seriously, they pull apart perfectly warm from the oven; it’s magic!
- The combination of rich cocoa filling and crushed Oreos gives you that perfect cookies and cream flavor in every bite—way beyond your standard cinnamon roll.
- You get truly homemade cinnamon rolls flavor without the overnight process, especially if you opt for the refrigerated dough shortcut I mention. So fast!
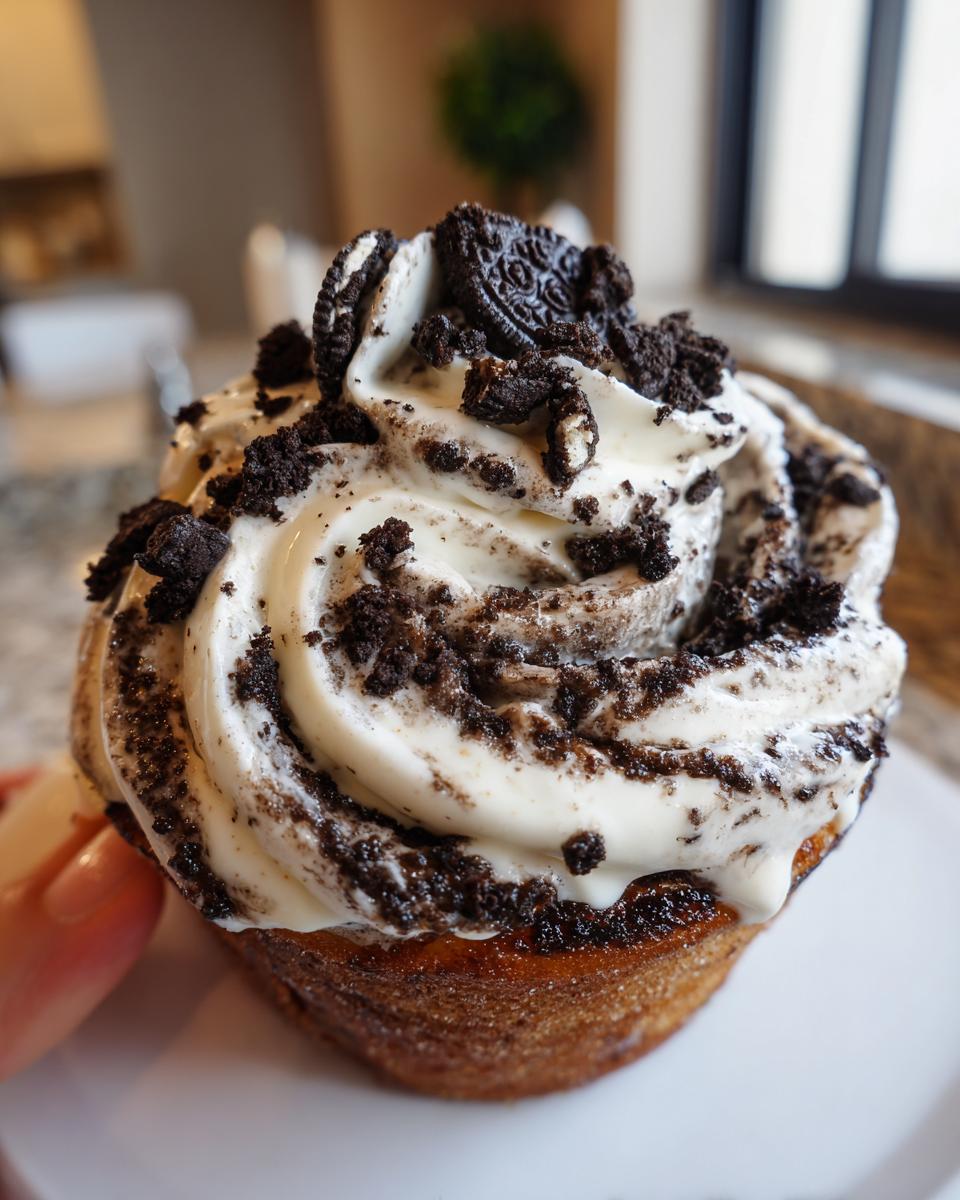
- The Cream Cheese Oreo Glaze is non-negotiable; it adds a tangy, sweet richness that stabilizes the roll and makes it feel totally indulgent.
- They are perfect for weekend baking projects or whenever you need a special breakfast that feels like a celebration, not a chore.
Honestly, I whip these up whenever I need a little instant comfort. Even when they cool down a little, they stay soft! That’s the beauty of using real butter in the filling, even with the Oreos in there. You deserve this decadent upgrade.
Gathering Ingredients for Your Oreo Cinnamon Rolls Recipe
Okay, gathering the goods should be fun, not stressful! I want to keep this as straightforward as possible, which is why I’ve allowed for a brilliant shortcut here. You can absolutely make these oreo cinnamon rolls using good quality refrigerated biscuit dough if time is tight. If you’re feeling ambitious and want the ultimate Next Level Cinnamon Rolls experience, you can always use your favorite From Scratch Cinnamon Rolls recipe for the dough, but just know the rising time will stretch out a bit!
Make sure everything measured out for the filling and the glaze—especially the fats—are at that perfect room temperature. Nobody wants hardened lumps ruining the beautiful creamy texture we’re aiming for here.
For the Fluffy Oreo Cinnamon Rolls Dough and Filling
- Dough: One package (about 14.4 ounces) of refrigerated biscuit dough. If you’re making yours homemade, you’ll need your standard ingredients, but for this recipe, we’re keeping it quick!
- Butter: 1/2 cup unsalted butter that is softened—not melted, but squishy to the touch!
- Sugar Blend: 1/2 cup packed light brown sugar and 2 tablespoons granulated sugar. The brown sugar is key for that deep caramel note.
- Spice & Chocolate: 1 tablespoon ground cinnamon and 1/4 cup black cocoa powder. If you can’t find the black cocoa, regular unsweetened cocoa works, but the black cocoa really makes the Oreos pop visually!
- The Star: 1 cup of finely crushed Oreo cookies. Make sure they’re in there good!
- Liquid: About 1/4 cup of milk, plus a little extra just for brushing the tops before baking.
For the Cream Cheese Oreo Glaze
This glaze is what truly makes these Cookies and Cream Cinnamon Rolls sing. It needs to be super creamy, so make sure your cream cheese and butter are wonderfully soft.
- Base: 4 ounces of cream cheese, perfectly softened.
- Fat: 1/2 cup unsalted butter, also softened. (See a pattern here? Soft fats make smooth glazes!)
- Sweetness: 2 cups of powdered sugar, and please, sift it! It saves you from fishing out little sugar clumps later.
- Flavor: 1 teaspoon of pure vanilla extract.
- The Topping Crunch: About 1/4 cup of crushed Oreos reserved just for sprinkling on top once the glaze is spread.
Get everything measured out before you start mixing the filling. Once those flavors hit the sugar, things move fast, and you want those Oreos ready to join the party!
Step-by-Step Instructions for Fluffy Oreo Cinnamon Rolls
This is where the fun really starts! Whether you’re using the quick refrigerated dough or you’ve bravely made your own From Scratch Cinnamon Rolls batch, the filling process is the same. My personal secret, truth be told? I nearly always grab the refrigerator dough because I need these decadent treats fast! If you went homemade, just follow the recipe’s rising time, but if you use the biscuits, remember step six is crucial for getting them fluffy and not dense.
Before you start rolling out the dough, go ahead and set that oven to 375 degrees Fahrenheit (190 Celsius). We want it nice and hot waiting for us when these beautiful sweet rolls are done rising.
Preparing the Rich Oreo Cinnamon Filling
You need a nice, spreadable filling, so we start creamy. Grab a medium bowl. Dump in your softened butter, both the brown sugar and the granulated sugar, your cinnamon, and that beautiful black cocoa powder. Use a sturdy spoon or a hand mixer if you want to cheat a little, but I just use a whisk and beat it until it’s totally smooth. No grainy bits allowed here!
Once that butter mixture looks like smooth, dark chocolate velvet, dump in that cup of finely crushed Oreos. Fold them in gently. We aren’t trying to pulverize them totally; we want those little chunks of Oreo to stand up to the heat and give you that fantastic texture in every layer. Set this bowl aside; it’s ready when the dough is ready.
Rolling, Cutting, and Second Rise for Perfect Oreo Cinnamon Rolls
Lightly flour your counter space. Take your dough—either the separated biscuits carefully pressed together or your homemade rectangle—and roll it out until you have a big 12×18-inch rectangle. Get those edges as straight as you can!
Now, spread that thick, dark Oreo filling evenly over the dough. Make sure you leave about an inch bare along one of the long edges. This little border is important! It seals the deal so your log doesn’t unroll while baking. Starting on the opposite, filled edge, roll that dough up as tightly as you possibly can into a log. Pinch that empty seam closed with your fingers. It needs to be tight!
Slice that log into 12 equal rolls. Just use a sharp knife! Place them cut-side up in your greased 9×13 inch baking dish. Brush the tops lightly, almost like a whisper, with a tiny bit of milk. Now, cover them loosely with plastic wrap and let them sit in a warm spot for 30 to 60 minutes. They need to look puffy and happy before they hit that 375°F oven.
Baking and Cooling the Cookies and Cream Cinnamon Rolls
Once they’ve puffed up nicely, pop them into that hot oven for about 18 to 22 minutes. You’re looking for them to be golden brown on top and cooked through the center. If you want them extra, extra gooey, pull them out at the 18-minute mark—they’ll still be safe to eat!
When they come out, they will smell incredible, I promise. Let them cool right there in the pan for about 10 to 15 minutes. This is crucial! If you frost them when they are screaming hot, the glaze will just melt right off into a puddle! We want a lush, thick layer of frosting clinging to these Cookies and Cream Cinnamon Rolls.
Crafting the Decadent Cream Cheese Oreo Glaze
While the rolls are cooling down a touch, let’s make that frosting. Get your softened cream cheese and butter into a mixing bowl. Beat them until they look like light, fluffy clouds—no chunks allowed, remember? This is what makes the difference between a great glaze and a lumpy mess.
Slowly start incorporating the sifted powdered sugar. Don’t dump it all in at once, I beg you, or you’ll be wearing it! Once that’s mixed in, add your vanilla. If the glaze seems way too stiff for spreading—maybe your butter wasn’t quite soft enough—just stir in milk, one teaspoon at a time, until you reach a lovely, decadent, spreadable consistency.
Spread that glorious frosting right over the warm rolls, making sure to get it into every little gap. Then, scatter that reserved crushed Oreo mixture right on top. That crunch against the soft roll and creamy frosting? Perfection.
Tips for Achieving the Best Gooey Oreo Buns
Listen, we are aiming for Gooey Oreo Buns perfection here, which means stopping just shy of overdoing it in the oven. If you pull these out when they feel just a tiny bit softer than you think they should be, they will firm up perfectly as they cool under that rich glaze. Don’t aim for bone-dry perfection during baking; aim for soft potential!
My first big piece of advice for that unbelievable texture is how you treat the filling. Make sure that butter and brown sugar mixture is totally creamed and smooth before you add the Oreos. If the butter’s too cold, the sugar can end up crystalizing oddly around the cookie pieces, leading to pockets that feel less soft—we are avoiding texture pockets of doom!
Another thing people often overlook when making these decadent sweet treats is the cover when they are rising. If your kitchen is even slightly cool, the dough won’t puff up properly, and you’ll end up with dense little bricks instead of soft swirls. Cover that pan tightly with plastic wrap, and if your kitchen is cold, put the whole tray inside your oven—just turn the oven light on, don’t turn the heat on! That gentle warmth is perfect for getting that second rise done right. You can read more about avoiding dense rolls in my standard cinnamon roll guide, but these Oreo ones thrive on that quick warmth.
If you are worried about the bottom sticking, which can sometimes happen when you have heavy fillings, remember to grease that pan really well, just like I talked about earlier. Even a little extra butter brushed on the bottom before loading the rolls can make the difference between a gorgeous pan of rolls and a baking disaster you have to scrape out.
And finally, don’t forget the glaze application! The timing matters. Slather that Cream Cheese Frosting for Sweet Rolls on while the rolls are still warm but not piping hot. The residual heat slightly melts the frosting just enough to run down the sides and wick into those cracks, ensuring sweet, satisfying gooeyness in every single bite.
Ingredient Substitutions for Your Oreo Cinnamon Rolls
I know not everyone keeps specialty ingredients like black cocoa powder hanging around their pantry, and honestly, that’s okay! Remember, this whole brand is built on taking the stress out of making something amazing. So, let’s talk about flexibility for these oreo cinnamon rolls.
The biggest question I always get is about the cocoa. If you try to make these Cookies and Cream Cinnamon Rolls with regular unsweetened cocoa powder, you absolutely can! The only difference is the visual impact. Black cocoa powder gives you that super dark, almost black cookie look, mimicking the actual Oreo exterior perfectly. If you just use regular cocoa, your filling will look more like a standard chocolate swirl, but I promise you, the flavor will still be phenomenal because the Oreos are doing most of the heavy lifting there! Taste wins over looks, always.
Now, let’s address the elephant in the room: time. If you are running low on time for this Weekend Baking Project and you don’t have time to whip up my homemade glaze, please, use store-bought frosting! Seriously. Grab a tub of good vanilla frosting or even a cream cheese frosting if you find one that looks good. Just warm it up slightly before you spread it. A slightly thinned-out store-bought frosting is still miles better than skipping the rolls altogether!
For the filling sweetness, the brown sugar/white sugar combo really helps balance the chocolate bitterness from the cocoa. You could technically use all brown sugar if you were desperate, but I wouldn’t recommend it paired with the Oreos—it might get a little too molasses-heavy. Stick to the recipe ratio, or if you must change it, reduce the brown sugar by just a tablespoon. Small tweaks keep these Easy Homemade Cinnamon Rolls successful!
Serving Suggestions for This Indulgent Brunch Recipe
When you pull a pan of these glorious Indulgent Brunch Recipe rolls out of the oven, you need things to go alongside them that can stand up to that chocolatey, sweet goodness! These aren’t light pastries, my friends; they are comfort food in a swirl, so the sides need to offer balance or just lean into the richness!
First things first: Coffee. You absolutely must have rich, dark coffee. I mean the kind of coffee that tastes slightly bitter to cut through that sugar rush. A strong French press brew is my go-to. It gives you that necessary jolt and the slight bitterness is the perfect foil for all that sweet frosting and cookie filling.
If you’re serving these for brunch, I always try to sneak in something fresh. It helps nobody feel quite so overwhelmed by the sugar! A big bowl of mixed berries—strawberries, blueberries, maybe some raspberries—is perfect. The tartness of the berries against the warm, gooey roll is just divine. It feels healthier, even though we know the rolls are doing most of the heavy lifting for the indulgence factor.
Or, if you are making them for a full, happy weekend spread, you need something to soak up any extra glaze that drips onto the plate. I love pairing these with my Fluffy Old-Fashioned Buttermilk Pancakes, but maybe just make a small batch of pancakes. That way, you get the light, fluffy texture of the cake alongside the dense, rich swirl of the Oreo roll. It’s a texture party!
For the kiddos, or maybe for those moments when you just need pure, unadulterated comfort, a simple glass of cold milk is honestly the best partner. It washes down that cocoa so smoothly. Just a plain, ice-cold glass of milk with these rich Comfort Food Baking treats is a classic for a reason. Don’t overthink it; sometimes the simplest pairings are the best when the main event is this extra special!
Storage and Reheating Instructions for Leftover Oreo Cinnamon Rolls
Now, this is a tricky topic because the absolute best way to enjoy these oreo cinnamon rolls is warm, gooey, and fresh from the oven. But let’s be real—sometimes we make a whole 9×13 pan and there are leftovers! Don’t panic, they are still delicious the next day, you just need the right technique to bring back that soft texture.
If you have any extras, you have to store them properly, otherwise, that beautiful fluffy dough turns into a sad little sponge. My rule is simple: if you think you’ll eat them all within 24 hours, keep them on the counter. If you’re saving them for longer, they need the fridge.
To store them on the counter, use an airtight container or cover the baking dish tightly with plastic wrap or foil. Keep them at room temperature for up to two days. After that, the quality starts to drop, and that glorious frosting might get a little weepy. If you need to keep them longer, wrap the whole batch tightly in plastic wrap and then foil, and pop them into the refrigerator where they should last about four days safely.
The way you reheat these matters a ton when we are talking about maintaining that gooey texture. Don’t just dump one on a plate and microwave it for 45 seconds, unless you like rubbery edges!
The microwave is your friend for one or two rolls, but you have to be careful. Pop a single roll on a microwave-safe plate. Microwave it for about 10 to 15 seconds on medium power. That brief blast of soft heat warms the filling without cooking the dough further. If you see it start to stiffen, you’ve gone too long!
For a whole pan, or for a better texture restore, use the oven. Preheat your oven to a very low temperature—think 300 degrees F. Place the rolls (still slightly covered if they had a lot of glaze) in a baking dish or on a baking sheet. Warm them for about 10 minutes. This gentle heat warms evenly, making the butter and sugar in the filling soften up, restoring that dreamy, just-baked quality without making them dry. You get that perfect comfort food baking experience again!
If you refrigerated them, let them sit on the counter for 30 minutes before trying to reheat them in the oven; this prevents temperature shock for the dough. You want them warm all the way through, soft, and ready to pull apart!
Frequently Asked Questions About Cookies and Cream Cinnamon Rolls
I get so many questions about baking these delicious treats, and honestly, I love hearing what you all are trying in your kitchens! These Cookies and Cream Cinnamon Rolls are so addictive that people always want to know how to prep them ahead of time or how to get that perfect chocolate look. Here are the common questions I get about making these Easy Homemade Cinnamon Rolls.
Can I make the dough for these oreo cinnamon rolls the night before?
Yes, you absolutely can! This is a lifesaver for busy weekend mornings. If you are making your dough From Scratch Cinnamon Rolls, mix the dough and complete the first kneading stage, then place it in a lightly oiled bowl, cover it well, and stick it in the fridge overnight. Pull it out about an hour before you plan to roll and fill it so it comes up to room temperature and proofs nicely.
If you are using the refrigerated biscuit dough—which, again, is my favorite shortcut—you can fully assemble the rolls, place them in the greased 9×13 pan, brush them with milk, cover them tightly, and refrigerate them overnight. In the morning, just let them sit on the counter for about 30 minutes while your oven preheats. They might take 5 extra minutes to bake if they go into the oven straight from the cold fridge, so keep an eye on them!
What is the best way to get the chocolate swirl right in my oreo cinnamon rolls?
This is all about even spreading and tight rolling! You want that dark filling to be the base layer of color and flavor. First, make sure your butter is perfectly softened for the filling. If it’s too stiff, the sugar won’t incorporate nicely, and you’ll end up with bits that don’t spread well.
When spreading the filling onto that rolled-out dough rectangle, use an offset spatula or the back of a spoon and try to get it as close to the edges as possible, except for that one clean inch you leave as the seal. The trick to a beautiful swirl is how tightly you roll it. Start slow, keeping the line of the roll really consistent, making sure the dough wraps snugly around the filling layer every time. Don’t rush this part! Pinch that final seam firmly closed. A good, tight seal ensures that when you cut the oreo cinnamon rolls, you see those gorgeous, distinct dark chocolate layers in every single slice rather than just a big hunk of filling in the middle.
Do I really need to use black cocoa powder?
Oh, I love this question! No, you don’t *have* to, but trust me, it makes such a difference if you want that authentic, deep, dark chocolate look that mirrors an actual Oreo cookie. Regular unsweetened cocoa powder will work just fine flavor-wise, but the resulting swirl will look more like a standard chocolate cinnamon roll—still delicious, mind you!
But if you want those stunning, almost black ribbons contrasting against the pale, fluffy dough, hunt down the black cocoa. It doesn’t taste heavily of chocolate on its own; it’s actually key to replicating that distinctive, slightly alkaline taste of the Oreo wafer. It’s a small step that elevates these Cookies and Cream Cinnamon Rolls into something show-stopping!
Why do my rolls sometimes stick to the pan?
This happens to us all, especially with rich fillings like this one! The sugar and the butter can caramelize and glue your beautiful pastry right to the bottom. When cutting the rolls, make sure you use a piece of parchment paper laid underneath the aluminum foil or plastic wrap for that second rise and bake. That extra barrier for your gooey buns helps tremendously.
If you are using a glass dish, you have to be especially generous with the buttering and flouring process before you place the rolls in for their final puff. Glass holds heat differently, and sometimes that causes a slightly darker, stickier bottom crust. If you want the absolute easiest release, you can try using a springform pan—just line the bottom with parchment paper before arranging the rolls inside!
Share Your Decadent Sweet Treats Experience
Now that you’ve mastered these incredibly gooey oreo cinnamon rolls, I absolutely have to know how they turned out for you! Baking is a conversation, right? I poured all my experience trying to balance incredible flavor with a busy schedule into this recipe, and I want to see your successes!
When you serve up these beautiful Decadent Sweet Treats, please take a picture! I love scrolling through and seeing your gorgeous, glazed, crumbly swirls. Tag me on social media so I can share your glorious creations with the rest of the community—it means the world to me to see my recipes become part of your kitchen memories.
And hey, if you have a second, leaving a star rating right here on the recipe card is the best way to tell me what worked for you. Did you use the refrigerated dough or go totally homemade? Did you stick to my suggested amount of Oreos or sneak in a few extra? Those little details help other busy cooks feel confident trying this recipe next time.
Don’t leave me hanging! Tell me all about your indulgent weekend or whatever moment called for these wonderful Cookies and Cream Cinnamon Rolls. Happy baking, everyone!
PrintGooey Oreo Cinnamon Rolls with Cream Cheese Oreo Glaze

Make these soft, fluffy Oreo Cinnamon Rolls, swirled with chocolate filling and crushed Oreos, then top them with a decadent cream cheese Oreo glaze for an indulgent breakfast or dessert.
- Prep Time: 30 min
- Cook Time: 22 min
- Total Time: 1 hour 52 min
- Yield: 12 servings 1x
- Category: Breakfast
- Method: Baking
- Cuisine: American
- Diet: Vegetarian
Ingredients
- 1 package (14.4 ounces) refrigerated biscuit dough (or homemade dough)
- 1/2 cup unsalted butter, softened
- 1/2 cup packed light brown sugar
- 2 tablespoons granulated sugar
- 1 tablespoon ground cinnamon
- 1/4 cup black cocoa powder (or regular unsweetened cocoa powder)
- 1 cup finely crushed Oreo cookies (about 10 cookies)
- 1/4 cup milk, plus more for brushing
- For the Glaze:
- 4 ounces cream cheese, softened
- 1/2 cup unsalted butter, softened
- 2 cups powdered sugar, sifted
- 1 teaspoon vanilla extract
- 1/4 cup crushed Oreo cookies (for topping)
Instructions
- Prepare the dough: If using refrigerated biscuits, separate them. If making homemade dough, prepare according to your preferred recipe and let it rise.
- Make the filling: In a medium bowl, combine the softened butter, brown sugar, granulated sugar, cinnamon, and cocoa powder until smooth. Stir in 1 cup of finely crushed Oreos.
- Roll out the dough: On a lightly floured surface, roll your dough into a large rectangle, about 12×18 inches.
- Spread the filling: Evenly spread the Oreo cinnamon filling over the entire surface of the dough, leaving a small border on one long edge.
- Roll and cut: Starting from the long edge opposite the border, tightly roll the dough into a log. Pinch the seam closed. Cut the log into 12 equal rolls.
- Second rise: Place the rolls in a greased 9×13 inch baking dish. Brush lightly with milk. Cover the dish loosely with plastic wrap and let the rolls rise in a warm place for 30 to 60 minutes, or until puffy.
- Bake: Preheat your oven to 375 degrees Fahrenheit (190 degrees Celsius). Bake the rolls for 18 to 22 minutes, or until golden brown and cooked through.
- Make the glaze: While the rolls cool slightly, beat the softened cream cheese and butter together until smooth. Gradually beat in the powdered sugar until combined. Mix in the vanilla extract. Stir in a tablespoon of milk if the glaze is too thick.
- Frost and serve: Spread the cream cheese Oreo glaze generously over the warm rolls. Sprinkle the remaining 1/4 cup of crushed Oreos on top. Serve immediately for the best gooey texture.
Notes
- For extra gooey rolls, reduce the baking time by 2 minutes, or slightly underbake them.
- If you want a stronger chocolate flavor, use black cocoa powder in the filling.
- You can substitute store-bought cream cheese frosting for the homemade glaze if you need a faster option.
Nutrition
- Serving Size: 1 roll
- Calories: 450
- Sugar: 45g
- Sodium: 420mg
- Fat: 24g
- Saturated Fat: 14g
- Unsaturated Fat: 10g
- Trans Fat: 0.5g
- Carbohydrates: 55g
- Fiber: 2g
- Protein: 5g
- Cholesterol: 55mg