

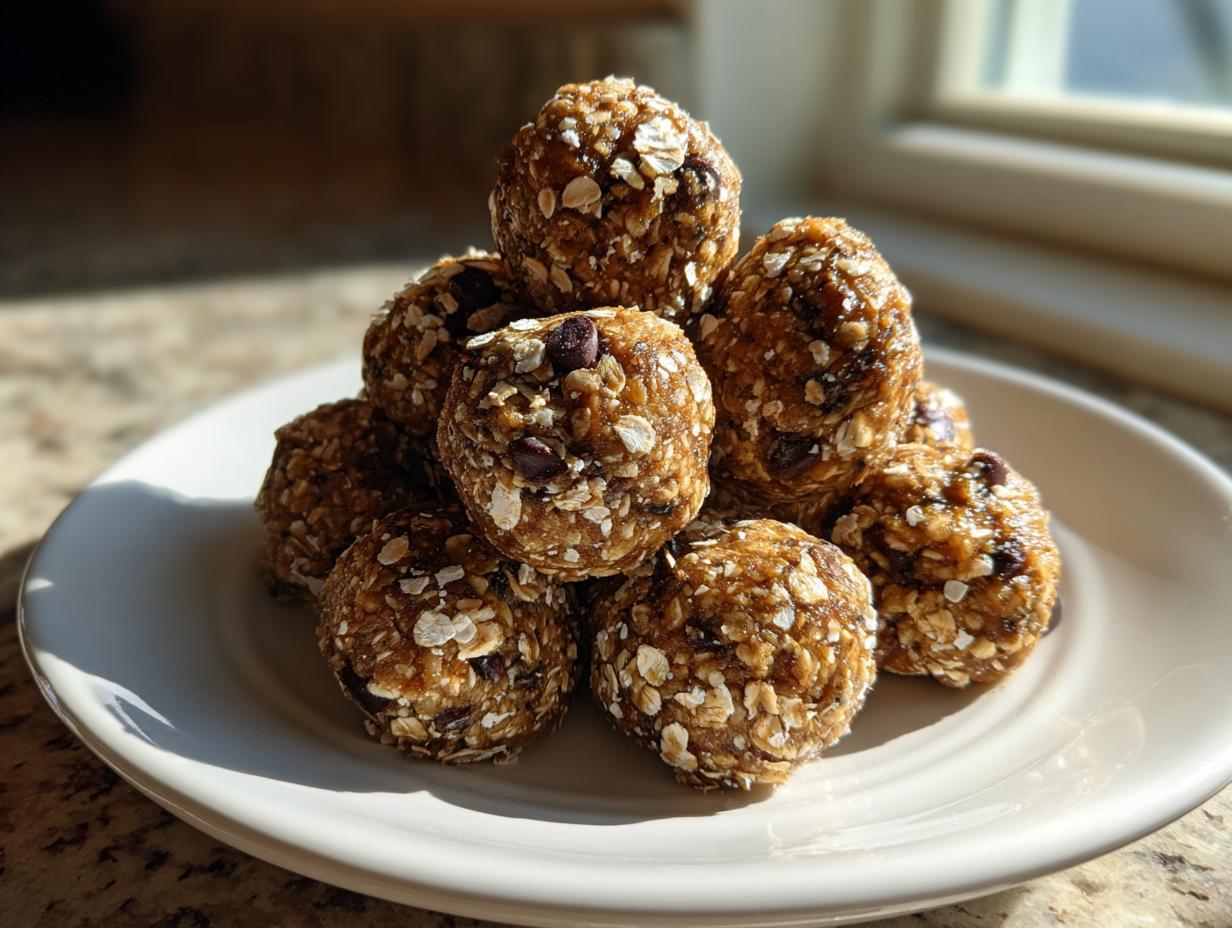
You know that feeling, right? It’s 3 PM, your energy is doing the dreaded slow-motion descent, and you desperately need a bite of something satisfying. But you refuse to grab that processed junk from the vending machine! If your life moves at the speed of my old marketing deadlines, you need solutions that taste incredible but don’t require firing up the oven. That’s exactly why I perfected these ultimate no-bake protein balls. They are my secret weapon for staying fueled without slowing down. Don’t worry, even though we are keeping it fast, I promise we aren’t sacrificing any of that deep, comforting flavor we crave. These are wholesome, easy energy delivered in one perfect little bite. If you need more fast fuel ideas, you should check out my guide on healthy lunch recipes for busy days.
- Why These Peanut Butter Oatmeal Protein Balls Are Your New Favorite Healthy Protein Snacks
- Ingredients for the Ultimate No-Bake Protein Balls Recipe
- How to Prepare Your No Bake Protein Balls Step-by-Step
- Tips for Perfect Peanut Butter Protein Balls Every Time
- Customizing Your Protein Balls: Variations and Mix-Ins
- Storage and Make-Ahead Tips for Protein Balls
- Serving Suggestions for Your Quick Energy Balls
- Frequently Asked Questions About Protein Balls
- Nutritional Snapshot of These High Protein Bites
- Share Your Success with These Easy Energy Bites
Why These Peanut Butter Oatmeal Protein Balls Are Your New Favorite Healthy Protein Snacks
I get it—time is non-negotiable. Since my time in marketing, I’ve learned there’s no magic solution for a busy schedule, but there are smart hacks! These peanut butter protein balls are proof you don’t have to choose between quick nutrition and actual flavor. They tick every box for the modern, busy cook.
- They are packed with quality protein, making them fantastic post workout fuel.
- They are absolutely zero-fuss; seriously, you only need one bowl!
- They are perfectly portioned for grabbing on your way out the door.
If you need more incredible grab-and-go ideas, check out my thoughts on quick and easy breakfast options.
Quick Energy Balls: Ready in Minutes
The best part? The prep time clocks in at just ten minutes. That’s less time than it takes to wait for water to boil! Because everything is mixed cold, there’s no oven preheating, no cooling racks, and no monitoring temperatures. They are truly quick energy balls in every sense of the word.
Perfect Meal Prep Snacks for Busy Weeks
These firm up beautifully in the fridge, making them your best friend for weekly prep. You make one batch, and suddenly you have healthy snacks handled for the entire work week—perfectly portioned helpings to prevent mindless grazing. They are the ultimate meal prep snacks!
Ingredients for the Ultimate No-Bake Protein Balls Recipe
When putting together this protein balls recipe, I’ve kept it simple, focusing on pantry staples that pack a punch. You don’t want to overwhelm the mixture here; we are aiming for perfect binding. Remember, the quality of your protein powder really matters—I find vanilla or unflavored works best so it doesn’t fight with the peanut butter.
- 1 cup rolled oats
- 1/2 cup protein powder (vanilla or unflavored is ideal)
- 1/2 cup peanut butter
- 1/3 cup honey or maple syrup
- 1/4 cup ground flaxseed or chia seeds
- 1 teaspoon vanilla extract
- 1/4 cup mix-ins (like mini chocolate chips or coconut)
If you are looking for inspiration on other ways to use your protein powder, my protein banana bread is a fantastic fallback!
Ingredient Notes and Substitutions for Protein Balls
This recipe is so flexible, which is a huge win for meal prep! Always make sure your nut or seed butter is relatively runny; if it’s too stiff, the dough won’t come together right. You can absolutely swap the peanut butter for almond butter or sunflower seed butter if you have allergies or just want a change of pace. For the sweetener, honey gives a lovely depth, but maple syrup works perfectly if you want to keep it strict vegan or just prefer its flavor.
How to Prepare Your No Bake Protein Balls Step-by-Step
Okay, get ready for speed! Making these no bake protein balls feels like cheating because they come together so fast. We want a thick, uniform ‘dough’ here before we even think about rolling them into shape. Remember what I always say—it’s the slow attention to the fast recipe that makes all the difference in the final texture.
If you’re short on time, you can throw everything into a stand mixer with the paddle attachment, but honestly, I prefer mixing by hand for this one. I like to use my hands at the end because you can just feel when the mixture is perfectly tacky and ready to hold a shape. If it feels too crumbly or dry when you squeeze a bit, just add a tiny splash of milk or water—seriously, just a teaspoon at a time!
Once everything is combined, cover your tray with parchment paper; this is a lifesaver later! Then you just roll them out and get them into the fridge pronto. Don’t skip that chilling time; it’s necessary so they don’t turn into sticky messes later. You can find my guide for easy no-bake peanut butter bars if you need another quick fix!
Mixing Dry Ingredients for Chewy Protein Balls
First things first, we tackle the dry stuff. Grab your bowl and dump in your rolled oats, your protein powder, and your ground flaxseed or chia seeds. I want you to stir this together really well—like, really aggressively stir it! We need that powder and those seeds evenly dispersed throughout the dry oats. If you don’t mix these well now, you might end up with pockets of super dry powder, which ruins the whole smooth texture we’re aiming for in these chewy protein balls.

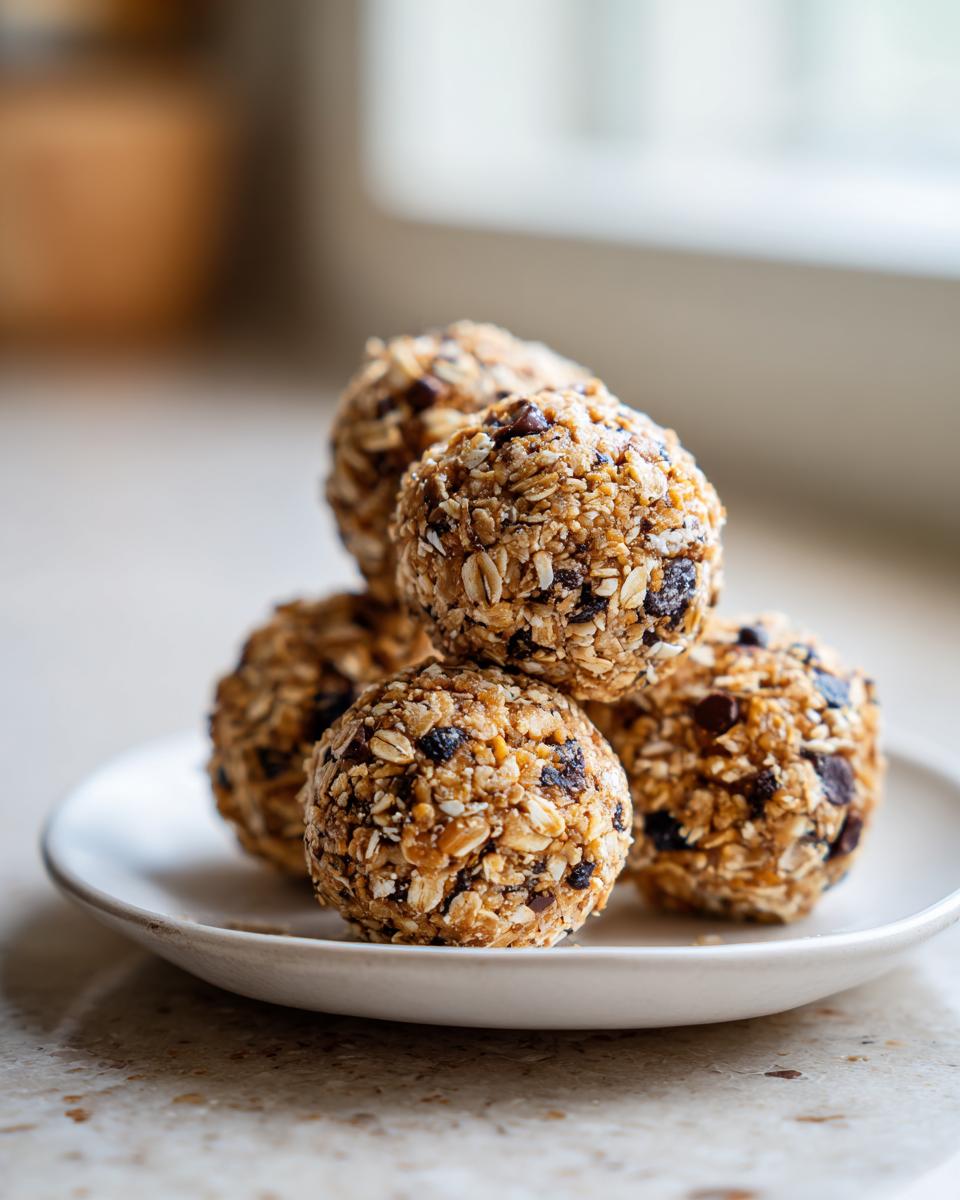
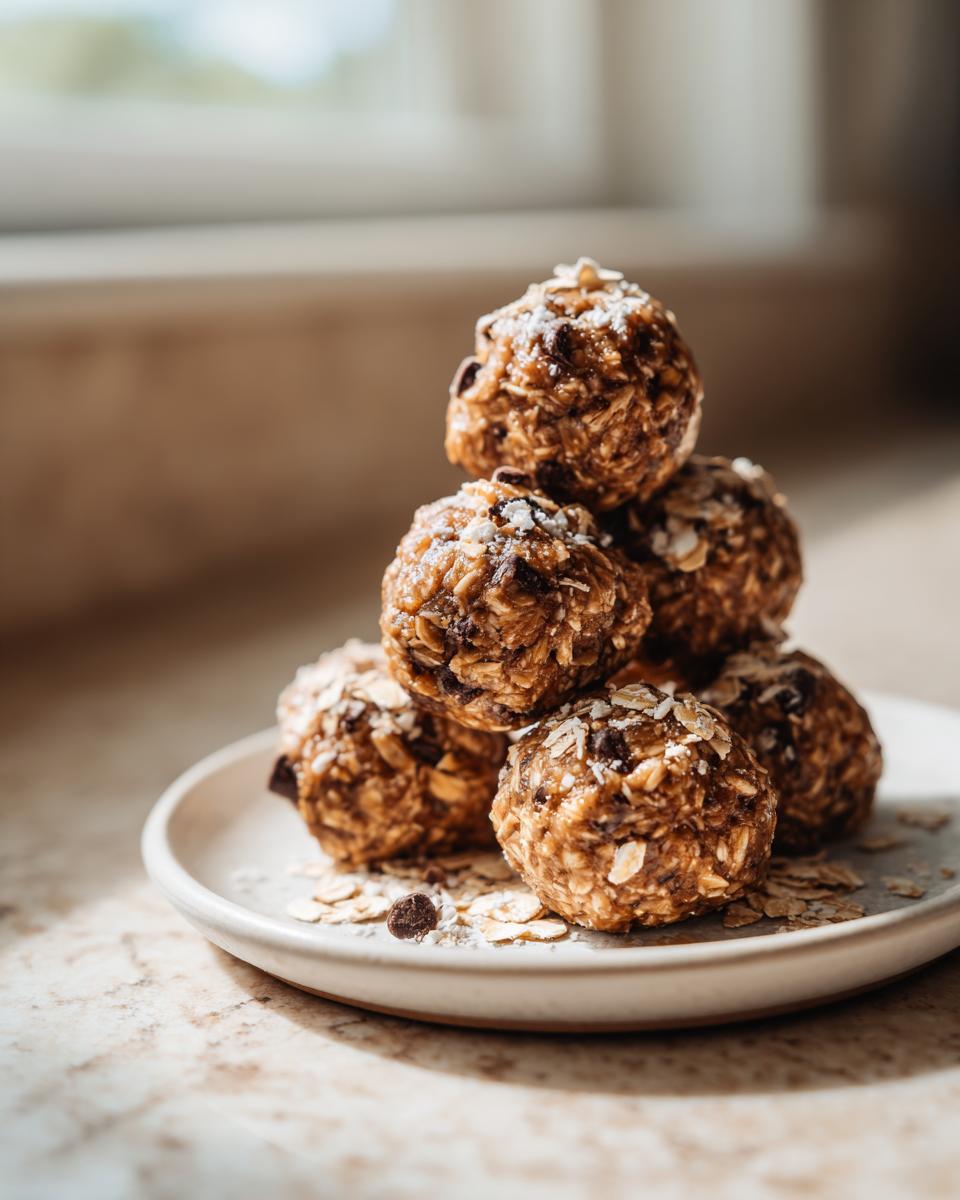
Forming and Chilling the Protein Energy Bites
Once the wet ingredients are added—the peanut butter, honey, and vanilla—stir until it looks like thick cookie dough. Now it’s happy hands time! Roll the mixture roughly one-inch spheres. You should get about 12 to 15 of these protein energy bites. Pop them on that parchment-lined tray and into the refrigerator they go. You must let them chill for at least 30 minutes. This step is crucial because it lets the oats absorb the moisture and firms up the fats so they don’t melt when you try to grab one later!
Tips for Perfect Peanut Butter Protein Balls Every Time
Even the easiest recipes can throw a curveball! If you follow the ratios, these peanut butter protein balls should hold together beautifully, but sometimes the stickiness (or dryness!) depends on your specific brand of peanut butter or protein powder. Trust me, I’ve learned this the hard way!
If your dough is too crumbly once mixed—meaning it won’t stick when you try to squeeze it—don’t panic! That’s the most common issue. You only need to add liquid a tiny bit at a time. Start with a teaspoon of water or milk. Mix it in completely. If it’s still falling apart, add another teaspoon. It’s better to add too little than too much, because once it gets too wet, you’ll ruin the texture.
Conversely, if your mixture feels super sticky and greasy, add more dry ingredients—a tablespoon of oats or a spoonful of protein powder will usually fix that immediately! Once you nail that tacky consistency, they roll up like magic. For more foolproof advice on getting texture right, check out my entry on easy one-pot Spanish rice; controlling moisture is key everywhere!
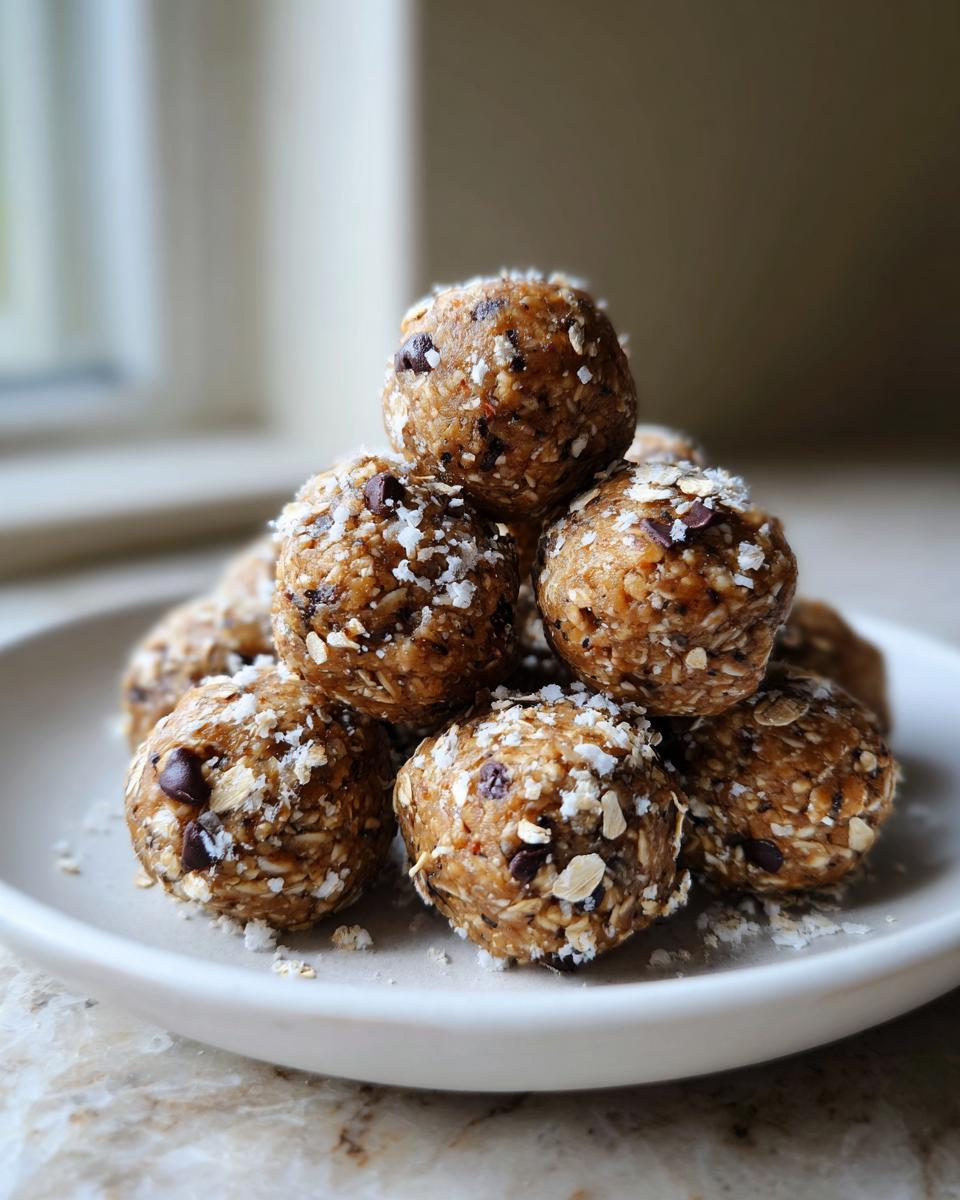
Customizing Your Protein Balls: Variations and Mix-Ins
This is where the fun truly starts! While the base of these oatmeal protein balls is fantastic, they are just screaming for your personal touch. My philosophy is that food needs to work for your life, so customization is mandatory, not optional. You can change the nut butter, swap the vanilla protein for chocolate, or dust the outside in cocoa powder for a totally different vibe.
Just be mindful: different protein powders absorb liquid differently. If you switch to a pea-based powder instead of whey, you might find the mixture is a little drier, so have a splash of water (or milk!) ready just in case you need to adjust the consistency before rolling. Every change requires a quick taste test!
If you enjoy making treats that are easy to swap ingredients in, you absolutely have to try my recipe for candied pecans; they start simple but always end up highly personalized!
Making High Protein Bites Vegan or Low Sugar
Making these work for specific diets is surprisingly simple. If you need these to be vegan, just make sure you substitute the honey with maple syrup, and use a plant-based protein powder. That keeps the binder the same, which is great for consistency!
For those looking for low sugar snacks, this recipe is already miles ahead because we control the sweetener, but you can swap the honey for a granular monk fruit blend or stevia equivalent if you prefer. Just know that sugar alcohols can sometimes make the finished high protein bites slightly harder when chilled, so maybe skip the full refrigeration time if you go that route.
Storage and Make-Ahead Tips for Protein Balls
I can’t stress this enough: these are the absolute best for making ahead! Seriously, batch these on Sunday, and you have your grab-and-go fuel sorted for the week. Because they are no-bake, they rely on the fats and the oats absorbing the moisture to stay firm, so storage is key to keeping them perfect.
You’ll want to store your finished protein balls in an airtight container. I usually grab a glass container with a tight lid. If you keep them in the fridge, they will last easily for a full week. They get a little firmer the longer they chill, which I actually prefer! That slight firmness makes them less messy to toss into a bag when you’re running out the door.
Freezing them is even better if you want them to last longer than a week. You can totally freeze them! Just pop them on a tray lined with parchment paper first and freeze them solid for about an hour. Once they are hard little orbs, you can transfer them to a freezer bag. They last for about two or three months in the freezer, which is amazing if you’re looking for quick solutions to keep stock up on protein powder recipes!
When you need one later, just pull out what you need. They thaw out perfectly at room temperature in about 15 minutes, or you can microwave them for about 10 seconds if you’re impatient like me sometimes! If you enjoy easy make-ahead treats that set firm, you might also adore my recipe for quick, easy 5-minute Oreo fudge!
Serving Suggestions for Your Quick Energy Balls
Okay, now that you have these perfect little fuel orbs, what do you do with them? Honestly, you can just pop them straight into your mouth standing over the counter (I won’t tell anyone, trust me). But if you want to treat them right, there are a few scenarios where these high protein bites really shine.
First up: that non-negotiable 10 AM slump. Having one of these alongside your mid-morning coffee or tea is such a game-changer. It gives you that little boost of protein and healthy fat that prevents the sugar crash. They pair really nicely with a warm beverage.
Next, the intended use: right before or right after exercise. They deliver quick, steady energy for a workout or help curb that immediate post-gym hunger while you figure out a full meal. They are fantastic post workout fuel.
Finally, for that evening sweet tooth! If you crave something sweet after dinner but don’t want a heavy slice of cake, one or two of these guilt free dessert bites hits the spot perfectly. They satisfy that craving without derailing your entire day. If you’re looking for other quick, flavor-packed ways to eat well, my easy chicken lettuce wraps are on the table in minutes!
Frequently Asked Questions About Protein Balls
You probably have a few questions floating around, especially if you’re new to making these at home. That’s okay! I’ve definitely made my share of batches that ended up too crumbly or too oily, so I’ve tested nearly every scenario for you. I’m happy to share my real-world experience so your protein balls turn out perfectly every time. You can also learn more about my cooking philosophy on my About page!
Can I make these protein balls without protein powder?
That’s a common question! If you skip the protein powder, you are taking out a key dry binding agent. To keep the dough from turning into soup, you will need to substitute it with other dry ingredients. I suggest replacing the 1/2 cup of powder with an extra 1/4 cup of rolled oats and an extra 1/4 cup of chia or flax seeds. This keeps the structure, but be warned—it will slightly lower the overall protein punch of your high protein bites. You might need an extra splash of sweetener to get it to stick together after adding those extra dry goods!
How long do these no bake protein balls last?
Because they are so packed with good stuff and require no baking, the shelf life is fantastic! For the absolute best texture, I recommend keeping them in an airtight container in the refrigerator. They stay perfectly good, chewy, and ready to grab for about one week—making them perfect meal prep snacks. If you need them to last longer, pop them into the freezer! They freeze beautifully for up to two or three months. Just let them sit on the counter for 15 minutes before eating.
Nutritional Snapshot of These High Protein Bites
Look, I’m not a certified nutritionist, and I certainly wasn’t back when I was deep in the trenches of figuring out quick marketing deadlines! So, take these numbers with a little grain of salt—they are estimates based on the standard ingredients listed above, assuming you use standard vanilla whey protein and half the optional mix-ins.
The great thing about these high protein bites is that you are in total control of what you put in them. If you swap out honey for a sugar-free option, your sugar content drops! If you use sunflower seed butter, your fat profile changes slightly. But for the standard recipe, here’s what you can expect per single ball (yielded 14):
- Calories: 135
- Protein: 8g
- Total Fat: 7g
- Carbohydrates: 14g
- Sugar: 7g
See that 8 grams of protein? That’s why these work so well for a quick boost! When you’re making these for the week, you can always refer back to my general nutrition guide for deeper context, but honestly, for quick fuel like this, knowing you’re getting quality protein, fiber, and healthy fats is the real win.
Share Your Success with These Easy Energy Bites
I put my heart into these easy energy bites because I truly believe every busy person deserves access to fast, delicious fuel. Now that you’ve whipped up a batch, I would absolutely love to know what you think! Did they hold together well for you? Did they give you that much-needed afternoon kick?
Please take a moment and leave a rating for the recipe down below using the 5-star system. I check these comments constantly, and your feedback helps me make sure the recipes I share here at Cooking by Felix are top-notch and work perfectly in real-life kitchens!
And what about customization? Did you try mixing in some cinnamon, or maybe you went wild with dried cherries instead of chocolate chips? Tell me what mix-ins you chose for your protein balls! If you snapped a picture of your finished batch—maybe lined up for your weekly meal prep—I would be thrilled if you shared it on social media and tagged me! It really makes my day to see my recipes working in your homes.
If you have any lingering questions about the process or want to share how these helped you stay on track during a hectic week, please drop me a line over on my Contact page. Happy rolling!
PrintThe Ultimate No-Bake Peanut Butter Oatmeal Protein Balls (Customizable & Meal-Prep Friendly)
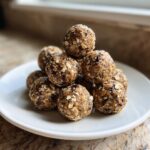
Make these easy, no-bake protein balls using simple ingredients like oats and peanut butter. They are perfect for a quick, healthy snack, post-workout fuel, or meal prep.
- Prep Time: 10 min
- Cook Time: 0 min
- Total Time: 10 min
- Yield: 14 servings 1x
- Category: Snack
- Method: No-Bake
- Cuisine: American
- Diet: Vegetarian
Ingredients
- 1 cup rolled oats
- 1/2 cup protein powder (vanilla or unflavored)
- 1/2 cup peanut butter
- 1/3 cup honey or maple syrup
- 1/4 cup ground flaxseed or chia seeds
- 1 teaspoon vanilla extract
- 1/4 cup mix-ins (e.g., mini chocolate chips, shredded coconut)
Instructions
- Combine the rolled oats, protein powder, and ground flaxseed or chia seeds in a medium bowl. Mix well to distribute the dry ingredients evenly.
- Add the peanut butter, honey or maple syrup, and vanilla extract to the dry mixture.
- Stir everything together using a sturdy spoon or your hands until a thick, uniform dough forms. If the mixture seems too dry, add a teaspoon of water or milk at a time until it holds together.
- Fold in your chosen mix-ins, like chocolate chips or coconut.
- Roll the mixture into small, uniform balls, about 1 inch in diameter. You should get about 12 to 15 protein energy bites.
- Place the finished protein balls on a parchment-lined plate or tray.
- Refrigerate for at least 30 minutes to allow them to firm up before serving.
Notes
- For a low-sugar snack option, use a sugar-free sweetener instead of honey.
- Store these high protein bites in an airtight container in the refrigerator for up to one week for easy meal prep snacks.
- You can easily swap peanut butter for almond butter or sunflower seed butter for a different flavor profile.
Nutrition
- Serving Size: 1 ball
- Calories: 135
- Sugar: 7
- Sodium: 65
- Fat: 7
- Saturated Fat: 1.5
- Unsaturated Fat: 5.5
- Trans Fat: 0
- Carbohydrates: 14
- Fiber: 2
- Protein: 8
- Cholesterol: 0