

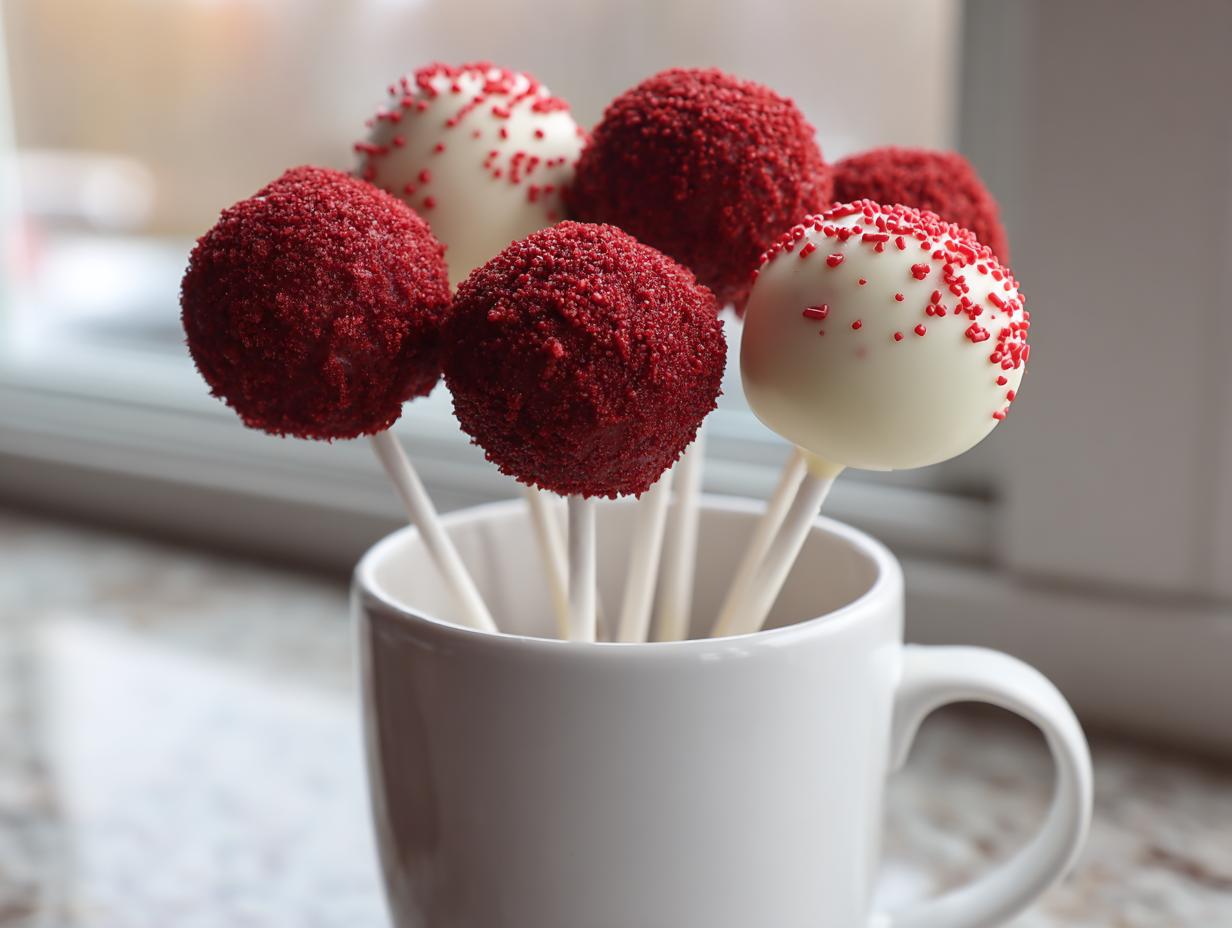
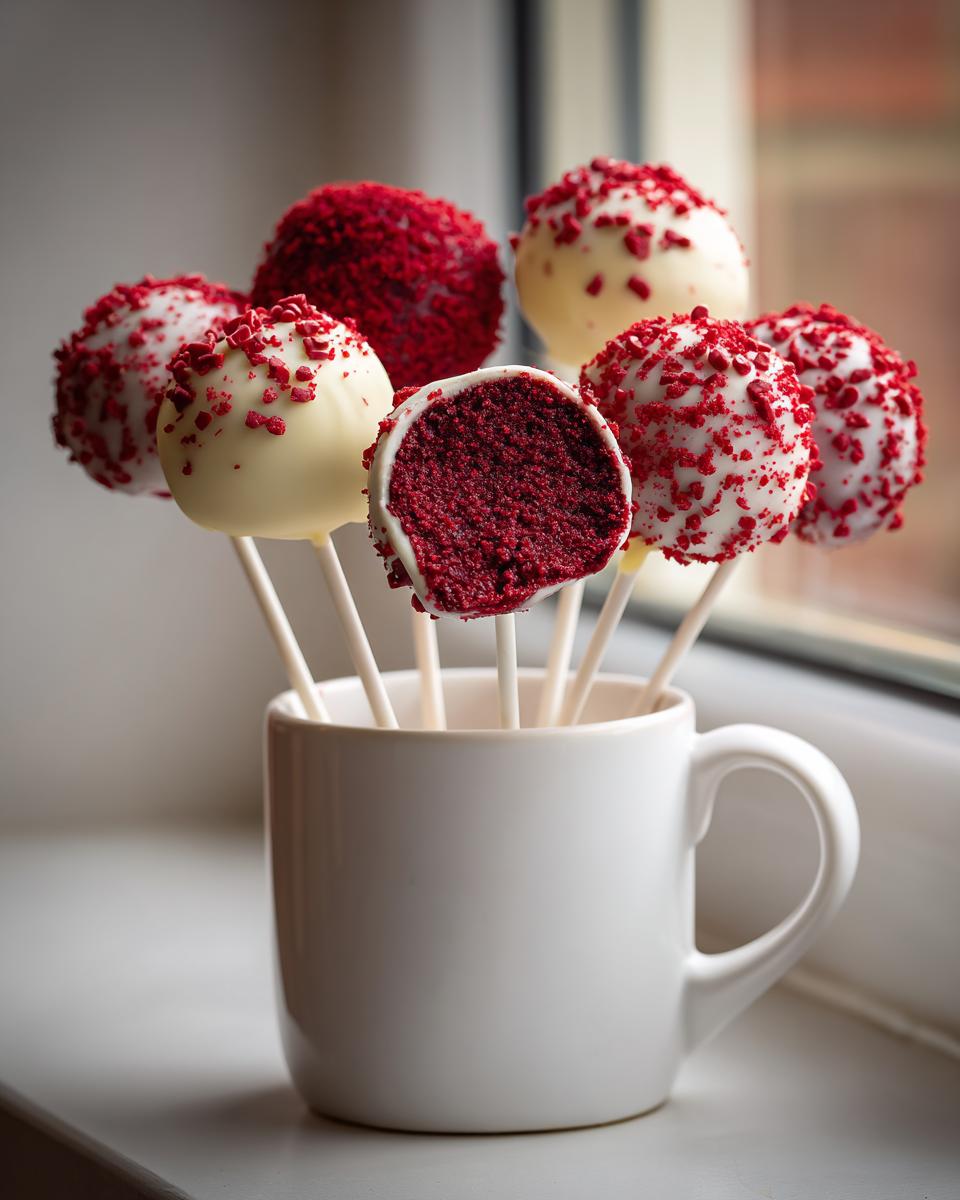
You know that moment when you see dessert that looks amazing but figuring out how to make it seems like a whole weekend project? Forget that feeling! I’m Felix, and I’m all about getting that wow-factor without spending all day in the kitchen. That’s why I love anything bite-sized, especially when it tastes like pure celebration. If you’ve ever wanted to bring stunning, impossibly moist **red velvet cake pops** to a party, trust me, this is the recipe that cuts out all the guesswork.
Drawing on my background creating gourmet treats for busy schedules, I streamlined the process. We’re skipping the fuss and focusing on the perfect crumb-to-frosting ratio. This isn’t just another recipe; it’s my foolproof system for achieving that rich, velvety texture inside and that smooth, perfect white chocolate shell coating every single time. You won’t need advanced baking skills for these beauties, just a little bit of passion!
- Why You Will Love This Classic & Easy Red Velvet Cake Pops Recipe
- Gathering Ingredients for Perfect Red Velvet Cake Pops
- Step-by-Step Easy Cake Pop Instructions for Red Velvet Cake Pops
- Tips for Success When Making Red Velvet Cake Pops
- Decorating and Holiday Cake Pop Ideas for Your Red Velvet Cake Pops
- Storage & Reheating Instructions for Homemade Cake Pop Tutorial
- Troubleshooting Common Issues with Red Velvet Cake Pops
- Frequently Asked Questions About Red Velvet Cake Pops Recipe
- Estimated Nutritional Data for Bite Sized Red Velvet Desserts
Why You Will Love This Classic & Easy Red Velvet Cake Pops Recipe
What’s not to adore about these little jewels? They truly hit that sweet spot between impressive presentation and zero fuss. I promise these will become your go-to for any celebration!
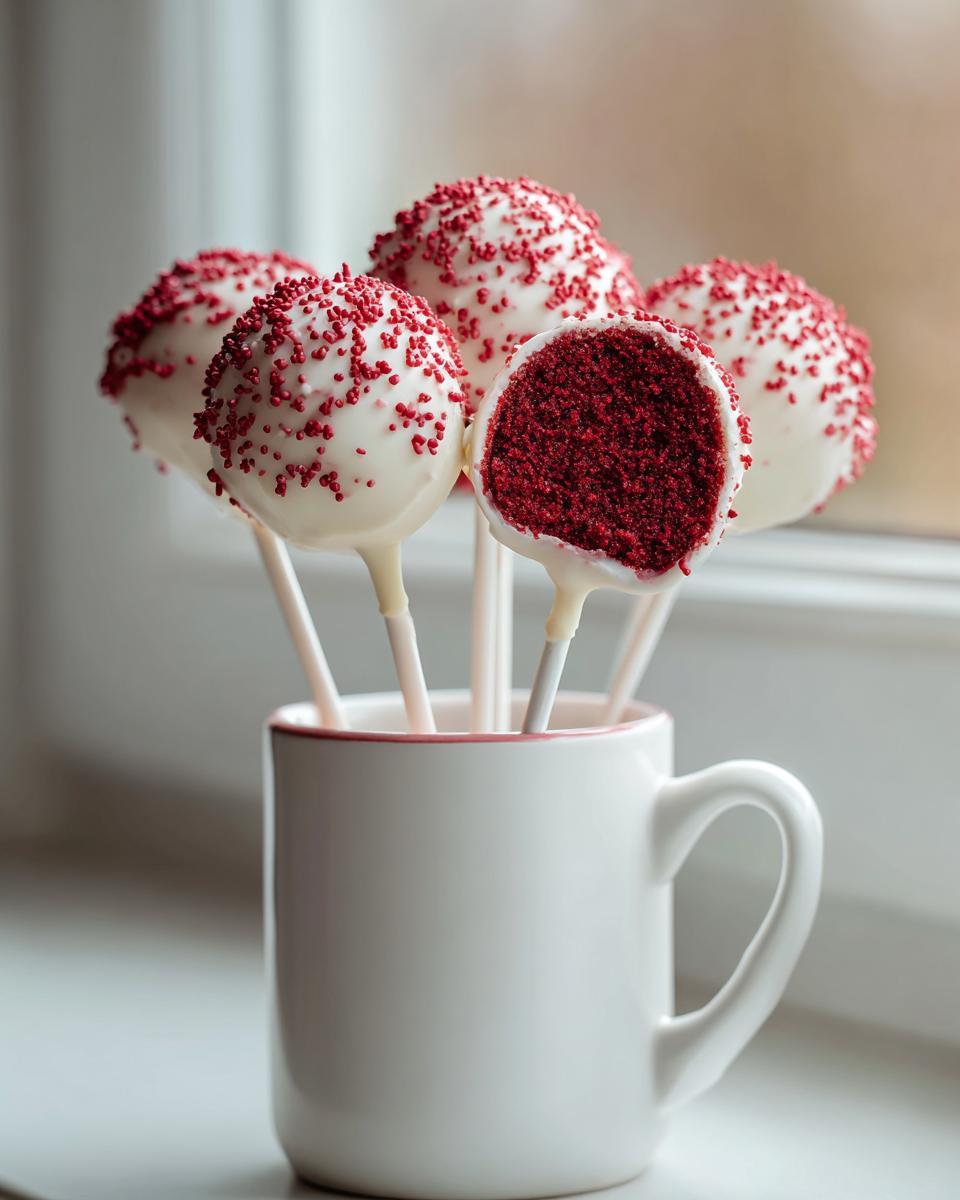
- They are incredibly moist! We use a specific technique to ensure these Moist Red Velvet Treats never taste dry.
- Super easy start since we use a cake mix shortcut—less measuring, more mixing fun!
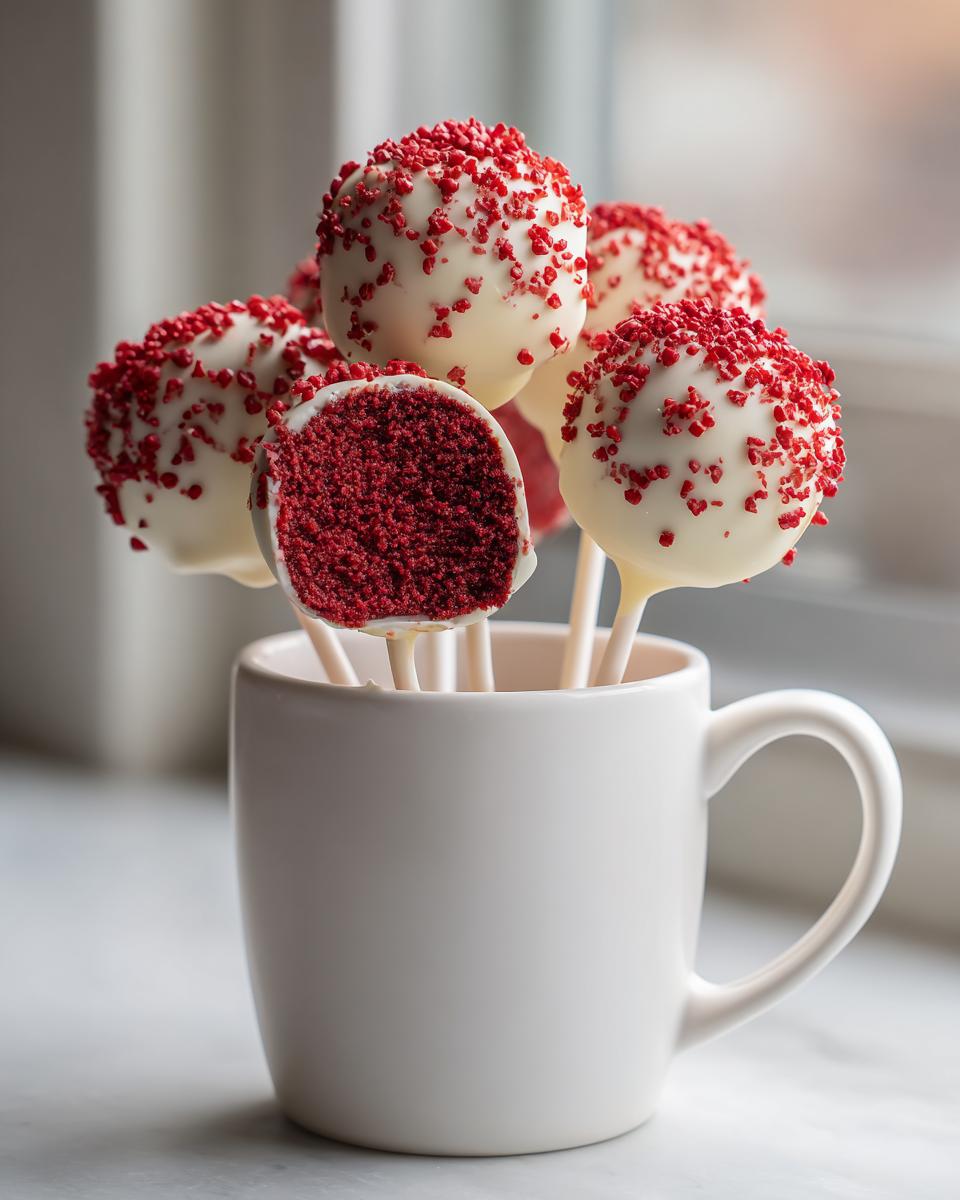
- You get gorgeous, impressive Bite Sized Red Velvet Desserts that look gourmet but are simple to manage.
- Perfect for gifting or setting out at **Festive Dessert Bites** events like Valentine’s Day or Christmas.
- The rich red velvet pairs perfectly with that sweet, tangy kick from the cream cheese frosting.
Seriously, these are designed for busy people who still want the best homemade desserts.
Gathering Ingredients for Perfect Red Velvet Cake Pops
The beauty of this recipe is that most of this comes straight from the grocery store shelf, making it fast and reliable! We rely on a classic box mix, but we treat it right. Remember, you need the cake mix itself, plus whatever liquids the box tells you to add—usually eggs, oil, and water. Don’t forget those crucial extras needed to turn crumbs into cookie dough!
Here is exactly what you’ll need to gather up before we start mixing:
- 1 box (15.25 oz) red velvet cake mix
- Ingredients required by cake mix box (usually eggs, oil, water)
- 1 container (8 oz) cream cheese frosting
- 12 oz white chocolate melting wafers or candy coating
- 1 teaspoon coconut oil or vegetable shortening (optional, for thinning coating)
- Lollipop sticks
Get everything measured out, and we can move on to the baking part. If you’re looking for ways to shape these for Valentine’s Day, check out what my friends over at The Cooking Sisters are doing for some cute inspiration! We love finding unique holiday treats.
Step-by-Step Easy Cake Pop Instructions for Red Velvet Cake Pops
Okay, here is where the real magic happens! Even though we start with a good cake mix, the preparation is everything. Follow these steps closely, especially the chilling times, and you’re going to nail that perfect, smooth sphere. Don’t worry if the mixture seems weird at first—we’re turning cake into dough, after all!
Baking and Creating the Moist Red Velvet Cake Crumbs
First things first, we bake that red velvet cake according to the box directions—eggs, oil, water, the works! My biggest suggestion here, to guarantee those Moist Red Velvet Treats we talked about, is to maybe pull it out of the oven one minute early. Seriously, slightly underbaked is better than dry when you’re making cake pops! Once it’s baked, you absolutely must let it cool completely. If you try to crumble warm cake, you just get mushy goo, and that is *not* the texture we are aiming for.
Once cool, grab a big bowl and just start crumbling! I mean really break it up until it resembles damp sand. Toss out any dark, crusty edges from the pan; we only want the soft, beautiful interior.
Mixing the Dough and Chilling Your Red Velvet Cake Pops
Now for the binder! Dump that entire container of cream cheese frosting right into your crumbs. Use a fork at first, but honestly, your clean hands are the best tool here. Work it all together until you get one uniform, thick, almost play-dough-like mixture. You want a ratio where it holds its shape perfectly without sticking everywhere. If it feels too loose, pop it in the fridge for 15 minutes before rolling!
Next, roll those little beauties! I aim for about 1 to 1.5 inches—uniformity helps them all look professional later. Line a baking sheet with parchment paper, place your balls on it, and then—this is essential—chill them hard in the refrigerator for at least 30 minutes. Chilling firms up that frosting binder so they don’t crumble or fall apart when we dip them. Don’t skip this! If you want a tip on making a similar, decadent coating from scratch, check out my thoughts on easy white chocolate fudge recipe.
Preparing the White Chocolate Coated Cake Pops Shell
While the balls are chilling, get your coating ready. Melt your white chocolate wafers slowly, usually in 30-second blasts in the microwave, stirring well between each burst. If you’re adding that optional coconut oil or shortening, stir it in now. This little bit of fat is my secret weapon for thinning the chocolate so you get a sleek, thin shell instead of a thick, clunky coating. If you find you’re struggling with the coating texture, reading up on how others handle their white chocolate can be really helpful!
Time to stick them! Take a lollipop stick, dip just the tip into the melted chocolate, and then insert that sticky end about halfway into a chilled cake ball. Dip them quickly and set them back in the fridge for about 10 minutes. That little dip acts like chocolate glue, locking that stick into place. If you skip this, the whole cake ball will slide right off the stick once it hits the big bowl of chocolate—trust me, I’ve learned the hard way!
Once the sticks are secure, dip the whole ball under the chocolate, making sure it’s fully covered. Lift it out and gently tap the stick against the inside of the bowl. This vibrating motion helps the excess coating drip off, giving you that fantastic, thin finish. Pop them straight up into a styrofoam block to dry, and decorate right away if you’re adding fun sprinkles!
Tips for Success When Making Red Velvet Cake Pops
Okay, we’ve done the hard parts—the mixing and chilling! Now, let’s talk about those little details that make these red velvet cake pops go from good to absolute showstoppers. These pointers are straight from my trials and errors so you can get it perfect on the first try. Remember, that moist interior is everything!
First, always, always underbake your red velvet cake just a hair. Seriously, a slightly softer cake translates directly into those perfect, soft Cream Cheese Frosting Cake Balls we want. Also, if you are thinking about boosting that deep Valentine’s red, don’t use liquid coloring; grab a concentrated gel color and mix just a drop or two right into the crumbs before the frosting goes in. It won’t mess up the consistency!
For coating issues—if your white chocolate seems too thick to flow nicely, that’s when you use that tiny bit of coconut oil or shortening I mentioned. It thins the chocolate right out without seizing it up. And if your balls feel too soft after mixing, give them an extra 15 minutes in the fridge! A super firm ball makes dipping so much less stressful. If you need a great frosting base, check out my recipe for the best cream cheese frosting recipe before you grab the tub!
Finally, if you’re ever wondering what the pros do, sometimes just checking out how seasoned bakers handle their dipping process can give you new perspective on getting that even coat.
Decorating and Holiday Cake Pop Ideas for Your Red Velvet Cake Pops
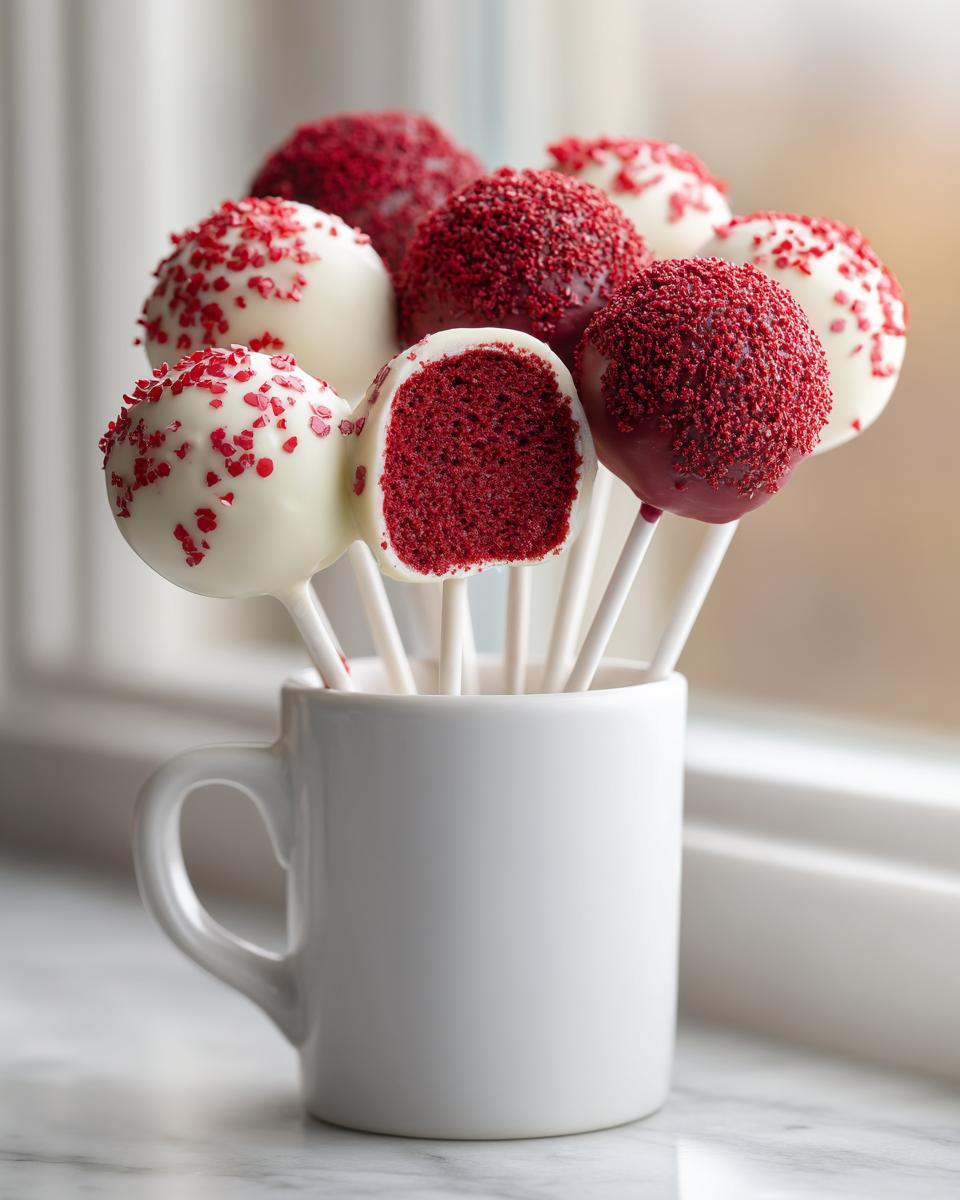
Once those white chocolate shells are perfectly set, the fun part starts! This is where your red velvet cake pops really shine as the ultimate Festive Dessert Bites. Since the coating is still slightly tacky, you’ve only got a few seconds to work your magic before it hardens completely.
For an immediate pop of color, grab some festive sprinkles—think tiny hearts for Valentine’s Day or rich green and red jimmies for Christmas. Just hold the pop over the bowl and gently shake the sprinkles over the top. If you want to try some fancy drizzle work for other great Holiday Cake Pop Ideas, melt a small amount of dark chocolate separately. Dip the edge of a fork into that dark chocolate and quickly flick it back and forth over your white-coated pops. It looks so chic! If you’re aiming for that elegant look seen in places like Zaza Cook’s site, remember that simple elegance works best.
A clean look with just a few contrasting sprinkles is often far more impressive than going overboard. You’ll have stunning treats ready for any gathering! I love finding creative ways to use festive colors in my baking, and these pops are perfect for that!
Storage & Reheating Instructions for Homemade Cake Pop Tutorial
Since these red velvet cake pops are mostly cake held together by frosting and coated in chocolate, storage is pretty straightforward, but there’s one thing to watch out for: texture!
You can absolutely keep these marvelous Bite Sized Red Velvet Desserts at room temperature for about two days, provided your kitchen isn’t too warm. Just make sure they are in a totally airtight container so they don’t pick up any weird smells. Don’t try to reheat them, silly! They are meant to be served cool or room temp.
If you need them to last longer—say, you made them way ahead for a massive party—pop them in the fridge. They do great chilling out, but just remember the white chocolate shell might get a little harder, and the cake center might firm up slightly. Pull them out about 30 minutes before you plan to serve them so they can soften back up to that perfect consistency.
Troubleshooting Common Issues with Red Velvet Cake Pops
Now, I’m going to tell you something true: baking is rarely perfect the first time, even for me! But that’s okay! Knowing what to do when disaster strikes is the real key to success. You’re making **red velvet cake pops**, which means we are dealing with texture, dough consistency, and that lovely chocolate shell. Here are the three main wobbles I see people hit, and how we fix them fast.
What if my cake balls are crumbling when I try to roll them?
This is super common, and it means your ratio of cake crumbs to cream cheese frosting is slightly off—usually, you have too much dry crumb. Don’t panic and dump in more frosting because that just makes them too soft later!
Your fix is simple: Put the entire bowl back in the refrigerator for at least 20 more minutes. Chilling tightens up those crumbs and allows the frosting binder to firm up. If they *still* seem too crumbly after chilling, mix in just one tiny teaspoon of softened cream cheese frosting at a time until they just barely hold together when you squeeze lightly. Remember, we want them firm enough to hold a stick!
Why is my white chocolate coating cracking or splitting?
Ah, the cracked shell. It’s frustrating because they look gorgeous when you first dip them! Most often, this happens because the temperature difference between your chilled cake ball and your melted chocolate is too drastic. The chocolate hardens instantly, trapping air or moisture, and then it cracks as the cake inside moves or slightly warms.
To prevent this, take your cake balls out of the fridge about 15 minutes before dipping. Let them sit on the counter so they are cool, but not ice-cold. If you are having trouble with the chocolate itself (maybe it seized up or looks dull), it might need a tiny bit of tempering, or you can just try thinning it out slightly more with that coconut oil we discussed earlier. A thinner coating flows better and is less likely to crack the surface tension.
My coating is coming out too thick and gloppy on the cake pops.
If you are struggling to get that nice, thin shell that lets the red color peek through a little, that coating is just too viscous. It’s probably too thick for smooth dipping. This is exactly why we keep vegetable shortening or coconut oil on hand!
When your white chocolate is fully melted—and I mean *fully* melted, no lumps—stir in just a quarter teaspoon of shortening or oil. Mix it until it looks smooth, thin, and flows like heavy syrup. It will immediately become easier to dip, create a much thinner shell, and drip off nicely when you tap the stick. This small addition makes dipping so much less of a workout!
Frequently Asked Questions About Red Velvet Cake Pops Recipe
I get asked questions about these little bites all the time! Since they seem simple but have a couple of tricky spots (like the coating!), here are the most common things folks want to know before they start mixing up their **red velvet cake pops**.
Can I use a homemade red velvet cake instead of a box mix?
Absolutely! If you have a fantastic scratch recipe, go for it. However, remember my philosophy: we want amazing results without stress. If you use a homemade cake, you *must* ensure it bakes up dense and moist—a very light, airy cake might fall apart when mixed with the frosting. Also, after baking, you still need to let it cool completely before crumbling, just like we discussed!
What is the best type of chocolate for the coating on my White Chocolate Coated Cake Pops?
Don’t grab regular chocolate chips! They contain stabilizers that make them seize up when melted, resulting in lumpy coatings that crack easily. You want candy melting wafers or ‘candy coating’ wafers—these are specifically designed to melt smoothly and dry hard with that perfect shell finish. If you want something truly gourmet, look into real confectionery or high-quality white chocolate bars that contain cocoa butter.
My crumb mixture feels too soft; can I skip chilling the Cream Cheese Frosting Cake Balls?
Oh, please don’t skip the chill time! I know waiting is the hardest part, but if you try to dip a soft ball, it will either crumble off the stick or absorb too much melted chocolate, making the shell thick and uneven. Chilling for at least 30 minutes solidifies that cream cheese binder enough so the ball stays intact during the quick dip. If you rushed and they are still soft, try chilling them for an hour—it’s worth the wait!
Can I make these Cake Pops ahead of time for a party?
Yes, that’s one of the best parts! Once they are fully coated and dry, they store beautifully. Keep them in an airtight container. Since they are shelf-stable due to the chocolate coating, you can keep them on the counter for a couple of days. If you need them to last longer, the fridge is fine, but remember to let them sit on the counter for about 20–30 minutes before serving so the cake center softens up again to that ideal texture. For more easy holiday dessert ideas, you can always browse through tips shared on sites like Cake Coo!
Do I *have* to use cream cheese frosting in the mixture?
For true, authentic red velvet flavor, yes, you really should! The slight tang of the cream cheese frosting is what balances the sweetness of the cake and the white chocolate shell. It’s what makes them truly *red velvet* cake pops, rather than just chocolate cake pops dyed red. If you absolutely must, a vanilla buttercream is a decent substitute, but you’ll lose that signature zing. If you’re whipping up your own frosting anyway, check out my guide for easy 5-minute chocolate frosting recipe—it might inspire you to mix things up next time!
Estimated Nutritional Data for Bite Sized Red Velvet Desserts
Now, I always want to be transparent about what we’re eating when we’re making these wonderful treats! Keep in mind that these numbers are just estimates based on the standard cake mix and frosting used in the recipe, and they can change depending on the brand you choose.
For one of these spectacular little spheres, here’s the general breakdown:
- Serving Size: 1 cake pop
- Calories: 180
- Sugar: 18g
- Fat: 10g
- Protein: 2g
- Carbohydrates: 22g
Because we are whipping up such delectable Bite Sized Red Velvet Desserts, they are certainly a treat! Don’t worry about the numbers too much—just remember these are meant for joyful occasions, not daily fuel!
PrintClassic & Easy Red Velvet Cake Pops Recipe

Make moist, bite-sized red velvet cake pops coated in smooth white chocolate. This recipe focuses on achieving the perfect texture and a flawless coating for your next celebration.
- Prep Time: 30 min
- Cook Time: 30 min
- Total Time: 1 hour 40 min
- Yield: 24 cake pops 1x
- Category: Dessert
- Method: No Bake (after initial baking)
- Cuisine: American
- Diet: Vegetarian
Ingredients
- 1 box (15.25 oz) red velvet cake mix
- Ingredients required by cake mix box (usually eggs, oil, water)
- 1 container (8 oz) cream cheese frosting
- 12 oz white chocolate melting wafers or candy coating
- 1 teaspoon coconut oil or vegetable shortening (optional, for thinning coating)
- Lollipop sticks
Instructions
- Bake the red velvet cake according to the package directions. Let the cake cool completely.
- Crumble the cooled cake into fine crumbs in a large bowl. Discard any hard edges or burnt pieces.
- Add the entire container of cream cheese frosting to the cake crumbs. Mix thoroughly with a fork or clean hands until a uniform, dough-like consistency forms.
- Roll the mixture into uniform balls, about 1 to 1.5 inches in diameter. Place the balls on a parchment-lined baking sheet.
- Chill the cake balls in the refrigerator for at least 30 minutes, or until firm. This step prevents crumbling during dipping.
- Prepare the white chocolate coating by melting the wafers according to package directions, often in a microwave-safe bowl in 30-second intervals, stirring between each interval. Stir in the coconut oil if using to achieve a smoother consistency.
- Dip the tip of a lollipop stick into the melted chocolate and insert it about halfway into a chilled cake ball. This acts as glue. Return the sheet to the refrigerator for 10 minutes to set the chocolate ‘glue’.
- Dip each cake ball completely into the melted white chocolate, gently tapping the stick against the side of the bowl to allow excess coating to drip off.
- Place the dipped cake pops upright in a styrofoam block or a cake pop stand to dry completely.
- Decorate immediately with sprinkles or drizzles of dark chocolate, if desired, before the white chocolate sets.
Notes
- For the moistest result, do not overbake the cake.
- If the cake mixture seems too soft after adding frosting, chill it for an extra 15 minutes before rolling.
- To thin the white chocolate for easier dipping, add a small amount of coconut oil or shortening; this helps create a thinner, smoother shell.
- If you want a more intense red color, add 1-2 drops of red gel food coloring to the cake crumbs before mixing with the frosting.
Nutrition
- Serving Size: 1 cake pop
- Calories: 180
- Sugar: 18
- Sodium: 110
- Fat: 10
- Saturated Fat: 6
- Unsaturated Fat: 4
- Trans Fat: 0
- Carbohydrates: 22
- Fiber: 0
- Protein: 2
- Cholesterol: 15