

We all know the drill, right? You’re trying to pull off something truly special—maybe it’s those gooey cinnamon buns you saved the recipe for, or perhaps a show-stopping carrot cake—but you hit a wall when you realize homemade frosting takes forever or always ends up too runny. I’ve been there. That demanding marketing life taught me that convenience shouldn’t equal compromise, especially when it comes to the finishing touch on a dessert. I want you to look at these cinnamon buns, for instance, and feel proud of every single component, including that fluffy topping.
That’s why I poured all my energy into perfecting this recipe. This isn’t just any topping; this is the cream cheese frosting that works every single time, transforming simple bakes into something genuinely impressive, and it does it all in under ten minutes. Forget the stress; we’re aiming for velvety smooth, perfectly tangy, and stable enough for any piped design. Welcome to the easiest, most reliable frosting you’ll ever make. Trust me, once you master this formula, you’ll never look back.
- Why This is the Best Cream Cheese Frosting Recipe You Need
- Ingredients for Perfect Cream Cheese Frosting from Scratch
- How to Make Cream Cheese Frosting That Holds Its Shape
- Tips for the Ultimate Tangy Cream Cheese Frosting
- Flavor Variations for Your Cream Cheese Frosting
- Using Pipeable Cream Cheese Frosting for Cakes and More
- Storage and Make-Ahead Instructions for Cream Cheese Frosting
- Frequently Asked Questions About Making Cream Cheese Frosting
- Estimated Nutrition for This Cream Cheese Frosting
- Estimated Nutrition for This Cream Cheese Frosting
Why This is the Best Cream Cheese Frosting Recipe You Need
When I set out to create the perfect topping, I had three demands: fantastic flavor, speed, and stability. I think most recipes fail on at least one of those points, but this one delivers, leaving you with results worthy of your beautiful vanilla cupcakes.
- It offers that classic balance: rich, sweet, but with just the right touch of tang to keep it from tasting like pure powdered sugar.
- It’s sturdy! You can whip this up and put it straight into a piping bag without worrying about it collapsing halfway through decorating.
- It respects your schedule—and mine!
Quick Preparation Time for Your Cream Cheese Frosting
Seriously, this is where we shine. Most recipes drag you through fussy temperature checks, but this one takes about eight minutes total. That’s less time than it takes to brew a pot of coffee! It’s designed for those evenings when you suddenly realize you need a gorgeous frosting, like, yesterday. This is cooking by Felix—flavor first, time second.
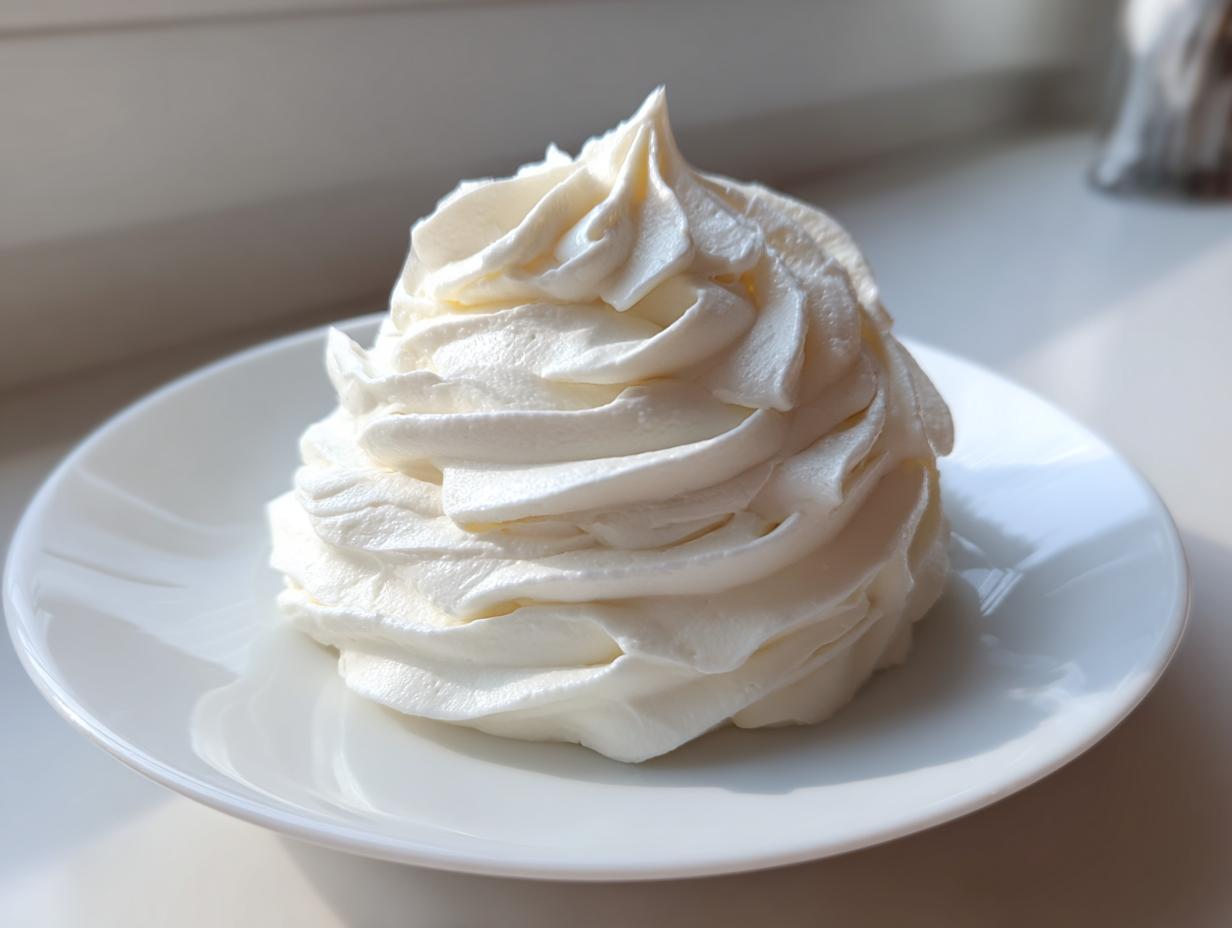
Achieving Velvety Smooth Frosting Texture
Lumps are the enemy of good frosting, period. We absolutely eliminate them here. The secret is making sure your foundation (the butter and cream cheese) is perfectly beaten before anything else goes in. We’re aiming for a consistency so velvety smooth that it spreads like silk, whether you’re coating a whole cake or swirling mounds onto red velvet cupcakes.
Ingredients for Perfect Cream Cheese Frosting from Scratch
The beauty of this recipe is how few ingredients we actually need. When you keep it this simple, the quality of each component really shines through. If you’re topping my signature carrot cake, you want these elements to be perfect. Remember, room temperature is non-negotiable for that smooth, luxurious finish!
- 8 ounces cream cheese, and I mean truly softened—leave it out for a good hour!
- 1/2 cup (which is one stick) unsalted butter, also fully softened.
- 4 cups powdered sugar, and this is important: you must sift it first.
- 1 teaspoon vanilla extract.
- 1/4 teaspoon of good salt to balance all that sweetness.
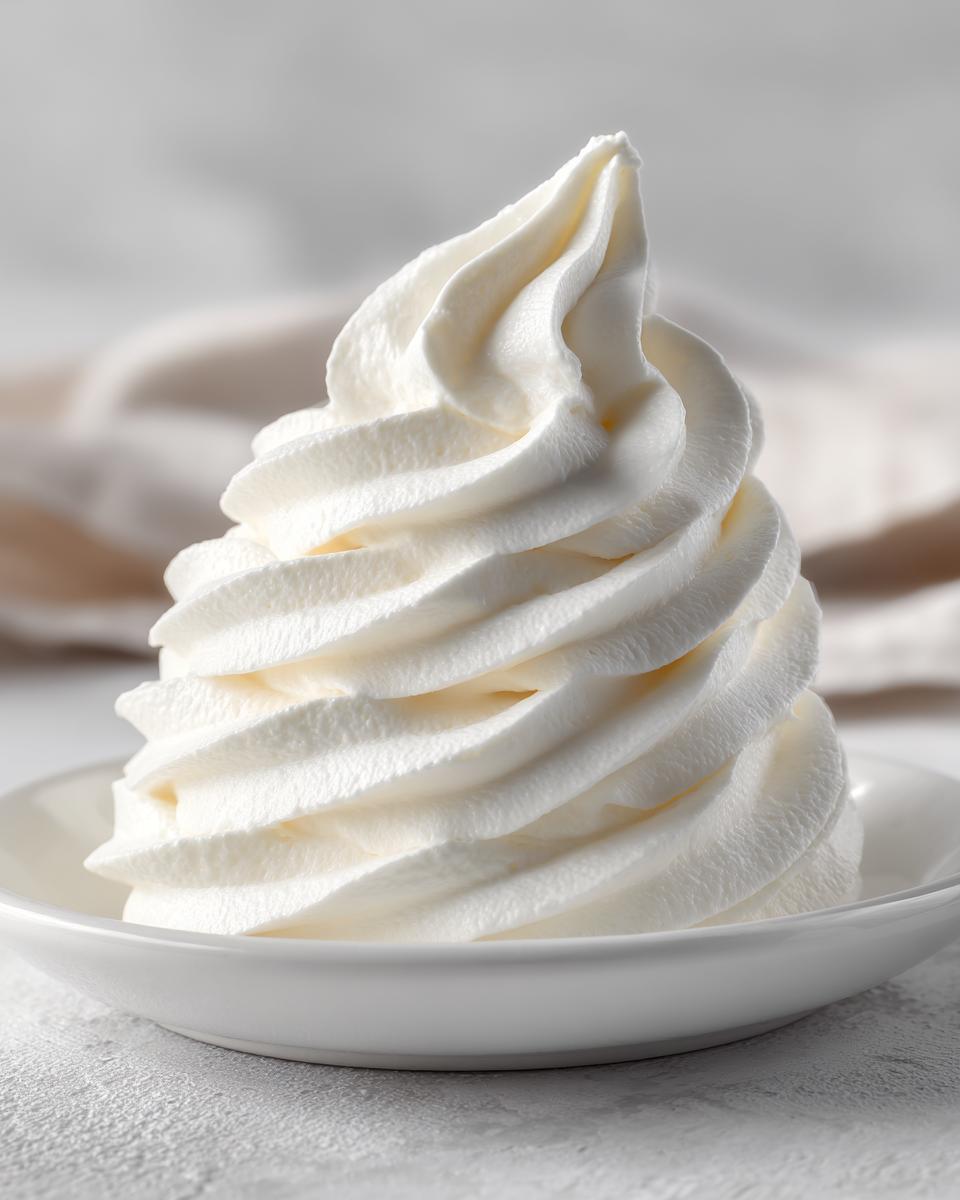
How to Make Cream Cheese Frosting That Holds Its Shape
Okay, the ingredients are ready, the mixer is waiting, and now it’s time for the actual magic. We move fast here, but precision matters, especially if you want that bakery-quality finish on your red velvet cake. Follow these steps exactly, and you’ll have a stable, beautiful frosting ready to go.
Step 1: Creaming Butter and Cheese for Your Cream Cheese Frosting
This is the foundation, people! You need that electric mixer, and you need to beat the softened cream cheese and the softened butter together until they are honestly, completely seamless. I mean zero lumps. Set your mixer to medium speed and blend for about two full minutes. When you stop, take your spatula and scrape down every bit of the bowl sides and bottom. This ensures we don’t have any rogue cold spots hiding out, which would ruin the smoothness later on.
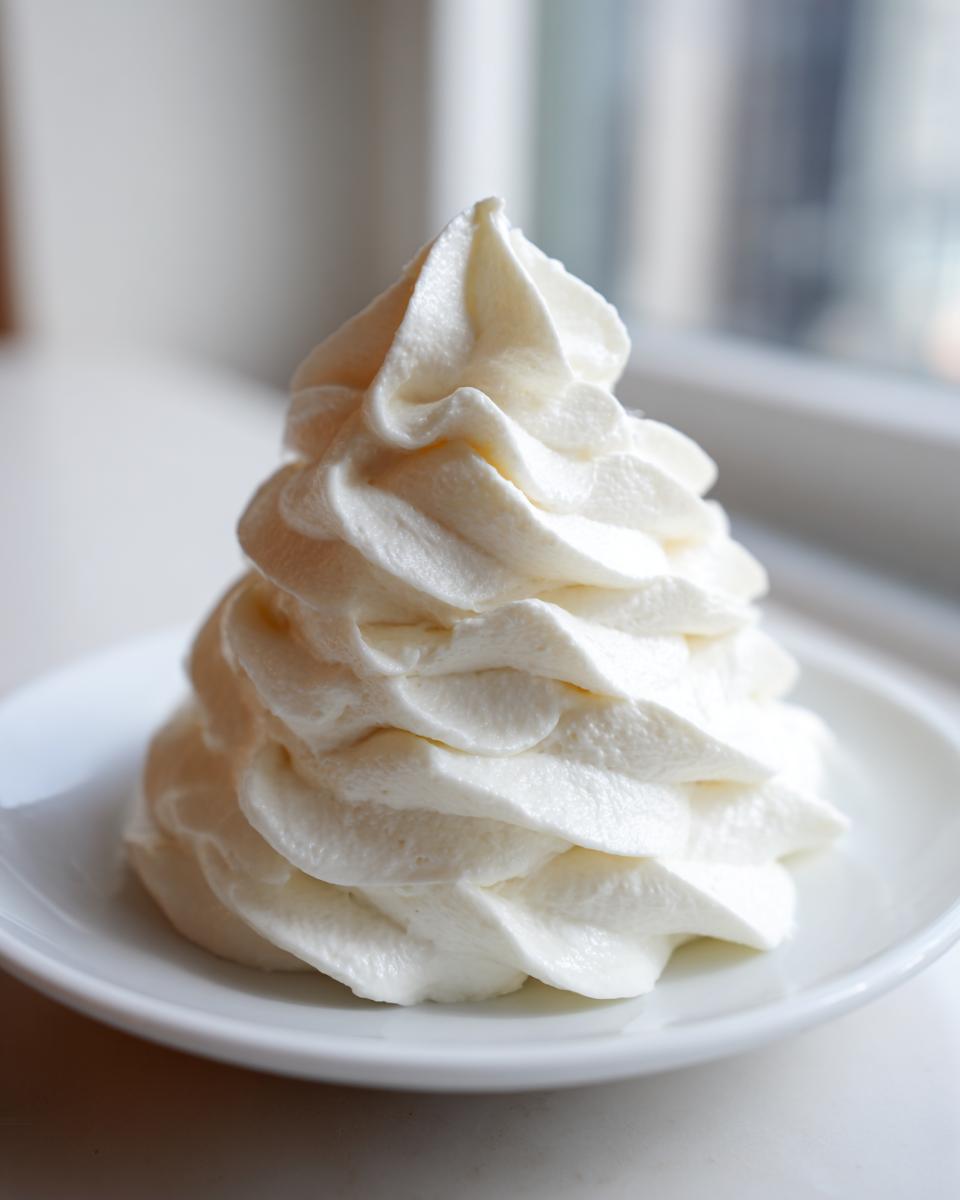
Step 3: Whipping to Achieve Fluffy Cream Cheese Frosting
Once the sugar is worked in on low, we turn up the speed! Add your vanilla and salt, then crank that mixer up to medium-high. You need to let it whip for a solid 2 to 3 minutes at this stage. This is what creates those light, airy pockets, making the frosting fluffy and giving it the structure you need for piping. Resist the urge to stop early, but don’t go over 3 minutes once the sugar is incorporated, or you risk making it too soft.
Step 2, by the way, is where you’ll gradually add all that sifted powdered sugar on low speed until it’s just barely mixed in. Only then do we hit that high speed for the fluffing stage in Step 3! The general rule is: Start low, scrape often, and finish high for a final 2-3 minute whip for maximum volume.
Tips for the Ultimate Tangy Cream Cheese Frosting
You’ve mixed it up, and it tastes great, but let’s talk about the technical side to ensure this frosting is perfect for your next big bake. It all comes down to temperature and a little patience if you need it to be sturdy. If you followed my rule and your butter and cream cheese were perfectly soft, you should have zero lumps. That is the professional secret for a truly tangy cream cheese frosting—no cold shortcuts!
If you find it’s just a touch too loose, especially if your kitchen is warm, don’t panic and throw in more sugar right away. Pop the whole bowl into the fridge for about ten minutes. Then give it a quick 30-second whisk before you tackle those lemon cookies that need decoration. Chilling tightens the fat just enough to give you that perfect, pipeable stability without ruining the tangy flavor balance. It’s the easiest fix there is!
Flavor Variations for Your Cream Cheese Frosting
This classic base is truly fantastic all on its own—that balance of sweet and tangy is what makes it the best cream cheese frosting recipe, honestly. But hey, we’re not machines; we like to change things up occasionally! Since this recipe is so robust, it handles slight tweaks like a dream. It’s so versatile, making it a fantastic lemon scone glaze or a topping for spice cakes.
You don’t need to go wild changing the ratios here; a little extra extract or zest is usually enough to transform the whole profile. This is how you keep people guessing what your secret is!
- For a Zesty Lift: If you’re topping something bright, like a lemon layer cake, add the zest of one full lemon right when you add the vanilla extract. It brightens the whole flavor profile instantly. I skip the juice because it can sometimes make the frosting too loose, but the zest gives you that incredible aroma.
- For a Deep, Cozy Flavor: Maple is incredible here, especially in the fall. Substitute about 1/4 cup of the powdered sugar with a really good quality maple syrup. But listen—if you use syrup, you need to reduce the vanilla slightly and make sure your butter and cream cheese are perfectly cold before you start mixing them, or it will get soupy! Add the syrup very slowly while mixing on low speed.
- Chocolate Swirl Magic: Melt about 2 ounces of good quality semi-sweet chocolate and let it cool completely (it should be thick but still pourable, not hard). Beat it into the finished, fluffy frosting at the very end. You can do a light swirl after frosting the cake for a marbled effect, which looks super elegant.
See? You’ve got three completely different frostings ready to go, all built on the same reliable foundation. It’s all about respecting the base recipe while having fun with what you have on hand!
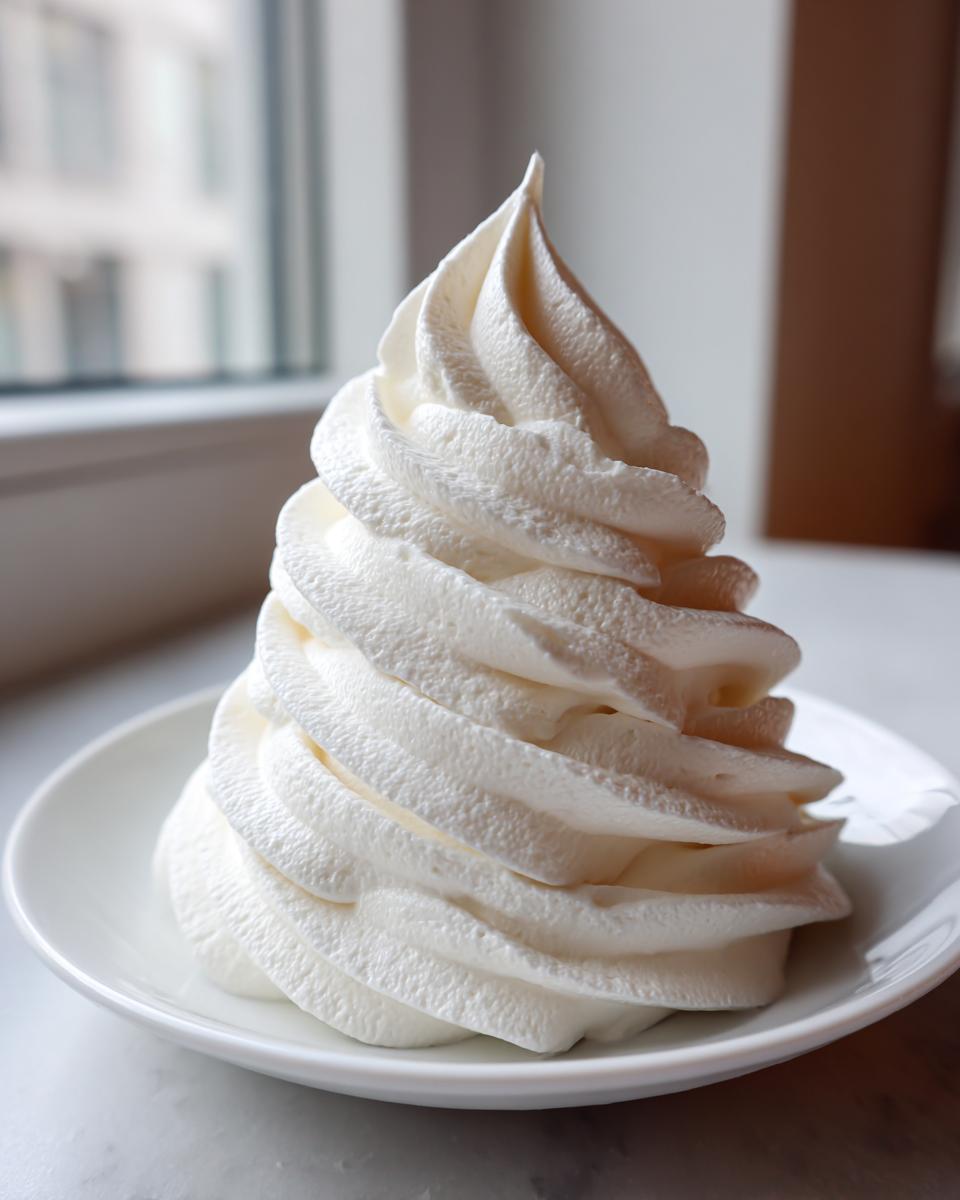
Using Pipeable Cream Cheese Frosting for Cakes and More
Now that you have this unbelievably smooth, sturdy frosting, you have to use it! That’s the payoff, right? Because we nailed the creaming process and kept the mix time just right, this frosting doesn’t just sit nicely on a sheet cake; it’s ready for serious action. It’s my go-to choice whenever I need decoration to look crisp and clean.
When I first developed this method, I was specifically testing it to see if it could stand up to the heavy, sweet icing needed for my famous cinnamon buns. I needed something that wouldn’t melt under the heat of the warm buns, and this delivered perfectly. It creates that wonderful thick layer that just oozes satisfaction.
This makes it the definitive cream cheese frosting for cinnamon rolls and the only topping your red velvet cupcakes will ever need. If you’re making a layer cake, you can even use this as a filling between the layers because it’s dense enough to support the weight without squirting out the sides when you slice it. It’s true bakery-style results without any of the fuss!
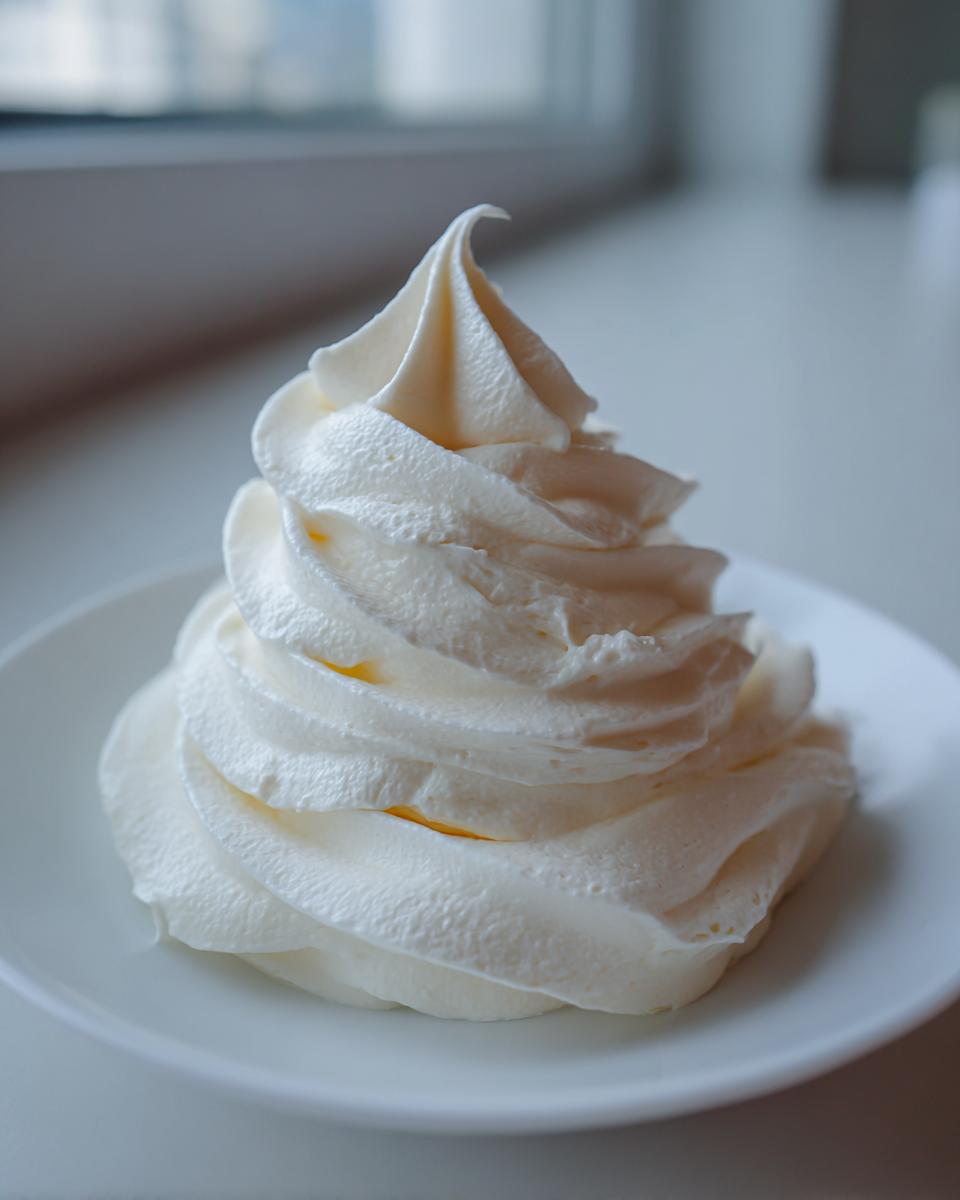
You can load this straight into a piping bag fitted with a star tip, and it won’t start drooping after five minutes like some other recipes I’ve tested! It’s truly reliable homemade icing. Just remember the little trick: if you’re working on a very hot day, give the piping bag a quick chill break halfway through your decorating session, just to be safe.
Storage and Make-Ahead Instructions for Cream Cheese Frosting
One of the best things about having an amazing, reliable frosting recipe like this is that you don’t have to make it the exact moment you plan to serve dessert. Life gets busy, and sometimes you need to bake ahead, right? I often make a double batch when I’m doing other big meal prep, like my homemade salad dressings, just to have it ready for the weekend.
Since this is a dairy-heavy frosting, storage needs a little bit of attention so you don’t ruin that perfect texture we worked so hard to achieve. Luckily, it is incredibly straightforward!
Storing Leftover Cream Cheese Frosting
If you have leftovers—which is rare in my house, but let’s pretend—you need to get it airtight and cool quickly. Pop that frosting into a container with a really tight lid, or press plastic wrap directly onto the surface of the frosting to prevent a thick skin from forming. It will happily keep in the refrigerator for up to five days.
When you pull it out, it will be rock hard. Don’t try to spread it straight from the fridge; you’ll just tear up your cake! Let it sit on the counter for about 30 to 45 minutes until it softens up to room temperature. Then, and this is key, give it a quick whip with your electric mixer for about 30 seconds. This re-incorporates the air you lost while it was chilling, making it perfectly fluffy again.
Can This Frosting Be Frozen?
Yes, absolutely! Freezing is a lifesaver. You can freeze this recipe for up to three months. The key here is to freeze it *before* you whip it for the final time, or at least before you put it on a cake. Place the frosting in a heavy-duty freezer bag and press out every bit of air before sealing it tightly. Lay it flat in the freezer so it doesn’t take up too much room.
When you’re ready to use it, transfer the frozen block to the fridge and let it thaw slowly overnight. Once thawed, follow the same procedure as the refrigerated frosting: bring it to room temperature, then beat it vigorously for 2–3 minutes. It comes out looking and tasting just as beautiful as the day you made it. It’s that reliable, I promise you!
Frequently Asked Questions About Making Cream Cheese Frosting
I get so many messages about this recipe, which just proves how popular a truly excellent cream cheese frosting is! Most questions come down to temperature control or how to make minor tweaks for different situations. Here are the things I hear most often, so you can bake with total confidence the next time you need an easy homemade cream cheese icing.
Why is my cream cheese frosting lumpy?
Nine times out of ten, this is a temperature issue, hands down. Lumps happen because your cream cheese or butter was too cold when you started. If they are even slightly firm, they won’t emulsify with the sugar, and you end up with chilly little chunks of dairy in your beautiful topping. The second most common reason is forgetting to sift that powdered sugar! Sifting breaks up those little clumps of sugar before they even get near the mixing bowl. Remember my golden rule: if your dairy items aren’t soft enough to easily leave an indent when you gently press them, wait longer!
Can I make this cream cheese frosting ahead of time?
Yes, you really can! This recipe is fantastic for making ahead. Once you have whipped it up—before you put it on a cake, ideally—transfer it to an airtight container. You can store it in the fridge for up to five days. When you’re ready to use it, just let it sit on the counter for about 30 minutes to warm up slightly. Then, you must give it a quick 30-second whip with the electric mixer on medium speed. This will redistribute the air and turn it back into that gorgeous, fluffy cream cheese dessert topping again. Don’t skip that final whip, or it will feel dense!
Another common pairing concern is when people ask if this is the right amount for a cake. This recipe yields about three cups, which is generally enough to generously frost a two-layer 8-inch cake or cover a whole batch of cinnamon rolls. If you’re making a massive display cake or need extra for filling, I always suggest doubling the recipe just to be safe. You can always freeze the extra, like I mentioned earlier, which is my favorite trick for when I’m prepping for a big event!
Estimated Nutrition for This Cream Cheese Frosting
As a home cook focused on flavor and experience, I’m not obsessed with complex nutritional breakdowns, but I know many of you like to keep track! Since this is a rich treat—it’s butter and cream cheese, after all—it definitely falls into the indulgent category. Treat this estimate as a general guide, as the exact values will shift based on the brands of butter and amounts of sugar you use.
For the sake of comparison, here are the general numbers for one quarter-cup serving of this decadent topping. You deserve every spoonful!
- Serving Size: 1/4 cup
- Calories: Around 350. Yep, it’s a treat, and that’s okay!
- Fat: Roughly 18 grams, mostly coming from that high-quality butter and cream cheese.
- Carbohydrates: About 48 grams, mainly from the powdered sugar.
- Protein: A tiny bit, usually around 2 grams.
This is why we only use this frosting on the very best bakes—like a nice slice of cake you are going to savor, or maybe a dollop on a homemade coffee cake you’ve whipped up after a long week. It’s the perfect, rewarding end to any meal you’ve cooked with care. If you’re looking for lighter topping ideas for something like my broccoli salad, we’d head in a totally different direction, but for dessert? This ratio is unstoppable!
PrintThe Best Ever Cream Cheese Frosting: Smooth, Tangy, and Perfect for Piping

This recipe gives you a smooth, creamy, and perfectly tangy homemade cream cheese frosting that holds its shape for decorating cakes and cinnamon rolls. It is quick to make and uses simple ingredients for a reliable result.
- Prep Time: 8 min
- Cook Time: 0 min
- Total Time: 8 min
- Yield: About 3 cups 1x
- Category: Dessert Topping
- Method: Mixing
- Cuisine: American
- Diet: Vegetarian
Ingredients
- 8 ounces cream cheese, softened
- 1/2 cup (1 stick) unsalted butter, softened
- 4 cups powdered sugar, sifted
- 1 teaspoon vanilla extract
- 1/4 teaspoon salt
Instructions
- Place the softened cream cheese and butter in a large bowl. Beat them together with an electric mixer on medium speed until the mixture is completely smooth and creamy, about 2 minutes. Scrape down the sides of the bowl.
- Gradually add the sifted powdered sugar to the cream cheese mixture, mixing on low speed until just combined.
- Add the vanilla extract and salt. Increase the mixer speed to medium-high and beat for 2 to 3 minutes until the frosting is light, fluffy, and smooth. Do not overmix once fully combined.
- Use immediately to frost cakes, cupcakes, or cinnamon rolls. If the frosting seems too soft, chill it for 10 minutes before piping.
Notes
- For the smoothest texture, ensure both the cream cheese and butter are at true room temperature. Cold ingredients cause lumps.
- If you need a thicker frosting for piping, add 1/4 cup more powdered sugar or chill the finished frosting for 15 minutes.
- This frosting is excellent on carrot cake and red velvet cake.
Nutrition
- Serving Size: 1/4 cup
- Calories: 350
- Sugar: 45g
- Sodium: 85mg
- Fat: 18g
- Saturated Fat: 11g
- Unsaturated Fat: 7g
- Trans Fat: 0.5g
- Carbohydrates: 48g
- Fiber: 0g
- Protein: 2g
- Cholesterol: 55mg