


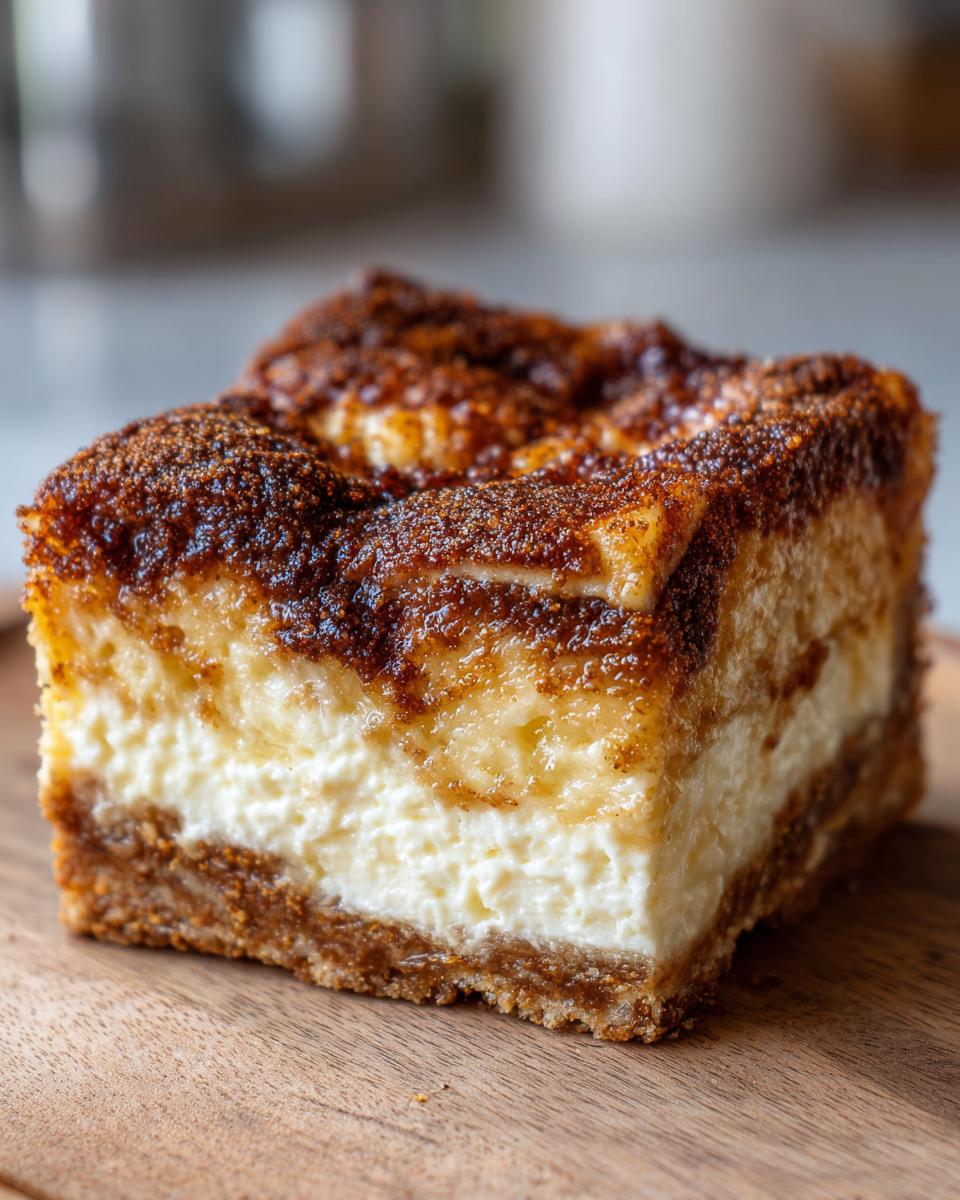
I get it—sometimes you crave that incredible wow-factor dessert, but you just don’t have the hours to spend fussing over complicated pastry. That’s exactly why I’m obsessed with this recipe. Forget spending your Saturday deep-frying dough! This sopapilla cheesecake bar is every bit as amazing as its traditional counterpart, tasting like a dreamy crossover between a golden, flaky churro and the creamiest cheesecake you’ve ever had. It’s my mission here at Cooking by Felix to take those flavors we love and make them achievable, even when life is pulling you in a million directions. Trust me, this layered beauty is pure magic made simple.
- Why This Easy Sopapilla Cheesecake Recipe Works (The Secret to Layered Perfection)
- Gathering Ingredients for Your Sopapilla Cheesecake
- Step-by-Step Instructions for the Sopapilla Cheesecake
- Tips for the Perfect Melt in Your Mouth Sopapilla Cheesecake
- Serving Suggestions for Your Cinnamon Sugar Dessert
- Storage and Making Ahead for Potluck Desserts
- Frequently Asked Questions About Sopapilla Cheesecake
- Estimated Nutritional Data for Sopapilla Cheesecake Bars
- Share Your Experience Making This Tex Mex Sweets Dessert
Why This Easy Sopapilla Cheesecake Recipe Works (The Secret to Layered Perfection)
The real genius of this recipe is that it skips all the hard work while keeping all the delicious texture. We use store-bought refrigerated crescent roll dough, which is the ultimate shortcut for any busy home cook. Seriously, working with that flaky pastry dough makes this the easiest cheesecake bars recipe you’ll ever attempt. It gives you that perfect, buttery foundation and top layer without any rolling or folding stress. If you love dependable shortcuts in the kitchen, you might also want to check out my recipe for magic cookie bars!
Because they bake up into perfect squares, these are my go-to choice when I need a quick dish for a potluck or family gathering. There’s no fussy slicing or delicate presentation needed! This Crescent Roll Cheesecake structure guarantees you a clean slice every time, and that creamy center stays perfectly contained between the flaky layers. It’s unbelievably reliable, which is exactly what you need when serving a crowd!
Key Features of Our Sopapilla Cheesecake Bars
- Flaky Pastry: Built-in layers using ready-made dough.
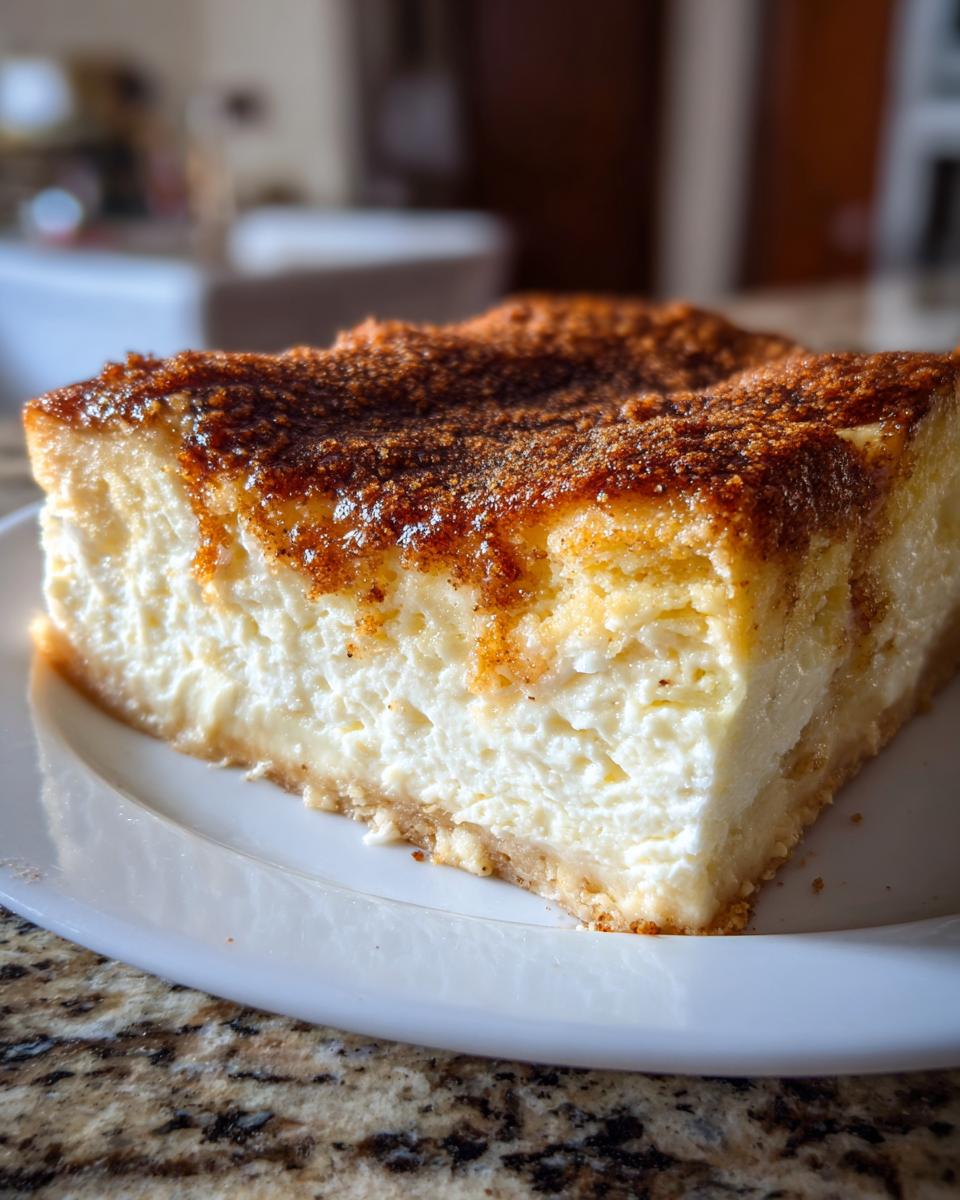
- Creamy Filling: Silky smooth sweet cream cheese center.
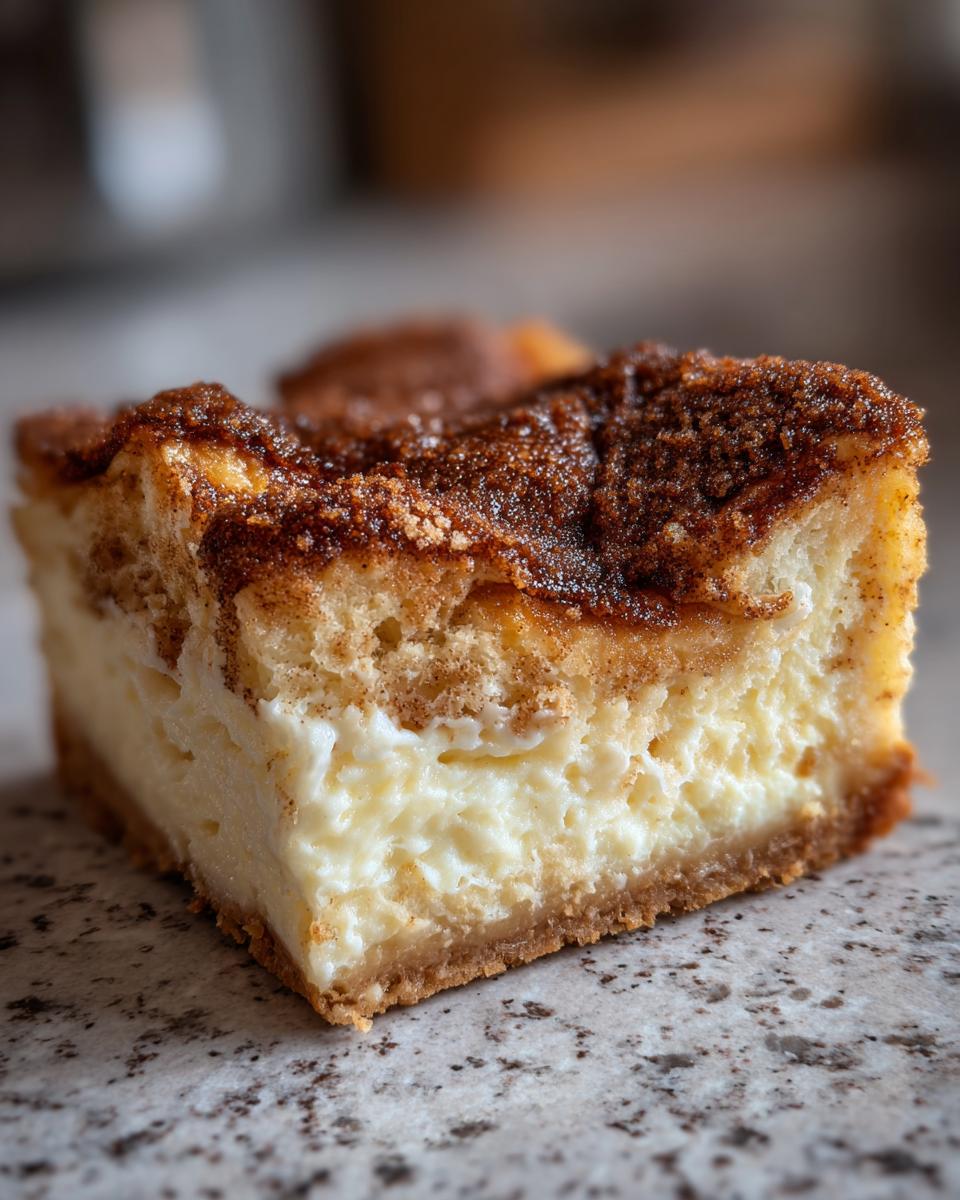
- Cinnamon-Sugar Crunch: A buttery, irresistible golden topping.
Gathering Ingredients for Your Sopapilla Cheesecake
Okay, gathering what you need for this incredible Sweet Cream Cheese Dessert is almost as easy as making it! Since we are focusing on simplicity, you’ll notice we’re using pre-made dough—no judgment here! You’ll need your crescent roll dough, the block of cream cheese (make sure it’s softened, please!), an egg, vanilla, and sugar for that glorious filling. Don’t forget the butter for the top; it needs to be melted so it soaks down right into the pastry, making it rich and dreamy.
For the Cinnamon Sugar Dessert Topping
This is where the churro flavor comes in! You only need two things, but precision matters here. Mix:
- 3/4 cup granulated sugar
- 1 tablespoon ground cinnamon
Mix those two together well, and that’s it for your topping! It’s going to smell divine when it bakes. If you want a really quick, impressive treat sometimes, I use similar simple ingredients for my easy white chocolate fudge, so keep these staples on hand!
Step-by-Step Instructions for the Sopapilla Cheesecake
Alright, let’s get this Simple Layered Dessert into the oven! This process is beautifully straightforward, but pay attention to the dough handling—that’s the secret to perfect layers in your Flaky Pastry Dessert. Remember to preheat that oven right away to 350 degrees F and get your 9×13 pan lightly greased. If you want a foolproof release, you might consider lining it with parchment first, just letting the sides hang over as handles!
Preparing the Crescent Roll Base and Creamy Cheesecake Filling
First step: open one can of crescent dough and press it down into the bottom of that prepared pan. Take your time here! Make sure you really press those seams together firmly so you don’t get any leaks when the filling goes in. Next, it’s time for the star of the show. In a separate bowl, beat your softened cream cheese, the egg, vanilla extract, and that 1/2 cup of sugar. You’re looking for a texture that is completely smooth and creamy—no lumps allowed. Spread this luxurious filling evenly over your bottom dough layer. It should spread easily!
Assembling and Baking Your Sopapilla Cheesecake
Now, gently unroll that second can of dough and lay it right on top of your filling. Again, press those edges together to make a complete seal. This top dough layer needs a little coat of melted butter brushed evenly across the entire surface. Then, sprinkle that cinnamon-sugar mixture generously right over the butter! Bake this beauty for about 25 to 30 minutes until the top is gorgeously golden brown. The most crucial step, and I mean it, is letting it cool down completely in the pan. If you try to slice it hot, it’ll turn into a gooey mess because the filling needs time to set up. If you need a quick no-bake option later, you can check out my quick fudge recipe, but this baked version is worth the cooling wait!
Tips for the Perfect Melt in Your Mouth Sopapilla Cheesecake
You’ve got the recipe, but let me give you the little nudges that guarantee success! The biggest complaint I hear about layered desserts like this is a soggy bottom, but we can avoid that completely. Make sure your crescent roll dough is pressed firmly into the corners—it needs to create a solid barrier against that creamy cheesecake filling.
Also, don’t be tempted to open the oven door early! These bars need that consistent heat to set up properly. If you peep too soon, the cool air can make the center collapse. That final golden color means it’s done, but the magic truly happens when it rests. I know waiting is hard, especially when you smell that amazingness, but letting these Churro Cheesecake Bars cool completely before slicing is non-negotiable. If you rush it, the filling turns soupy instead of firm. Trust me; patience transforms this into the ultimate melt in your mouth dessert!
Serving Suggestions for Your Cinnamon Sugar Dessert
Once these bars have cooled—and I know it’s tough to wait!—you get to the fun part: topping them off! While these bars are absolutely amazing just as they are, I love adding a little something extra sometimes. For a very traditional touch that really leans into that sweet fried dough flavor, drizzle them generously with honey right before serving. It gives a nice sticky sweetness.
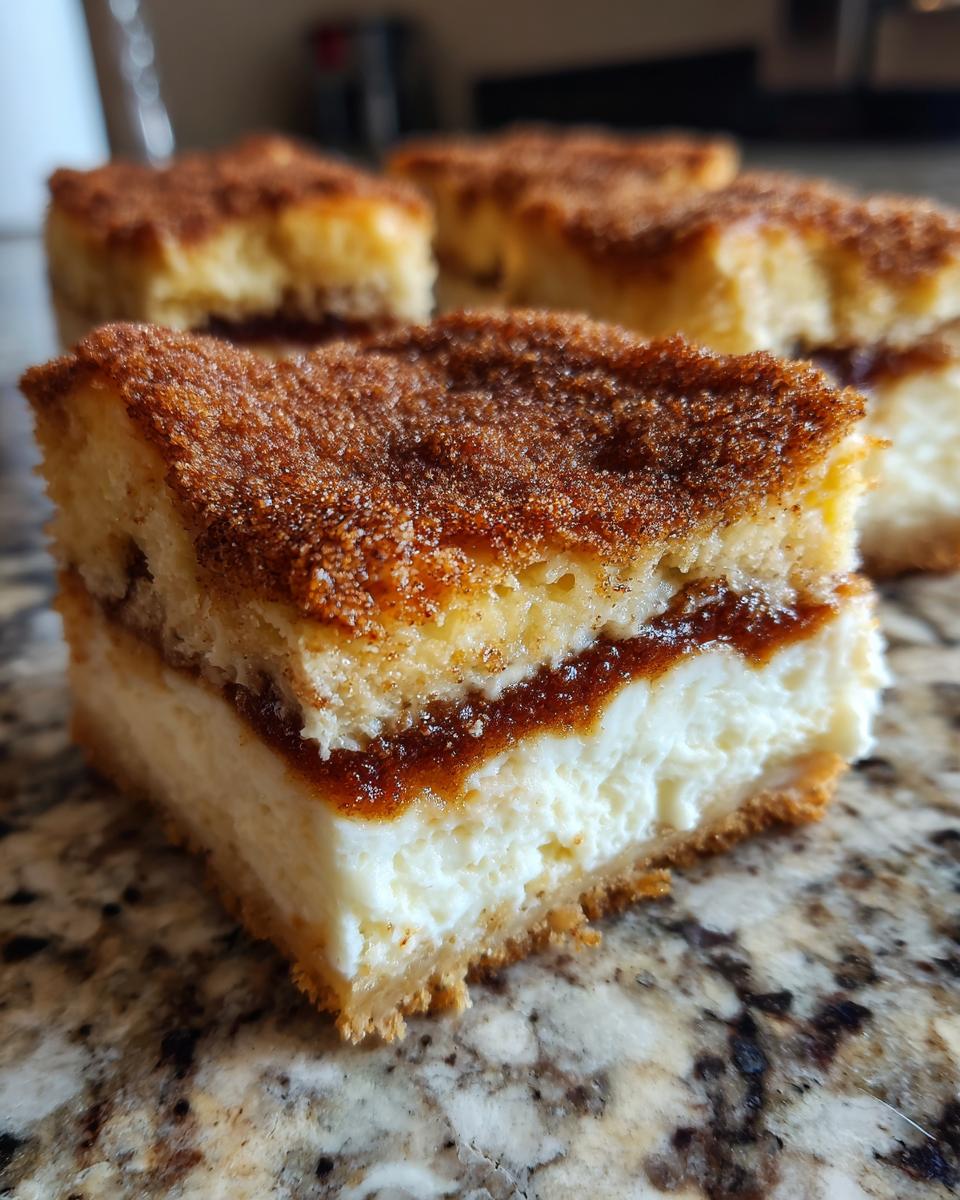
If you’re looking for something a bit lighter or serving them the next day, a light dusting of powdered sugar works wonders and makes them beautiful for your coffee table centerpiece. These are definitely one of my favorite go-to Holiday Baking Ideas because they look so festive piled high on the platter! If you love spiced desserts like this, you absolutely must check out my old-fashioned spice cake recipe next!
Storage and Making Ahead for Potluck Desserts
One of the reasons I adore this sopapilla cheesecake so much is how perfectly friendly it is to planning ahead! Since these bake up into clean bars, they are fantastic for making the day before any event. You just need to let them cool completely—and I mean completely, down to room temperature—before you even think about slicing them.
Once they are sliced, I always recommend storing any leftovers in an airtight container in the refrigerator. They stay wonderfully creamy and fresh this way for three or maybe four days. You can absolutely serve them chilled, but honestly, they are even better when you let them sit on the counter for about 20 minutes before serving, just to take the chill off that cheesecake layer. They are truly one of the best Potluck Desserts because they travel so well and taste great served cool or at room temperature. For a great make-ahead chocolate option, check out my easy one-bowl chocolate cake which follows a similar philosophy!
Frequently Asked Questions About Sopapilla Cheesecake
It’s totally normal to have questions when you’re switching things up, especially when using store-bought dough in a recipe like this! I’ve compiled the things I get asked most often about making sure these bars turn out perfect every time. If you’ve ever hesitated because you weren’t sure about substituting ingredients, this is the place to clear that up for your next batch of Easy Cheesecake Bars!
Can I use puff pastry instead of crescent roll dough in this sopapilla cheesecake?
You could, sure, but you’ll get a slightly different experience. Crescent roll dough is designed to create those flaky, slightly chewy layers that mimic traditional sopapillas or flaky pastry. Puff pastry is lighter and more airy; it will rise significantly more and might not have that satisfying, dense chew that makes these Churro Cheesecake Bars so wonderful. I really stick with the crescent dough for the best layered result!
How do I prevent the cream cheese filling from leaking out?
The absolute key to keeping that creamy filling locked in happens before you even bake it! When you press the bottom layer of crescent dough into your 9×13 pan, really focus on sealing those perforations and making sure you push the dough firmly up the corners. Then, when you place the top layer on, use your fingers to gently pinch the seams of the top and bottom dough layers together all the way around—a good seal is your best defense against leaks!
If you’re looking for another really simple recipe that delivers huge flavor without any fuss, you should definitely try my fudgy chocolate crinkle cookies next!
Estimated Nutritional Data for Sopapilla Cheesecake Bars
Because we use real ingredients here, I always want to be transparent about what goes into our treats! Please keep in mind that the nutritional facts for this sopapilla cheesecake are just rough estimates since the exact breakdown depends on specific brands of crescent rolls and cream cheese used. But, to give you a general idea when you are planning, here’s the approximate breakdown per bar.
- Calories: 280
- Total Fat: 16g
- Carbohydrates: 31g
- Sugar: 22g
- Protein: 4g
It’s a rich dessert, no doubt, but totally worth it for that amazing flavor! If you want a slightly lighter version sometime, you might enjoy my moist lemon loaf recipe—it hits different but is just as satisfying!
Share Your Experience Making This Tex Mex Sweets Dessert
Now that you have the secret to this incredibly simple sopapilla cheesecake, I’d absolutely love to hear how it turned out for you! Did you drizzle it with honey? Did it disappear instantly at your family gathering? Drop a rating below or leave me a comment telling me your favorite layer—was it the flaky pastry or that sweet, creamy filling?
If you loved this easy dessert, you might want to try my recipe for quick and easy homemade BBQ sauce next time you’re cooking savory things! And if you want to see what other folks are saying about this amazing crossover dessert, check out this inspiring article on irresistible sopapilla cheesecake. Happy baking!
PrintEasy Sopapilla Cheesecake Bars with Cinnamon Sugar Topping

Make this simple layered dessert that tastes like a mix of churros and cheesecake. You use crescent roll dough for flaky pastry layers and a sweet cream cheese filling, topped with cinnamon sugar.
- Prep Time: 15 min
- Cook Time: 30 min
- Total Time: 45 min
- Yield: 16 bars 1x
- Category: Dessert
- Method: Baking
- Cuisine: Tex-Mex Inspired
- Diet: Vegetarian
Ingredients
- 1 can (8 ounces) refrigerated crescent roll dough
- 1 package (8 ounces) cream cheese, softened
- 1 large egg
- 1 teaspoon vanilla extract
- 1/2 cup granulated sugar
- 1/2 cup (1 stick) unsalted butter, melted
- 3/4 cup granulated sugar
- 1 tablespoon ground cinnamon
Instructions
- Preheat your oven to 350 degrees F. Lightly grease a 9×13 inch baking pan.
- Unroll one can of crescent roll dough and press it into the bottom of the prepared pan, sealing any seams.
- In a medium bowl, beat the softened cream cheese, egg, vanilla extract, and 1/2 cup of sugar until the mixture is smooth and creamy. Spread this cheesecake filling evenly over the bottom layer of crescent dough.
- Unroll the second can of crescent roll dough and place it over the cream cheese layer. Gently press the seams together to cover the filling completely.
- In a small bowl, mix the remaining 3/4 cup of granulated sugar and the cinnamon.
- Brush the melted butter evenly over the top layer of dough. Sprinkle the cinnamon-sugar mixture over the buttered top.
- Bake for 25 to 30 minutes, or until the top is golden brown and the filling is set.
- Let the bars cool completely in the pan before slicing into squares. Serve plain or drizzle with honey if desired.
Notes
- For an extra churro flavor, you can dust the cooled bars with powdered sugar before serving.
- If you prefer a richer topping, increase the cinnamon to 1.5 tablespoons in the topping mixture.
- This recipe works well for potlucks and holiday gatherings because it travels easily as bars.
Nutrition
- Serving Size: 1 bar
- Calories: 280
- Sugar: 22
- Sodium: 180
- Fat: 16
- Saturated Fat: 8
- Unsaturated Fat: 8
- Trans Fat: 0
- Carbohydrates: 31
- Fiber: 1
- Protein: 4
- Cholesterol: 35