


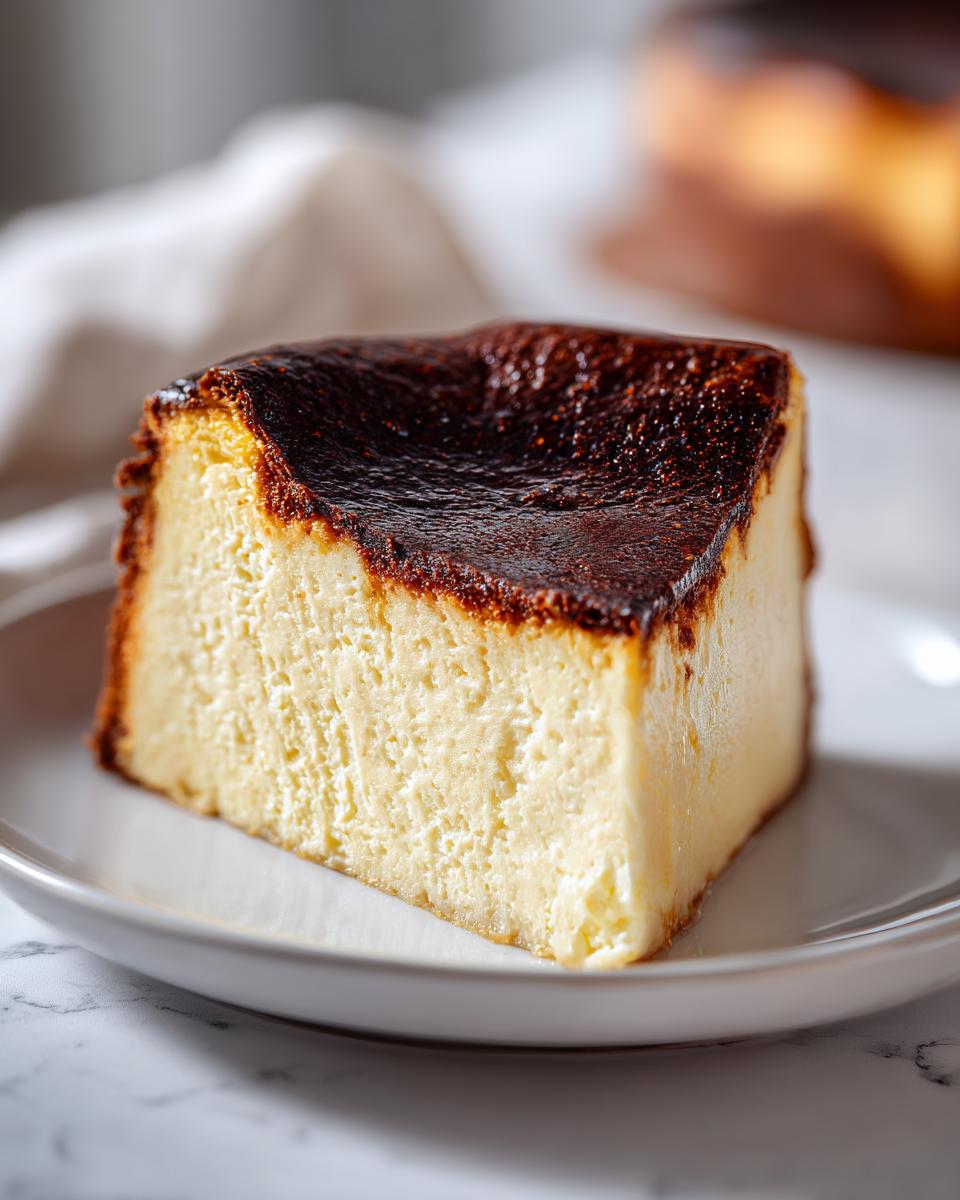
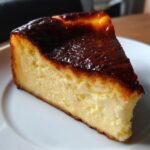
I swear, sometimes the most incredible, gourmet desserts only require a few ingredients and zero fuss. If you want to bring something truly spectacular onto your table without spending half the day wrestling with equipment, you need to meet the Basque cheesecake. Forget those fussy, cracked cheesecakes that need a water bath—we are going straight for the real deal: the perfectly caramelized, deeply brown, crustless beauty straight from San Sebastian.
This is designed, truly, for people like me who have big plans for dinner but limited time between meetings. My philosophy here at Cooking by Felix is simple: phenomenal flavor shouldn’t be a luxury reserved for weekends. This recipe proves it. You get that amazingly creamy cheesecake dessert texture that melts in your mouth, all wrapped up in that intentionally ‘burnt’ exterior. Trust me, this is the easiest ever version, and it looks way more complicated than it is!
Here, we skip the crust entirely, which cuts down on steps big time. It’s rustic, it’s elegant, and honestly, it’s addictive. Get ready to impress everyone with minimal effort. You can see more of my favorite simple delicious desserts if you love this style!
- Why This is the Best Basque Cheesecake Recipe You Will Make
- Ingredients for Your Easy Crustless Cheesecake
- How to Prepare the Perfect Basque Cheesecake
- Tips for Success with Your Basque Cheesecake
- Variations on the Classic Basque Cheesecake
- Storing and Reheating Your Basque Cheesecake
- Frequently Asked Questions About Basque Cheesecake
- Estimated Nutritional Information for Basque Cheesecake
- Share Your Impressions of This Simple Baking Project
Why This is the Best Basque Cheesecake Recipe You Will Make
Look, I get it. You want that restaurant-quality dessert without spending hours babysitting a water bath. That’s exactly why I created this recipe. This Basque cheesecake is your new favorite easy crustless cheesecake because it embraces a rustic look. The appeal? Minimal fuss equals maximum flavor. It creates the ultimate creamy cheesecake dessert experience every single time, and the biggest win is that there is absolutely no water bath cheesecake nonsense involved.
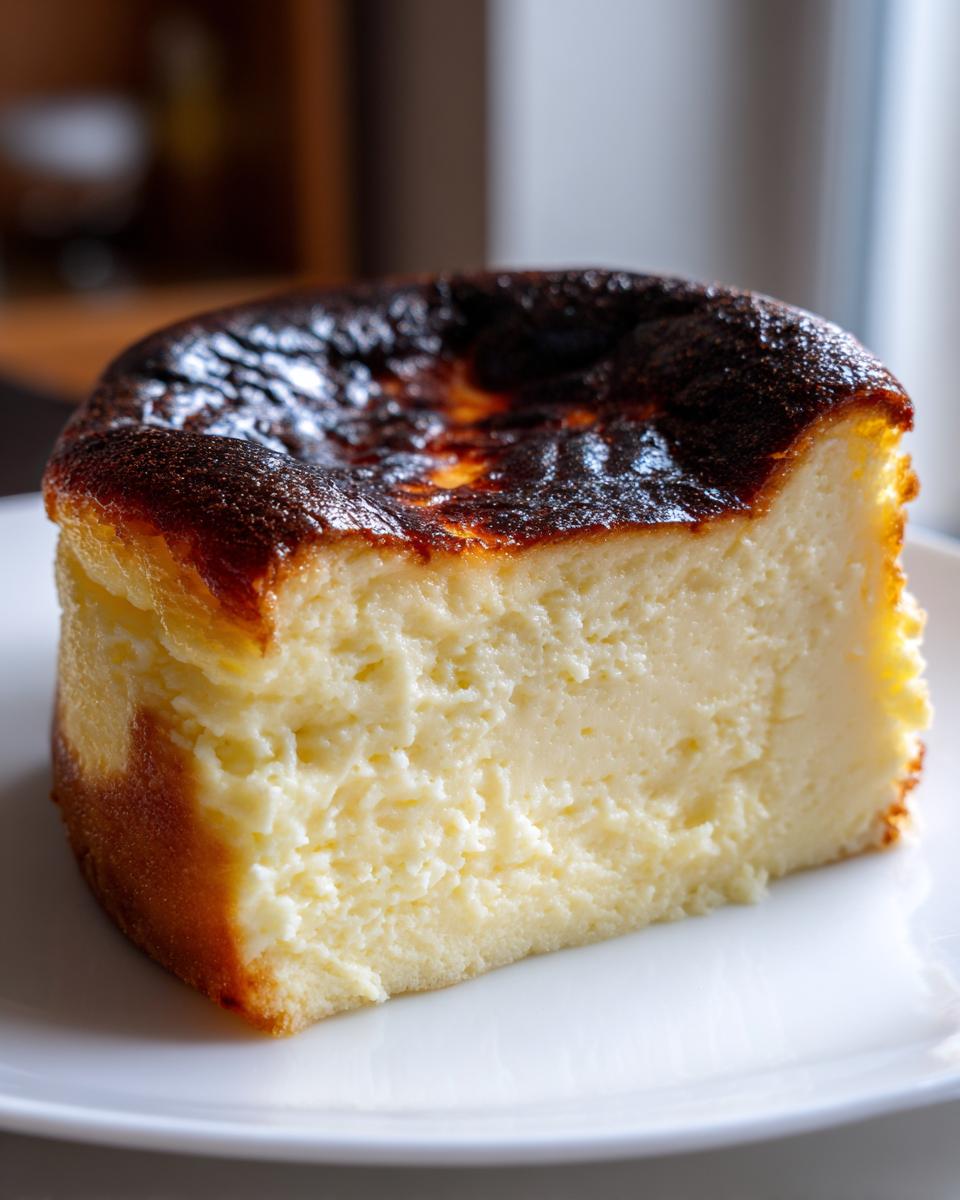
You get that beautiful, deeply caramelized top and an interior that’s luxurious. Seriously, once you try this simple baking project, you won’t go back to anything else. If you liked how easy this felt, you should check out my guide on making easy 3-ingredient fudge recipe next!
Achieving the Signature Caramelized Top Cheesecake
The “burnt” look is completely crucial here; it’s what separates this from every other cheesecake out there! This is the authentic San Sebastian cheesecake style. The trick to getting that signature dark, almost black color on top without scorching the edges is simply high heat. Don’t pull it out just because it looks dark—that deep carmelization is where the complex flavor comes from. It provides the perfect, slight edge against the sweetness inside.
The Secret to a Custardy Center Cheesecake Texture
If you’re used to dense New York style, this will surprise you! We aren’t aiming for solid; we want that unbelievably soft, mousse like cheesecake texture. We achieve this because we blast it at a high temperature for a short time. The outside sets quickly, but the center stays loose, resulting in that magical, slightly underbaked, custardy center cheesecake interior when it chills down. It’s science, but it tastes like pure heaven!
Ingredients for Your Easy Crustless Cheesecake
It’s so satisfying knowing you only need a handful of very simple staples to pull off something this impressive. This is truly an easy crustless cheesecake; we are skipping the flour, the butter, and the graham crackers for the crust side of things! Just grab these basics and make sure everything is ready to go before you start mixing anything.
For this recipe, you need:
- 4 (8 ounce) packages cream cheese, making sure it’s totally softened!
- 1 1/2 cups granulated sugar
- 6 large eggs – yes, six! They do a lot of heavy lifting here.
- 2 cups heavy cream
- 1 teaspoon vanilla extract
- 1/4 teaspoon salt
That’s it! You can check out my thoughts on the best way to make best classic creamy egg salad recipe, but for this cheesecake, simplicity rules. Get those ingredients ready!
How to Prepare the Perfect Basque Cheesecake
Okay, this is where the actual magic happens, and I promise you, it’s far easier than the results suggest. Since we’re aiming for that beautiful, rustic Spanish vibe, we don’t need perfect lines or pristine edges. Just mix gently, bake hot, and cool slowly to get that perfect, rich and decadent dessert finish you crave. If you’re ready to dive into the how to make Basque cheesecake process, let’s get that oven hot!
Prepping the Pan and Oven
First things first, crank that oven all the way up! You need it at 400 degrees F (that’s 200 degrees C). Take two big sheets of parchment paper and just shove them into your 9-inch springform pan. Let the edges hang over dramatically—don’t smooth them down! Seriously, don’t fuss with it. That crinkly, uneven paper is what gives this rustic cheesecake baking its signature look. It protects the sides while the top goes for that gorgeous dark char.
Mixing the Creamy Basque Cheesecake Batter
We have to be gentle once the eggs come in. Start by beating your room temperature cream cheese until it’s baby-smooth—no lumps allowed! Then, drizzle in the sugar and beat until creamy. Now for the eggs: add them one by one, mixing just until they disappear. Stop the mixer immediately after the last egg, then slowly pour in the heavy cream, vanilla, and salt. The final batter is going to look way thinner than you expect, almost like heavy cream. That’s exactly what we want for that incredible mousse like cheesecake texture!
Baking and Cooling for the Ideal Result
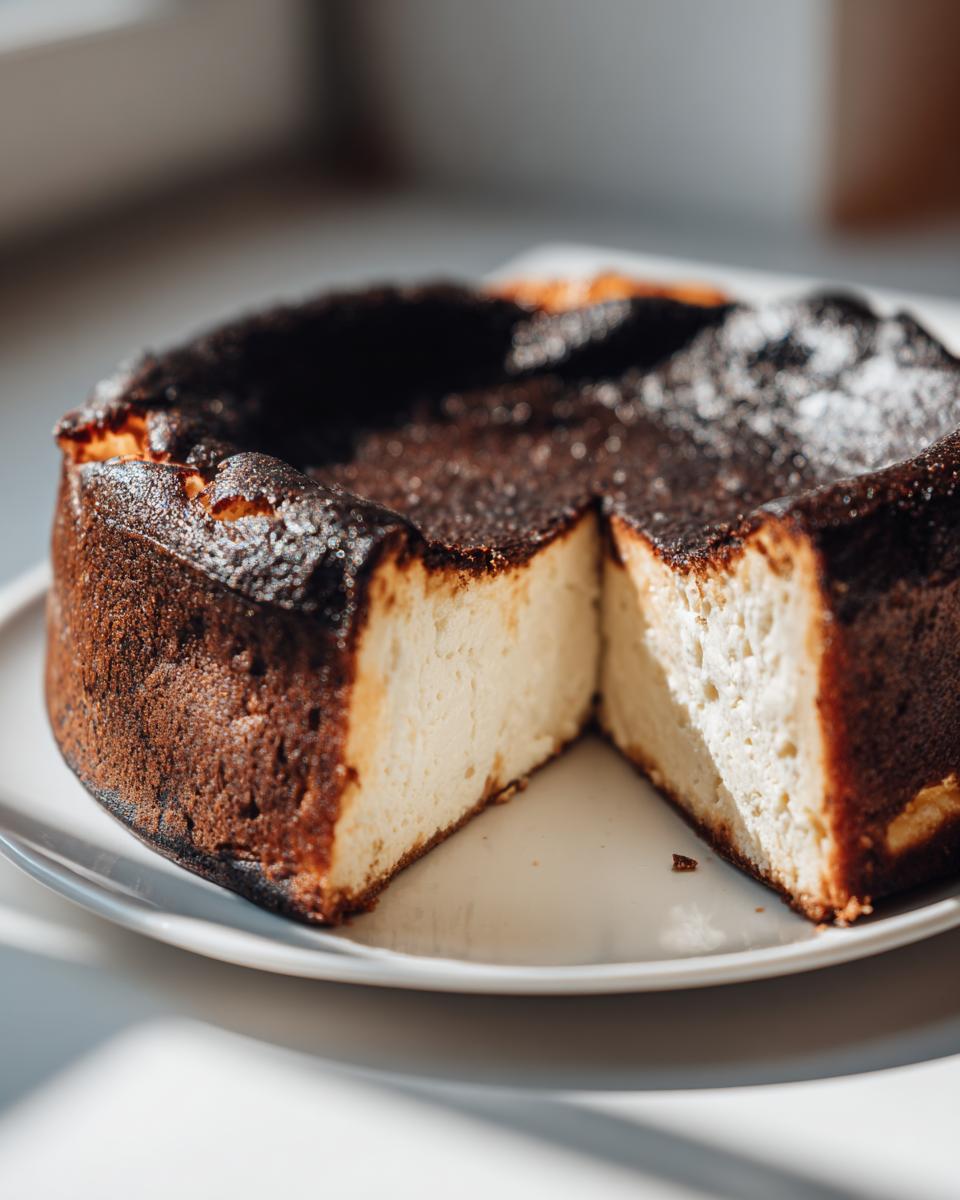
Pour that thin batter into your prepared pan and pop it in the hot oven for about 50 to 60 minutes. You’re looking for a top that is super dark brown, maybe even black in spots, and the middle should still have a massive wobble—think soft custard. When you take it out, leave it alone on the counter to cool completely for at least two hours. It *will* deflate dramatically, which is normal! Then, the last crucial step: cover it loosely and chill it for a minimum of six hours, but honestly, overnight is best to fully set that creamy magic.
Tips for Success with Your Basque Cheesecake
Even though this is meant to be a relaxing, simple burnt cheesecake tutorial, a couple of small details make the difference between great and unbelievably amazing. Because you asked for the best Basque cheesecake recipe, I have to share the secrets that keep mine consistently perfect. Listen up—these quick adjustments prevent the usual hiccups that can happen when baking a no water bath cheesecake.
If you’re heading to make a classic New York style, you might use different tricks, but for this Spanish beauty, these two points are everything. If you want to compare notes later, I have some amazing tips for that New York cheesecake recipe ultimate success guide too!
Ingredient Temperature Matters for a Smooth Basque Cheesecake
This is non-negotiable, folks. Your cream cheese and eggs absolutely must be at room temperature. If they are cold, you’ll end up with tiny lumps marring that beautiful, creamy cheesecake dessert texture we are after. Take them out early! It’s worth the wait for that smooth batter.
Serving Temperature for Maximum Creaminess
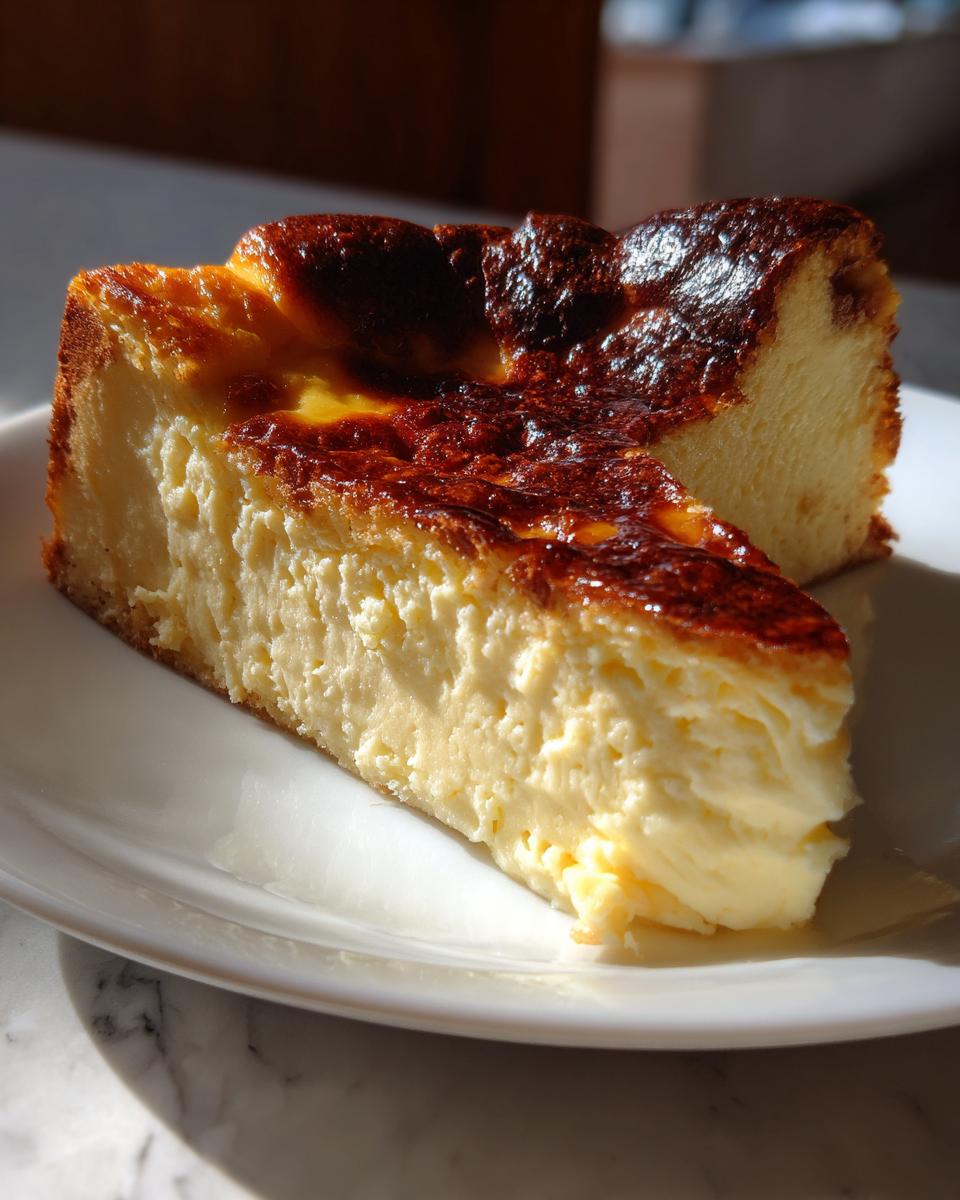
I know the urge to dig in right out of the fridge, but please resist! This rich and decadent dessert shines when it’s allowed to warm up just slightly. Let it sit on the counter for about 30 minutes before slicing so that custardy inside can really bloom.
Variations on the Classic Basque Cheesecake
Part of what I love about this Basque cheesecake is how forgiving it is! You can absolutely take this structure and run with it for gourmet homemade desserts that fit different needs. Want something smaller for a cozy night? Easy. Want a little flavor twist? No problem. We keep the core idea—high heat, no crust—but swap the vessel or add a tiny bit of extra flavor to keep things interesting.
I’ve gone into detail about making tiny little bites in my cookie butter cheesecake cups recipe, but for a slightly larger, simpler swap, the loaf pan is my go-to!
Making a Loaf Pan Basque Cheesecake
If you don’t want a full 9-inch round cake, this is your answer for great loaf pan cheesecake ideas. Pour the same batter into a lined loaf pan. Since loaf pans are deeper and narrower, you’ll need to pop it in the oven for maybe 10 to 15 minutes less time. Keep checking that center!
Storing and Reheating Your Basque Cheesecake
Because this dessert is so rich with heavy cream and cream cheese, storage is pretty important for maintaining that fabulous texture. Wrap the whole thing loosely in plastic wrap once it’s fully chilled—we don’t want it absorbing any weird fridge smells! Keep the Basque cheesecake refrigerated for up to three days. Honestly though, it’s so good, it never lasts that long at my house!
As for reheating, don’t bother! This cake is designed to be eaten cool or at room temperature for that ultimate creamy mouthfeel. The initial chilling time is what sets the structure properly, so we never skip that step.
Frequently Asked Questions About Basque Cheesecake
Whenever I post pictures of this dessert, the questions start rolling in, and that’s great! It shows you’re excited to try making this impressive dinner party dessert. Since it looks so different from a traditional bake, people naturally have questions about what to expect from the texture and the color. I’ve gathered the top things folks ask me about achieving that perfect, rustic result.
If you’re looking for more foolproof favorites, make sure you check out my guide on easy white chocolate fudge recipe!
Is the burnt top of the Basque cheesecake supposed to be bitter?
That’s a common worry! No, it shouldn’t be acrid or bitter like actual charcoal. Think of it as deeply caramelized sugar—that dark color provides a lovely, almost toffee-like contrast to the sweet inside. If it tastes bitter, the heat was too aggressive, but usually, that deep brown means pure, gorgeous flavor!
Can I make this cheesecake ahead of time?
You actually should! This is one of those gourmet homemade desserts that gets better with patience. Chilling it overnight is honestly the best way to let that custard firm up into its best texture. It holds up beautifully in the fridge, covered loosely, for up to three days. Don’t stress about getting it done the day of your party!
Why is my Basque cheesecake batter so thin?
Oh, don’t panic when you pour that batter in! It’s supposed to be thin, like really heavy cream. This is the key difference from a structured cheesecake; that soupy look is what guarantees you end up with that spectacular, mousse like cheesecake texture inside after baking and chilling. If it were thick, you’d end up with a dense cake, and we’re not making that!
Estimated Nutritional Information for Basque Cheesecake
Okay, so because we are dealing with a lot of cream cheese and heavy cream, this isn’t exactly a diet food, is it? But hey, it’s a dessert, and it’s worth every single bite! Here’s the rundown based on the recipe yield of 10 slices.
Keep in mind these are just estimates; my measurements might be a little different than yours! But for a general idea when planning your indulgence:
- Serving Size: 1 slice
- Calories: 450
- Fat: 35g
- Carbohydrates: 30g
- Protein: 8g
This gives you a good ballpark figure. Enjoying this rich and decadent dessert is about the experience, so don’t stress the numbers too much!
Share Your Impressions of This Simple Baking Project
Now that you’ve gone through the process of making this incredible, rustic Basque cheesecake, I really, really want to know what you think! Did you get that beautifully dark top? Did the center achieve that incredible, custardy wiggle I was talking about?
Baking should always be a conversation, not a monologue. Please, take a minute and leave a star rating right down below, and tell me about your experience in the comments. Did you learn any new tricks while tackling this simple baking project?
Seriously, seeing your photos of your own caramelized tops makes my day! Tag me on social media, or if you’d rather send me a more direct note with any questions or successes, you can always reach out via my contact page. I love hearing how this unbelievably easy, yet impressive, dessert turned out for your own busy life!
PrintEasy Burnt Basque Cheesecake (Crustless & Creamy)
Make the impressive Burnt Basque Cheesecake, also known as San Sebastian Cheesecake, with this simple, crustless recipe. Achieve a perfectly caramelized top and a rich, mousse-like center with minimal effort and no water bath.
- Prep Time: 15 min
- Cook Time: 60 min
- Total Time: 7 hours 15 min
- Yield: 10 servings 1x
- Category: Dessert
- Method: Baking
- Cuisine: Spanish
- Diet: Vegetarian
Ingredients
- 4 (8 ounce) packages cream cheese, softened
- 1 1/2 cups granulated sugar
- 6 large eggs
- 2 cups heavy cream
- 1 teaspoon vanilla extract
- 1/4 teaspoon salt
Instructions
- Preheat your oven to 400 degrees F (200 degrees C). Line a 9-inch springform pan with two large sheets of parchment paper, letting the paper overhang on all sides. Do not worry about smoothing the paper; the rustic look is part of this dessert.
- In a large bowl, use an electric mixer to beat the softened cream cheese until it is completely smooth and there are no lumps.
- Gradually add the sugar to the cream cheese mixture and beat until fully combined and creamy.
- Add the eggs one at a time, mixing well after each addition until just combined. Do not overmix once the eggs are added.
- Slowly mix in the heavy cream, vanilla extract, and salt until the batter is smooth. The final texture should be thin.
- Pour the batter into the prepared springform pan.
- Bake for 50 to 60 minutes. The top should be deeply caramelized, almost black in spots, and the edges should be set. The center will still look jiggly, like a rich custard.
- Remove the cheesecake from the oven. It will deflate significantly as it cools. Let it cool completely on a wire rack at room temperature for about 2 hours.
- Once cool, cover the pan loosely and chill in the refrigerator for at least 6 hours, or preferably overnight, for the best creamy texture.
- To serve, remove the sides of the springform pan and carefully peel away the parchment paper. Serve this impressive dinner party dessert at room temperature for the softest, custardy center.
Notes
- For a smaller bake, use this recipe in a loaf pan for a Loaf Pan Basque Cheesecake variation. Adjust the baking time down by about 10 to 15 minutes.
- This cheesecake does not require a water bath, making it a simple baking project.
- The dark, burnt top is essential for the authentic flavor profile of this rustic cheesecake.
Nutrition
- Serving Size: 1 slice
- Calories: 450
- Sugar: 35g
- Sodium: 250mg
- Fat: 35g
- Saturated Fat: 22g
- Unsaturated Fat: 13g
- Trans Fat: 0.5g
- Carbohydrates: 30g
- Fiber: 0g
- Protein: 8g
- Cholesterol: 180mg