

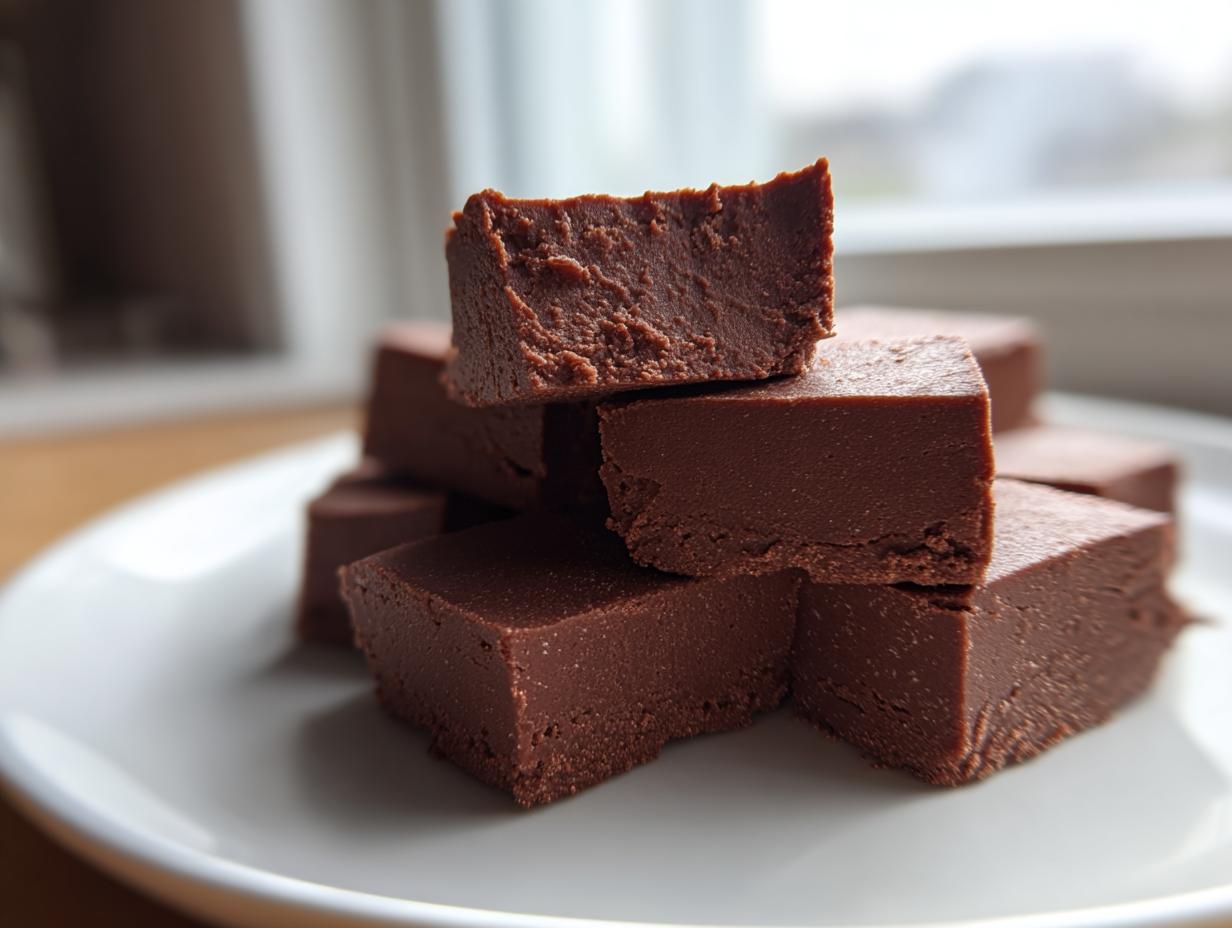
I know that feeling—you’re craving something deeply decadent, something rich and comforting, but you just hit the mental wall when you look at a recipe requiring specialized equipment. We’ve all been there! That’s why, when it comes to satisfying that sweet tooth, I had to create the ultimate, foolproof hack for making incredible chocolate fudge without ever touching a candy thermometer. This isn’t the kind of complicated recipe you save for a snow day; this is pure indulgence made simple. My job here at Cooking by Felix is to cut through the stress and bring back the joy, and honestly, this three-ingredient wonder proves that you can achieve that melt-in-your-mouth texture every single time, even on a Tuesday night!
- Why This Is the Best Easy Fudge Recipe You Will Ever Make
- Gather Your Simple Ingredients for Perfect Confections
- Step-by-Step Instructions for No Bake Fudge
- Tips for Making the Best Homemade Fudge
- Variations for Your Quick Fudge Ideas
- Serving Suggestions and Storing Your Rich Chocolate Candy
- Frequently Asked Questions About Making Fudge
- Estimated Nutritional Data for This Fudge
- Share Your Success Making This Simple Dessert Squares
Why This Is the Best Easy Fudge Recipe You Will Ever Make
When people search for the best homemade fudge, they usually mean they want that decadent texture without the fuss. Trust me, I bake for a living now, but I still value speed! This recipe delivers on every promise you’re hoping for. While you might be looking for a quick solution, you can check out my technique for fast chocolate frosting if you ever need another speedy sweet fix.
- It truly is a no candy thermometer fudge—seriously, no guessing games about soft-ball stages here!
- Active time is under five minutes. That’s right, this is one of the fastest quick fudge ideas you’ll find.
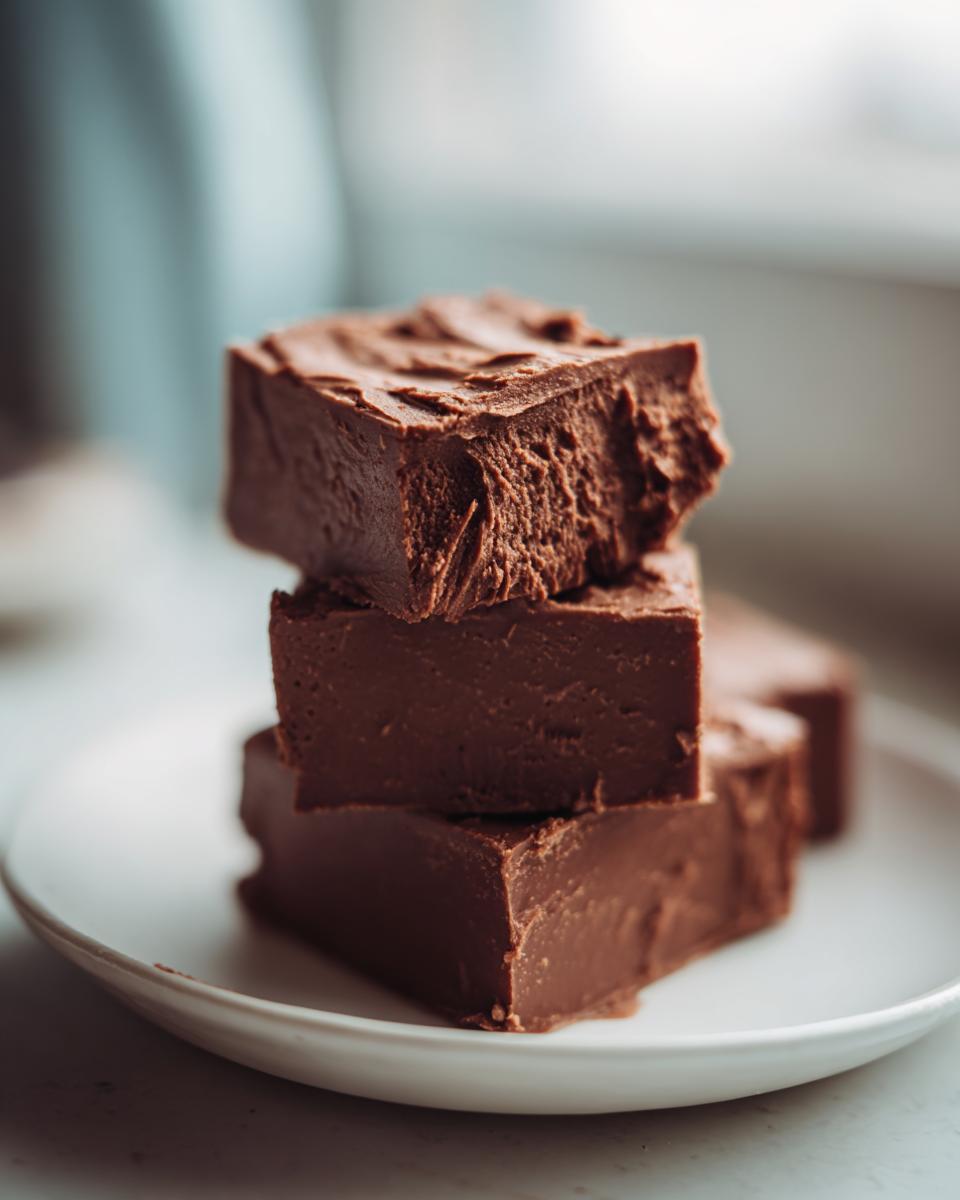
- It results in that perfectly smooth, dense, and glorious melt in your mouth fudge that just screams indulgence.
Quick Fudge Ideas: Ready in Minutes
Forget pulling out complicated double boilers or waiting for specialized ingredients. Because this relies on just three core components, it fits squarely into the category of 3 ingredient candy miracles. You are looking at less than five minutes of actual hands-on work. This lets you whip up one of these simple dessert squares when a craving hits hard, or when you suddenly realize you need a hostess gift for tonight!
Achieving That Perfect Creamy Fudge Dessert Texture
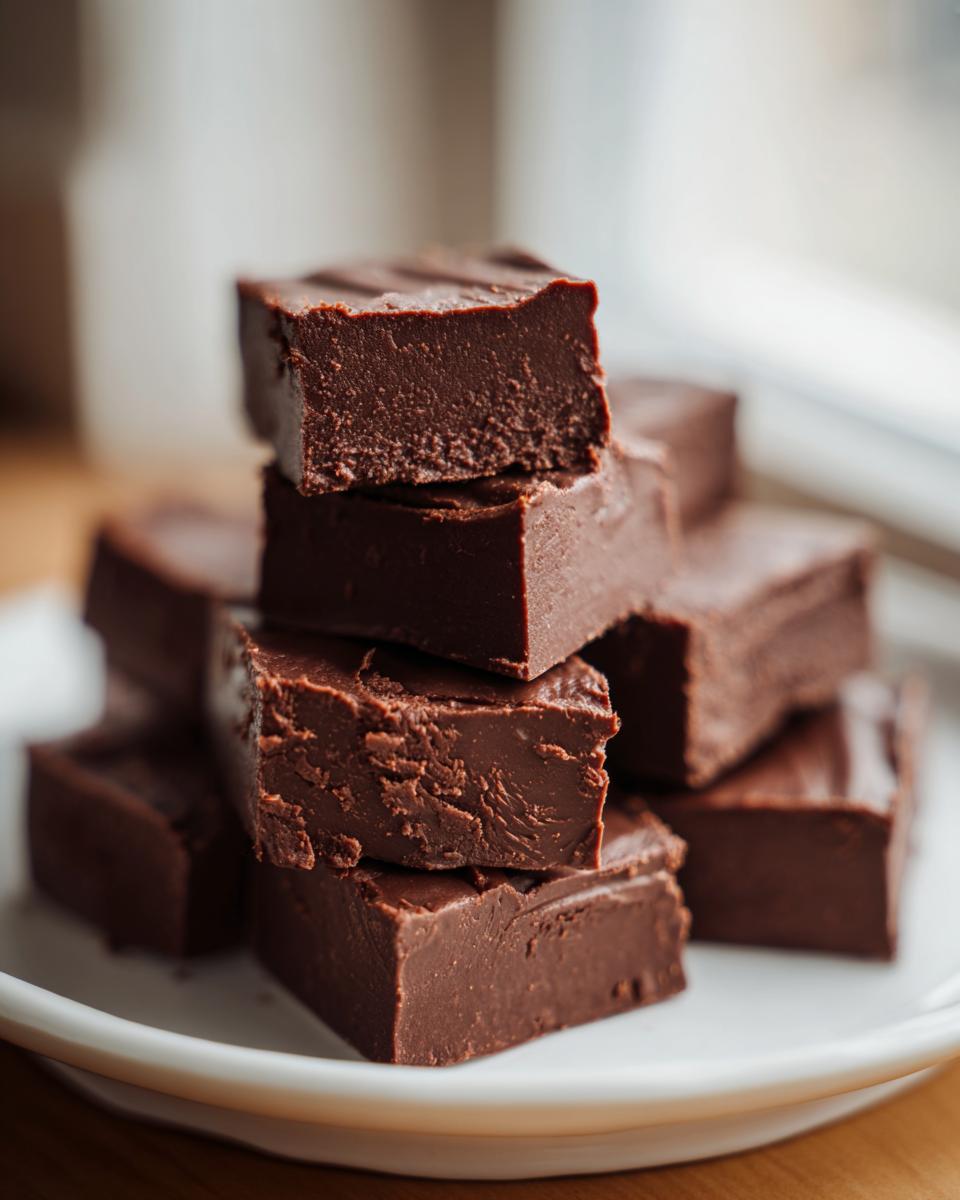
The number one complaint I hear about homemade fudge? Graininess! That sandy mouthfeel is the worst. The reason this recipe bypasses that problem is all down to the sweetened condensed milk. It acts as a stabilizer and emulsifier, binding the melted chocolate perfectly. It creates that beautifully rich and uniform base, guaranteeing you get a consistently creamy fudge dessert every time you try it.
Gather Your Simple Ingredients for Perfect Confections
Okay, before we dive into the magic, let’s get our short list of necessities ready. Remember, the beauty of this quick treat is how few things you need. I always keep these on standby because you never know when you’ll need a sweet moment! You will need one standard 14-ounce can of very specific milk, so don’t grab the evaporated kind!
- One (14 ounce) can sweetened condensed milk—this is our binder!
- One (12 ounce) package of good quality semi-sweet chocolate chips.
- Just a teaspoon of vanilla extract for that warm background note.
If you’re feeling extra sweet, maybe you could whip up a batch of my easy homemade chocolate milk to pair with these squares later!
Step-by-Step Instructions for No Bake Fudge
This is where the speed really shines! We are keeping things super simple because, well, why complicate a great thing? You have three ingredients, a pan, and a microwave. That’s all you need to create phenomenal no bake fudge. Just follow these steps exactly, and you’ll be cutting squares before you know it. Be sure to have your parchment paper ready because once the chocolate melts, things move pretty fast!
Preparing the Pan and Melting the Chocolate Fudge Base
First things first, get organized! Line an 8×8 inch baking pan with a sheet of parchment paper, making sure you leave an overhang on the sides—this acts as a handy little sling to lift the finished candy out later. Give that paper a tiny spritz of non-stick spray or a light grease, which is just extra insurance. Combine your sweetened condensed milk and chocolate chips in a microwave-safe bowl. Now, microwave on medium power, but only for 30-second bursts. Seriously, take it out and stir it well after every single 30 seconds. I stress this because if you blast it on high power, you risk scorching the chocolate, and nobody wants that bitter taste in their homemade chocolate fudge!
Mixing and Setting Your Chocolate Fudge Homemade
Once that mixture is completely smooth—no lumps allowed!—stir in your teaspoon of vanilla extract until it’s all incorporated. That’s it for the mixing! Immediately pour the whole thing into your prepared pan and use a spatula to spread it out evenly. If you’re looking for other quick dessert assembly methods, you might enjoy my recipe for safe edible brownie batter dip. Now, the hard part: patience! You need to refrigerate this in the fridge for a minimum of two hours. When it’s firm enough that you can easily slice through it, you can lift it out using those parchment sling edges and cut it into little simple dessert squares.
Tips for Making the Best Homemade Fudge
So, you have your gorgeous, smooth chocolate fudge homemade sitting cool in the pan. Now, let’s talk about serving and keeping it perfect because we want that creamy fudge dessert quality to last! I picked up a few tricks over the years to make sure my batches are always crowd-pleasers, whether they’re for my family or a gift. Storing this is easy, which is another huge benefit of this specific recipe!
For best results and that perfect sliceable texture, you want to keep the squares in an airtight container. If it’s cool in your house, room temperature is fine, but if you’re making this during the summer or just want that extra firmness for cutting, pop it in the fridge. When you store it, try putting a small piece of wax or parchment paper between the layers of squares. This stops them from sticking together, which is super helpful if you want to stack them for fudge for gifting later.
When it comes time to cut, make sure the fudge is chilled—don’t try to cut it when it’s barely cool, or you’ll just drag the knife and get messy edges. Use a long, sharp knife. If you run the knife under hot water and wipe it dry between cuts, you’ll get the cleanest edges possible. It makes all the difference for presentation!
Troubleshooting Common Issues with Fudge
Don’t stress if things look a little off during the process; sometimes the ingredients don’t cooperate perfectly. If you followed the melting instructions and your mixture is still too stiff to pour, just return it to the microwave for 10-15 seconds at a time. Be gentle, though! If you end up with a slightly grainy texture, it usually means the chocolate overheated slightly. Next time, definitely stick to those 30-second bursts! Once it’s spread in the pan, if you notice one side is sinking a little, just use a small offset spatula to gently nudge it level before you chill it.
If you’re looking for more tips on stabilizing creamy mixtures, maybe check out how I keep my salad dressings from separating—the logic is often similar!
Variations for Your Quick Fudge Ideas
Even though this three-ingredient base is perfect as is, I know you cooks out there love to customize! That’s why I was so thrilled when I realized how easily this recipe adapts. It’s so simple to whip up a special batch for someone who might not love plain dark chocolate. We can move this from just a quick sweet fix to something that feels truly custom made!
- Peanut Butter Swirl: If you’re craving that peanut butter fudge classic flavor, just swap out half of your semi-sweet chips for one cup of creamy peanut butter chips. Stir them in right alongside the vanilla. It makes this rich chocolate candy feel instantly richer! You can find my favorite chewy cookie recipe for comparison here.
- For the Old Fashioned Texture: Many people search for that historical, almost rustic feel. To give this smooth base a chunkier, more traditional bite, stir in about one cup of chopped walnuts or pecans right at the end. Nothing says old fashioned fudge like a good nut crunch! If nuts are your thing, you should check out my recipe for making your own candied pecans.
See? You can tailor this easy fudge recipe to anyone’s taste in minutes!
Serving Suggestions and Storing Your Rich Chocolate Candy
So, you have your gorgeous, smooth chocolate fudge homemade sitting cool in the pan. Now, let’s talk about serving and keeping it perfect because we want that creamy fudge dessert quality to last! I picked up a few tricks over the years to make sure my batches are always crowd-pleasers, whether they’re for my family or a gift. Storing this is easy, which is another huge benefit of this specific recipe!
For best results and that perfect sliceable texture, you want to keep the squares in an airtight container. If it’s cool in your house, room temperature is fine, but if you’re making this during the summer or just want that extra firmness for cutting, pop it in the fridge. When you store it, try putting a small piece of wax or parchment paper between the layers of squares. This stops them from sticking together, which is super helpful if you want to stack them for fudge for gifting later.
When it comes time to cut, make sure the fudge is chilled—don’t try to cut it when it’s barely cool, or you’ll just drag the knife and get messy edges. Use a long, sharp knife. If you run the knife under hot water and wipe it dry between cuts, you’ll get the cleanest edges possible. It makes all the difference for presentation! If you are looking for other great things to package up, you might love my recipe for fudgy date brownies.

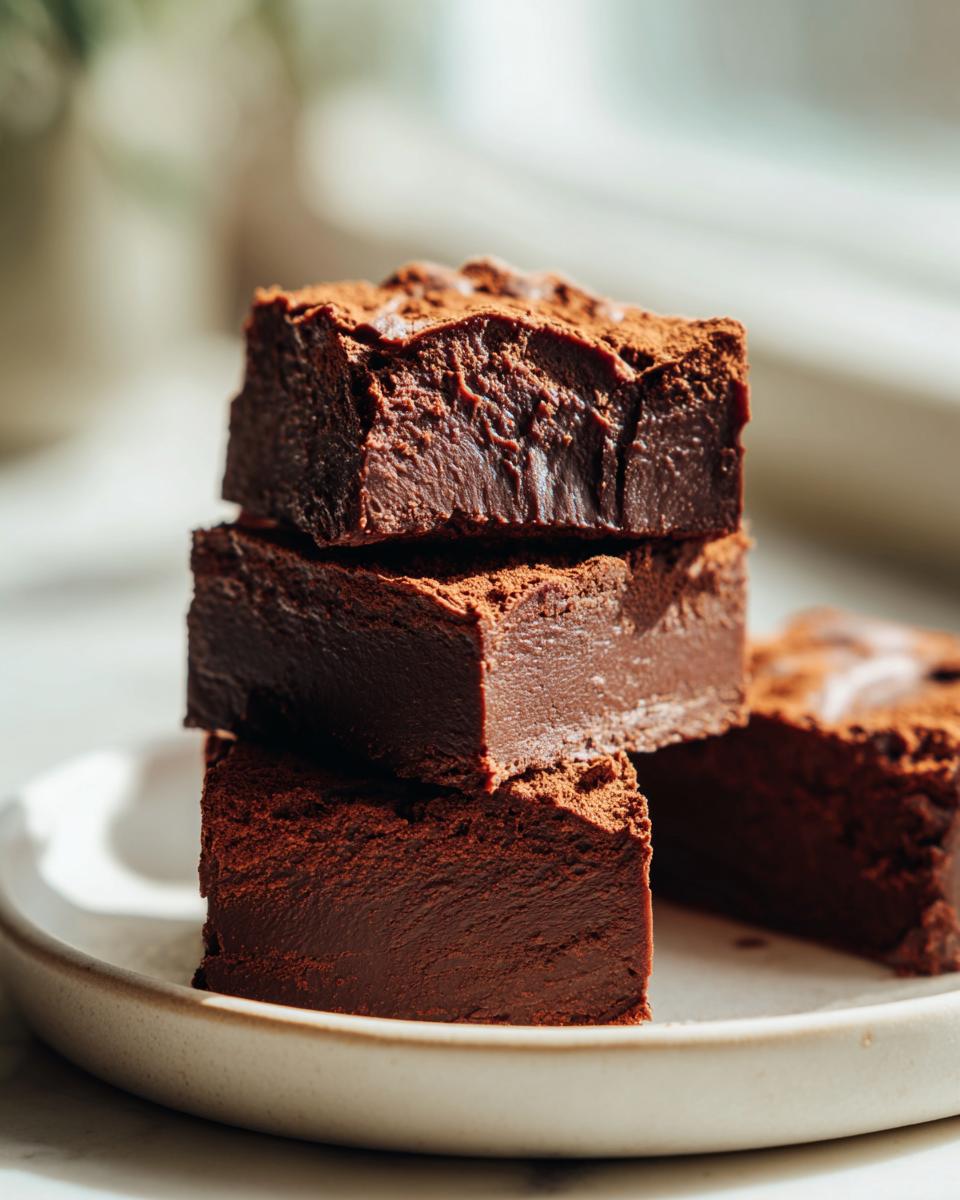
These little chocolate bites look fantastic packaged up in cute tins or tied with a ribbon—they absolutely qualify as beautiful holiday candy recipes, trust me! Just remember they are so rich, you only need a few simple dessert squares per serving.
Frequently Asked Questions About Making Fudge
I’ve answered a few quick things here that pop up all the time when folks try to make this easy fudge recipe for the first time. Don’t worry if you have questions—that just means you’re serious about making the best batch possible!
Can I use dark chocolate instead of semi-sweet in this fudge recipe?
Absolutely! You can definitely swap semi-sweet for dark chocolate chips. Just know that going darker will naturally make your final product a bit less sweet, which is great if you really love that deep, rich chocolate flavor. Feel free to adjust the amount of sugar in whatever variation you try, though this basic recipe doesn’t call for much sugar anyway!
How do I get the smooth texture of ‘melt in your mouth fudge’ if my mixture seems stiff?
If your mixture seems stiff before you add the vanilla, it usually means the chocolate chips weren’t fully melted. Don’t panic! You can put it back in the microwave for short, 10-second bursts, stirring really well each time. You want it completely glossy and pourable. That little bit of extra melting time will help create that wonderful, smooth, melt in your mouth fudge quality.
Is this recipe similar to the famous ‘Fantasy Fudge Recipe’?
That’s a great question! The famous Fantasy Fudge Recipe usually relies on marshmallow fluff or cream to get its texture—it’s a slightly different process. My method here is even simpler because we are focusing only on milk and chocolate to build flavor and structure. This is the simplest approach possible for homemade chocolate candy. If you’re just looking for a quick microwave fudge solution, this one is faster than most of those marshmallow-based recipes!
Estimated Nutritional Data for This Fudge
Now, I always want to be transparent about what we’re eating, even when we’re enjoying something quick and delicious like this no bake fudge. While this recipe is so simple, the nutrition content is based on dividing the recipe into 36 small squares, using the exact ingredients listed.
- Serving Size: 1 square
- Calories: 120
- Sugar: 15g
- Fat: 6g (4g Saturated)
- Protein: 2g
- Carbohydrates: 16g
Just a little note from me: these numbers are based on the standard ingredients I listed. If you use higher-fat chocolate chips or add nuts for an old fashioned fudge version, those totals will definitely change up a bit! Always remember these are estimates for your planning purposes, not strict laboratory analysis!
Share Your Success Making This Simple Dessert Squares
I absolutely love hearing from you all when you try out one of these super quick recipes! Honestly, seeing your pictures and reading about how satisfied you were is why I started Cooking by Felix in the first place. Did you make this easy fudge recipe for a family gathering? Maybe you used it as a quick pick-me-up after a long day? Don’t be shy!
Please take a moment to leave a rating right here on the recipe card—a simple five stars tells me that this 3 ingredient candy truly delivered that smooth, rich experience you were looking for! And if you got adventurous, I genuinely want to know about it. Did you try the peanut butter swirl? Or perhaps you went for the nuts to make it feel like that old fashioned fudge? Tell me everything in the comments below!
If you’re looking for another batch of simple, comforting results, you might want to try my recipe for the best coffee cake next. Happy cooking, friends!
PrintEasy 3-Ingredient Chocolate Fudge: Quick, Creamy, and No-Bake
Make rich, melt-in-your-mouth chocolate fudge using only three simple ingredients. This foolproof, no-bake recipe delivers a smooth texture fast, perfect for holiday candy or quick indulgence.
- Prep Time: 5 min
- Cook Time: 2 min
- Total Time: 2 hours 7 min
- Yield: 36 small squares 1x
- Category: Dessert
- Method: No-Bake
- Cuisine: American
- Diet: Vegetarian
Ingredients
- 1 (14 ounce) can sweetened condensed milk
- 1 (12 ounce) package semi-sweet chocolate chips
- 1 teaspoon vanilla extract
Instructions
- Line an 8×8 inch baking pan with parchment paper, leaving an overhang on the sides for easy removal. Lightly grease the paper.
- In a microwave-safe bowl, combine the sweetened condensed milk and chocolate chips.
- Microwave on medium power in 30-second intervals, stirring well after each interval, until the chocolate is completely melted and the mixture is smooth. This usually takes 1 to 2 minutes total.
- Stir in the vanilla extract until fully combined.
- Pour the fudge mixture into the prepared pan and spread evenly.
- Refrigerate for at least 2 hours, or until firm enough to cut.
- Lift the fudge out of the pan using the parchment paper overhang. Cut into small squares.
Notes
- For a variation, substitute 1 cup of peanut butter chips for half of the chocolate chips to make a simple peanut butter chocolate fudge.
- If you prefer an Old Fashioned Fudge texture, you can stir in 1 cup of chopped nuts (like walnuts or pecans) after melting the chocolate.
- For a quick microwave fudge, use the lowest power setting to prevent scorching the chocolate.
Nutrition
- Serving Size: 1 square
- Calories: 120
- Sugar: 15
- Sodium: 20
- Fat: 6
- Saturated Fat: 4
- Unsaturated Fat: 2
- Trans Fat: 0
- Carbohydrates: 16
- Fiber: 0
- Protein: 2
- Cholesterol: 5