

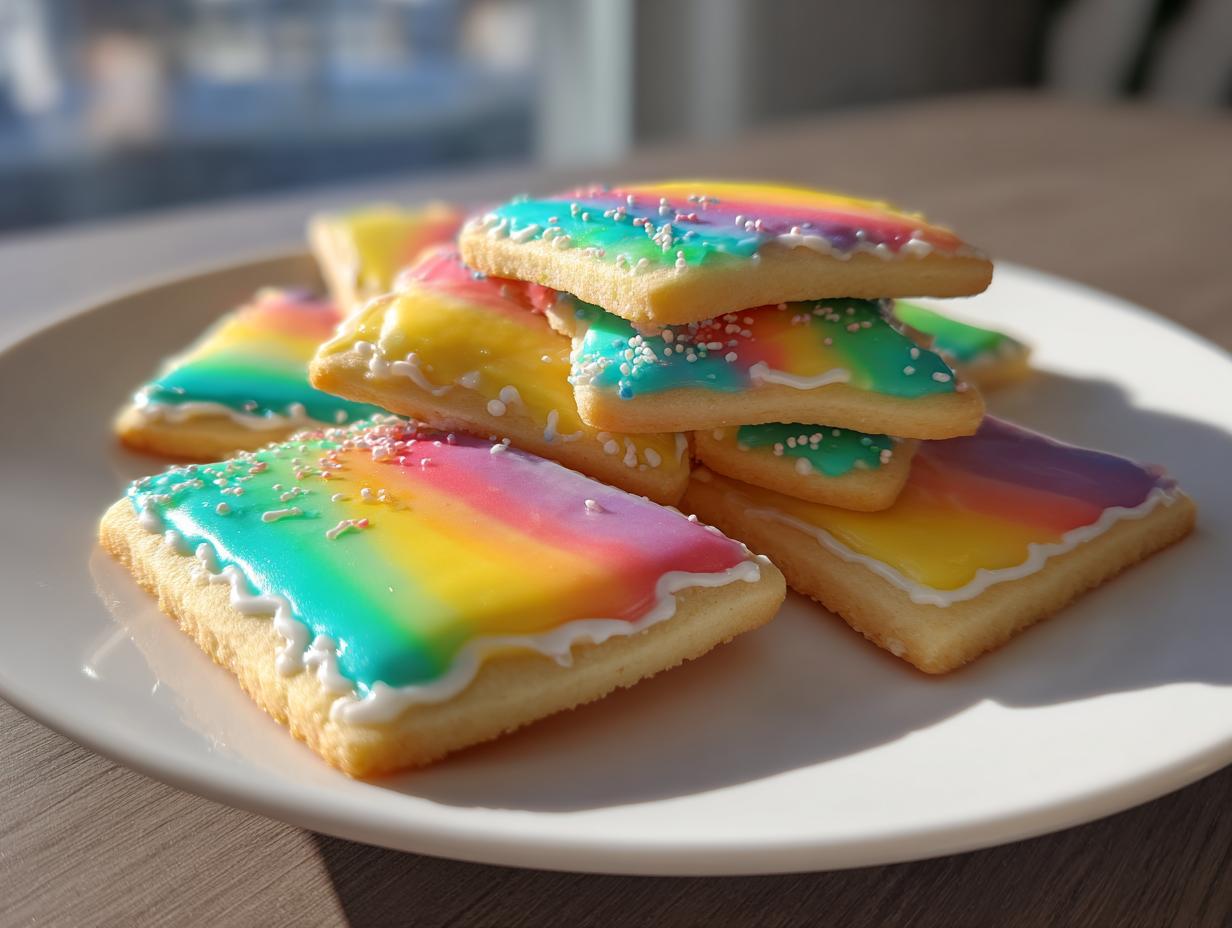
Oh, the absolute frustration of decorating perfect sugar cookies only to watch the icing stay tacky forever! You try to stack them for a cookie swap or package them up as a gift, and BAM—you have an orange-and-pink mess stuck together. Trust me, I’ve been there, juggling career deadlines and wanting that perfect holiday look. That’s why I spent ages perfecting this specific batch of **sugar cookie icing that hardens** completely. This isn’t some runny glaze; this is the reliable, smooth, and firm coating you need for truly professional, stackable results. As someone who learned to balance flavor with limited time in the kitchen, I promise this simple recipe—a longtime favorite of mine—will save your decorated cookie game.
We’re aiming for that beautiful, glossy finish that sets solid so you aren’t worried about smudges anymore. If you want to pair this icing with the perfect base, check out my guide on making the best soft, chewy cut-out sugar cookies. You deserve cookies that look exactly how you planned them!
- Why This is the Best Sugar Cookie Icing That Hardens
- Ingredients for Sugar Cookie Icing That Hardens
- How to Prepare Your Sugar Cookie Icing That Hardens
- Tips for Success with Sugar Cookie Icing That Hardens Completely
- Storage and Reheating Instructions for Icing Recipe for Gift Cookies
- Troubleshooting Common Issues with Powdered Sugar Icing That Dries
- Frequently Asked Questions About Sugar Cookie Icing That Hardens
- Estimated Nutritional Data for This Hard Coating Cookie Icing
- Share Your Perfect Sugar Cookie Icing That Hardens Creations
Why This is the Best Sugar Cookie Icing That Hardens
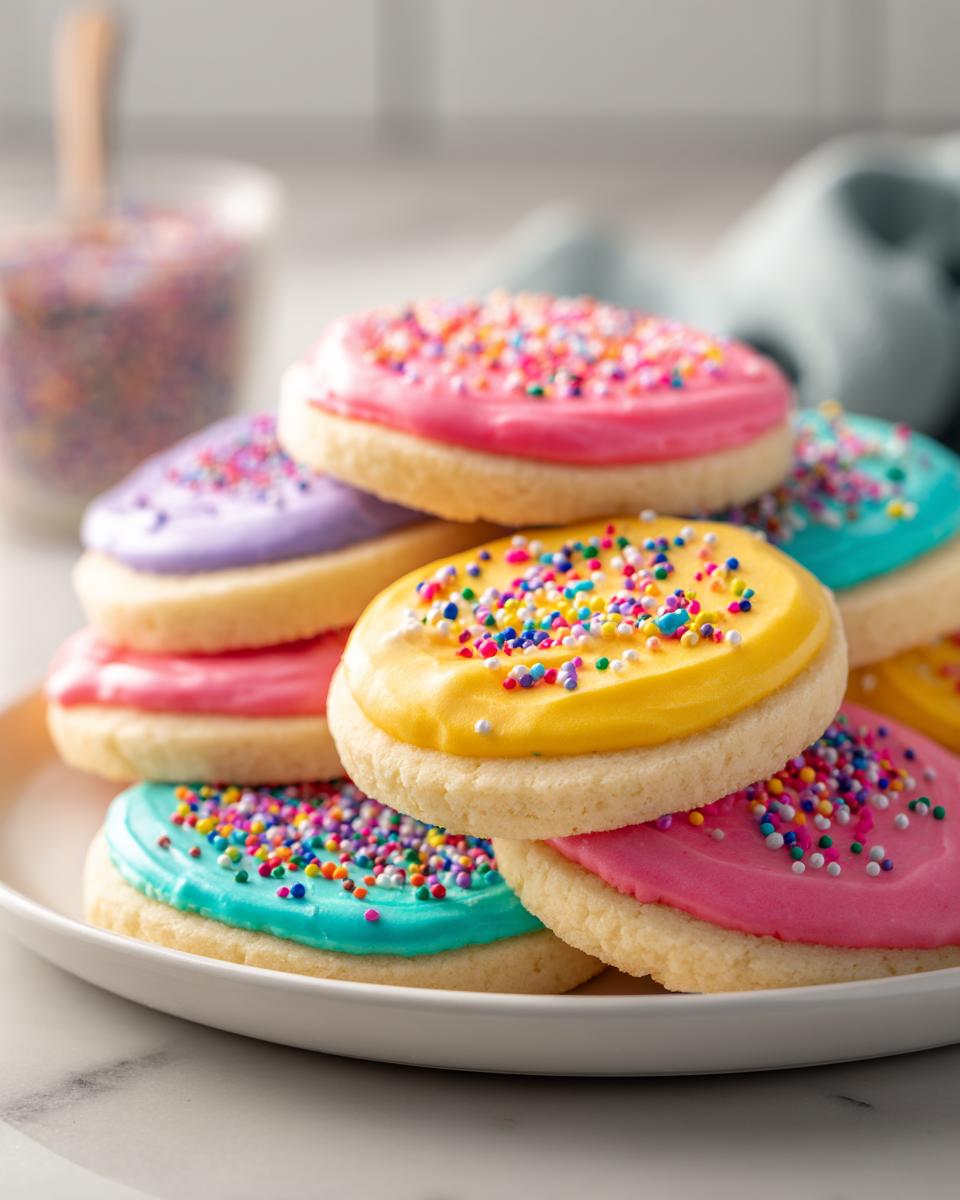
So, why am I so passionate about this exact formula? Because it skips the headache! Unlike simple powdered sugar glazes, this batch is engineered for performance. You get an amazing, **icing that dries hard** every single time. This makes it the ultimate **stackable cookie icing recipe**—perfect for busy holidays when you need to pack things up without a single smear.
- It sets rock solid, so your detailed work stays put!
- It delivers a high-shine, beautiful finish.
- It’s faster and less fussy than traditional royal icing.
When you need decorations that last through shipping or travel, this is the answer. Check out my tips on getting that smooth, hard coating cookie icing look right here.
Achieving a Durable Cookie Decoration Icing Finish
The secret sauce here, honestly, is the light corn syrup. Traditional glaze relies only on sugar and liquid, which often leaves them slightly soft or tacky underneath. The corn syrup acts as a stabilizing agent! It helps create that non-sticky, durable cookie decoration icing finish. This means your cookies are safe for wrapping, stacking, and handling long before you think they are ready.
The Secret to a Glossy Sugar Cookie Glaze
This recipe gives you that professional, high-shine look without needing meringue powder, which feels like a huge commitment sometimes! Because the ingredients mix so smoothly, you get a uniform surface before it even dries. For those intimidated by royal icing, consider this your go-to **royal icing substitute that hardens**. It looks amazing but is way more approachable for a typical Tuesday night baking session.

Ingredients for Sugar Cookie Icing That Hardens
Gathering these few pantry heroes is all you need to make that foolproof icing. The key is getting your powdered sugar sifted first—no lumps allowed! You’ll need sifted powdered sugar, milk (whole milk is fantastic here!), light corn syrup for that magic hardness, and vanilla extract. That’s it! It comes together in about ten minutes, which is a dream when you’re in a decorating rush. You can find my favorite methods for making quick, no-bake desserts using syrups right here on the site!
Ingredient Notes and Substitutions for Hardening Icing
Listen up, if you don’t have milk on hand, water works fine for this specific **sugar cookie icing that hardens**, but milk gives a slightly richer final texture. For the absolute whitest canvas possible, skip the standard vanilla and grab clear vanilla extract—it makes a noticeable difference if you’re aiming for a bright white base coat. Remember, we are keeping moisture low, so using gel coloring instead of liquid coloring is a must when you start adding color!
How to Prepare Your Sugar Cookie Icing That Hardens
Getting this **sugar cookie icing that hardens** ready is all about the mixing technique. If you rush, you get air bubbles that dry into tiny craters, which is definitely not the smooth, professional look we’re chasing. Grab a sturdy whisk and start slow! We want to fully incorporate that powdered sugar with the liquids until everything is silky smooth. Don’t just stir; work it until you see no dry sugar clinging to the sides of the bowl. If you want inspiration for other great frostings, check out my recipe for the best cream cheese frosting recipe; the mixing principles are similar!
Achieving the Perfect Consistency for Flood and Detail Work
This is where the real decorating skill comes in, and it’s easy once you know the test! For flooding—covering the entire cookie surface—you need the perfect *drip* consistency. That means when you lift your whisk out of the bowl, the icing should drip back in and you should be able to draw a number ‘8’ on the surface. If that ‘8’ disappears in under ten seconds, it’s perfect for flooding! If your icing is too stiff for outlining, add milk just a tiny bit at a time until it flows right. If you need it stiffer for those tiny dots or writing details, just whisk in more sifted powdered sugar, one tablespoon at a time, until it mounds nicely on the whisk.
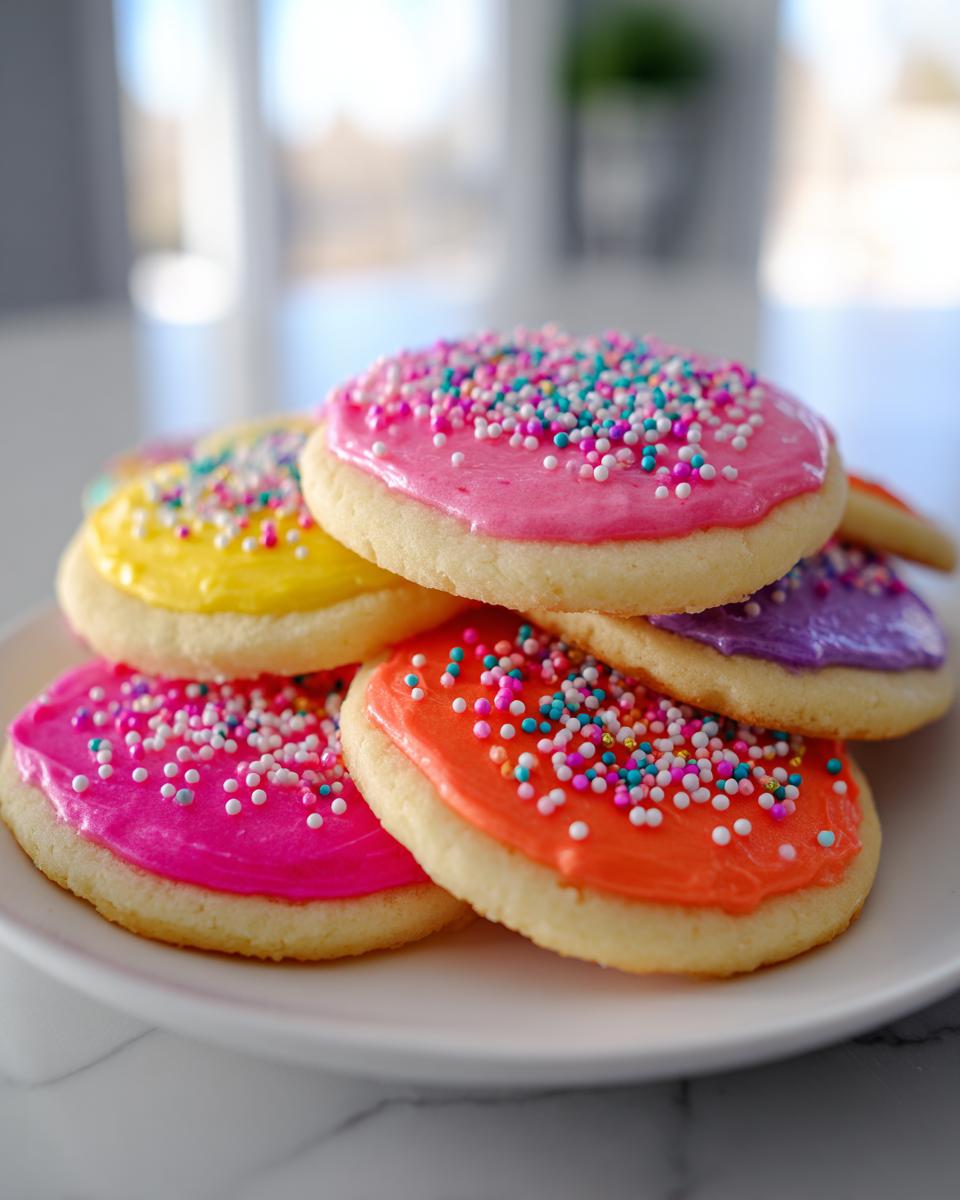
Coloring Your Quick Hardening Icing for Cookies
When you divide your batch to color it, please, please skip the liquid food coloring if you can! Liquid drops add extra water to the mixture, and water hates hard drying. I only use gel food coloring for this. Gel is concentrated, so you get vibrant color payoff without compromising the structural integrity of your **sugar cookie icing that hardens**. A tiny dab goes a long way!
Tips for Success with Sugar Cookie Icing That Hardens Completely
Listen, this fantastic **sugar cookie icing that hardens** needs a little cooperation from the environment, and I learned this the hard way! I remember once trying to decorate gingerbread for a holiday market, and it was practically raining outside. I thought, “It’ll be fine, I have corn syrup!” Nope. The icing stayed tacky for two full days! Humidity is the true enemy of a hard-setting glaze. You absolutely must let your cookies dry in a spot with good airflow, not stuck inside a closed container. Patience is your final ingredient here; don’t rush the setting process!
If you’re looking for more foolproof decorating hacks, check out my guide to the easiest cookie icing recipe for beginners. We cover everything to avoid decorating disasters!
How to Make Sugar Cookie Icing Dry Completely
The magic of getting a **cookie icing sets firm** is airflow and time. Once the icing is on the cookie, resist the urge to move it! Leave them out on a wire rack, uncovered, in the driest room you can find. For that solid, non-smear shell that lets you stack them up, you need to budget at least 6 to 12 hours minimum. Honestly, I always plan for overnight drying when I make big batches destined for gifting. If you want a truly flawless, glossy sugar cookie glaze, overnight is the safest bet. If you are battling damp weather, just know your drying time might double, so check out other tips on hardening if you have a time crunch!
Storage and Reheating Instructions for Icing Recipe for Gift Cookies
It’s rare that I have leftover icing with this recipe because it tastes so good, I just *have* to sneak a taste! But if you do have extra glaze before you’ve colored it, treating it right keeps it usable. Store any leftover **powdered sugar icing that dries** in an airtight container. Now, here’s a trick my mom taught me: press a piece of plastic wrap directly onto the surface of the icing before sealing the lid. This stops a hard crust from forming on top.
If you’ve already colored it, try to use it up in the next day or two, or store it similarly. If it dries out on you, adding a tiny splash of milk or water and remixing usually works for the thicker piping icing. But honestly, for cookies meant for gifting, it’s always best to store the plain, baked cookies in an airtight tin and make this **easy cookie icing recipe for beginners** fresh the day you plan to decorate them. That guarantees the best possible seal!
If you’re curious about making other treats that store well, you have to try my Filipino Cassava Cake; it keeps beautifully!
Troubleshooting Common Issues with Powdered Sugar Icing That Dries
Even with the best recipe, sometimes things go a little sideways, right? When you’re relying on your **powdered sugar icing that dries** to be perfect, a small issue can feel like a huge problem. Let’s tackle the main culprits so you can fix them fast and get back to decorating your beautiful cookies.
If your icing is cracking after it dries, it usually means it was mixed too stiff or you rushed the drying process by putting it near a draft. For cracking, try thinning your next batch just a hair, or let it set overnight in a more stable, room-temperature environment. You can get great tips on creating a durable finish over at Glossy, Hardening Cookie Icing.
Sticky icing is almost always a humidity issue, as I mentioned before! If it’s tacky, it means the sugar isn’t crystalizing properly. Try adding just a tiny bit more sifted sugar or a few drops of the corn syrup to the tacky batch and remixing until it just barely drips off the whisk. If your icing looks dull instead of shiny, you probably added too much liquid (milk or color) during mixing. You can try to save a dull batch by whisking in another *half cup* of sifted powdered sugar, but sometimes, dullness is just the price we pay for baking on a rainy day!
If you want to dive into recipes that handle temperature fluctuations well, you should see how I manage my lemon crinkle cookies—they are surprisingly sturdy!
Frequently Asked Questions About Sugar Cookie Icing That Hardens
I know when you’re ready to decorate, you want answers fast! I’ve collected the most common questions I get about this reliable **sugar cookie icing that hardens** so you can stop worrying and start decorating. I’m happy to confirm that this recipe avoids the raw egg whites sometimes needed for true royal icing, which makes me feel much better when baking for big crowds.
Can I use water instead of milk in this icing that dries hard?
You absolutely can use water! If you swap the milk for water, the **icing that dries hard** might actually set up a tiny bit quicker because water evaporates faster than milkfat. However, I always use milk because it gives the final coat a slightly smoother, richer mouthfeel. Water works in a pinch, though!
How long does it take for this cookie icing sets firm?
This is the big one! It really depends on how thick you apply the glaze and how humid your kitchen is. For a thin flood coat, you might feel it’s set enough in 4 or 5 hours, but for that truly solid, non-tacky shell that defines a **bakery style cookie icing recipe**, you should plan on a full 8 to 12 hours, or just let them sit overnight. Don’t poke it before then!
Is this a true Royal Icing substitute that hardens?
In function, yes! This is a fantastic **royal icing substitute that hardens** because we’re using corn syrup to give it that structure and gloss. It gets beautifully smooth and firm without needing meringue powder or whipped egg whites. It’s sturdy enough for intricate designs and makes a wonderful **durable cookie decoration icing** for all your holiday needs.
If you want to make sure your base cookies are perfect before you even start icing, I have a few great pantry staple recipes you can look at, like my easy cranberry brie bites—simple dishes, maximum flavor!
Estimated Nutritional Data for This Hard Coating Cookie Icing
Now, I know we’re not baking this icing for health benefits, right? It’s sugar cookie icing—it’s meant to be totally delicious! But for those of you who like to keep track, here are the general estimates for this **hard coating cookie icing**. Remember, this is just a rough guide based on the ingredients like powdered sugar and corn syrup, calculated per serving size (which is about 1/4 cup of icing).
- Serving Size: 1/4 cup
- Calories: 180
- Sugar: 45g
- Fat: 0g
- Protein: 0g
This is just an estimate, of course! If you use clear vanilla versus regular, or if you swap the milk for water, those numbers might shift a tiny bit. But honestly, the best way to enjoy this recipe is to focus on making perfect, shiny cookies, not counting the calories!
If you need a lighter side dish to balance out all that wonderful sugar, you should check out my recipe for easy 30-minute applesauce—it’s simple and fresh!
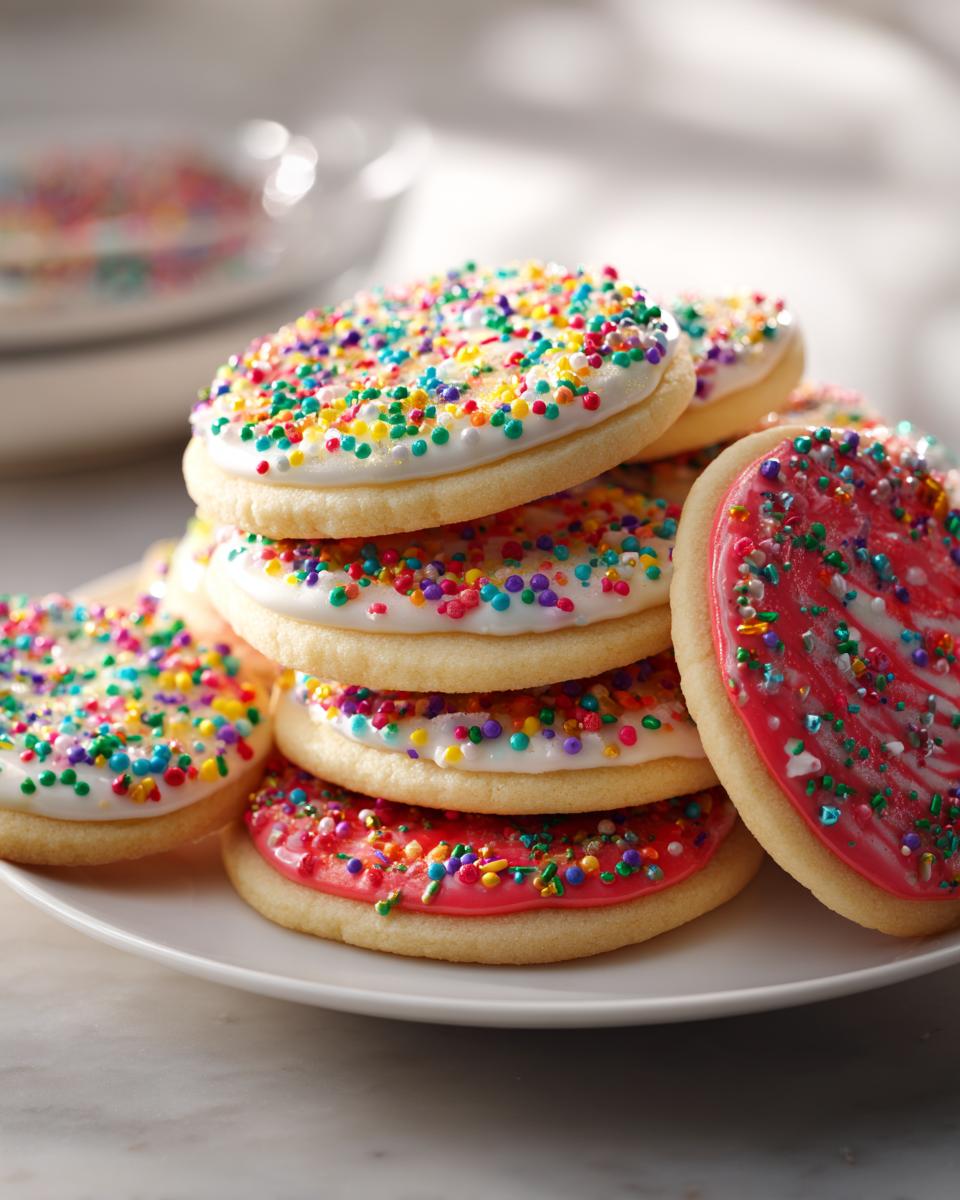
Share Your Perfect Sugar Cookie Icing That Hardens Creations
Okay, now you have the secret to that beautiful, durable coating! That’s the hard part over. I really want to see what you create with this recipe. When you pull out those perfectly decorated cookies—the ones that are glossy, smooth, and totally stackable—please take a picture and share it with me!
Tag me on social media or send me a quick note through the contact page. Knowing that this **sugar cookie icing that hardens** helped you bring your vision to life is the absolute best part of sharing these recipes online. I always love seeing how clever you all are with colors and designs!
If you found this recipe rescued your holiday decorating plans or helped you make gifts that didn’t turn into a sticky mess, please come back and leave a rating below. Happy decorating, and don’t forget to check out what other people are making with this sturdy glaze, like the gorgeous holiday cookies shared over at Emma’s Cake Studio!
PrintFoolproof Sugar Cookie Icing That Hardens Perfectly

Make bakery-style sugar cookie icing that dries hard, smooth, and glossy every time. This easy recipe is perfect for decorating cut-out cookies intended for stacking or gifting.
- Prep Time: 10 min
- Cook Time: 0 min
- Total Time: 10 min
- Yield: Coats about 2 dozen cookies 1x
- Category: Dessert
- Method: No Bake
- Cuisine: American
- Diet: Vegetarian
Ingredients
- 2 cups powdered sugar, sifted
- 3 tablespoons milk (whole or plant-based)
- 1 tablespoon light corn syrup
- 1 teaspoon vanilla extract
- Gel food coloring (optional)
Instructions
- In a medium bowl, combine the sifted powdered sugar, milk, light corn syrup, and vanilla extract.
- Whisk the ingredients together until the mixture is completely smooth and there are no lumps remaining. This is the base consistency for outlining or flooding.
- If you need a thinner consistency for flooding, add milk, 1 teaspoon at a time, until the icing slowly drips from the whisk in a continuous stream.
- If you need a thicker consistency for piping details, add powdered sugar, 1 tablespoon at a time, until the desired stiffness is reached.
- Divide the icing into separate bowls if you plan to use multiple colors. Add gel food coloring to each portion and mix until the color is uniform.
- Apply the icing to your cooled sugar cookies using a piping bag or a spoon.
- Allow the iced cookies to dry completely in a well-ventilated area, away from humidity. For a hard coating, allow 6 to 12 hours, or overnight, until the surface is firm to the touch.
Notes
- For the whitest icing, use clear vanilla extract instead of standard vanilla extract.
- If you notice air bubbles after mixing, gently tap the bowl on the counter several times to release them before decorating.
- Humidity slows down the drying process significantly; avoid making or drying icing on rainy days if possible.
- This icing sets firm, making it ideal for stackable cookie gifts.
Nutrition
- Serving Size: 1/4 cup
- Calories: 180
- Sugar: 45g
- Sodium: 5mg
- Fat: 0g
- Saturated Fat: 0g
- Unsaturated Fat: 0g
- Trans Fat: 0g
- Carbohydrates: 45g
- Fiber: 0g
- Protein: 0g
- Cholesterol: 0mg