

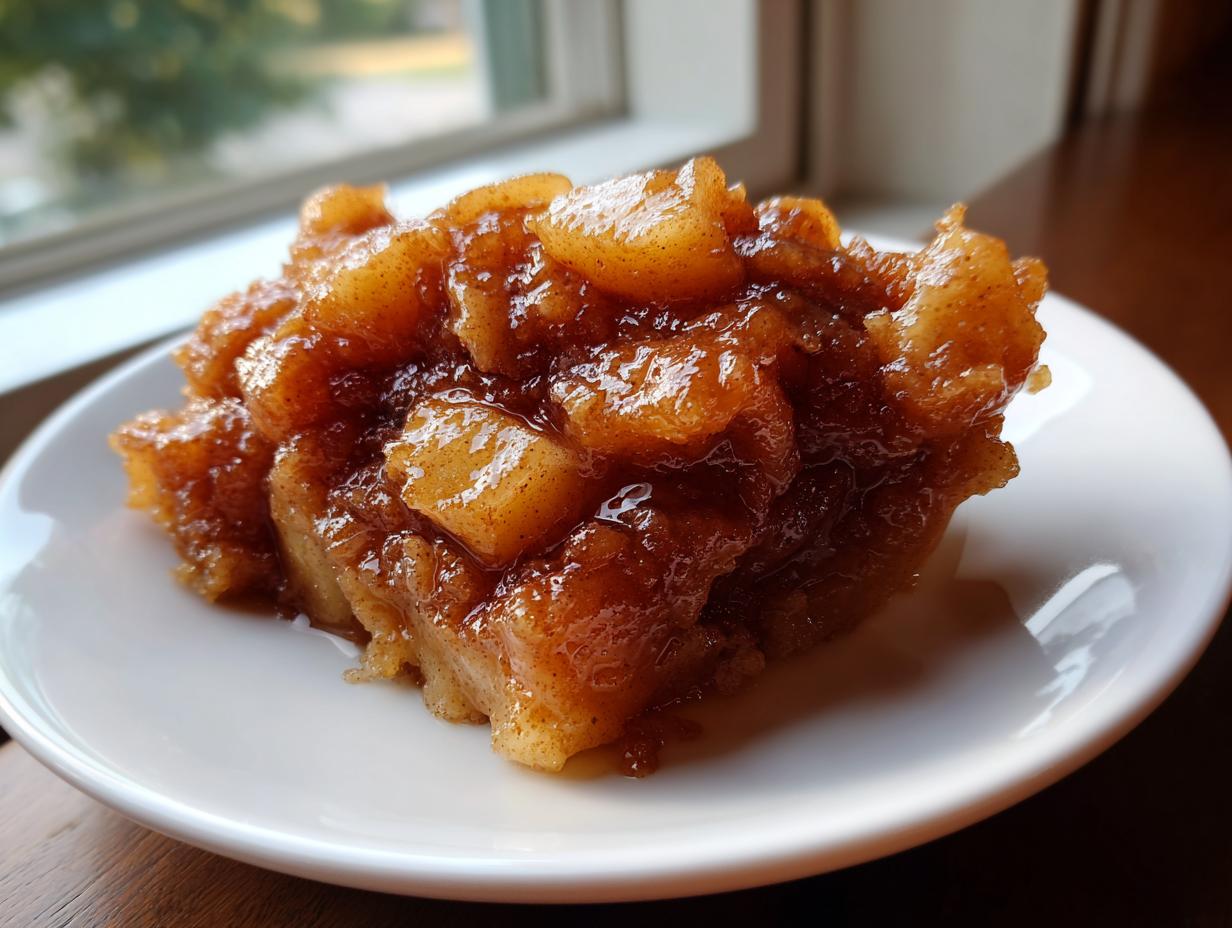
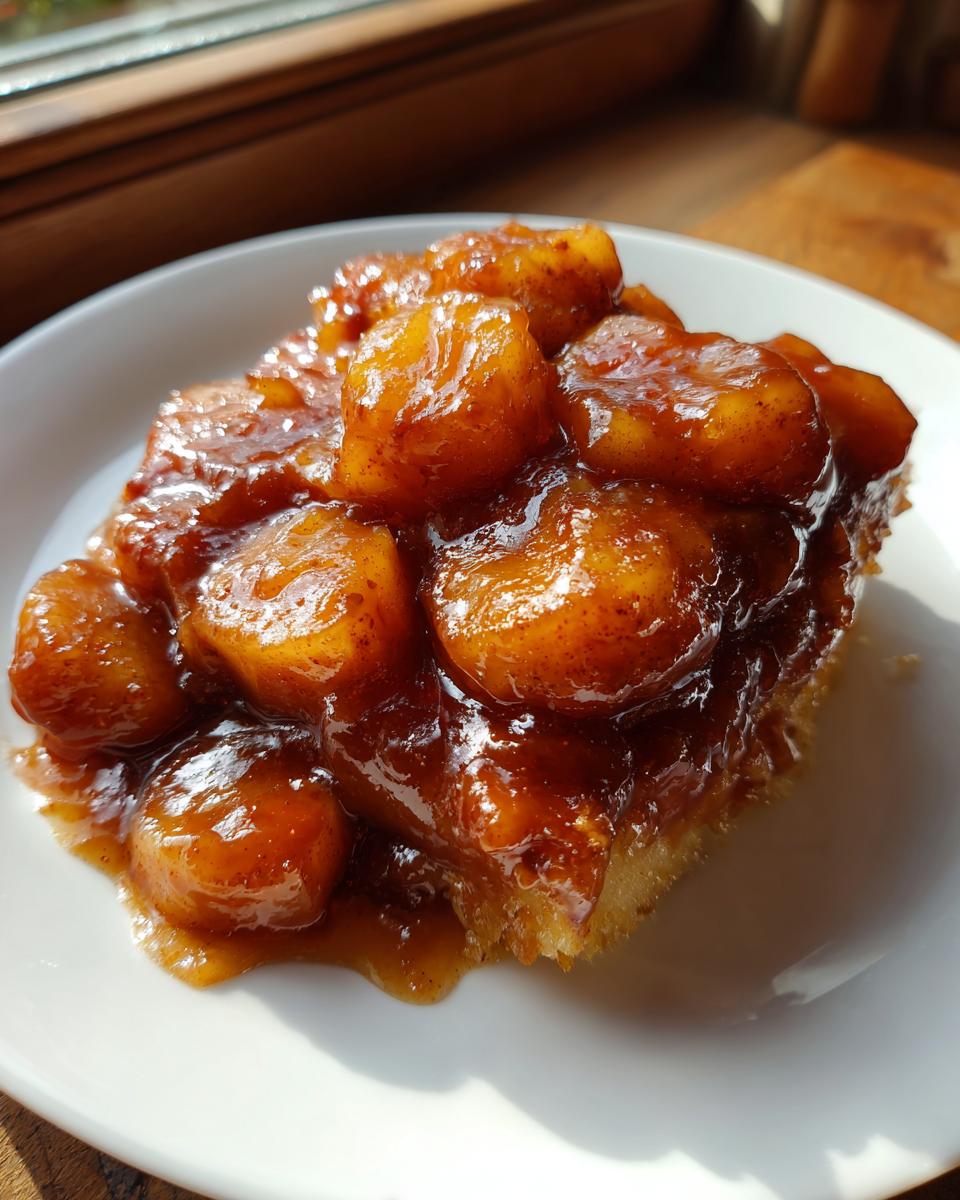
Be honest: have you ever cracked open a can of pre-made apple goo only to be met with sad, mushy slices floating in watery syrup? Ugh, the disappointment is real, especially when you’re craving that perfect taste of fall. Here at Cooking by Felix, I know that balancing a demanding schedule with the desire for real, delicious food is tough. That’s why I perfected this **apple pie filling recipe**. It comes together fast—faster than you think! Mixing fresh ingredients on the stovetop gives you a thick, glossy, intensely flavored filling that will absolutely ruin you for the store-bought stuff forever. Trust me, quality doesn’t have to mean hours in the kitchen, and this recipe proves it. If you want to try another quick seasonal favorite, check out my easy Southern peach cobbler recipe!
- Why This Is The Best Apple Pie Filling Recipe You Need
- Gathering Your Homemade Pie Ingredients
- How to Prepare This Quick Apple Pie Filling
- Tips for Success with Your Apple Pie Filling Recipe
- Versatility: Using Your Homemade Apple Filling Recipe Beyond the Pie
- Storage and Making Ahead with This Apple Pie Filling Recipe
- Frequently Asked Questions About This Spiced Apple Filling
- Nutritional Estimates for Your Homemade Pie Filling
- Share Your Experience with This Apple Pie Filling Recipe
Why This Is The Best Apple Pie Filling Recipe You Need
So why should you toss out that emergency can of filling and make this batch instead? It boils down to three things: speed, flavor, and texture. This recipe is lightning fast—we’re talking about a truly quick apple pie filling that tastes deep and complex.
- It’s ready in about 30 minutes total, making it perfect for weeknights.
- We use brown sugar for that lovely molasses note that store-bought versions totally skip.
- It results in tender slices; we are holding firm against mushy apples!
This foolproof little stovetop creation is destined to become your go-to homemade apple filling recipe, especially when you want to treat yourself to something better than store-bought apple filling.
Achieving That Perfect Thick Apple Pie Filling Consistency
The number one complaint about homemade filling is that it turns soupy in the oven. Nobody wants that! We conquer that easily using cornstarch stirred into the sugars *before* adding liquid. This creates a slurry that acts instantly when heated.
When it hits the heat, that slurry thickens rapidly, coating every single apple slice in a glossy, shimmering sauce. This is how you guarantee a perfect, not runny, texture in your final pie using this sensational apple pie filling recipe. No weird additives needed, just simple pantry work!
Gathering Your Homemade Pie Ingredients
Okay, gathering time! Before we even think about turning on the burner, we need to make sure we have all our ducks in a row. I write my ingredients out like this because I don’t want any mid-cook panic trying to find the nutmeg! Having everything measured out keeps the process smooth, which is crucial when you’re making this **apple pie filling recipe** quickly.
Here is exactly what you’ll need for about 6 cups of filling:
- 6 medium apples (use a mix like Granny Smith and Honeycrisp)
- 3/4 cup packed brown sugar
- 1/4 cup granulated sugar
- 1/4 cup cornstarch
- 1 teaspoon ground cinnamon
- 1/4 teaspoon ground nutmeg
- 1/8 teaspoon ground allspice
- 1/4 cup water
- 2 tablespoons lemon juice
- 2 tablespoons unsalted butter
Don’t forget to check out my recipe for candied pecans if you decide to top your dessert with something crunchy later!
Apple Selection for the Best Apple Pie Filling Recipe
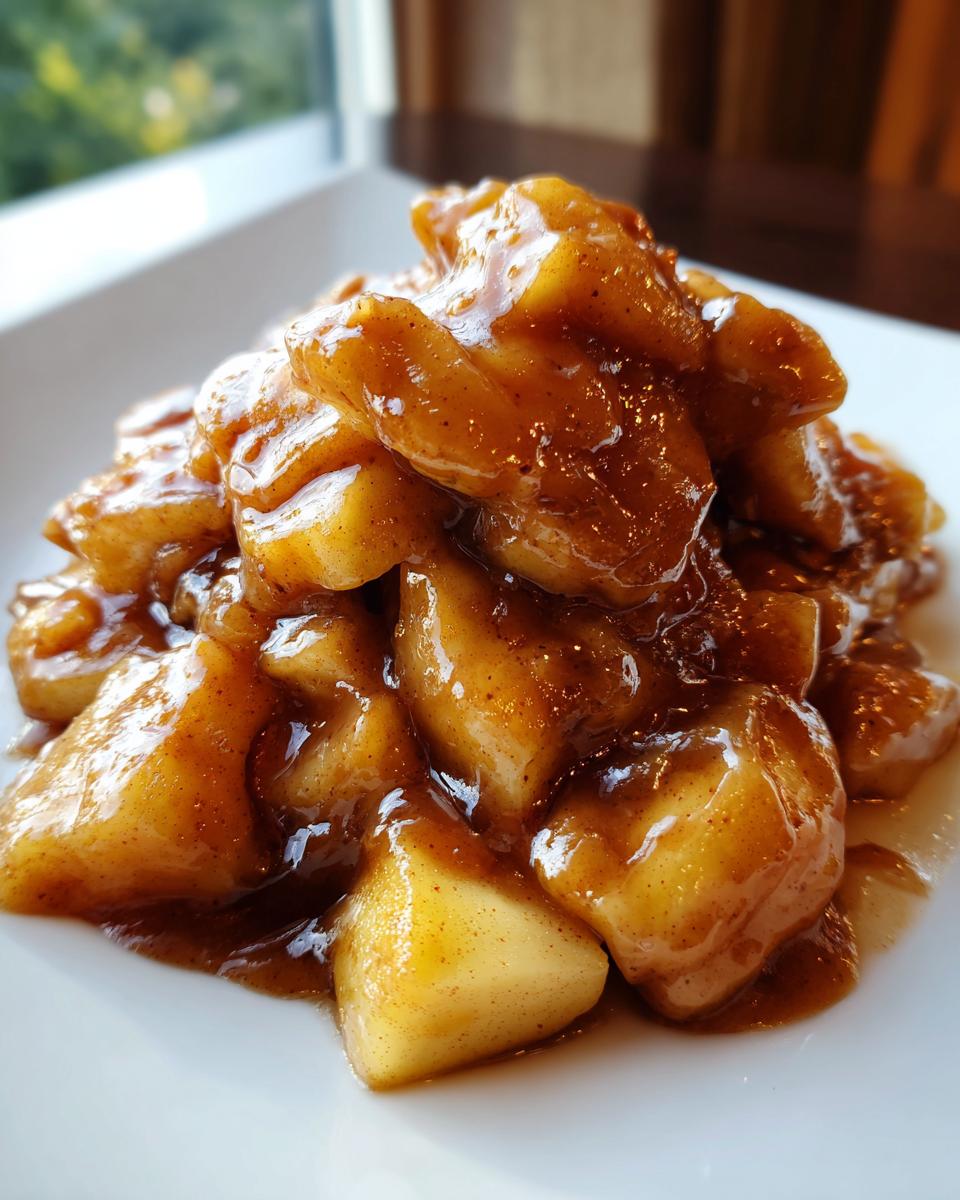
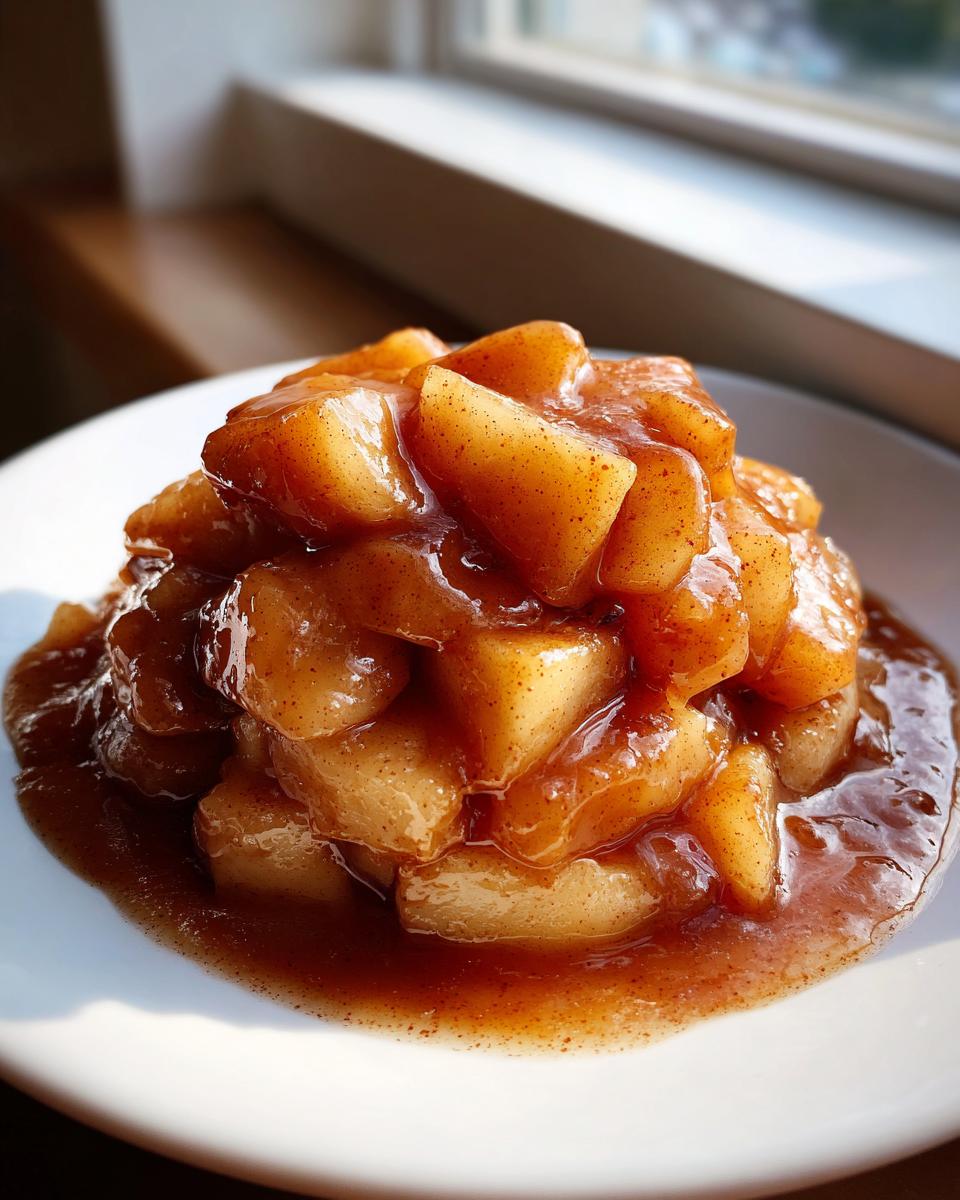
Listen, apple choice is perhaps the most important part of your apple pie filling recipe. If you use all soft apples, you end up with sweet applesauce, and that’s just not what we want! We need structure.
I strongly suggest mixing about half tart apples—Granny Smith is the gold standard—with half sweeter apples like Honeycrisp or Fuji. This mix gives you the perfect flavor harmony while ensuring the slices stay wonderfully tender, but not mushy, even after cooking down for this easy stovetop filling.
How to Prepare This Quick Apple Pie Filling
Alright, time to get messy! Don’t panic about the timing because we are using the stovetop method, which is so much faster than baking the apples inside the crust. This recipe moves quickly, so have your pie dish ready if you plan to use it immediately in a pie shell! The whole cooking process, from slicing apples to having a thick sauce, is usually around 15 minutes. That’s seriously fast for making such amazing homemade pie ingredients.
Once you’re done here, your filling will be warm and ready to go, or you can let it cool down completely before filling that crust. If you want to see an example of someone else’s lovely process, you can check out this guide on homemade apple pie filling with brown sugar recipe!
Step-by-Step Guide for Easy Stovetop Filling
First things first: get those apples peeled and sliced nice and thin, about 1/4 inch! Toss them right away with that lemon juice so they stay vibrant—we want bright apples, not brown ones, in our finished apple pie filling recipe. Now, grab a medium saucepan. Whisk together ALL your dry stuff—both sugars, that cornstarch, cinnamon, nutmeg, and allspice. Seriously, mix that until there are zero lumps of anything.
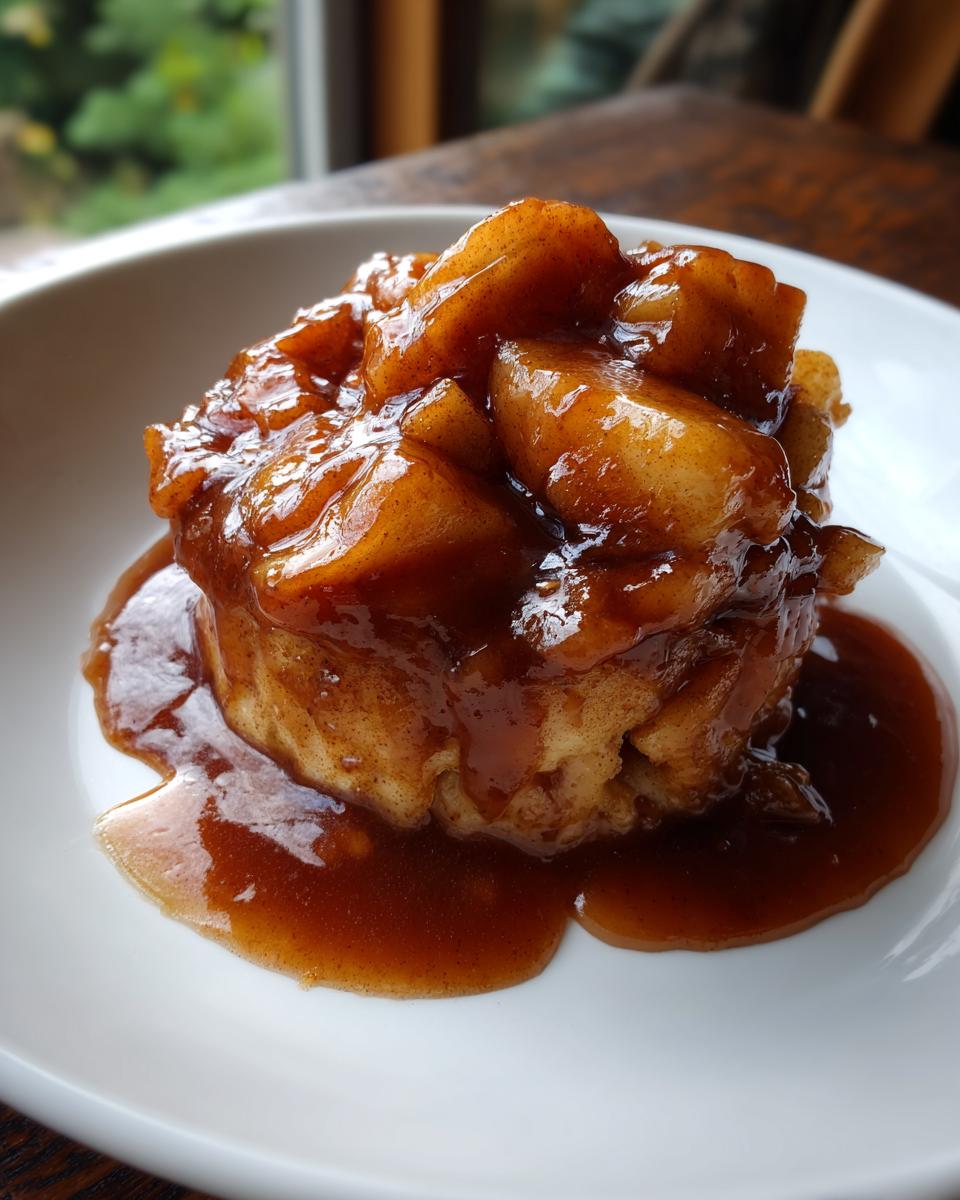
Then, add the water and whisk it smooth again! This is your thickener base. Now, toss in all those lemon-kissed apple slices and mix well so they get coated in that sugary spice blend. Cook it over medium heat, stirring constantly. You are looking for that moment, usually around the 5 to 8-minute mark, when it starts bubbling gently and you can really see the sauce thickening up and getting glossy. Once it’s thick, take it off the heat immediately and stir in the two tablespoons of butter. That final pat of butter makes everything look luxurious and rich. Let it cool down a bit before assembling your actual pie!
Tips for Success with Your Apple Pie Filling Recipe
I’ve made this recipe so many times I practically dream in cinnamon and brown sugar, so let me share a couple of things I learned the hard way. The biggest tip for getting that tender apple slice in your finished apple pie filling recipe is refusing to overcook it on the stovetop! You only cook it until it’s *beginning* to thicken; it finishes cooking inside the pie crust. If it looks done on the stove, it will be mush in the oven.
Also, don’t skip that cooling time! If you pour hot, even slightly warm, filling into a cold pie crust, you risk steaming the bottom crust, making it soggy. Let this spiced apple filling cool down for at least 20 minutes so that cornstarch can fully set up. If you want more ideas on using this, check out my easy classic French apple tart recipe—it uses the same base!
Versatility: Using Your Homemade Apple Filling Recipe Beyond the Pie
You went to all the trouble of making this incredible apple pie filling recipe; why stop at just a pie? Honestly, some days I make a batch just to eat it warm with a spoon!
This sweet, spiced apple mix is unbelievably versatile. It’s just as amazing dumped over a stack of my fluffy old-fashioned buttermilk pancakes for a weekend brunch. It works perfectly as the base for a quick crisp or crumble—just top with oats and butter and bake until bubbly!
My favorite non-pie use so far is spooning it warm over a scoop of homemade banana ice cream. It’s instant comfort food, and you’re using up every last bit of that amazing homemade apple filling recipe!
Storage and Making Ahead with This Apple Pie Filling Recipe
One of the best parts about using the stovetop method for this apple pie filling recipe is how wonderful it is for meal prep. You absolutely do not need to use this all at once! It stores beautifully, so you can make a double batch now and save some for colder weather.
If you are refrigerating it, make sure it cools down completely first. Pop it into an airtight container, and it will stay delicious in the fridge for about 5 days. Great for topping waffles later! For long-term storage, this freezer friendly apple filing is a lifesaver. Transfer the cooled filling to a heavy-duty freezer bag or container, leave about an inch of headspace, and it freezes perfectly for up to three months.
Canning Apple Pie Filling Safely
Now, if you truly want to stock up, you can absolutely can this apple pie filling recipe for pantry storage, which is so satisfying! Because apples are high in acid, it’s generally considered a safe home canning project, but you must be disciplined about it.
Here’s my big caveat: I never mess around with canning safety. You absolutely must follow tested, current guidelines from reliable sources like the USDA for processing times. Don’t trust old jars or handwritten family notes for canning! Just look up the established water bath method for high-acid fruit fillings, and you’ll be set.
Frequently Asked Questions About This Spiced Apple Filling
I know you might have a few little things you want to tweak, and that’s totally fine! This cinnamon apple filling is adaptable, but stick close to the sugar ratios for the best texture. Here are some things folks ask me all the time when they are trying out this pie filling from scratch.
Can I use apples straight from the grocery store bag?
You absolutely can, but please don’t use apples that are already sliced up in syrup or juice! For the best results in this spiced apple filling, you need to peel, core, and slice your fruit yourself. That way, you control the thickness—I stick right around 1/4 inch—and you get that essential pre-toss with lemon juice.
What if I don’t have nutmeg or allspice?
Oh, don’t sweat it! If you don’t have nutmeg or allspice on hand, just lean harder into the cinnamon. The cinnamon is the star here for that lovely autumn scent. You can easily double the cinnamon and skip the others if you need to, though the allspice does add a nice little background warmth to the brown sugar apple filling. It’s still going to be delicious comfort food dessert!
How do I make this apple filling recipe less sweet?
That’s easy to manage! Since you have both brown and white sugar listed for this homemade apple filling recipe, just cut the granulated sugar down to just 1 tablespoon, or even skip it entirely if your apples are very sweet already. The brown sugar is important for color and depth, so keep most of that in, but cutting white sugar helps lower the overall sweetness for any baking with apples project.
Can I use frozen apples instead of fresh?
I really don’t recommend it, sweetie. Frozen apples release way too much water when they thaw and heat up, and you’ll end up with that soupy mess we worked so hard to avoid in this quick apple pie filling! Stick to firm, fresh fruit for the best texture.
Nutritional Estimates for Your Homemade Pie Filling
Now, you know my philosophy: food should taste amazing first! But because we’re using real ingredients like brown sugar and fresh fruit, it’s good to have a ballpark idea of what’s in our delicious apple pie filling recipe. These numbers are just estimates, though, so your actual counts might look a little different depending on the apples you choose!
- Serving Size: 1 cup
- Calories: 280
- Sugar: 55g
- Fat: 3g
- Carbohydrates: 65g
Remember, since we are making this filling from scratch, the final numbers are always going to be cleaner than grabbing something pre-made off the shelf!
Share Your Experience with This Apple Pie Filling Recipe
Whew! Now that you’ve got the absolute best **apple pie filling recipe** bubbling away on your stove, I’m officially handing the whisk over to you. I truly, deeply hope you love how bright and incredibly flavorful this turned out compared to those sad, store-bought cans!
I’ve put my heart into making this simple, fast, and delicious, and now I want to hear all about your success! Did you use it to make the flakiest double-crust pie you’ve ever baked? Did you spoon it over my vanilla ice cream just for a snack? Or maybe you got really ambitious and tried it in one of my easy pumpkin pie crusts?
Please take a moment to scroll down, give this recipe a solid 5 stars if it saved your dessert dreams, and leave a comment telling me exactly what you created with your fresh batch of **apple pie filling recipe**! If you snap a photo of your masterpiece—whether it’s a pie, a crisp, or just a bowl of deliciousness—I’d be thrilled if you tagged me on social media. Happy baking, friends!
PrintEasy Homemade Apple Pie Filling Recipe
Make thick, flavorful apple pie filling on the stovetop using brown sugar and warm spices. This recipe tastes better than store-bought and works well for pies, crisps, or as a topping.
- Prep Time: 15 min
- Cook Time: 15 min
- Total Time: 30 min
- Yield: About 6 cups filling 1x
- Category: Dessert
- Method: Stovetop Cooking
- Cuisine: American
- Diet: Vegetarian
Ingredients
- 6 medium apples (use a mix like Granny Smith and Honeycrisp)
- 3/4 cup packed brown sugar
- 1/4 cup granulated sugar
- 1/4 cup cornstarch
- 1 teaspoon ground cinnamon
- 1/4 teaspoon ground nutmeg
- 1/8 teaspoon ground allspice
- 1/4 cup water
- 2 tablespoons lemon juice
- 2 tablespoons unsalted butter
Instructions
- Peel, core, and slice the apples into 1/4-inch thick pieces. Place the slices in a large bowl and toss them with the lemon juice to prevent browning.
- In a medium saucepan, whisk together the brown sugar, granulated sugar, cornstarch, cinnamon, nutmeg, and allspice until combined.
- Add the water to the dry mixture and whisk until smooth.
- Add the apple slices to the saucepan. Stir gently to coat the apples evenly with the sugar and spice mixture.
- Cook over medium heat, stirring often, until the mixture begins to bubble and thicken. This usually takes 5 to 8 minutes.
- Once the filling is thick and glossy, reduce the heat to low. Stir in the butter until it melts completely.
- Remove the pan from the heat. The filling will thicken more as it cools. Let it cool for at least 20 minutes before using it in your pie crust or dessert.
Notes
- For the best texture, avoid overcooking; you want tender slices, not mush.
- This filling is freezer friendly; cool completely, then store in an airtight container for up to 3 months.
- If you plan to can this apple pie filling, follow proper safe canning procedures for high-acid foods.
- Use a mix of tart and sweet apples for the best flavor balance in your baking recipes.
Nutrition
- Serving Size: 1 cup
- Calories: 280
- Sugar: 55
- Sodium: 5
- Fat: 3
- Saturated Fat: 2
- Unsaturated Fat: 1
- Trans Fat: 0
- Carbohydrates: 65
- Fiber: 3
- Protein: 0
- Cholesterol: 8