

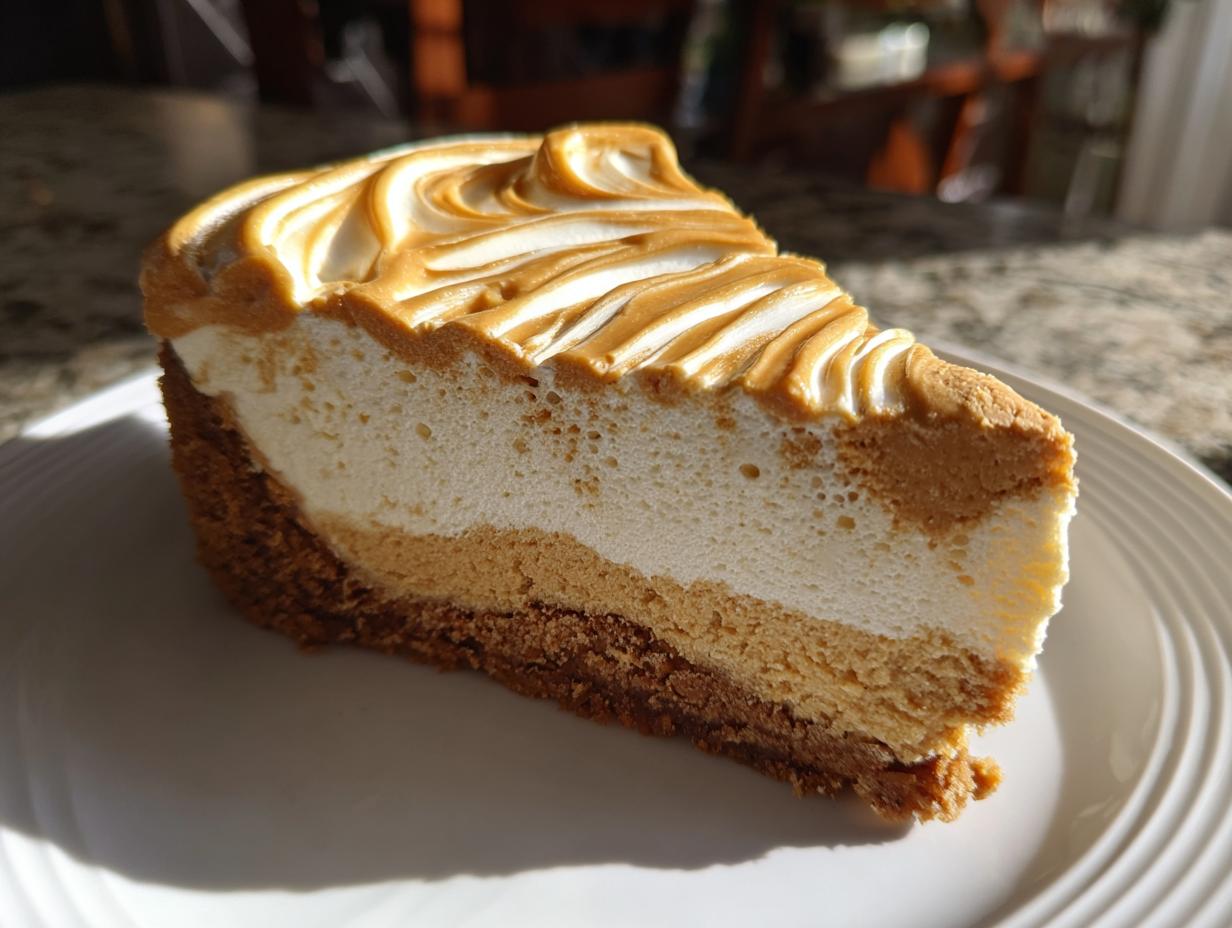
If you’re anything like me, Felicia, you love the idea of a rich, show-stopping dessert, but the thought of a fussy, hot oven after a long day—or worse, a cracked top—just throws you right off your game. I totally get it! That’s why I’m bringing you the ultimate answer for decadent results without the stress: the **No-Bake Biscoff Cheesecake**. This isn’t just some quick fix; it’s a seriously creamy, flavor-packed delight built for the modern cook. It uses crushed spiced cookies and luscious cookie butter to give you that indulgent flavor profile everyone craves, all while keeping the oven completely off. This creation honors the promise of Cooking by Felix: maximum flavor intensity balanced perfectly with your busy schedule.
If you need more simple, quick treats for those busy weeknights, you should absolutely check out my collection of simple, delicious desserts!
- Why This No Bake Biscoff Cheesecake is Your New Favorite Dessert
- Gathering Ingredients for Your Lotus Biscoff Cheesecake
- Step-by-Step Instructions for the Easy Biscoff Cheesecake
- Tips for Success with Your Biscoff Cheesecake Recipe
- Variations on the Classic Biscoff Cheesecake
- Serving Suggestions for Your Decadent Cheesecake Recipes
- Storage and Reheating for Your Biscoff Cheesecake
- Frequently Asked Questions About Making Biscoff Cheesecake
- Share Your Experience Making This Biscoff Cheesecake
Why This No Bake Biscoff Cheesecake is Your New Favorite Dessert
Honestly, who has time for all that fuss? This **Easy Biscoff Cheesecake** is my secret weapon when company is coming last minute or when I just need a little pick-me-up. The best part? Zero baking required! That means everything stays cool, calm, and collected, which is exactly how I want my kitchen to feel.
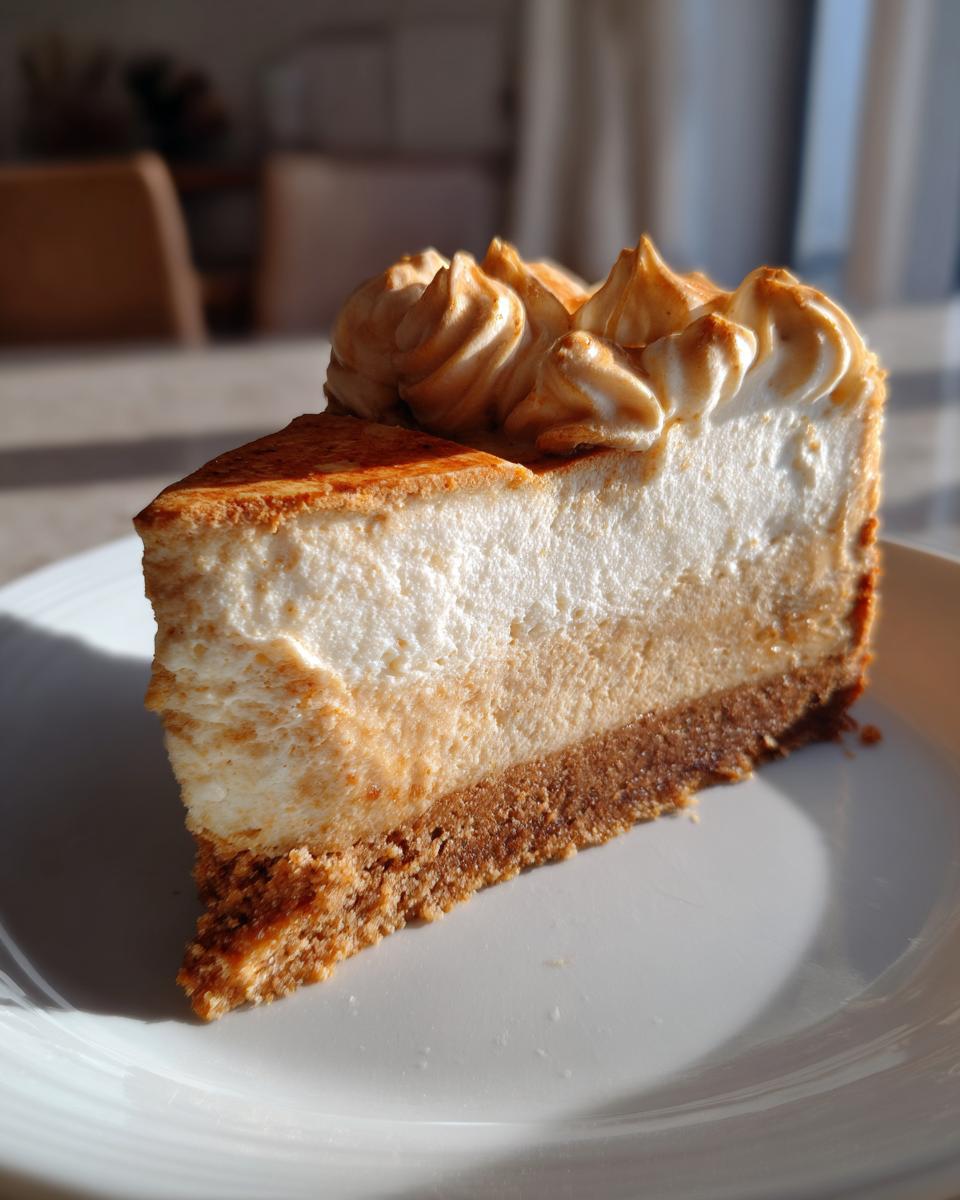
What makes this stand out is the texture. We achieve that incredibly smooth, luxurious ribbon effect—what I call a truly **Velvety Cheesecake Texture**—just by using cold cream that whips up beautifully. It truly is a **Creamy Biscoff Dessert** that tastes like you slaved away for hours. Plus, it’s always a total crowd pleaser; everyone goes wild for that warm, spiced crunch. If you want more simple, impressive failsafes, check out my guide to easy ways to make fudge—sometimes simplicity wins!
Gathering Ingredients for Your Lotus Biscoff Cheesecake
Okay, before we even think about mixing, let’s get our players lined up! Since this is a no-bake recipe, the quality and temperature of your ingredients matter a ton. You need things like cream cheese fully softened—get that out about an hour early, please! And make sure that heavy whipping cream is ice cold, that’s key for getting those stiff peaks.
Here’s exactly what we need for this show-stopping **Lotus Biscoff Cheesecake**:
- 1 1/2 cups Biscoff cookie crumbs (that’s about 25 cookies, crushed up nicely)
- 6 tablespoons unsalted butter, melted
- 16 ounces cream cheese, softened!
- 1 cup powdered sugar
- 1 teaspoon vanilla extract
- 1 cup heavy whipping cream, cold
- 1/2 cup Biscoff cookie butter, softened, plus more for topping
- 1/4 cup Biscoff cookie butter, melted (for that beautiful swirl and final drizzle)
Step-by-Step Instructions for the Easy Biscoff Cheesecake
Alright, let’s get down to business! Since this is a no-bake situation, the assembly goes super fast—which is wonderful—but that means you need to have everything ready to go. Don’t blink, or you might miss a step, but don’t rush the mixing! We’re going for perfection here, folks.
If you want to see this recipe turned into adorable little bites, check out my recipe for cookie butter cheesecake cups. Sometimes smaller is just better, right?
Creating the Biscoff Crust Cheesecake Base
First things first: that crust! Grab your melted butter and mix it right into those Biscoff cookie crumbs. You want it looking like wet sand—perfectly coated. Press that mixture firmly into the bottom of your 9-inch springform pan. I swear by using the bottom of a measuring cup to really pack it down tight. That solid foundation is what makes this a sturdy **Biscoff Crust Cheesecake**. Pop that pan straight into the freezer while you whip up the magic filling!
Assembling the Creamy Biscoff Dessert Filling
Now for the smooth part, which is where we earn that incredible **Velvety Cheesecake Texture**. Start by beating your softened cream cheese alone until it’s completely silky—no lumps allowed! Then, slowly stream in the powdered sugar and vanilla. Once that’s blended, whip your heavy cream separately until you have stiff peaks. Gently, *gently*, fold that whipped cream into the cream cheese base. Think delicate scooping motions. Finally, fold in that lovely softened cookie butter until the mixture is one uniform color. We don’t want to deflate all that air we just built up!
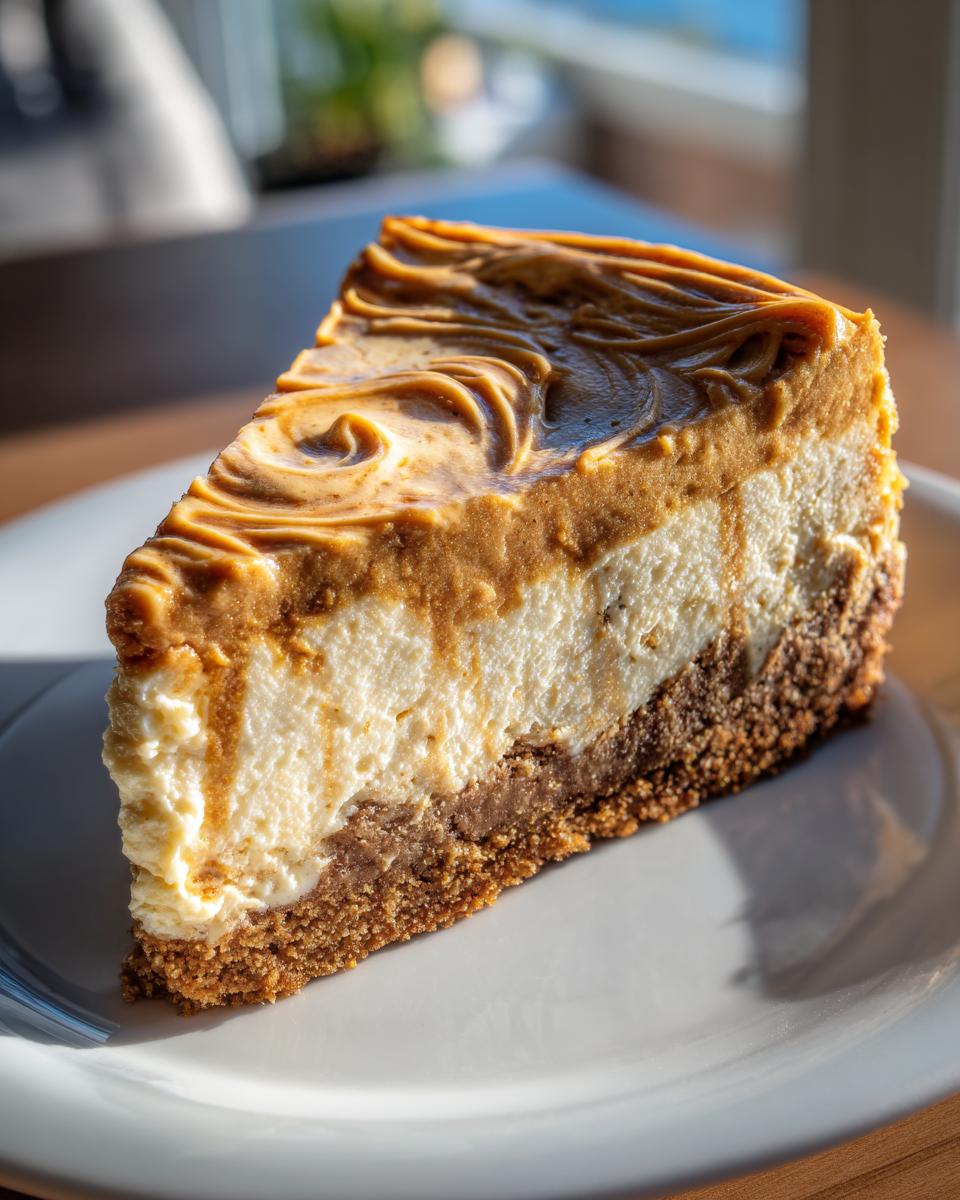
Swirling and Chilling the Biscoff Cheesecake
Pour that glorious filling right over your chilled crust and give the top a quick smooth swipe with a spatula. Here comes the fun part! Drizzle your melted cookie butter across the top. Grab a knife and gently drag it through the top layer to create those gorgeous swirls—don’t go too deep! Then you have to be patient, which is always the hardest ingredient. This needs at least 6 hours in the fridge, but seriously, don’t fight me on this: leave it overnight! That resting time is vital for a perfect **No Bake Biscoff Cheesecake** that sets up beautifully.
Tips for Success with Your Biscoff Cheesecake Recipe
Making a great no-bake dessert relies on a couple of key physics tricks, so pay attention here, and you’ll nail this every single time! Remember Rule Number One? Room temperature cream cheese. If it’s cold, you’ll end up with tiny cream cheese lumps, and we absolutely cannot have those in our slice of heaven.
Also, when you’re whipping that heavy cream, make sure your bowl and whisk attachment are spotless and cold. That helps you get those stiff peaks quickly. Once those peaks are firm, fold that cream into the cheese mixture super gently; that’s what keeps the whole thing light and airy, not heavy and sad.
The biggest selling point for this **Easy Biscoff Cheesecake**, though, is that it loves to be made ahead. It actually tastes better on day two! This makes it one of my favorite make ahead desserts for busy weeks. You literally do less work on party day!
Variations on the Classic Biscoff Cheesecake
I love that you’re looking to play with this recipe! While I swear by the classic presentation, sometimes you need options, especially when you’re feeding a crowd or just feeling a little adventurous. Since this is such a simple base, adapting it is a breeze!
One of the best ways to change things up is moving away from the big springform pan. Have you considered making easy cheesecake bites? If you line a standard muffin tin with those cute paper liners, you can pour the filling right in. It cuts down the chilling time significantly!
Another fun trick, especially if you’re making this when the leaves start turning colors, is beefing up the crust flavor. The Biscoff cookies already have that warm spice, but you can lean into it more heavily.
Spiced Crust for a Fall Dessert Recipes Vibe
You know how much I love leaning into those warm spices, right? For a real **Fall Dessert Recipes** feel that complements the cookie butter beautifully, try mixing about half a teaspoon of ground cinnamon and a tiny pinch of ground cloves right into your Biscoff crumbs before you add the melted butter. It just adds this cozy layer of flavor underneath all that creamy goodness. Don’t overdo the spice, though; we still want the Biscoff flavor to shine through! It’s just a little wink to the season.
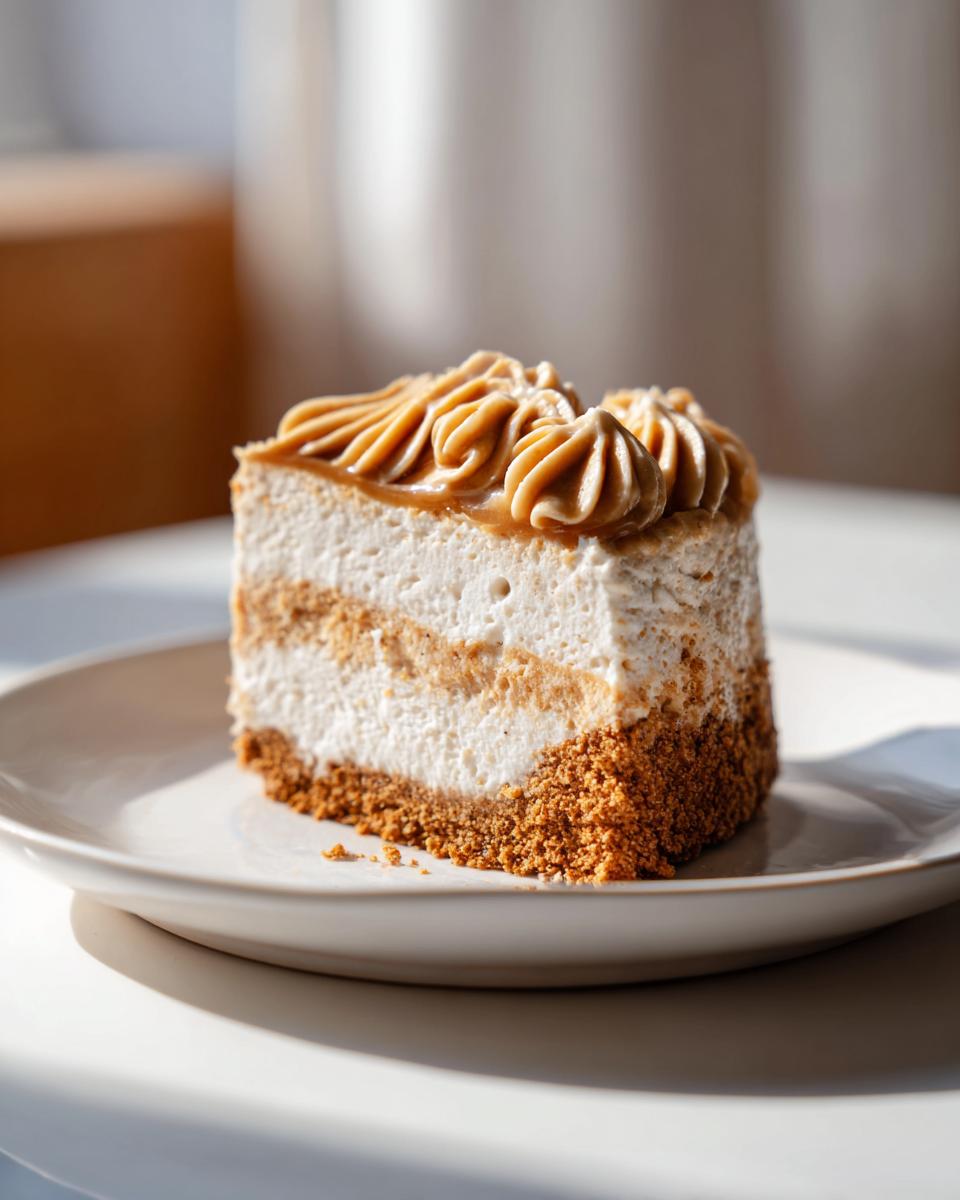
Making Mini Biscoff Cheesecakes
If you’re heading to a potluck or just want perfectly portioned treats, making **Mini Biscoff Cheesecakes** is the way to go. As I mentioned, use a lined muffin tin. You want to make sure you press the crust firmly into the bottom of each cup. Because they are smaller and thinner, the chilling time shortens up considerably. You might only need 3 to 4 hours until they are set enough to handle. It makes serving them so easy—no slicing, no mess!
Adding a Hint of Vanilla or Caramel
Sometimes you want a slightly different background note. If you find vanilla isn’t jumping out enough in the filling recipe, try mixing in half a teaspoon of good quality almond extract instead of vanilla. It gives the cheesecake a slightly floral, complex flavor that pairs wonderfully with the spiced cookie. Or, if you really want to lean into that caramel note you get from the cookie butter, warm up a few tablespoons of caramel sauce and swirl that in right along with the melted Biscoff—it makes the entire thing look even more decadent!
Serving Suggestions for Your Decadent Cheesecake Recipes
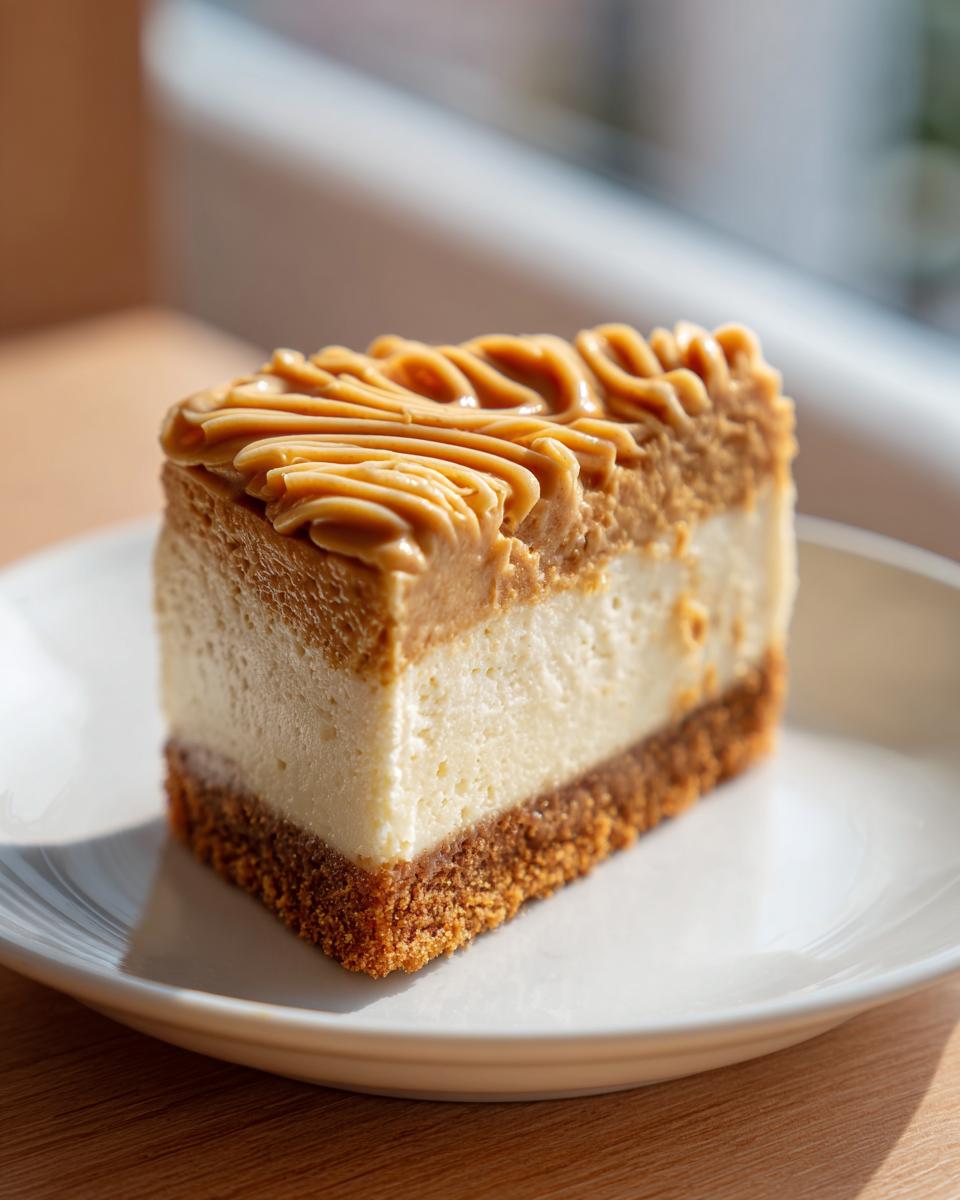
Once your **Cookie Butter Cheesecake** has chilled perfectly and you’re ready to serve, the topping is where you really get to show off! Because the flavor profile here is already so rich and deeply spiced, you don’t need a million bells and whistles. Less is often more when the base flavor is this good.
Remember, we’re aiming for an incredibly **Crowd Pleasing Dessert**, and presentation matters! Since this is a no-bake recipe, make sure you’ve released the sides of the springform pan carefully before you even think about grabbing a serving knife. A slightly warm knife dipped in hot water helps create those cleanest slices.
Simple Topping Ideas That Make It Shine
My favorite way to finish this is simple: take a handful of those leftover Biscoff cookies, crush them slightly, and just sprinkle them generously over the top surface right before you bring it to the table. That combination of the smooth, creamy filling underneath the crunchy texture is just heaven. It hits all the spots!
If you want a little bit of color contrast—which always looks great when you’re photographing or serving—a very light drizzle of caramel sauce works wonders. Think of it as complementing, not competing, with the cookie butter spread already inside. If you need a stunning, but equally simple, savory side dish to balance out all this sweetness, check out my recipe for the best classic creamy egg salad!
Perfect Pairings for Your Indulgent Sweets
This rich dessert pairs beautifully with simple, slightly acidic beverages. Skip the overly sweet sodas! I always serve a slice of this **Indulgent Sweet** alongside a strong, freshly brewed coffee—the slight bitterness cuts through the richness perfectly. If you’re serving it after dinner, a small glass of tawny port or even a hot black tea is lovely.
If you’re set on fruit, forget strawberries; they clash a bit. Instead, try a tart raspberry coulis. It’s just raspberries, a little sugar, and a squeeze of lemon blended smooth. That sharp, bright flavor cuts through the creamy filling and makes every bite feel lighter!
Storage and Reheating for Your Biscoff Cheesecake
Since this amazing **Cookie Butter Cheesecake** doesn’t ever see the inside of an oven, we treat storage a little differently than baked desserts. The biggest secret here is keeping all that creamy goodness sealed tight!
Pop the cheesecake (still in the springform pan, or preferably transferred to an airtight container) directly into the refrigerator. Because it’s already set up, it holds beautifully for about four to five days. That’s why I love it so much—it’s one of the best **Make Ahead Desserts**!
Now, listen close: since it’s designed to be chilled and firm, you never, ever reheat this dessert. Reheating it would just turn your beautiful, velvety filling into soup! Keep it cold, keep it covered, and enjoy it straight from the fridge. If you want a recipe you *can* reheat, like my quick easy white chocolate fudge, that’s a different story!
Frequently Asked Questions About Making Biscoff Cheesecake
I know you’ve got questions because *I* had questions the first few times I made this! It’s important to know the little details when you are relying on a recipe that doesn’t go into the oven. Every question you have about texture or ingredients makes you a better baker, so let’s clear everything up so your **No Bake Biscoff Cheesecake** turns out perfect!
If you are looking for something to bake instead, I have an amazing recipe for chocolate crinkle cookies that I think you’ll love!
Can I bake this Biscoff Cheesecake Recipe?
That’s such a good question! The short answer is: not really, not successfully, anyway. This recipe is specifically engineered as a **No Bake Biscoff Cheesecake**. The whole structure—the velvety texture, the lightness from the folded cream—relies on that cold chill time to set up. If you put this batter in the oven, it would completely melt and separate because we didn’t add the necessary stabilizing ingredients (like eggs) that a baked cheesecake needs. Stick to chilling for the best results!
Where can I find Biscoff cookie butter?
This is the key ingredient, right? Honestly, it’s become so popular, so finding **Lotus Biscoff** spread is usually pretty easy now. Check the peanut butter aisle in any major grocery store—big chains almost always carry it. If you can’t find it locally, I usually order a jar or two online so I’m never running out. Seeing that jar on the shelf just screams “easy dessert success!”
How do I get a perfectly smooth Cheesecake Filling Tutorial?
Achieving that picture-perfect, silky smooth layer is all about temperature and technique. First, your cream cheese absolutely has to be at true room temperature—soft enough that your finger leaves an indent easily. Beat *only* the cream cheese until it is flawless, lump-free, and glossy on its own. Then, incorporate the powdered sugar. Don’t even think about adding that glorious whipped cream until the cream cheese base is totally smooth. That step alone guarantees you a gorgeous **Cheesecake Filling Tutorial** result!
Share Your Experience Making This Biscoff Cheesecake
I’ve shared all my best secrets for this incredibly easy **Biscoff Cheesecake**, and now it’s your turn! I really hope this recipe brings a little bit of that effortless joy into your kitchen that it brings to mine. When you pull that beautiful, creamy dessert out of the fridge for your friends or family, send me a little note!
Did you try any of my little tricks, like adding extra cinnamon to the crust, or did you stick to the classic recipe? Please leave a rating right here on the page—it helps me know which recipes deserve to stick around and become family staples. I love hearing about your successes, especially when they involve making something truly decadent without turning on the oven.
If you managed to get a picture of that perfect swirl before everyone dug in, tag me on social media so I can see your beautiful creation! Don’t forget, if you are looking for another comforting, flavorful make-ahead treat, you should definitely look into making my recipe for the classic moist spice cake next!
PrintEasy No-Bake Biscoff Cheesecake
Make this creamy, decadent No-Bake Biscoff Cheesecake. It features a simple spiced cookie crust and a luscious cookie butter filling, perfect for an easy, crowd-pleasing dessert.
- Prep Time: 20 min
- Cook Time: 0 min
- Total Time: 6 hr 20 min
- Yield: 10 servings 1x
- Category: Dessert
- Method: No-Bake
- Cuisine: American
- Diet: Vegetarian
Ingredients
- 1 1/2 cups Biscoff cookie crumbs (about 25 cookies)
- 6 tablespoons unsalted butter, melted
- 16 ounces cream cheese, softened
- 1 cup powdered sugar
- 1 teaspoon vanilla extract
- 1 cup heavy whipping cream, cold
- 1/2 cup Biscoff cookie butter, softened, plus more for topping
- 1/4 cup Biscoff cookie butter, melted (for swirl and topping)
Instructions
- Prepare the crust: Combine the Biscoff cookie crumbs and melted butter in a bowl. Press the mixture firmly into the bottom of a 9-inch springform pan. Place the crust in the freezer while you prepare the filling.
- Make the filling: In a large bowl, beat the softened cream cheese with an electric mixer until smooth. Gradually beat in the powdered sugar and vanilla extract until fully combined.
- In a separate bowl, whip the cold heavy whipping cream until stiff peaks form. Gently fold the whipped cream into the cream cheese mixture until just combined.
- Fold in the 1/2 cup of softened Biscoff cookie butter into the cream cheese mixture until streaks disappear, creating a uniform cookie butter cheesecake filling. Do not overmix.
- Pour the filling over the chilled crust and smooth the top with a spatula.
- Create the swirl: Drizzle the 1/4 cup of melted Biscoff cookie butter over the top of the cheesecake. Use a knife or skewer to gently swirl the melted butter into the filling.
- Chill the cheesecake in the refrigerator for at least 6 hours, or preferably overnight, until firm.
- Before serving, top the cheesecake with extra Biscoff cookie crumbs or a drizzle of melted cookie butter. Release the sides of the springform pan carefully.
Notes
- For a firmer crust, chill the crust mixture for 10 minutes before adding the filling.
- If you want to make mini Biscoff cheesecakes, use a muffin tin lined with paper liners and reduce the chilling time to 4 hours.
- This dessert is best made a day ahead to allow the flavors to fully set.
Nutrition
- Serving Size: 1 slice
- Calories: 450
- Sugar: 35g
- Sodium: 250mg
- Fat: 30g
- Saturated Fat: 18g
- Unsaturated Fat: 12g
- Trans Fat: 0g
- Carbohydrates: 40g
- Fiber: 1g
- Protein: 5g
- Cholesterol: 85mg