

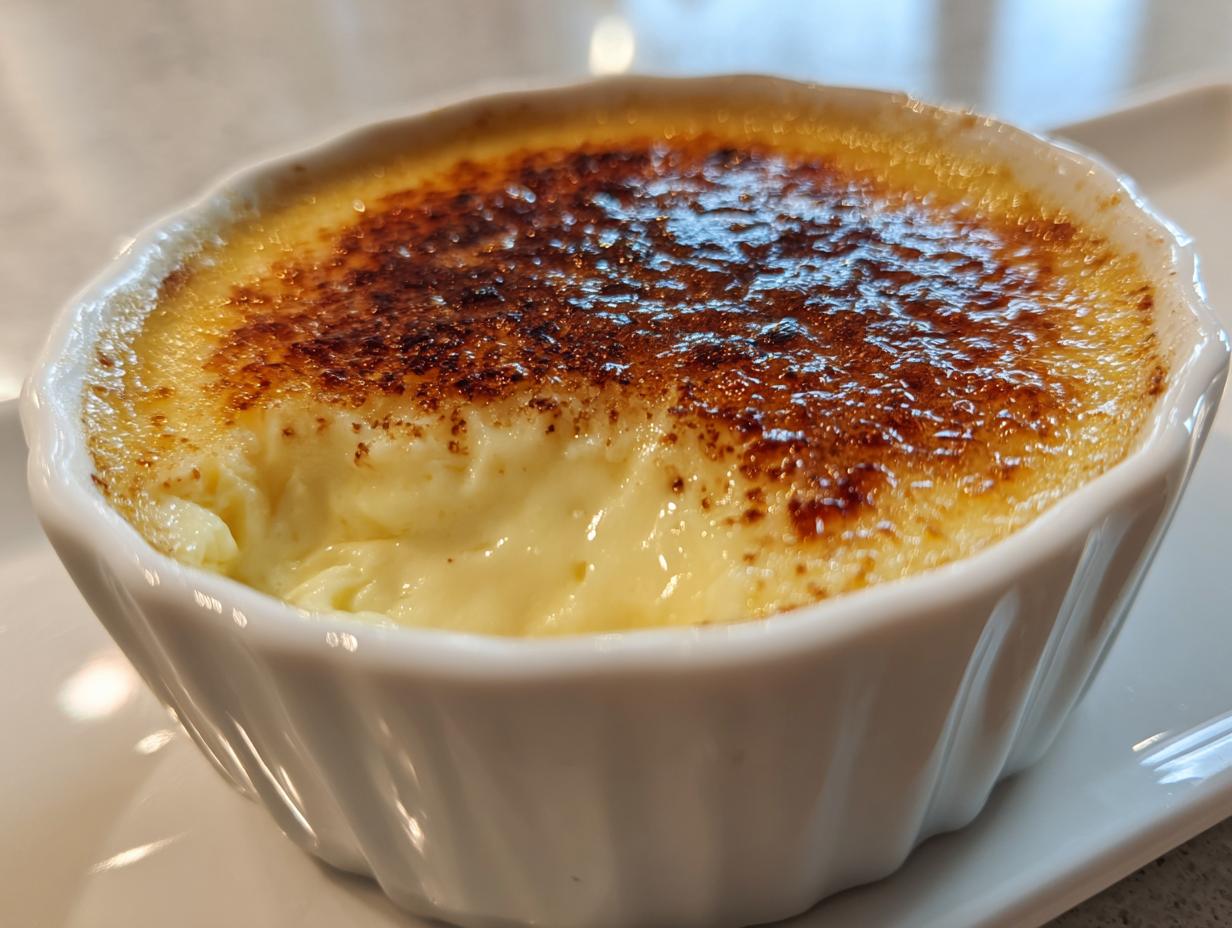
Have you ever been disappointed by a wobbly dessert that turned out weirdly bubbly or—worst of all—scrambled? Oh, I know that feeling! It stops you from trying those seemingly simple, old-fashioned treats again. But trust me when I say you can achieve that perfect, silky-smooth texture your grandmother made so long ago. This Fail-Proof Classic Baked Egg Custard is my secret weapon. It uses just basic ingredients—eggs, milk, and sugar—to deliver that nostalgic, comforting flavor every single time. It’s genuinely so easy; you won’t believe how foolproof this egg custard turned out to be!
- Why This Fail-Proof Egg Custard Recipe Guarantees Success
- Gathering Basic Ingredients for Your Classic Old Fashioned Custard
- Step-by-Step Instructions: How to Make Egg Custard Perfectly
- Making an Easy Baked Custard: Pie Crust Options and Variations
- Storage and Serving Suggestions for Your Sweet Custard Dessert Ideas
- Frequently Asked Questions About Making Egg Custard
- Estimated Nutritional Data for This Classic Egg Custard
- Share Your Nostalgic Custard Recipes Experience
Why This Fail-Proof Egg Custard Recipe Guarantees Success
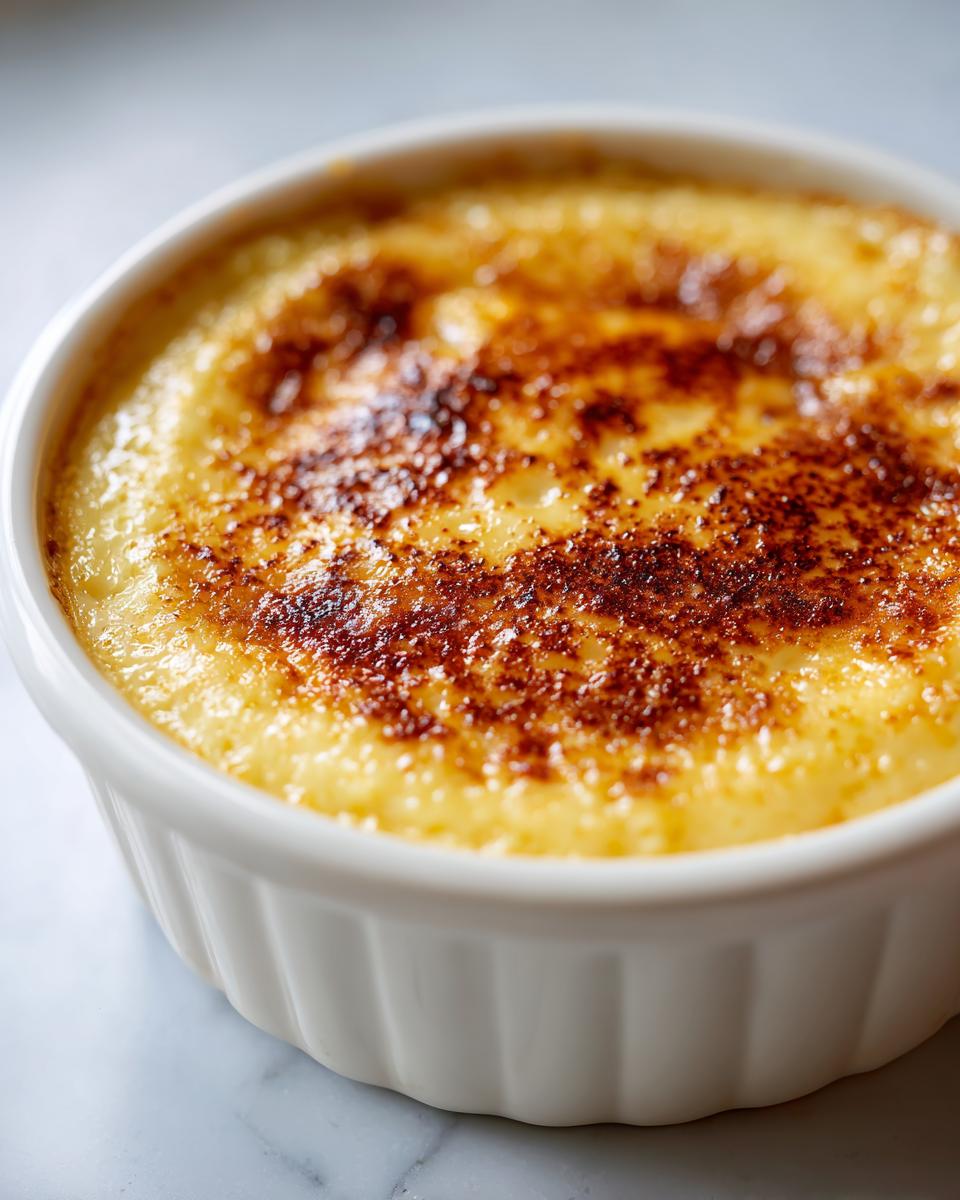
I know that the thought of baking with eggs in liquid makes everyone nervous. We worry about those little white specks (scrambled bits!) or a custard so loose it just sloshes around in the dish. But my method eliminates all that guesswork! This isn’t just an *easy baked custard*; it’s designed to deliver that rich, classic texture that melts right in your mouth. I’ve taken all the stress out of making a traditional egg custard.
- It relies on gentle handling of the eggs rather than powerful whipping.
- We use a calculated slow-bake temperature, which is non-negotiable for a perfect result.
- The warm milk step makes sure we temper everything calmly, avoiding any shock to the eggs.
Achieving a Silky Smooth Custard Dessert Texture
Listen, the secret texture upgrade comes in two parts. First, when you mix the eggs and sugar, you just want to whisk until they are blended, not fluffy or pale. We aren’t trying to incorporate a ton of air here; air causes bubbles, and bubbles cause a spongy texture. Oops! Second, and this is huge: you must pour that entire mixture through a fine-mesh sieve before it hits the pan. That little step grabs any stray membranes or any tiny bit of egg that started to curdle, leaving you with pure, silky smooth dessert perfection.
The Essential Water Bath for Perfect Egg Custard
If you skip the water bath, you are essentially setting yourself up for failure—seriously! We call this contraption a bain-marie, and it’s the hero of this recipe for a reason. Placing your dish inside a larger pan filled with hot water insulates the egg custard from the harsh, direct heat of the oven. This gentle steam cooks everything evenly, slowly setting the proteins in the eggs. That’s what guarantees that beautiful, creamy egg custard filling without any cracks or tough edges. It takes longer, but you get that velvety finish.
Gathering Basic Ingredients for Your Classic Old Fashioned Custard
The best part about this dessert is that you probably already have everything hanging out in your pantry and fridge! This recipe is beautifully simple, which is why it feels so nostalgic and comforting. There’s no fancy extract or obscure spice required for this egg custard. It really leans on the quality of the basics. When I prepare this for dessert night, I always double-check my list to make sure I have the right proportions, especially since the eggs and milk ratio is what sets this mixture up for success as a classic old fashioned custard.
Here is exactly what you need:
- 6 large eggs (make sure they are nice and fresh!)
- 1/2 cup granulated sugar
- 1/4 teaspoon salt
- 1 teaspoon pure vanilla extract
- 3 cups whole milk (don’t skimp on the fat here!)
- A little pinch of ground nutmeg for topping (this is non-negotiable for flavor!)
See? We are just dealing with eggs and milk, sugar, and vanilla. That’s it. It makes for such an easy baked dessert, and you won’t have to run out to the store for a dozen specialized items just to make a simple, wonderful bowl of egg custard.
Step-by-Step Instructions: How to Make Egg Custard Perfectly
Now we move into the fun part—the actual making! This is where we put all those texture secrets into practice to make sure we don’t end up with a mess. Since this is a baked dessert, timing and gentle mixing are everything. We’re aiming for a perfect set on our egg custard, so pay close attention to the milk warming and the tempering process. Don’t rush this part; it’s what separates the amateur from the expert when making this classic dish.
Preparation and Tempering for Creamy Egg Custard Recipe
First things first: get that oven preheated to 325 degrees F, and set up your water bath right away. Put the 9-inch baking dish inside the larger roasting pan—you need that setup ready before the milk gets warm! When whisking your 6 eggs, remember what I said earlier: be gentle! You want them just combined, not foamy. Once the sugar and salt are whisked in, it’s time for the milk. Heat your whole milk until you see teeny-tiny bubbles around the edge, but stop before it boils, please! Now for the tempering step: stream that warm milk into the eggs slowly, whisking gently the whole time. This slow introduction is crucial for a beautiful, creamy egg custard recipe.
Baking and Setting the Simple Milk and Egg Pudding
After you gently pour the whole mixture through that sieve—don’t forget that step!—carefully pour it into your prepared dish inside the roasting pan. You then add the hot water to the outer pan until it sits about halfway up the side. Bake this for about 45 to 55 minutes. You’re looking for the outside edges to look firm, but if you give the pan a gentle nudge, the very center should still have a wiggle, like gelatin. That jiggle means it’s done cooking! Let it cool on a rack first, then pop it into the fridge for at least four hours. Patience here guarantees you get that gorgeous, simple milk and egg pudding set just right.
Making an Easy Baked Custard: Pie Crust Options and Variations
So, you’ve made this incredible, silky base for your dessert! Now, you have a choice: do you want it pure and simple, or do you want to elevate it into a full-blown pie? Since everyone asks about both, I wanted to talk about how to handle a crust if you choose that route, keeping our focus primarily on this amazing crustless egg custard.
If you are looking for a classic holiday treat, you can totally turn this into an Egg Custard Pie. It’s my favorite way to make a pie when I don’t want to mess around with complicated fillings. Just take your favorite single pie crust—store-bought is fine, don’t stress!—and press it right into a 9-inch pie plate. Then, you pour this exact same custard mixture right over the top. You’ll need to watch the baking time closely, though; pies usually set up a little quicker than deep dishes, so start checking around the 40-minute mark.
But honestly, if you’re aiming for the easiest dessert possible, stick to the baking dish! You get all that wonderful flavor without worrying about flaky pastry underneath. It’s pure, unadulterated egg custard goodness, guaranteed.
Tips for a Perfect Homemade Custard Filling
I always stick to whole milk because the fat content helps the final texture settle into that lovely, creamy consistency we are chasing. But if you want to make this custard feel truly decadent, try swapping out 1/2 cup of that milk for heavy cream. Wow, does that boost the richness! You get a heavier, almost satin-like mouthfeel—it’s heavenly for a special dessert night.
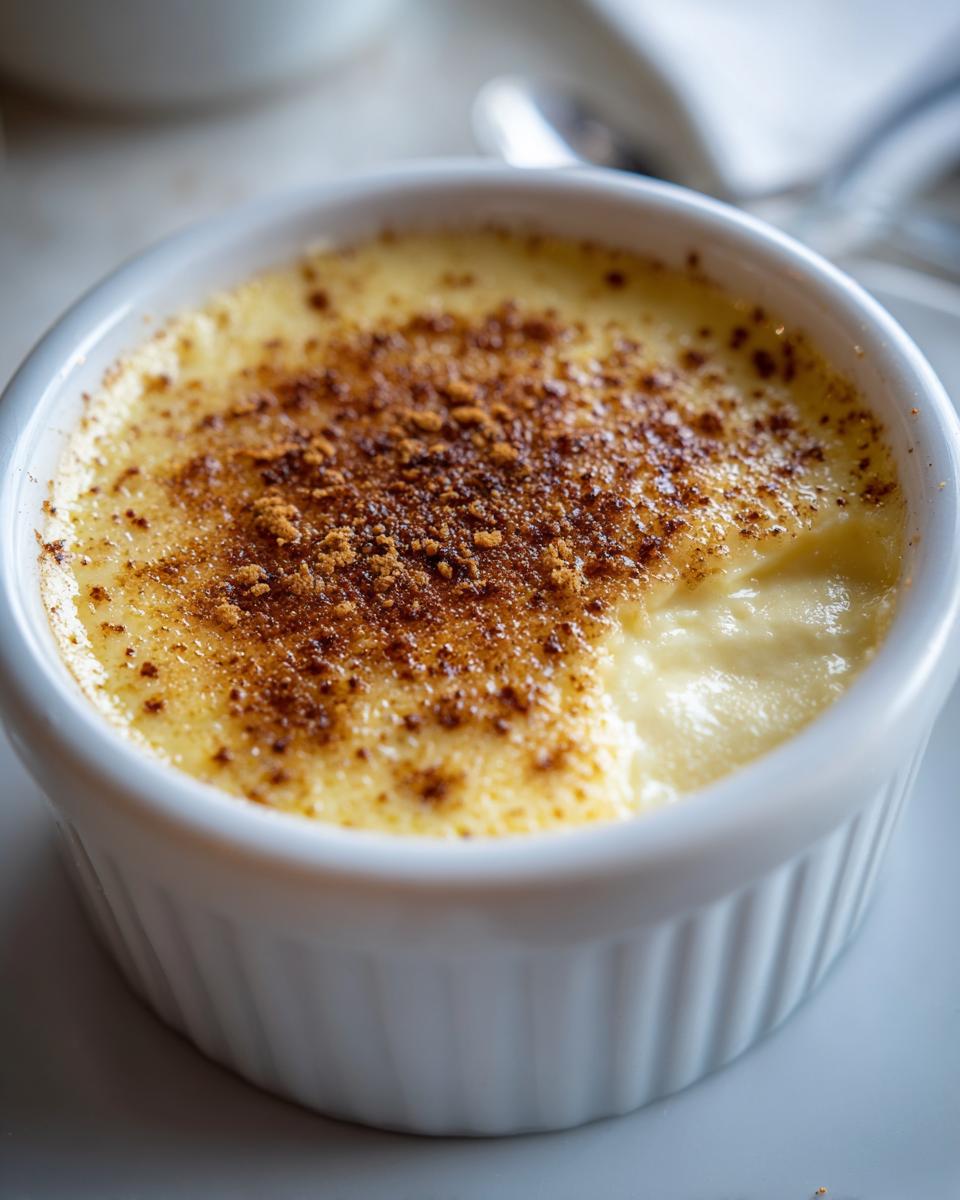
And please, for the love of all things delicious, don’t forget the nutmeg. A tiny sprinkle on top right before chilling elevates this from a simple milk pudding to something special. That hint of spice wakes up the sweetness of the eggs and vanilla. It’s a small touch, but for an old-fashioned dessert, those little classic flavor notes really make all the difference.
Storage and Serving Suggestions for Your Sweet Custard Dessert Ideas
Okay, you’ve nailed the bake and the jiggle test! But resist the urge to dig in immediately. This fantastic egg custard absolutely needs time to set up properly in the cold. You must chill this for a minimum of four hours, but honestly, overnight is when it truly earns its creamy reputation. When you serve it, the custard should be completely cold and firm.
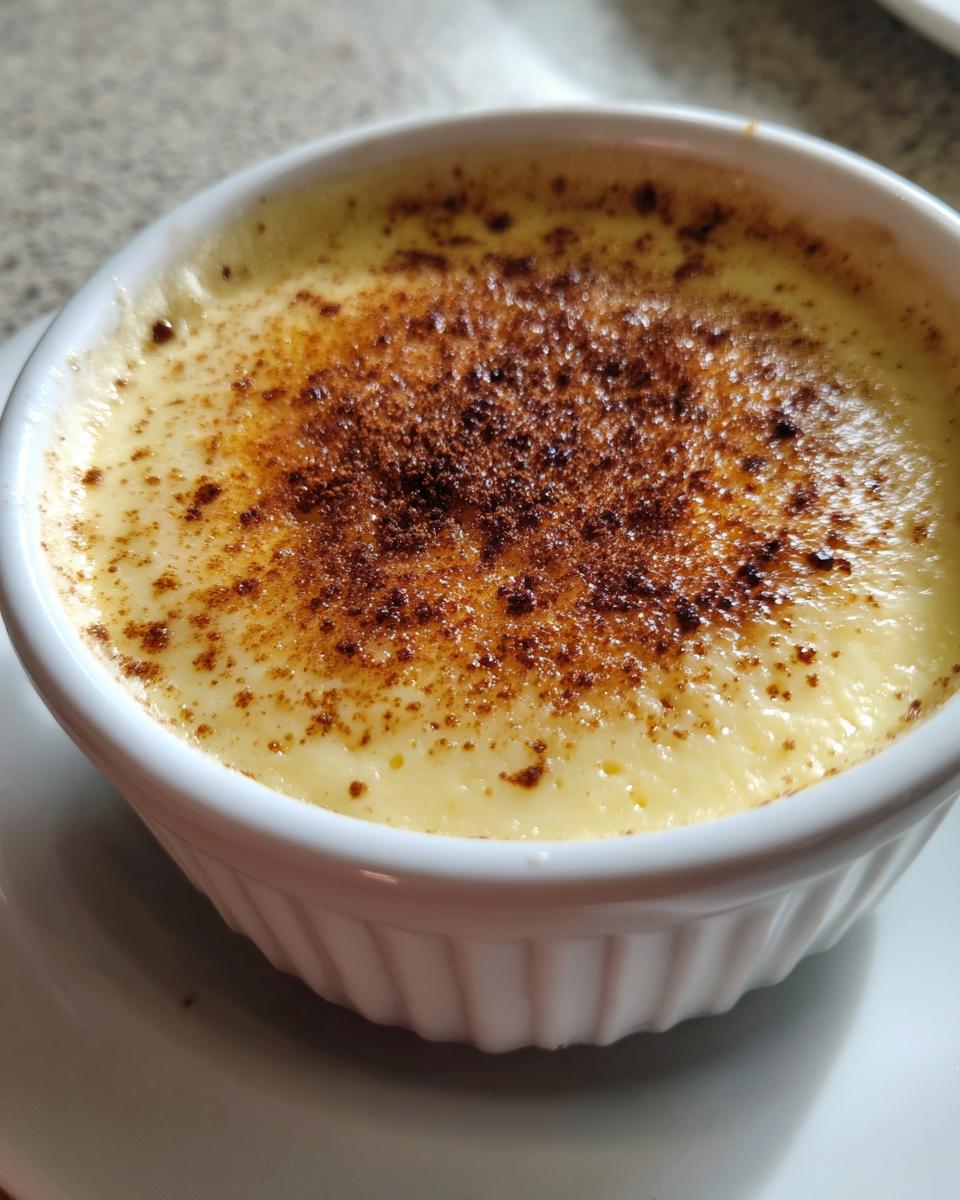
When it’s time to eat, just pull your dish out, and instead of whipped cream, grab that container of ground nutmeg sprinkled on top. That fresh, warm spice note hitting that cold, silky egg custard? It’s pure magic, trust me. It makes this simple dessert feel so elegant!
Frequently Asked Questions About Making Egg Custard
I’ve compiled some of the questions I get asked most often about this recipe. Making desserts—especially ones relying on eggs—can cause a little panic, but don’t worry! We are going to walk through any lingering doubts so you can feel confident making this egg custard. I promise, once you see that smooth result, you’ll never be afraid of custard again!
Can I make this egg custard recipe without a water bath?
Oh, honey, please don’t try it! I really can’t stress this enough if you want a no fail custard dessert. The water bath is essential because it acts like a giant, gentle buffer against the oven’s dry heat. Without it, the edges of your custard will cook way too fast, causing them to curdle or become tough while the middle is still raw. When you use the steam from the water bath, you get that even, slow bake that results in a truly beautiful texture. It’s the secret handshake for perfect custard!
What kind of milk is best for a creamy egg custard recipe?
For the standard, classic flavor and the best setting power, always reach for whole milk. It has the right percentage of fat to help everything bind together nicely and deliver a really great mouthfeel. If you use skim milk, the final product tends to be a tiny bit watery, and you lose some of that rich quality we aim for in a creamy egg custard recipe. If you’re feeling extra, swap just half a cup of the whole milk for heavy cream; it gives the final egg custard a decadent, almost velvety finish that my family loves for special occasions.
Why does my baked custard taste strongly of nutmeg?
That’s usually because we used too much, or perhaps we used fresh, strong nutmeg! For this sweet finish, I always recommend a very light sprinkle of ground nutmeg right on top just before chilling. Too much mixed into the base can overpower the delicate vanilla and egg flavor. If you love the spice, stick to just a light dusting on the top layer. The best results come from a soft, nutmeg spiced custard where the spice hints at the flavor rather than screaming about it!
How long does this simple vanilla custard last in the fridge?
Since this is such a simple dessert made only of eggs, milk, and sugar, it keeps wonderfully fresh! As long as you keep it well-covered, a simple vanilla custard will taste great in the refrigerator for four to five days. In fact, many people tell me they think it tastes even better on the second day once it has fully settled and chilled completely. Just make sure you let it sit for that minimum four hours before serving it the first time!
Estimated Nutritional Data for This Classic Egg Custard
Now, I know most of us aren’t tracking macros when we’re diving into a bowl of comfort food like this, but since you asked for all the details, I went ahead and pulled the typical estimates for a single serving of this wonderful, creamy egg custard. It’s quite straightforward since we are only working with eggs, milk, and sugar and avoiding any heavy cream or crust! Remember, these numbers are just an estimate based on the ingredients listed, so yours might vary slightly depending on the exact brand of milk you use.
This is a lovely dessert option because it’s high in protein thanks to those six big eggs, and it’s naturally low in heavy fats—especially if you skip the optional heavy cream I mentioned earlier. Here’s a quick look at what that bowl of nostalgia usually measures up to:
- Serving Size: 1 serving
- Calories: 205
- Sugar: 18g
- Fat: 8g
- Protein: 14g
- Carbohydrates: 19g
- Sodium: 130mg
See? Not bad at all for a wonderfully rich, sweet custard dessert idea! It proves that sometimes the simplest, classic old fashioned custard recipes are the best for satisfying that sweet tooth without feeling like you overdid it. When you make this delightful egg custard, just enjoy it!
Share Your Nostalgic Custard Recipes Experience
Now that you’ve tried my fail-proof method, I really want to know how it turned out! Did you get that silky, smooth result? Did you skip the crust? Please leave a comment below and tell me all about your experience with this egg custard. As someone who came from a household full of amazing, traditional flavors, knowing that I helped bring that simple comfort to your table means everything. If you post a picture, tag me so I can see your beautiful, homemade dessert!
PrintFail-Proof Classic Baked Egg Custard

Make a creamy, silky-smooth classic egg custard dessert using simple ingredients. This recipe guarantees success for a comforting, old-fashioned treat.
- Prep Time: 15 min
- Cook Time: 50 min
- Total Time: 5 hours 5 min
- Yield: 6 servings 1x
- Category: Dessert
- Method: Baking
- Cuisine: American
- Diet: Vegetarian
Ingredients
- 6 large eggs
- 1/2 cup granulated sugar
- 1/4 teaspoon salt
- 1 teaspoon pure vanilla extract
- 3 cups whole milk
- Pinch of ground nutmeg for topping
Instructions
- Preheat your oven to 325 degrees Fahrenheit (160 degrees Celsius). Place a 9-inch baking dish inside a larger roasting pan.
- In a large bowl, whisk the eggs lightly until just combined. Do not over-beat to avoid incorporating too much air.
- Whisk in the sugar and salt until dissolved. Stir in the vanilla extract.
- Gently warm the milk in a saucepan over medium heat until small bubbles form around the edges, but do not boil.
- Slowly pour the warm milk into the egg mixture while continuously whisking gently. This tempering process prevents the eggs from scrambling.
- Pour the custard mixture through a fine-mesh sieve into a large measuring cup or pitcher to remove any solids and ensure a smooth texture.
- Carefully pour the strained custard into the baking dish that is sitting inside the roasting pan.
- Pour hot water into the roasting pan until the water reaches halfway up the sides of the baking dish. This water bath creates steam for even cooking.
- Bake for 45 to 55 minutes. The custard is done when the edges are set but the center still jiggles slightly when gently nudged.
- Carefully remove the baking dish from the water bath. Let it cool on a wire rack for about one hour.
- Sprinkle the top lightly with nutmeg. Chill the custard in the refrigerator for at least 4 hours, or preferably overnight, before serving.
Notes
- For a pie version, press a single pie crust into a 9-inch pie plate before pouring in the custard mixture. Adjust baking time as needed.
- To achieve a truly silky smooth texture, avoid whisking the eggs vigorously; gentle mixing is key.
- If you prefer a richer custard, substitute 1/2 cup of the milk with heavy cream.
Nutrition
- Serving Size: 1 serving
- Calories: 205
- Sugar: 18
- Sodium: 130
- Fat: 8
- Saturated Fat: 4
- Unsaturated Fat: 4
- Trans Fat: 0
- Carbohydrates: 19
- Fiber: 0
- Protein: 14
- Cholesterol: 190