

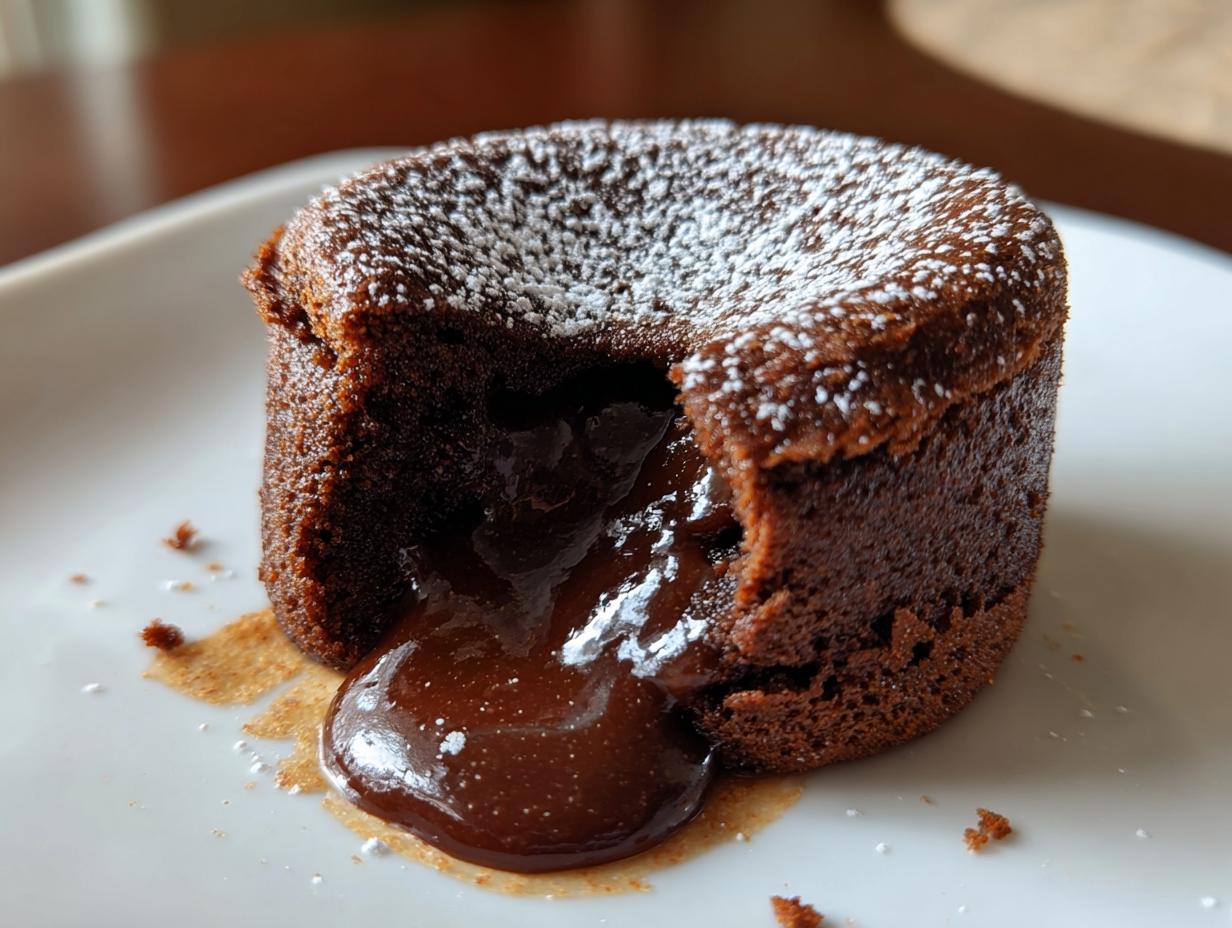
You know those moments, right? You desperately need a chocolate fix—something unbelievably rich and decadent—but you just don’t have hours to bake. That’s when the magic of the lava cake comes into play. I wanted something that looked like it came straight from a fancy bakery but could be whipped up when I only had 20 minutes free after work. After a few messy (but delicious) experiments, I cracked the code!
This isn’t just another recipe; this is my foolproof method for achieving that signature, breathtakingly gooey, molten center every single time. Seriously, the outside stays perfectly set, and then—BAM—liquid chocolate gold. I developed this trick for those unexpected date nights or when I needed a quick, impressive dessert for guests. We’ve found a simple way to deliver pure chocolate bliss without the stress. If you’re ready to wow someone (or just yourself!), keep reading. For more quick wins like this, check out my guide to simple, delicious desserts.
- Why This Chocolate Lava Cake Recipe Works Every Time
- Ingredients Needed for Your Homemade Melting Center Cake
- How to Prepare the Best Lava Cake Recipe: Step-by-Step
- Tips for Success: Mastering the Chocolate Lava Cake Technique
- Variations on the Classic lava cake
- Serving Suggestions for Your Rich Chocolate Indulgence
- Storage and Reheating Instructions for Leftover lava cake
- Frequently Asked Questions About Making Lava Cakes
- Estimated Nutrition Facts for One Chocolate Lava Cake
Why This Chocolate Lava Cake Recipe Works Every Time
Look, I’m a busy person, and I bet you are too. That’s why I want recipes that deliver on their promises, and my lava cake recipe is my MVP for desserts. It’s all about high-impact flavor with low-impact work. You get that professional bakery look without needing professional skills or hours of time.
- It’s incredibly fast—you’re looking at a total time under 30 minutes!
- It requires just basic ingredients you probably already have stocked.
- The result is always that spectacular, flowing, molten center that everyone raves about.
I wouldn’t share it unless it was my personal go-to for impressing folks quickly. If you loved this fast approach, you have to check out my recipe for easy silky 3-ingredient chocolate mousse next!
Quick Chocolate Treat Ready in Under 30 Minutes
Honestly, this is where this recipe shines compared to those fussy soufflé-style desserts. We’re looking at just 10 minutes of prep time—that includes melting the chocolate and mixing the batter! Then, they pop in the oven for maybe 14 minutes max. Seriously, you can make this decadent chocolate treat right after dinner and still be ready for coffee right alongside it. It’s pure speed and luxury combined.
Achieving the Perfect Molten Chocolate Cake Center
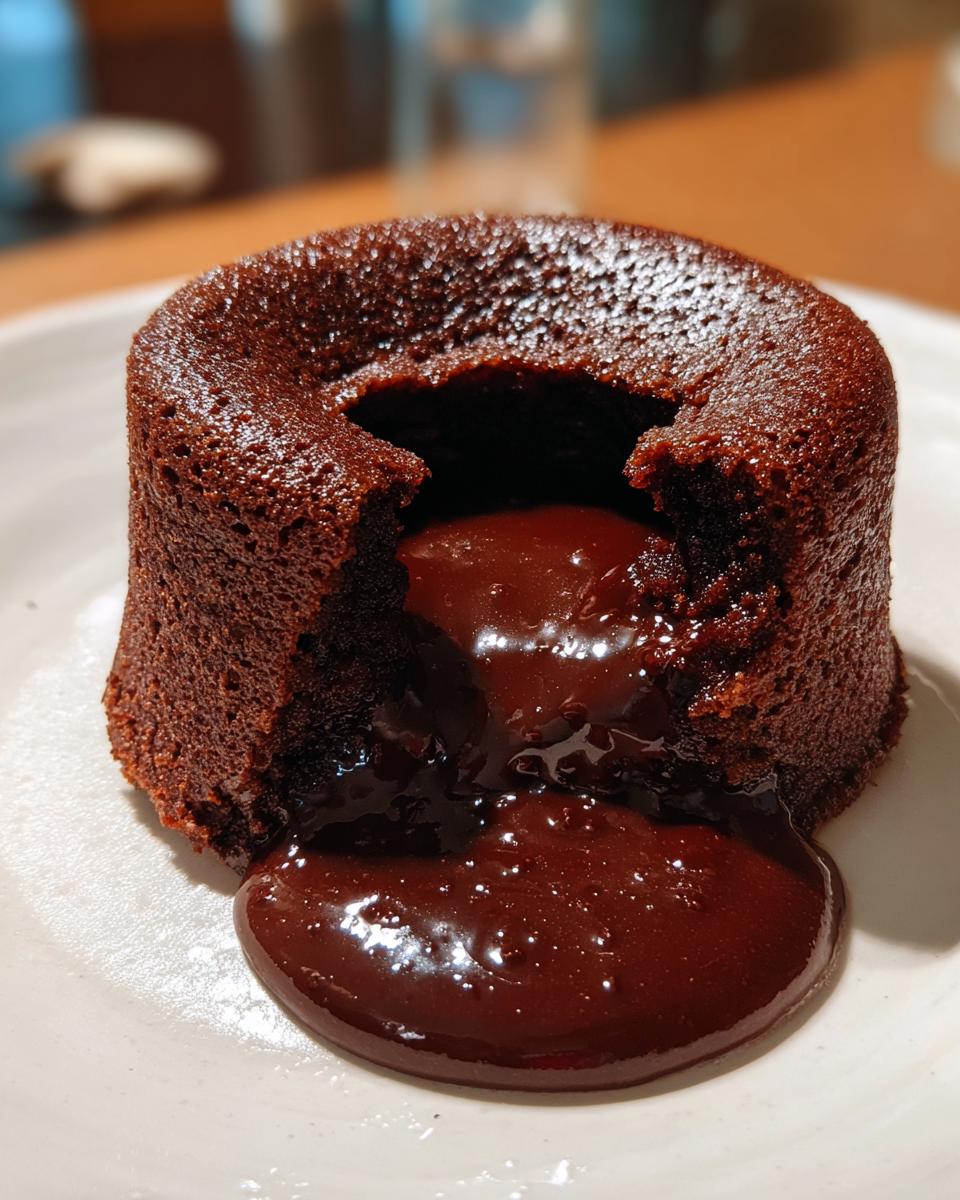
The secret to that signature flow in any lava cake is absolutely down to temperature and timing. We use a super hot oven—425°F—to force the outside edges to bake firm while the center stays deliciously underdone. When you pull them out, if the edges look set but the very middle still has a slight jiggle when you shake the pan gently? Stop baking immediately! That soft wobble means you’ve got perfect, rich chocolate flowing out right when you serve it.
Ingredients Needed for Your Homemade Melting Center Cake
Okay, let’s talk ingredients! For this rich chocolate indulgence, you don’t need a marathon shopping trip. We’re using simple things, but I have to stress one thing: the chocolate matters here. Since the chocolate *is* the filling, use the best bittersweet chocolate you can find—don’t skimp! The recipe calls for 4 ounces of bittersweet chocolate, chopped fine, paired with 4 ounces of good unsalted butter. Melting those two together creates our gorgeous base. If you’re ever looking for another show-stopping dessert that uses quality chocolate, you have to see my chocolate chip cheesecake recipe!
You’ll need two large eggs plus two extra large egg yolks, and about a quarter cup of granulated sugar for sweetness. Finally, we just need one tablespoon of all-purpose flour and a tiny pinch of salt to balance the richness. Before you start melting, make sure you have extra butter and cocoa powder ready—we use that to dust our ramekins, which is super important for easy release of your perfect lava cake!
How to Prepare the Best Lava Cake Recipe: Step-by-Step
Alright, time to get messy! This is where we turn those ingredients into pure magic. Don’t let the fancy name fool you; making a batch of these lava cake beauties is shockingly straightforward. Once you know the order, it’s just mixing magic. It feels so good to create something this decadent with such minimal fuss. This whole process is why I love sharing my secrets; check out how simple it is to make easy 5-minute chocolate frosting recipe too!
Preparing Ramekins and Preheating for the lava cake
First things first, we need to get our oven roaring hot—425°F is the magic number here. Next, grab your four 6-ounce ramekins. I mean *really* grease them up with soft butter, making sure you get into every corner. Then, here’s the trick: dust them heavily with cocoa powder instead of flour. If you use flour, you get those ugly white spots all over your dark, beautiful cake when you flip them out. Tap out the excess cocoa so you’re only left with a dark, non-stick shell!
Melting Chocolate and Creating the Base for this Gooey Chocolate Dessert
Now for the chocolate. You’re combining your chopped bittersweet chocolate and butter. Set that bowl over simmering water—a makeshift double boiler works perfectly, or you can use short bursts in the microwave if you’re watching it like a hawk. Stir until it’s one gorgeous, smooth pool. Crucially, take it off the heat and let it chill for a few minutes. If it’s too hot when you add the eggs, you’ll end up with scrambled eggs in your delicious gooey chocolate dessert base! Trust me on this cooling step.
Baking and Serving Your Individual Chocolate Cakes
In a separate bowl, whisk those eggs, yolks, and sugar until they look light and pale—that takes about two minutes of solid whipping. Gently fold that slightly cooled chocolate mixture in, then barely whisk in the flour and salt until you see no dry streaks remaining. Divide that batter evenly into your prepped ramekins.
Bake for 12 to 14 minutes. The edges should look baked, but the middle must still have a slight wiggle. Let them sit for exactly one minute—no more, no less! Run your knife around the edge, flip onto a plate, and serve immediately. That burst of liquid chocolate center is the reward for your patience with this lava cake!
Tips for Success: Mastering the Chocolate Lava Cake Technique
When you’re aiming for that perfect bakery style lava cakes at home look, a little insider knowledge goes a long way. My biggest tip, which I learned the hard way, is getting cozy with your oven. Ovens lie! If you’ve never calibrated yours, you need to buy a cheap oven thermometer. If your oven runs hot, those cakes can go from molten perfection to dry pucks in 60 seconds flat.
When testing for doneness, forget the toothpick test unless you want cake throughout. Remember that *jiggle* I talked about? That’s your tell. The edges must be firm enough to hold their shape when you nudge the ramekin, but the absolute center should still look wet, almost trembling. Also, don’t try to make this with milk chocolate—it just won’t deliver the intensity this rich chocolate indulgence deserves. Stick to 60% cacao or higher. For the absolute fudgiest results outside of these cakes, you see how I get that shiny top on my ultimate fudgy brownies!
Variations on the Classic lava cake
You know me—once I nail a recipe, I immediately start seeing ways to tweak it! While this classic dark chocolate version is incredible, I always encourage getting creative, especially if you’re trying to avoid a grocery run. We’re definitely talking about how to pivot this into a delicious Nutella lava cake alternative, but I have another trick up my sleeve for when you want extra punch.
If you love rich, deep chocolate flavor, try adding about a teaspoon of instant espresso powder right into the chocolate mixture when you melt the butter and chocolate. It doesn’t make the cake taste like coffee, but wow, does it amplify that dark chocolate depth! I love knowing I can switch things up easily using what I have on hand. If you’re feeling adventurous with chocolate later, you have to see my chocolate bourbon pecan pie recipe.
Making a Nutella Lava Cake Alternative
People ask me all the time about swapping in that hazelnut spread! It’s easy. When you are melting your main 4 ounces of bittersweet chocolate and butter, just pull back slightly. Take out 2 tablespoons of the chocolate, and replace it with 2 tablespoons of your favorite Nutella. Mix it right in! It makes for a sweeter, nuttier dessert that is just as gooey.
Serving Suggestions for Your Rich Chocolate Indulgence
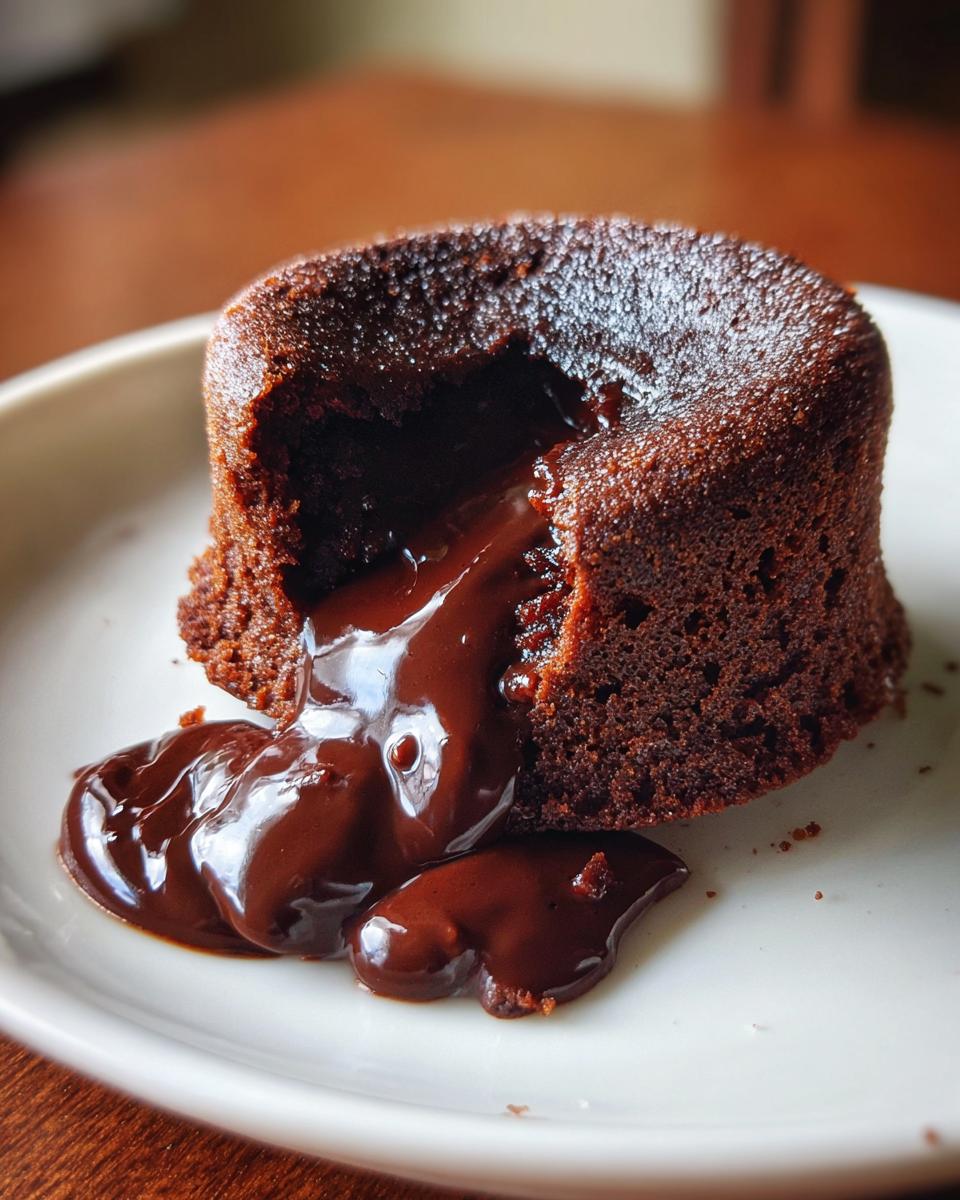
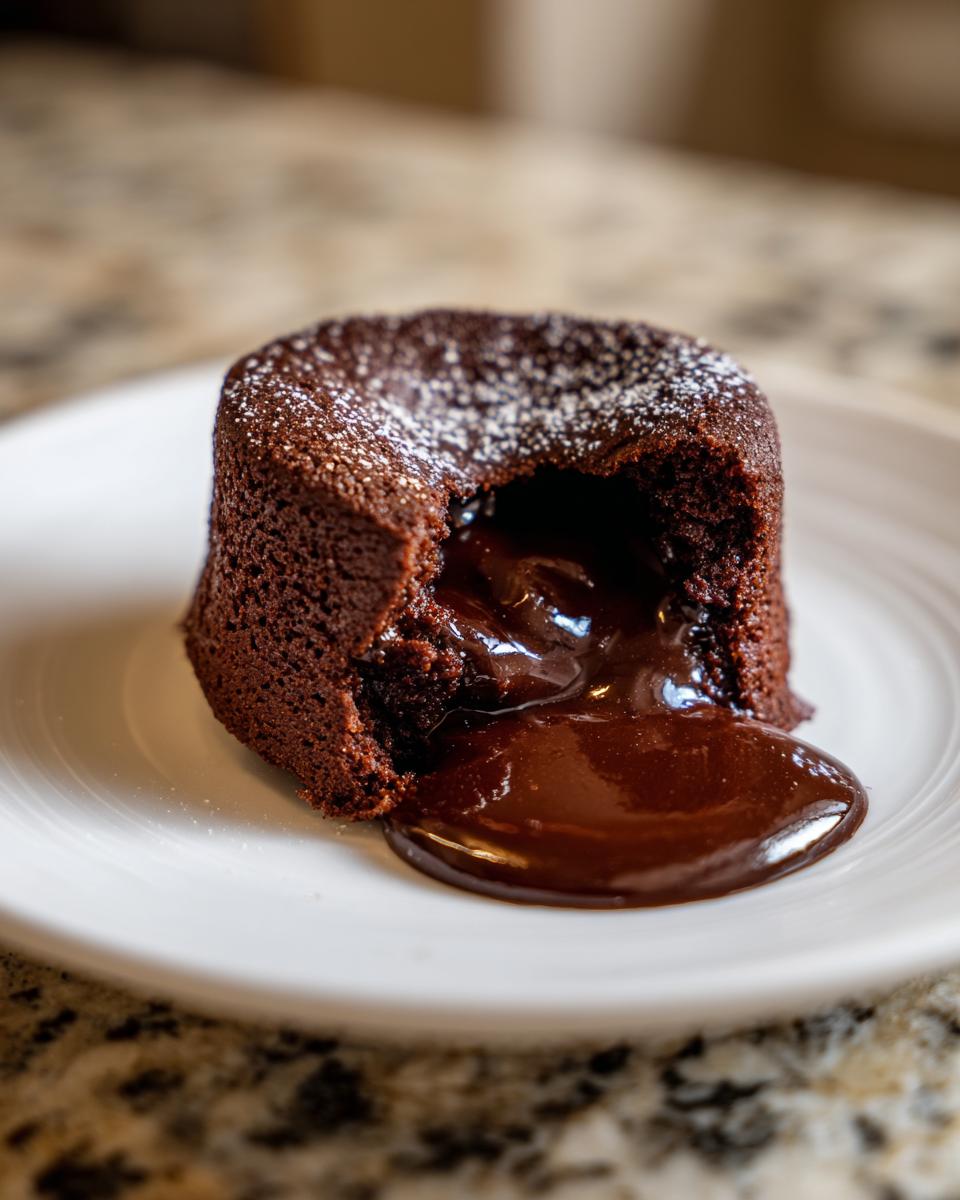
Cutting into that perfectly baked shell and watching the warm chocolate flow out is honestly the best part of this rich chocolate indulgence. You can’t let that moment go to waste with boring plating! This dessert is perfect for a date night because it feels so luxurious, but you don’t have to work hard to achieve that vibe.
The number one thing I always do is serve it steaming hot with a scoop of really high-quality vanilla bean ice cream. The contrast between the hot, dark chocolate and the cold, creamy vanilla is just essential. If you’re feeling a bit lighter, fresh raspberries or sliced strawberries are fantastic; their slight tartness cuts through the richness beautifully. I think that combination elevates it instantly. For more impressive yet easy ideas, check out my banana cream pie ultimate homemade recipe!
Storage and Reheating Instructions for Leftover lava cake
Now, sometimes—and I mean *sometimes*—I don’t finish all four when they are piping hot! If you have any leftovers, the good news is these individual chocolate cakes hold up really well. You can absolutely make these ahead of time, which is a lifesaver if you’re hosting! Just fill your prepared ramekins with the batter, cover them tightly, and pop them in the fridge for up to 24 hours. Don’t worry about making them the night before!
When it comes time to bake the chilled batter, you do need to adjust your time. Since the oven is already screaming hot at 425°F, you only need to add about two or three extra minutes to the original baking time. You are still waiting for those edges to set but the center needs a little longer to reach that perfect molten stage. If you want to keep them stored for later in a different way, my recipe for easy white chocolate fudge recipe lasts ages on the counter!
Frequently Asked Questions About Making Lava Cakes
It’s normal to have questions when you’re trying to nail a technique like this—getting that center just right takes focus! Baking is chemistry, and everyone’s oven is a little different, so let’s troubleshoot some common issues to make sure your next batch of these individual chocolate cakes is absolute perfection. If you are interested in other simple treats, take a look at my guide for easy Filipino cassava cake recipe.
Can I bake this Molten Chocolate Cake recipe in muffin tins?
Yes, you absolutely can! Since muffin tins are smaller and shallower than 6-ounce ramekins, you’ll need less time in that hot oven. Start checking them around 10 minutes. They will bake faster because the heat hits the batter more quickly. Watch that edge firmness, not the clock, for your cue!
What if my warm chocolate dessert does not have a gooey center?
Oh, that’s a bummer! It just means it cooked a little too long and turned into a tiny, delicious chocolate cake instead of a flowing center. For your next batch of this gooey chocolate dessert, pull them out one or two minutes *earlier* than you did this time. The outside should look done, but the middle still needs that visible, soft wobble.
Estimated Nutrition Facts for One Chocolate Lava Cake
Because this is such a decadent, rich chocolate indulgence, you might be curious about the breakdown. Remember, since we are using high-quality bittersweet chocolate and rich butter, these numbers are estimates based on the specific ingredients listed in the recipe above. These are meant for one single serving, which is a satisfying portion size for a treat!
For one serving, you are looking at about 410 calories. It’s a bit high in sugar at 25g, but that’s the joy of a good dessert, right? We have 28g of fat total, and it clocks in at 8 grams of pure protein. If you want to see another amazing, moist chocolate recipe that uses simple ingredients, take a peek at my moist, easy one-bowl chocolate cake!
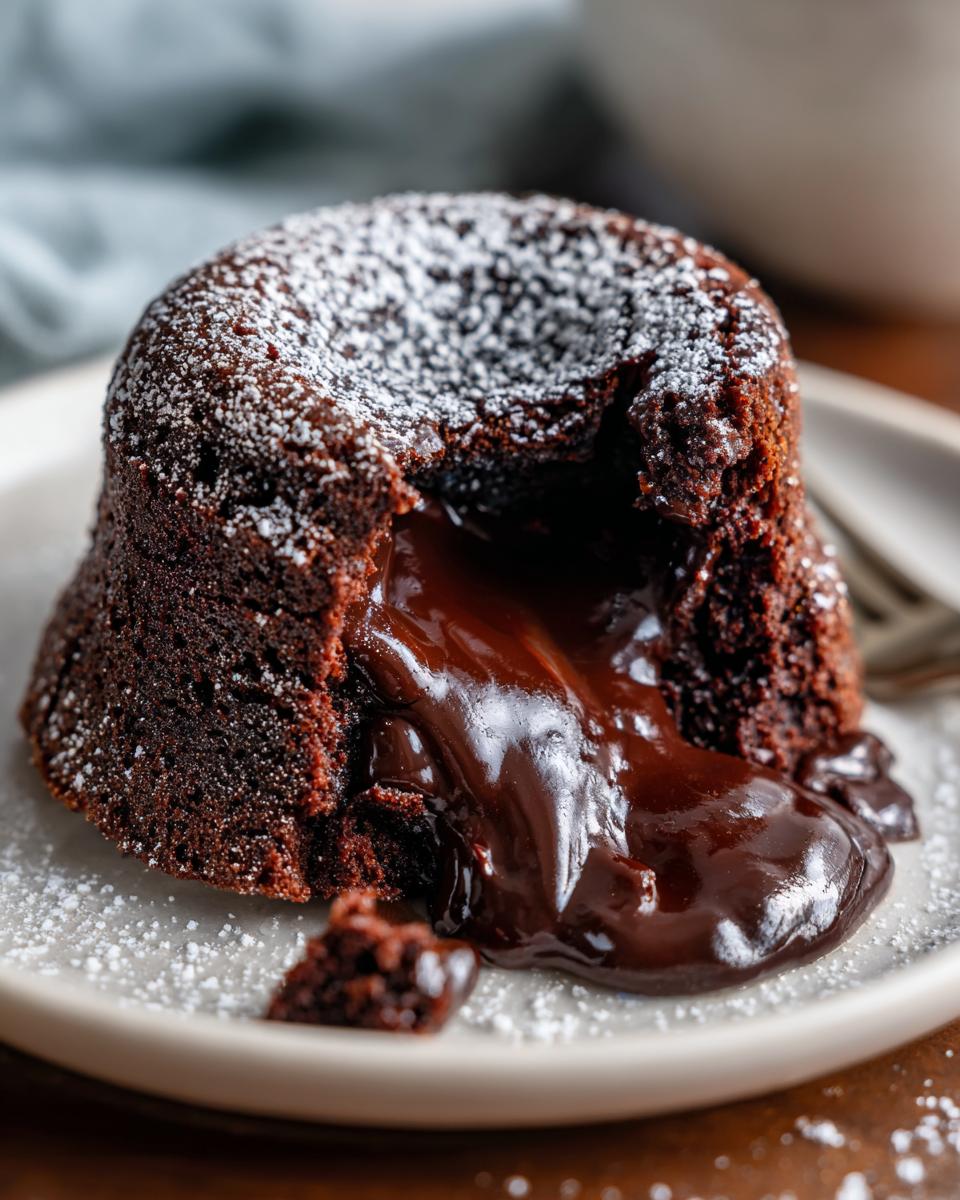
PrintFoolproof Chocolate Lava Cake Recipe for a Gooey Center
Make this easy chocolate lava cake for a fast, indulgent dessert. You get crisp edges and a silky molten center every time. It is perfect for date nights or when you need a bakery-style dessert without stress.
- Prep Time: 10 min
- Cook Time: 14 min
- Total Time: 24 min
- Yield: 4 servings 1x
- Category: Dessert
- Method: Baking
- Cuisine: American
- Diet: Vegetarian
Ingredients
- 4 ounces bittersweet chocolate, chopped
- 4 ounces unsalted butter
- 2 large eggs
- 2 large egg yolks
- 1/4 cup granulated sugar
- 1 tablespoon all-purpose flour
- Pinch of salt
- Butter and cocoa powder for dusting ramekins
Instructions
- Preheat your oven to 425 degrees Fahrenheit. Butter four 6-ounce ramekins generously. Dust the buttered insides with cocoa powder, tapping out any excess. Place the prepared ramekins on a baking sheet.
- Combine the chopped chocolate and butter in a heatproof bowl set over a saucepan of simmering water (or use a microwave in 30-second intervals). Stir until the mixture is completely smooth. Remove from heat and let it cool slightly.
- In a separate bowl, whisk together the eggs, egg yolks, and granulated sugar until the mixture is pale and slightly thickened. This takes about two minutes.
- Gently whisk the slightly cooled chocolate mixture into the egg mixture until just combined.
- Whisk in the flour and salt until no streaks remain. Do not overmix.
- Divide the batter evenly among the four prepared ramekins.
- Bake for 12 to 14 minutes. The edges should look set, but the center should still look soft and jiggly. This timing is key for a molten center.
- Let the cakes cool in the ramekins for exactly one minute.
- Carefully run a thin knife around the edge of each cake. Invert each cake onto a serving plate. Serve immediately while warm.
Notes
- Serve this rich chocolate indulgence warm with vanilla ice cream or fresh raspberries for the best experience.
- If you are making these ahead of time, you can refrigerate the filled ramekins for up to 24 hours. Add 2-3 minutes to the baking time if baking from cold.
- For a Nutella lava cake alternative, substitute 2 tablespoons of the chocolate with 2 tablespoons of Nutella during the melting step.
Nutrition
- Serving Size: 1 cake
- Calories: 410
- Sugar: 25g
- Sodium: 120mg
- Fat: 28g
- Saturated Fat: 17g
- Unsaturated Fat: 11g
- Trans Fat: 0.5g
- Carbohydrates: 32g
- Fiber: 2g
- Protein: 8g
- Cholesterol: 160mg