

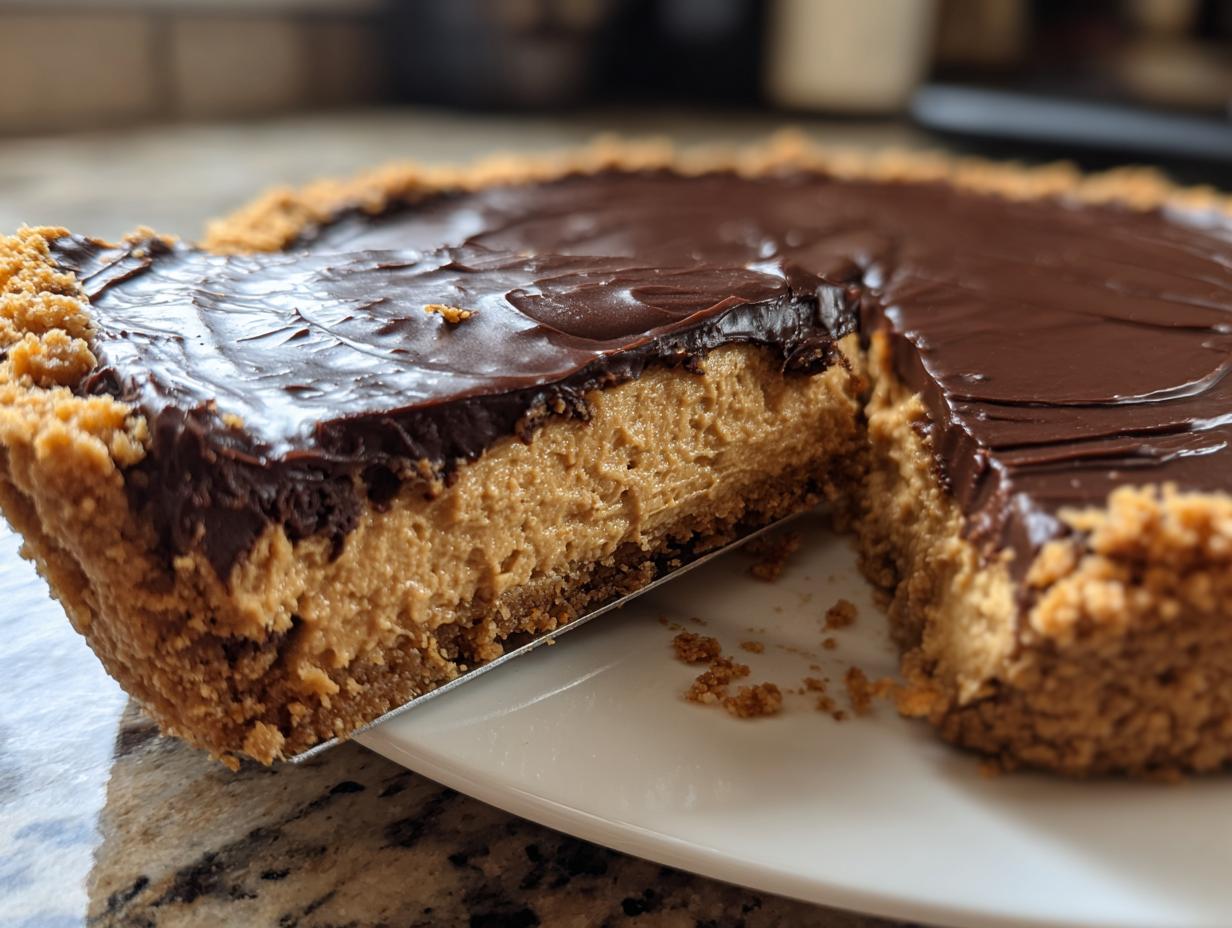
In the rush of modern life, sometimes the desire for something truly decadent feels completely at odds with the clock on the wall. I get it—I’ve been there, needing a spectacular treat but not wanting to spend hours wrestling with an oven! That’s why I am so thrilled to introduce you to what I consider the ultimate dessert weapon in my arsenal: the Easy No-Bake Peanut Butter Pie. This recipe is pure magic because it delivers that rich, creamy flavor we all crave in a peanut butter pie without ever needing to turn the oven on. It’s simple, it’s fast, and it absolutely honors my philosophy that incredible food shouldn’t stress you out. If you’re exploring more ways to reclaim your kitchen time, check out some of my other simple, delicious desserts for inspiration.
- Why This Easy No-Bake Peanut Butter Pie Is Your New Favorite Dessert
- Ingredients for Your Simple Peanut Butter Pie Recipe
- Step-by-Step Instructions for the Easy No-Bake Peanut Butter Pie
- Tips for the Best Homemade Peanut Butter Pie
- Make Ahead Pie and Storage Instructions for Your Peanut Butter Pie
- Frequently Asked Questions About This No Bake Peanut Butter Pie
- Estimated Nutritional Data for This Peanut Butter Pie
- Share Your Experience Making This Peanut Butter Pie
Why This Easy No-Bake Peanut Butter Pie Is Your New Favorite Dessert
Honestly, this recipe is on heavy rotation in my house, especially as we head into busier months. If you need a peanut butter pie that impresses everyone but keeps your hands clean, this is it. You simply can’t beat the convenience of a dessert that sets up in the fridge rather than baking in the oven. When you need a reliable, crowd-pleasing treat, this formula never lets me down.
- It comes together in under 25 minutes of active time.
- No oven means less heat in the kitchen—a huge win in the summer!
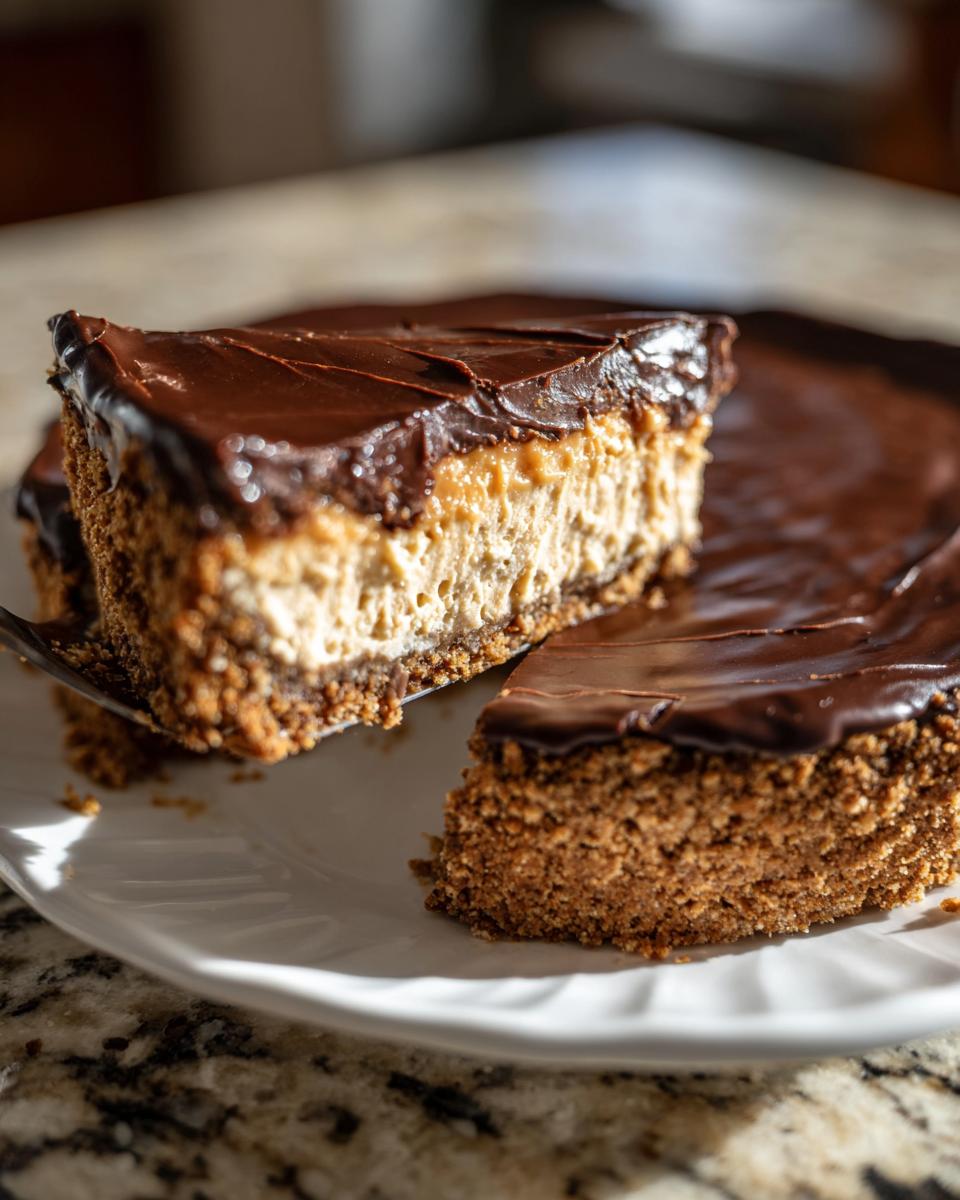
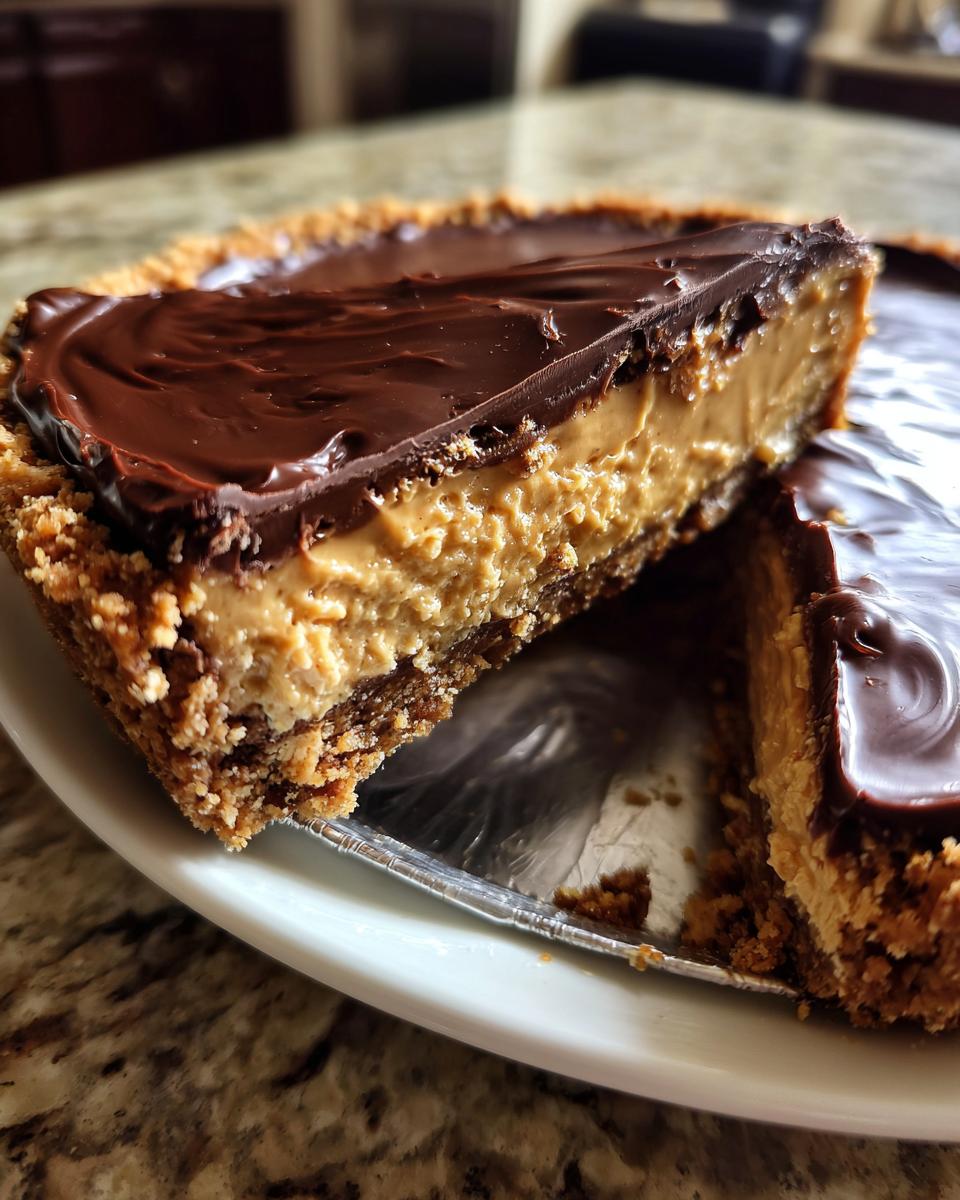
- The texture is flawlessly smooth; it slices beautifully every single time.
- It’s incredibly easy to customize if you want to try something new, like adding an Oreo crust instead of graham crackers.
Achieving the Perfect Creamy Peanut Butter Pie Filling
The secret to that impossibly smooth texture is keeping things cold until the very end. We start with softened cream cheese to ensure there are absolutely zero lumps. Then, we bring in the whipped topping at the last moment. Folding that fluffy element into the heavy peanut butter mixture is what creates that light, airy, yet unbelievably rich peanut butter filling. Trust me, don’t rush the folding part; that’s where the finesse comes in!
Ingredients for Your Simple Peanut Butter Pie Recipe
Okay, this is where we gather our troops! Since this is a no bake peanut butter pie that relies on chilling to set up, measuring correctly is super important. If you miss anything, don’t panic—that’s why we have my handy notes section below. But for now, grab these components and let’s get organized. Having everything ready to go makes the assembly process feel like assembly-line magic. If you ever want to practice working with precision ingredients, I highly recommend trying out my brown butter chocolate chip cookies recipe; it’s worth the extra step!
For the Graham Cracker Crust
This forms the sturdy, buttery base that holds all that glorious filling.
- 1 1/2 cups graham cracker crumbs
- 1/4 cup granulated sugar (for crust)
- 6 tablespoons unsalted butter, melted
For the Rich Peanut Butter Filling
This is the main event, folks! Make sure your cream cheese is actually soft and your whipped topping has had time to thaw!
- 1 (8 ounce) package cream cheese, softened
- 1 cup creamy peanut butter
- 1 cup powdered sugar
- 1 teaspoon vanilla extract
- 1 (12 ounce) container frozen whipped topping, thawed
For the Chocolate Topping
This decadent layer gets warmed just enough to pour smoothly over the pie before it sets up again.
- 1/2 cup creamy peanut butter (for topping)
- 1/4 cup milk
- 1 cup semi-sweet chocolate chips
Step-by-Step Instructions for the Easy No-Bake Peanut Butter Pie
Now for the fun part! Look, I promised you a quick dessert recipe that tastes like you spent all day on it, and these steps deliver exactly that. We are moving fast, but we aren’t skipping any crucial chill times, so keep your eye on the clock. Don’t worry if the topping seems too thick right when you pull it off the stove; that’s normal! If you want another super fast recipe to practice your speed, you absolutely have to try my quick, easy 5-minute Oreo fudge recipe.
Preparing the Graham Cracker Crust
First things first, we build the foundation. In a bowl, mix up those graham cracker crumbs and the crust sugar until combined. Pour in the melted butter and stir it all around until every crumb looks nice and damp. Press that mixture firmly into your 9-inch pie dish—really pack it down on the bottom and up the sides. You want it dense! Pop that dish right into the freezer while we tackle the glorious filling.
Assembling the Creamy Peanut Butter Pie Filling
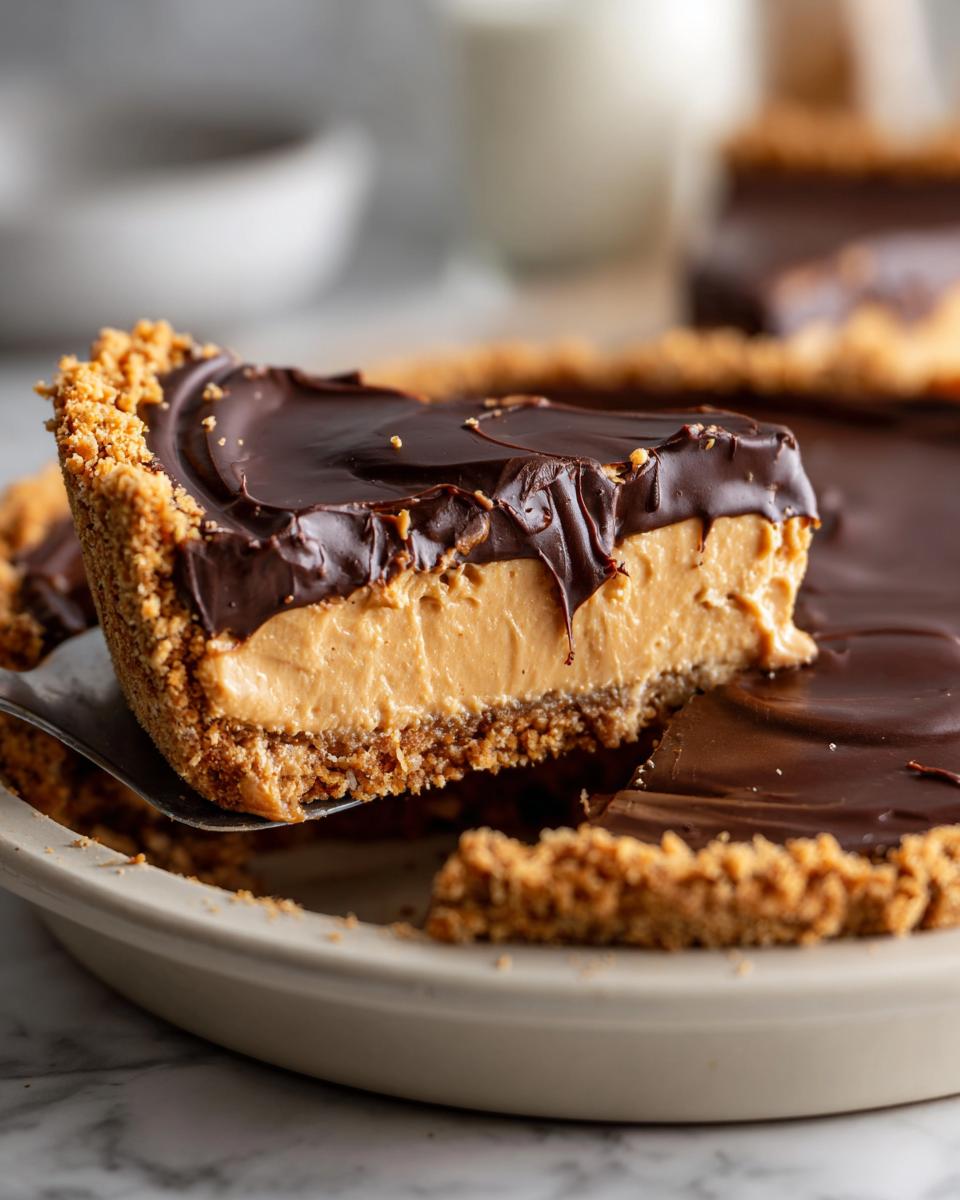
Here’s where the ‘creamy’ really happens. Grab your mixing bowl and beat that softened cream cheese until it’s perfectly smooth, like silk, trust me on this. Now, add in your 1 cup of creamy peanut butter and the powdered sugar. Beat that until it’s all one cohesive thing. The very last step for the filling is the most delicate: gently, *gently* fold in your thawed whipped topping. I mean fold, not beat! Stop mixing as soon as you see no more white streaks. Pour this beautiful fluff into your waiting, chilled crust and smooth the top.
Chilling and Topping Your Peanut Butter Pie
This is non-negotiable: Cover that pie and let it chill in the fridge for a minimum of four hours. It needs this time to get firm enough for clean slices. While it’s chilling, easily make your topping. In a small saucepan over low heat, combine the remaining 1/2 cup of peanut butter, milk, and chocolate chips. Stir constantly until it’s shiny and smooth—no Нужно scorching! Pour that warm chocolate right over the firmly chilled pie and return it to the fridge for at least another 30 minutes to let that chocolate top set up perfectly before you serve this amazing dessert.
Tips for the Best Homemade Peanut Butter Pie
You want the best peanut butter pie possible, right? Since this is a make ahead pie, taking an extra minute now ensures perfection later! I always find that small adjustments make the difference between a good pie and one that everyone asks for the recipe for. We don’t want a sad, crumbly slice; we want rich, beautiful servings! If you need a reliable showstopper for a big meal, mastering this simple dessert is key, just like mastering my best French onion soup recipe ensures a comforting dinner.
Crust Variations for Your Peanut Butter Pie
While the graham cracker crust is lovely and traditional, you absolutely have the option to switch out the base! If you’re feeling extra decadent and want to level up the chocolate factor, you need to try an oreo crust peanut butter pie. You just crush up about two cups of Oreos—the whole cookie, filling and all!—and mix that with your melted butter and sugar replacement. Press that firmly into the pan instead. It’s a total game-changer.
Making This a Crowd Pleasing Pies Masterpiece
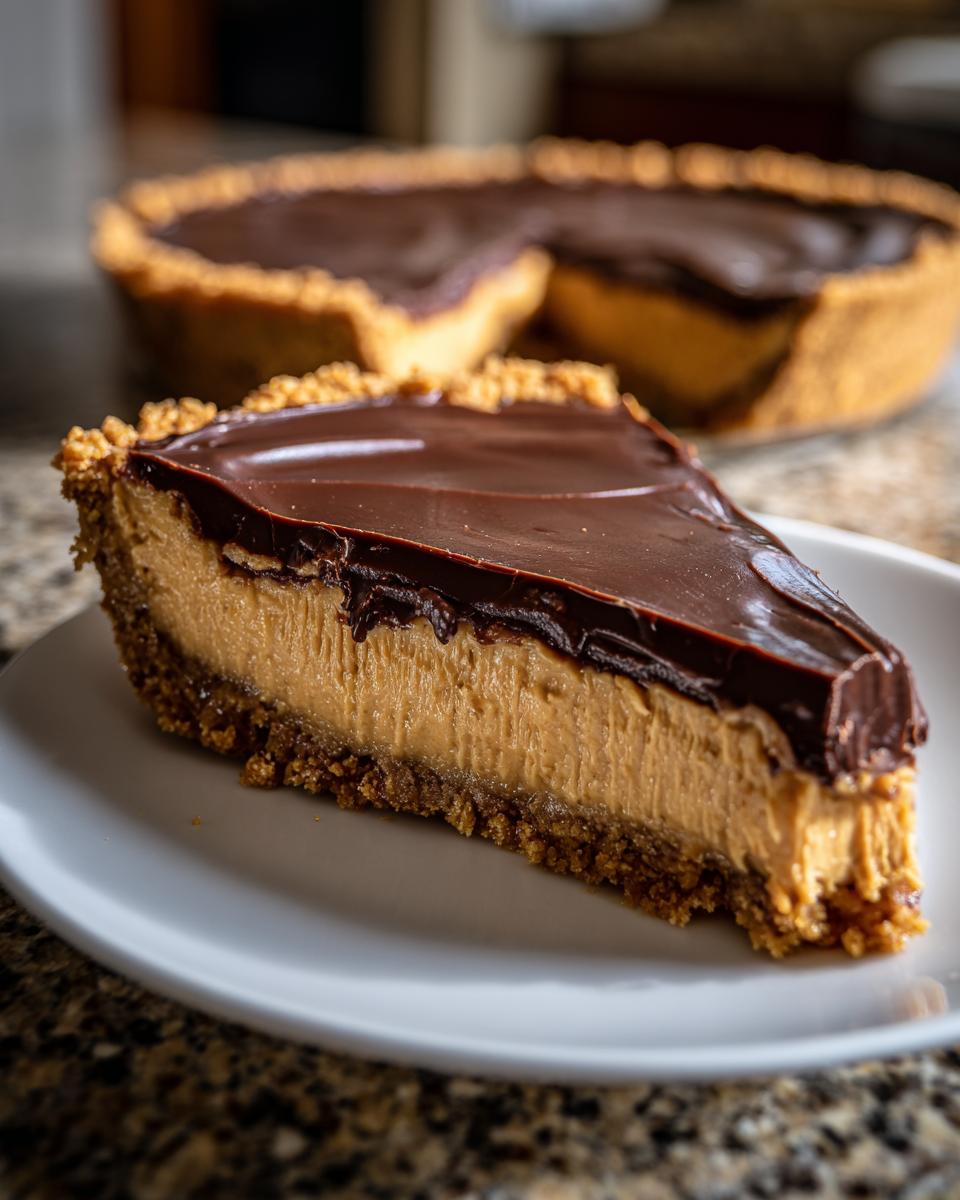
Presentation is half the battle when you are serving this as one of your crowd pleasing pies. After your chocolate topping has set up nicely, don’t stop there! I like to top mine with little piles of whipped cream around the edge and then sprinkle chopped Reese’s cups right on top of the chocolate layer. It just screams “celebration dessert” and gives everyone a little extra texture to look forward to. Make sure you serve it cold directly from the fridge, too; that keeps everything firm and lovely!
Make Ahead Pie and Storage Instructions for Your Peanut Butter Pie
This is genuinely the best part about this recipe: it’s designed for planning ahead! You absolutely can make this beauty a day early, which makes hosting so much easier. Since this is a fantastic make ahead pie, I usually whip up the crust and filling the morning before I plan to serve it, or even the night before. Just cover it tightly with plastic wrap—make sure the wrap doesn’t touch the chocolate topping if you’ve already poured it on!
Keep the finished peanut butter pie in the refrigerator. It stays wonderfully creamy and holds its shape perfectly for up to three days. Remember, it tastes best when it’s cold, so don’t leave it sitting out too long before slicing! If you’re looking for other recipes that give you back time, you should definitely bookmark my moist date nut bread recipe; it’s another great no-fuss option.
Frequently Asked Questions About This No Bake Peanut Butter Pie
I get so many messages asking about little adjustments, and honestly, that’s the best part of sharing a recipe—seeing how you all make it your own! Since this is such a straightforward easy peanut butter pie recipe, most questions are about texture or substitution since we aren’t using the oven at all. Here are the big ones I hear most often about making this no bake peanut butter pie.
Can I use crunchy peanut butter in this peanut butter pie?
Technically, sure, you *can*, but I really advise against it if you are looking for that classic, velvety texture this recipe promises. Using crunchy peanut butter will obviously leave you with little nutty chunks throughout the entire filling. If you love that texture, go for it! But if you want that unbelievably smooth, almost mousse-like consistency that just melts in your mouth, stick to the creamy stuff, okay? The cream cheese and whipped topping are already doing the heavy lifting to create creaminess, and the crunchy bits just disrupt that beautiful, rich peanut butter filling.
How long does this easy peanut butter pie recipe need to chill?
This is the most important question for a clean slice! You need a minimum of four full hours. I honestly prefer making it the day before I plan to serve it—six to eight hours is even better. Why? Because all that cream cheese and whipped topping needs time to firm up against the cold crust. If you try to slice it early, you’ll end up with a beautiful, gooey mess all over your plate, and nobody wants sad, sloppy slices at a party! Chilling until it’s truly firm is non-negotiable for making that perfect presentation.
If you need quick dessert ideas that don’t require hours of chilling time, maybe try out my recipe for easy apple strudel; it’s totally different but just as delicious and ready faster!
Estimated Nutritional Data for This Peanut Butter Pie
I always try to be transparent about what we are eating, even when it’s a completely indulgent treat like this amazing pie! Keep in mind that these numbers are just an estimate based on the ingredients listed—if you use milk chocolate instead of semi-sweet, or if you pile the chocolate topping on thicker, the numbers will shift a bit. I calculated this based on 8 generous slices. But hey, these are crowd pleasing pies for a reason, so enjoy it!
Here is a general breakdown so you know what you’re looking at:
- Calories: Roughly 450 per slice
- Fat: Around 30g (a good portion of this is the good fat from the peanut butter, promise!)
- Carbohydrates: About 40g
- Protein: A pleasant 8g blast thanks to all that peanut butter and cream cheese.
It’s a rich dessert, no doubt about it. But since this no bake peanut butter pie recipe is so quick and easy, it’s perfect for those times when you need something satisfying without the heavy lift. Everything in balance!
Share Your Experience Making This Peanut Butter Pie
Okay, now that you have the secrets to the ultimate peanut butter pie, I genuinely want to hear all about it! Did you use the Oreo crust? Did the chocolate topping set up perfectly for you? Getting your feedback is honestly the favorite part of what I do here—it confirms that these simple, accessible recipes are working for you in your busy life.
Please take a moment to leave a rating for the recipe right below this section. If you had any hiccups, or if you invented a brilliant new topping idea I totally missed, drop a comment! I read every single one. And if you snapped a picture of your gorgeous, creamy, finished pie, tag me on social media! Knowing I helped you create a moment of joy at the dinner table is why I started Cooking by Felix in the first place.
If you hit any walls or have questions that weren’t covered in the FAQs, please don’t hesitate to reach out directly through my contact page. Happy baking—or rather, happy chilling!
PrintEasy No-Bake Peanut Butter Pie
Make this creamy, rich peanut butter pie without turning on your oven. This simple recipe uses a graham cracker crust and is a perfect crowd-pleasing dessert for any gathering.
- Prep Time: 20 min
- Cook Time: 5 min
- Total Time: 25 min
- Yield: 8 servings 1x
- Category: Dessert
- Method: No Bake
- Cuisine: American
- Diet: Vegetarian
Ingredients
- 1 1/2 cups graham cracker crumbs
- 1/4 cup granulated sugar (for crust)
- 6 tablespoons unsalted butter, melted
- 1 (8 ounce) package cream cheese, softened
- 1 cup creamy peanut butter
- 1 cup powdered sugar
- 1 teaspoon vanilla extract
- 1 (12 ounce) container frozen whipped topping, thawed
- 1/2 cup creamy peanut butter (for topping)
- 1/4 cup milk
- 1 cup semi-sweet chocolate chips
Instructions
- Prepare the crust: Mix graham cracker crumbs and 1/4 cup granulated sugar in a bowl. Pour in melted butter and mix until the crumbs are evenly moistened. Press the mixture firmly into the bottom and up the sides of a 9-inch pie dish. Place the crust in the freezer while you prepare the filling.
- Make the filling: In a large bowl, beat the softened cream cheese until smooth. Add 1 cup of creamy peanut butter and 1 cup of powdered sugar. Beat until combined. Stir in vanilla extract.
- Fold in the whipped topping: Gently fold the thawed whipped topping into the peanut butter mixture until just combined. Do not overmix.
- Fill the crust: Spoon the peanut butter filling evenly into the chilled graham cracker crust. Spread the top smooth.
- Chill the pie: Cover the pie loosely with plastic wrap and refrigerate for at least 4 hours, or until firm. This step is necessary for a clean slice.
- Prepare the chocolate topping: In a small saucepan over low heat, combine the remaining 1/2 cup peanut butter, milk, and chocolate chips. Stir constantly until the mixture is smooth and melted. Remove from heat.
- Top and serve: Pour the warm chocolate topping evenly over the chilled pie. Return the pie to the refrigerator for at least 30 minutes to allow the topping to set before slicing and serving this quick dessert recipe.
Notes
- For an Oreo crust peanut butter pie, substitute 2 cups of finely crushed Oreo cookies for the graham cracker crumbs.
- If you want a richer chocolate topping, add 1 tablespoon of butter to the chocolate mixture.
- This make ahead pie tastes best when served cold, directly from the refrigerator.
Nutrition
- Serving Size: 1 slice
- Calories: 450
- Sugar: 35g
- Sodium: 250mg
- Fat: 30g
- Saturated Fat: 10g
- Unsaturated Fat: 20g
- Trans Fat: 0g
- Carbohydrates: 40g
- Fiber: 2g
- Protein: 8g
- Cholesterol: 35mg