

Oh, holiday baking! It’s supposed to be cozy magic, but trying to build a gingerbread house that won’t collapse before Christmas morning feels like high-stakes engineering, doesn’t it? Seriously, the stress is real, but I promise we can skip the frustration. My mission, just like everything else here at Cooking by Felix, is to make those big project moments totally smooth. Forget those flimsy, crumbly creations you see sometimes. We’re focusing on creating the most reliable, rock-solid gingerbread house icing you’ve ever used. This royal icing is so strong it’s the perfect edible glue, yet it pipes beautifully for all those charming little details. Let’s turn this tricky holiday chore into a moment of pure, stress-free joy!
- Why This Strong Gingerbread Icing Recipe Works for Building
- Gathering Ingredients for Your Pipeable Gingerbread Frosting
- Step-by-Step Instructions for Making Strong Gingerbread Icing
- How to Build with Gingerbread Icing: Assembly Secrets
- Troubleshooting Your Gingerbread House Icing Consistency
- Storage and Reusing Leftover Gingerbread House Icing
- Mastering Decorative Gingerbread Icing Techniques
- Frequently Asked Questions About Sturdy Cookie House Cement
- Nutritional Estimates for Your Gingerbread House Icing
- Share Your Sturdy Gingerbread House Icing Creations
Why This Strong Gingerbread Icing Recipe Works for Building
When you’re building a house, you need cement, not just frosting! The reason this royal icing acts as the best strong gingerbread icing recipe is all about chemistry. It’s practically pure sugar and protein, which means very little water content. That lack of moisture is what lets it dry rock-hard so your walls don’t sag after you step away. Trust me, I spent a couple of Christmases rebuilding sagging rooflines until I nailed the exact proportions needed for guaranteed structural integrity. It takes patience, but the result is worth it.
Egg Whites Versus Meringue Powder in Gingerbread House Icing
Okay, we have two paths here, and both work wonderfully for sturdy results. Using fresh egg whites gives you that classic texture, but if you’re nervous about raw eggs—totally fair!—meringue powder is my go-to backup. It’s just dried egg whites stabilized with a little something extra. If you want the easiest assembly experience and zero food safety questions, the royal icing meringue powder recipe route is fantastic. It gives you the same rock-solid finish every single time.
Gathering Ingredients for Your Pipeable Gingerbread Frosting
Let’s talk ingredients! Getting this gingerbread house icing right starts here. You need four cups of powdered sugar, and I mean sifted—don’t skip the sifting! We also need three large egg whites, or that wonderful meringue powder substitute if that works better for you. A splash of vanilla is nice, but optional. Remember, precision matters when you’re relying on this mixture to hold up two stories of gingerbread!
Ingredient Clarity: Achieving the Best Consistency for Gingerbread Icing
The secret to getting the best consistency for gingerbread icing is making sure everything is perfectly blended and lump-free. That means you absolutely must sift your sugar. If you use real egg whites, throw in that tiny bit of cream of tartar; it really helps stabilize them before the sugar goes in. This little step ensures maximum holding power.
Step-by-Step Instructions for Making Strong Gingerbread Icing
Time to bring it all together! Making this reliable gingerbread house icing is surprisingly fast—we’re talking 15 minutes setup time! Get your mixer ready because this royal icing comes together quickly once you start adding the sugar. If you’re using egg whites, make sure that bowl is super clean and grease-free, or the whites won’t whip up right; I learned that the hard way when I tried using a bowl that hadn’t been washed thoroughly enough!
Start by beating your egg whites, or your dissolved meringue powder mixture, until they get foamy and start holding soft peaks. Now here’s my pro tip, honed by cleaning sugar dust off every cabinet: start the mixer on the lowest speed possible when you begin adding that already sifted powdered sugar. This prevents a massive sugar cloud explosion in your kitchen. You build speed slowly until everything is thick and glossy.

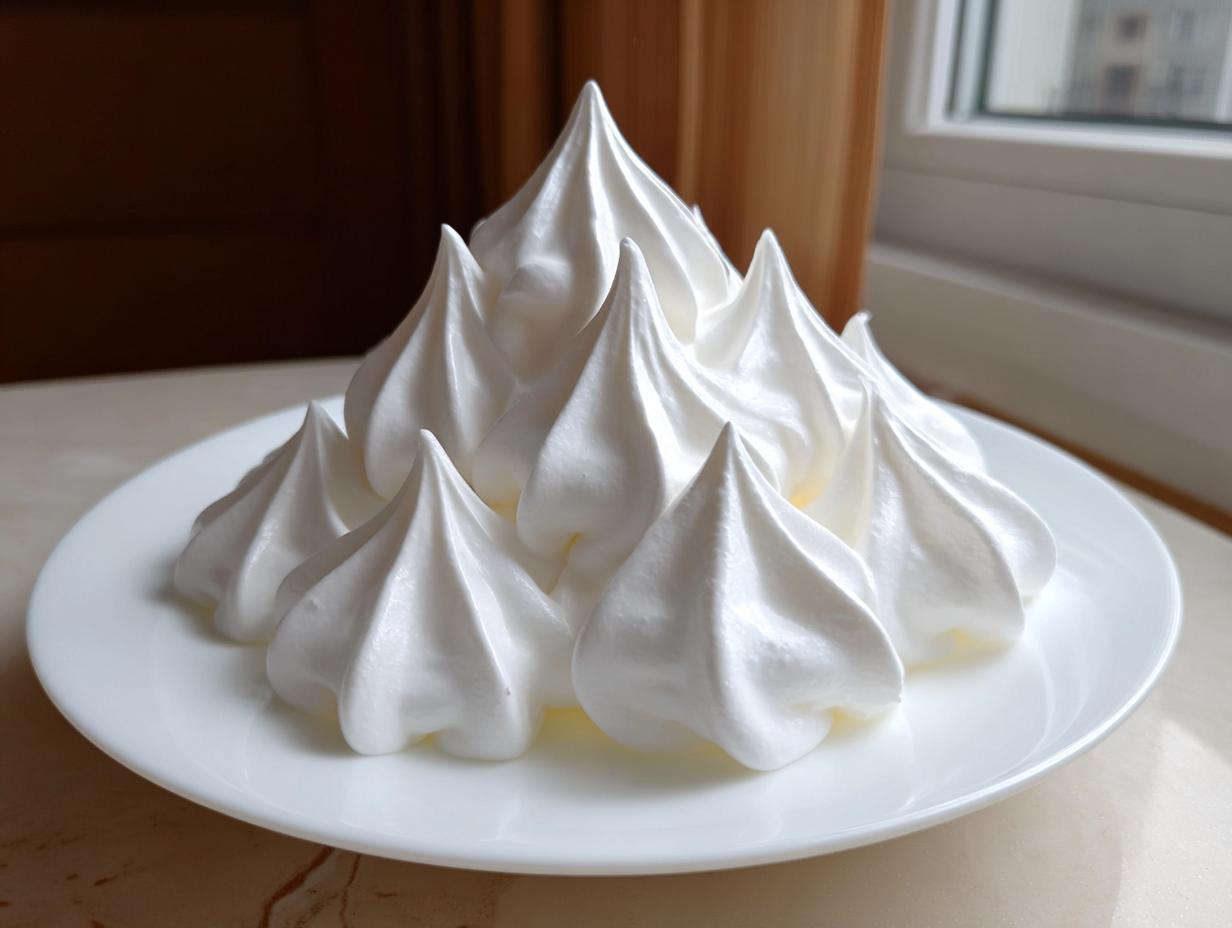
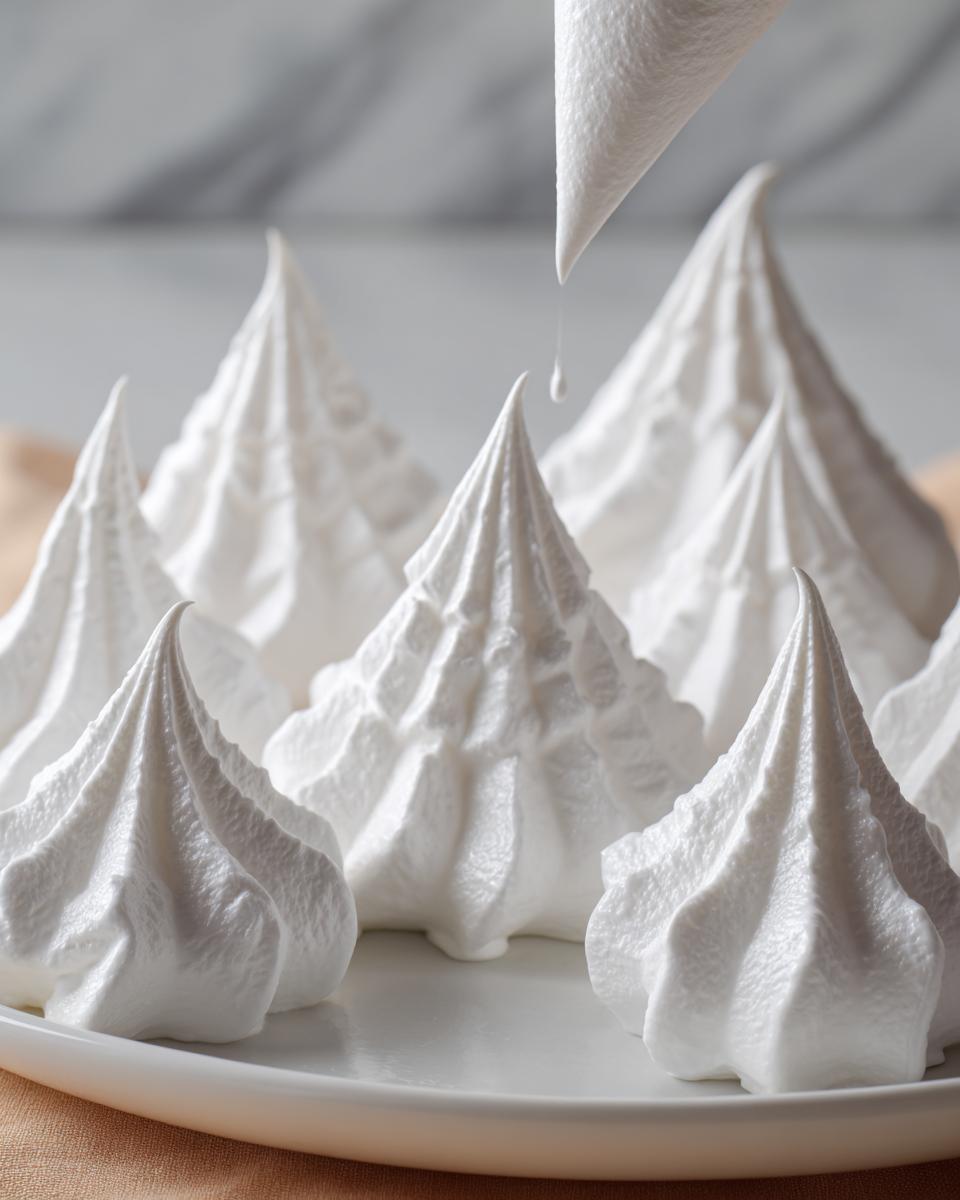
Keep beating until you hit stiff peaks. You’ll know it’s right when you lift those beaters up and the icing stands straight up—no drooping whatsoever. That glossy sheen tells you we have the required structure for building!
Adjusting Consistency: Glue vs. Decorative Gingerbread House Icing
This is the most important part, honestly. If you just want the *easy gingerbread house glue recipe*, you stop right when you hit those stiff peaks I just mentioned. It should be so thick it’s almost hard to stir—that’s the stuff that will hold those heavy roof panels on tight. But if you’re ready for the pretty details, you need to switch gears slightly.
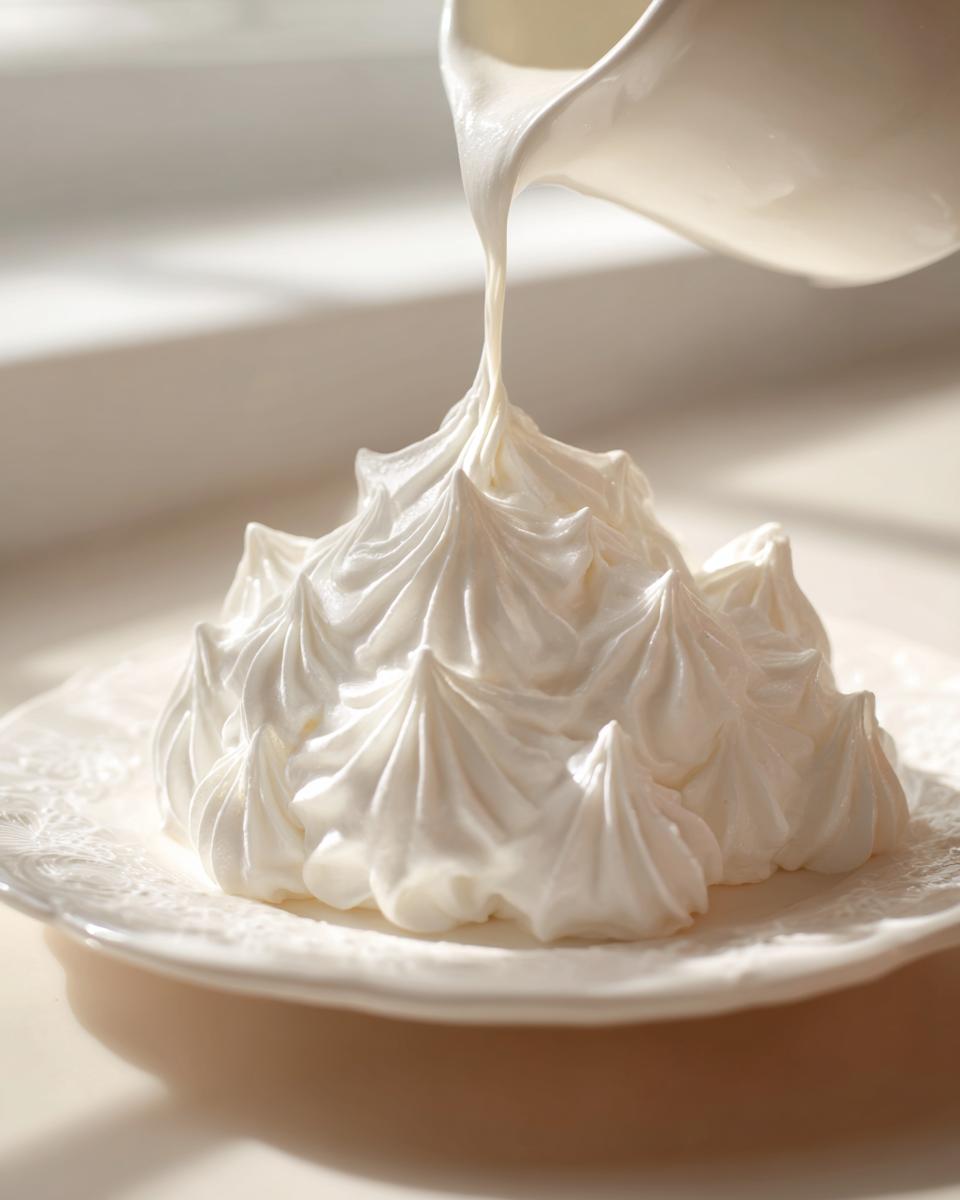
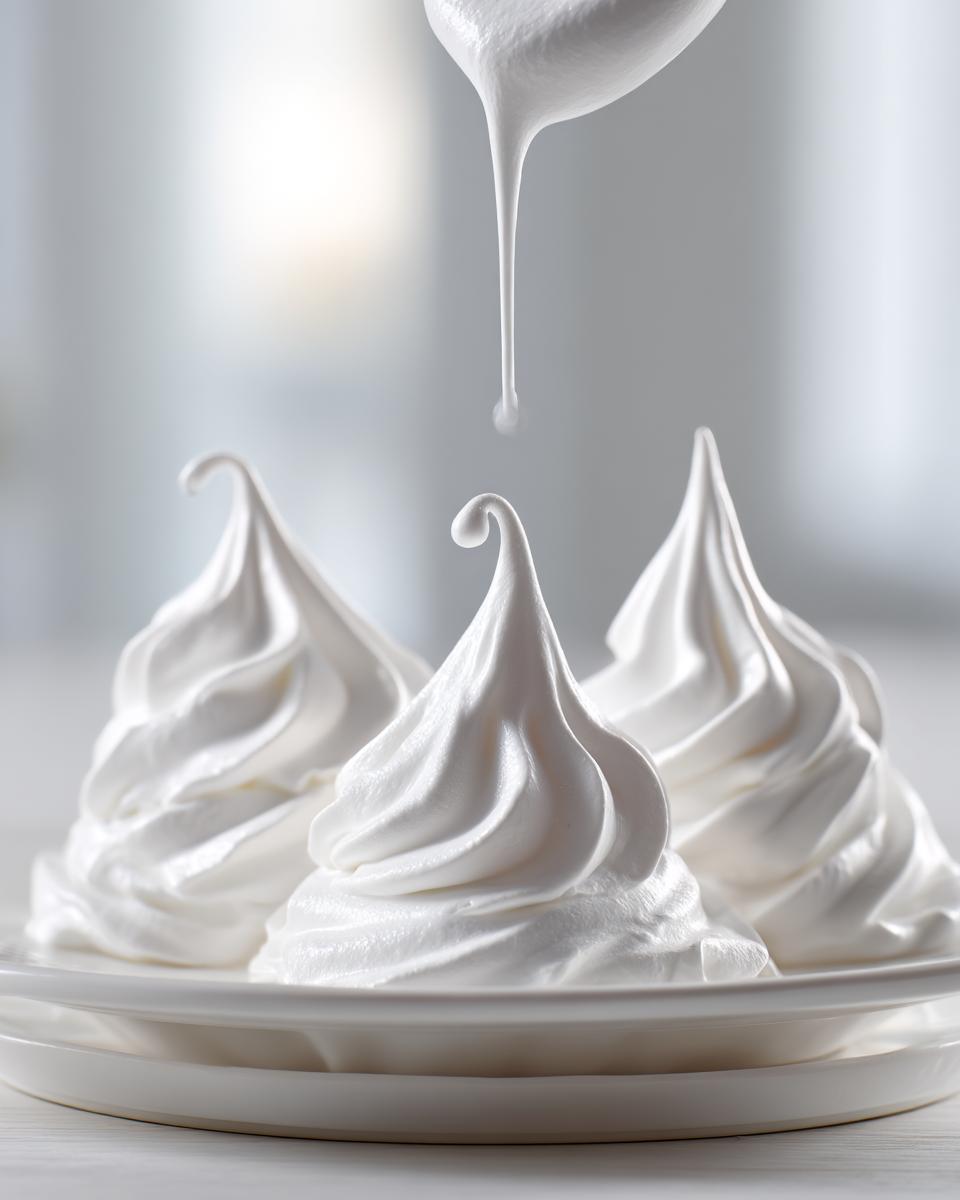
For decorating, we work backward based on your needs. To get that beautiful, pipeable gingerbread frosting that creates lovely borders, you add water ONE HALF TEASPOON at a time, beating well after each drop until the icing flows but still holds a distinct peak shape when it lands on the icing surface. It should look like soft-serve ice cream, not thick mud. Test tiny amounts until you get it perfect for piping!
How to Build with Gingerbread Icing: Assembly Secrets
Now that we have our rock-solid royal icing, it’s time for the fun, slightly nerve-wracking part: assembly! When we talk about how to build with gingerbread icing, we are talking about using it thick—as thick as you can possibly stand stirring it. I remember one year, I rushed it, made the icing a little too thin because I wanted to start decorating immediately, and by midnight, the roof had slid right off onto the kitchen counter. It was a disaster! Patience is truly your best friend here. I always keep my notes handy from recipes like my quick easy 5-minute Oreo fudge recipe nearby; sometimes even cookie experts need little reminders to slow down!
Pipe generous, thick lines of that stiff icing exactly where the wall pieces meet the base and where the roof panels join each other. Because you made it stiff, it should hold those pieces steady right away. You might need to hold that tricky gable piece steady for a solid minute or two until the icing grabs it. Don’t let go until you feel it starting to set!
Drying Time and Structural Integrity for Your Holiday Decorating Glaze
This is truly non-negotiable, folks. This is what separates a gingerbread house from a gingerbread pile later that night. Your structure needs serious downtime after assembly. We’re talking hours—minimum four, but honestly, overnight is the goal. That firm, durable holiday icing recipe you just made needs time to fully dehydrate and harden. If you try to add heavy candy decorations before the main structure is set, you’ll just push the walls out of alignment. Let it cure! It allows all the hard work you put into that perfect batch of icing to really pay off.
Troubleshooting Your Gingerbread House Icing Consistency
So, you’ve mixed your batch of perfect gingerbread house icing, and maybe it’s not quite what you wanted immediately. Don’t panic! Even the best bakers have batches that need a little coaxing. If your icing is too runny—we call this sad, soupy consistency ‘roof slippage waiting to happen’—you just need more structure. Grab that sifted powdered sugar and add it one tablespoon at a time, beating thoroughly until it starts holding its shape again. That’s the fix for all things too thin!
Now, if you’ve accidentally made it too thick, maybe you were aiming for that super-stiff glue consistency and went a bit too far. That’s okay! You just need a tiny bit of liquid to loosen things up for piping detail work. Add water—and I mean drop by drop—beating well between each addition. You want to bring it back to that perfectly pipeable texture without losing all the strength. It’s all about subtle nudges, not giant dumps of ingredients!
Storage and Reusing Leftover Gingerbread House Icing
We always seem to make a little too much, right? That’s great for us because this precious gingerbread house icing lasts! If you have leftovers that you aren’t immediately piping with, cover that bowl tightly plastic wrap pressed right onto the surface so no air touches it. Keep it stored at room temperature for up to two days—not the fridge, which can make it grainy.
When you get ready to use it again, don’t be surprised if it’s stiff as a rock; that’s a good sign! It just means the moisture evaporated a bit. You can bring it right back to life. Just beat it again with your mixer, and if it’s still too stiff for piping, beat in just a few drops of water until it loosens up. It’s practically magic how well it revives!
Mastering Decorative Gingerbread Icing Techniques
Okay, now that your house is standing strong—thanks to that rock-solid, structural gingerbread house icing—it’s time to get fancy! This is where the decorative gingerbread icing techniques really come into play. Remember, this is icing that flows nicely but still holds its peak, which means it’s versatile. You’ll want to swap out your big piping tip for something smaller. A simple round tip is perfect for writing out cute holiday messages or drawing tiny window frames. For borders, try a small star tip; it gives you that lovely ruffled, snowy look around the edges.
Don’t forget about flooding! If you want to completely cover the roof in perfectly smooth white snow, you’ll need this icing slightly thinner than what you used for building. Think smooth, like thick honey. Practice on a scrap piece of gingerbread first, maybe grabbing a tip from my brown butter chocolate chip cookies layout for inspiration. A little practice and you’ll have dazzling, professional-looking details!
Frequently Asked Questions About Sturdy Cookie House Cement
We’ve covered the making, the building, and the decorating, but sometimes those little specific questions pop up right when you’re elbow-deep in sugar! Because I want every single person to have a stress-free holiday build, I gathered the tips for some common worries people have about this sturdy cookie house cement. Don’t worry if something seems a bit tricky; usually, there’s a super simple fix!
Can I color my gingerbread house icing?
Oh yes, you absolutely can add color to make your holiday scene pop! But here’s the trick: if you need that icing for the actual structure, you have to get it stiff first. Color it afterward. If you try to mix in liquid coloring when the icing is already thin, you just end up weakening the bonds holding your structure up. Use gel food coloring instead of liquid drops. Gel colors are potent, so you only need a tiny dab, which means you won’t have to add extra liquid that could ruin the necessary stiffness for building.
How long does this royal icing for gingerbread house building take to dry hard?
This is the million-dollar question, right? Everyone wants to start piling on candy shingles immediately! For the pieces that truly need to hold weight, listen closely: don’t rush it. You need at least four to six hours minimum for the main seams to grab hold securely. If you place a heavy roof on too soon, it will shift when you aren’t looking. If you can let the whole structure sit overnight before you touch it again, that’s ideal. That long rest time ensures you have a stable base for all your fun decorating!
Is this easy gingerbread house glue recipe safe for kids to help make?
That’s such a good safety question! If you are using the meringue powder version, then yes, it’s perfectly safe for little hands to help measure and dump the dry ingredients once the mixer is contained. However, if you stick with my classic recipe using raw egg whites, you’ll want to make sure the actual mixing part is handled by an adult. If the kids are going to be involved in assembly, just make sure they know that a little bit of that thick icing is for holding pieces, not for snacking! You can always check out my guide for easy brioche bread recipe if you want a baking project everyone can handle easily.
Nutritional Estimates for Your Gingerbread House Icing
We’ve got the building materials sorted, now let’s quickly look at what’s in this incredibly sturdy icing. Since this recipe is primarily just sugar, it’s certainly a treat rather than a health food staple, but I like to keep track of what we’re eating during the holidays!
Based on four servings of frosting, the estimates look something like this. Please remember, these are just rough figures based on the general recipe quantities provided! If you use slightly different brands of powdered sugar or heavier vanilla extract, these numbers might shift a bit. This is why I always say these are just helpful guides, not strict medical advice.
- Serving Size: About 1/4 cup of icing
- Calories: Roughly 180 per serving
- Sugar: Expect around 45 grams, since that’s the main component!
- Protein: About 2 grams
- Fat: Essentially 0 grams (unless you use a butter substitute for some reason!)
The main thing to note is that this recipe is virtually fat-free and surprisingly low in cholesterol because we rely strictly on sugar and protein for structure. If you’re looking for other sweet ideas that align with a wholesome approach—even when indulging—you can definitely check out my thoughts on simple delicious desserts for variation!
Share Your Sturdy Gingerbread House Icing Creations
Well, that’s it! You have officially mastered the secret to reliable, strong, and beautiful gingerbread house icing. Seriously, take a moment to admire your handiwork. You’ve built a masterpiece that won’t crumble on you at 2 AM when the heat kicks on! Now that the hard part is over, I absolutely insist that you show off your beautiful, structurally sound holiday centerpiece.
I live for seeing people conquer baking challenges, and there is nothing better than seeing your finished gingerbread houses standing proud! Please head over and leave a rating on the recipe—it really helps other busy folks know this recipe is the real deal for sturdy construction. And if you managed to get some gorgeous photos of your sweet decorations or the successful assembly using this gingerbread house icing, please share them! Tag me everywhere so I can cheer you on. Happy holidays, and happy building!
PrintThe Best Strong Royal Icing for Gingerbread House Glue and Decoration

This recipe provides a reliable royal icing that acts as strong glue for building your gingerbread house structure and pipes well for detailed holiday decorating.
- Prep Time: 15 min
- Cook Time: 0 min
- Total Time: 15 min
- Yield: Enough for one medium house 1x
- Category: Dessert
- Method: Mixing
- Cuisine: American
- Diet: Vegetarian
Ingredients
- 3 large egg whites (or 3 tablespoons meringue powder)
- 4 cups powdered sugar, sifted
- 1 teaspoon vanilla extract (optional)
- 1/4 teaspoon cream of tartar (if using egg whites)
Instructions
- Prepare the Icing: If using egg whites, place them in a clean, grease-free mixing bowl. If using meringue powder, mix it with 3 tablespoons of water in the bowl until fully dissolved, then proceed.
- Beat the Whites: Beat the egg whites (or meringue mixture) with an electric mixer on medium speed until soft peaks form. If using cream of tartar, add it now.
- Incorporate Sugar: Gradually add the sifted powdered sugar, one cup at a time, beating well after each addition. Start on low speed to prevent the sugar from flying out, then increase to medium-high.
- Achieve Stiff Peaks: Beat the icing until it is very thick, glossy, and holds stiff peaks when the beaters are lifted. This consistency is crucial for structural support.
- Adjust Consistency for Use: For building the house (glue), the icing should be very stiff. For piping decorations, you may need to thin it slightly by adding 1/2 teaspoon of water at a time until it flows smoothly but still holds its shape when piped.
- Assemble the House: Use a piping bag fitted with a large round tip or a zip-top bag with the corner snipped off to apply thick lines of icing to join the gingerbread walls and roof pieces. Hold pieces in place for a minute or two until the icing sets slightly.
- Decorate: Use thinner icing for detailed piping work on the exterior of the structure.
- Drying Time: Allow the assembled house to dry completely, ideally for several hours or overnight, before adding heavy decorations or moving the structure. This strong gingerbread icing needs time to harden.
Notes
- For the strongest gingerbread house glue, use the thickest possible consistency. It should be difficult to stir.
- If the icing seems too thin for building, add more sifted powdered sugar, one tablespoon at a time.
- If you prefer not to use raw egg whites, meringue powder is a safe and reliable substitute for making sturdy royal icing for gingerbread house building.
- Store unused icing in an airtight container at room temperature for up to two days; it will stiffen, so you may need to beat in a few drops of water before reusing.
Nutrition
- Serving Size: 1/4 cup
- Calories: 180
- Sugar: 45
- Sodium: 5
- Fat: 0
- Saturated Fat: 0
- Unsaturated Fat: 0
- Trans Fat: 0
- Carbohydrates: 45
- Fiber: 0
- Protein: 2
- Cholesterol: 0