

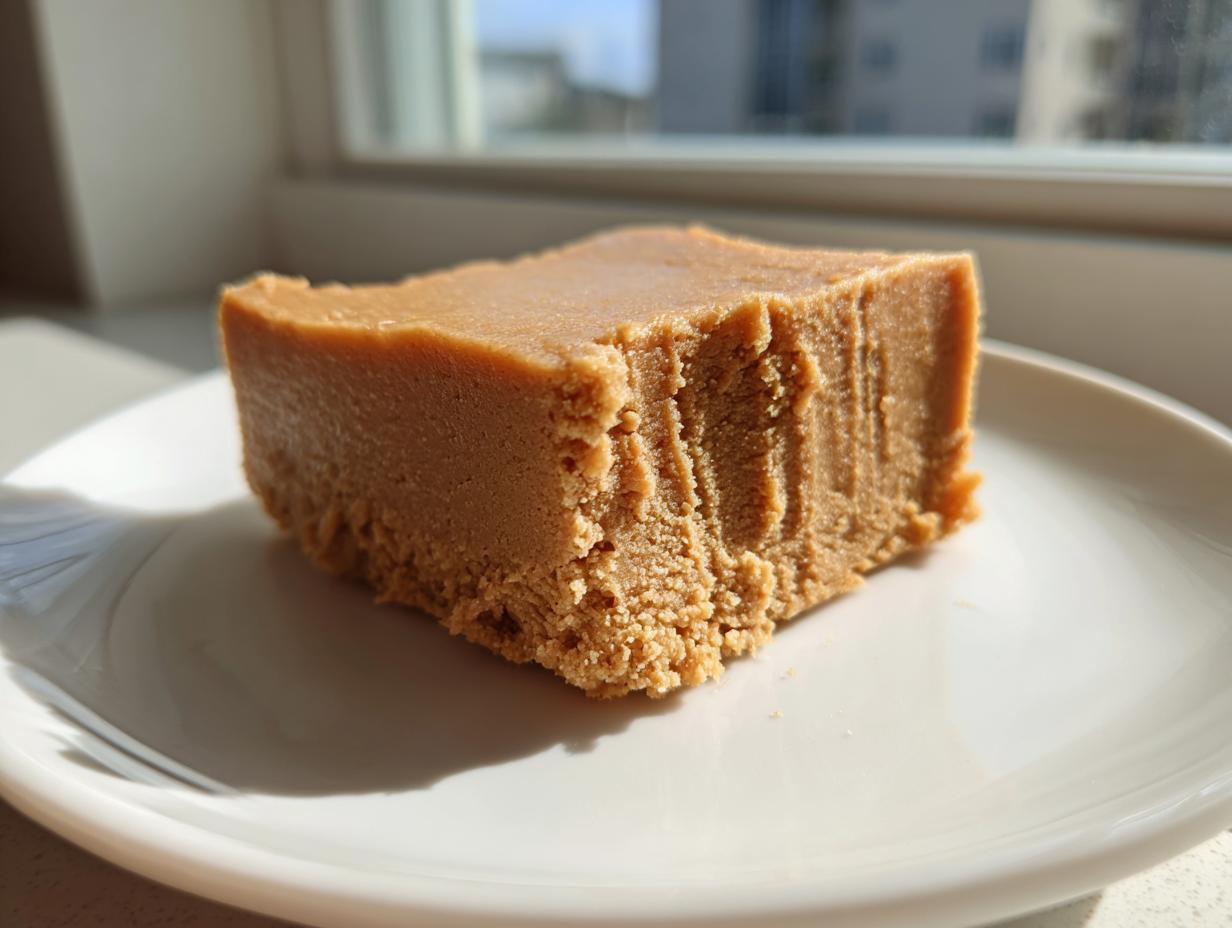
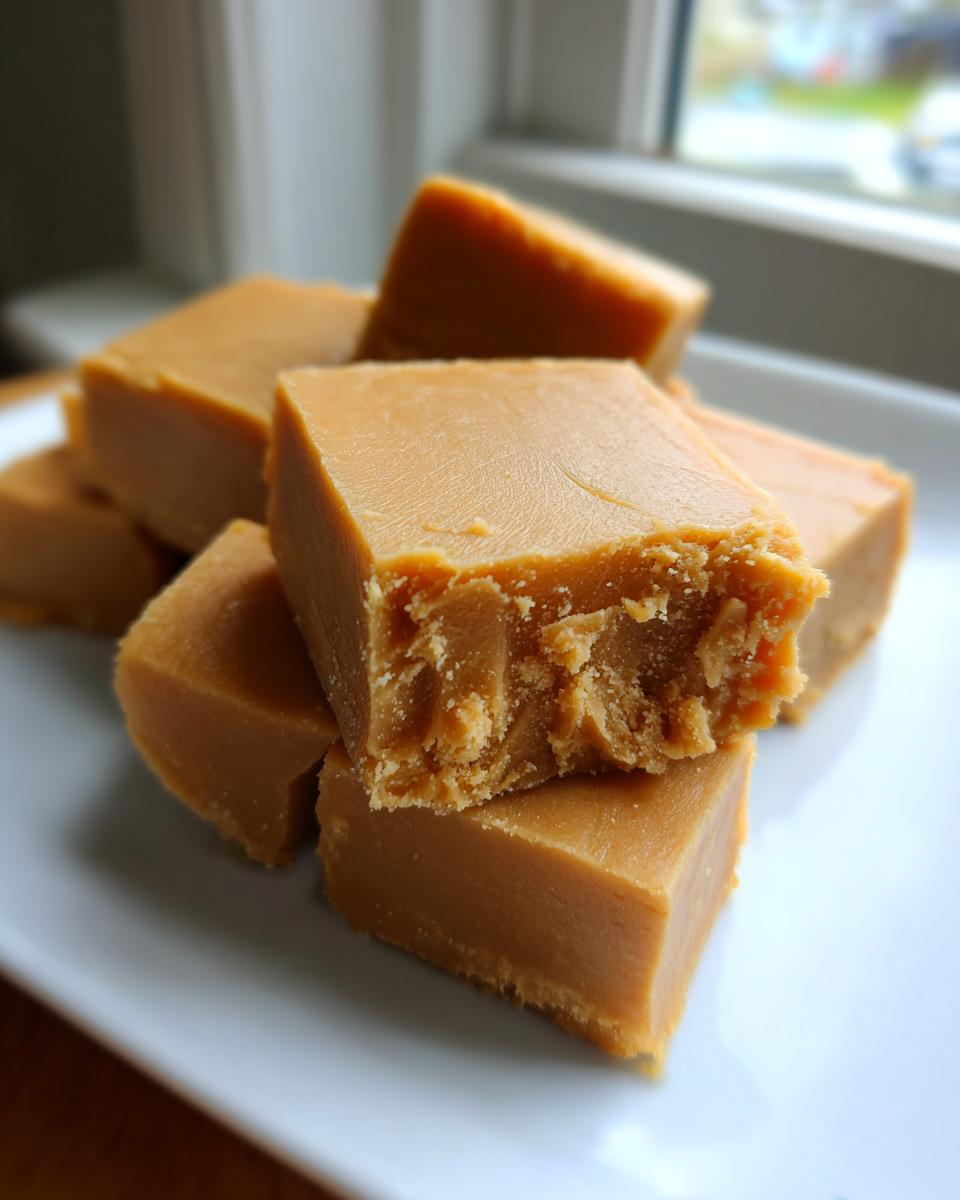
You know how sometimes you just crave that old-fashioned, melt-in-your-mouth candy that tastes like pure nostalgia? I get it! Life is way too hectic sometimes to spend hours making confections, which is why I am so thrilled to share this **Penuche Fudge** recipe with you. This isn’t just any sweet treat; it’s a classic brown sugar beauty that, when done right, is unbelievably creamy and never, ever grainy. My goal with Cooking by Felix is taking those treasured family flavors and making them totally achievable, even after a crazy workday. Trust me when I say this simple recipe unlocks the secret to the best homemade candy you’ve ever made!
- Why This Old-Fashioned Penuche Fudge Recipe Works
- Gathering Ingredients for Perfect Penuche Fudge
- Step-by-Step Instructions for Creamy Penuche Fudge Recipe
- Tips for Perfect Old Fashioned Penuche Fudge Every Time
- Serving Suggestions for Your Homemade Candy Gifts
- Storage and Keeping Your Penuche Fresh
- Frequently Asked Questions About Brown Sugar Confection
- Nutritional Estimates for This Simple Sweet Treat
- Share Your Penuche Fudge Success
Why This Old-Fashioned Penuche Fudge Recipe Works
If you’ve ever tried to make fudge and ended up with something gritty, you know the pain! That’s why I love this specific Penuche Fudge method—it is meticulously designed to deliver a Creamy Fudge Recipe result every single time. We aren’t relying on luck here; we are relying on candy science, which is honestly just careful cooking! It’s so easy, it rivals my easy 3-ingredient fudge recipe, but with way more old-fashioned charm.
This recipe moves away from guesswork and leans into precise temperature control. If you follow the steps, you unlock the door to foolproof, Non-Grainy Fudge. It tastes ancient and luxurious, even though it’s honestly shockingly easy to pull off for a busy cook like us.
Achieving Melt in Your Mouth Fudge Texture
The absolute key to that dreamy texture is ensuring you hit exactly 110°F—that’s the soft-ball stage. When you pull that mixture off the heat right at 110°F, you’ve set the stage for perfect crystallization later. Then, you have to let it cool completely, undisturbed, before you even think about beating it. Rushing the cooling period is what causes those nasty sugar crystals to form, so be patient with this step!
The Simple Ingredients for Classic Brown Sugar Fudge
You won’t find a mile-long ingredient list here. This Penuche Fudge sticks to the classics: brown sugar, a touch of butter, and cream or milk. That beautiful caramel flavor comes straight from the molasses already present in the brown sugar, making the process incredibly straightforward. It’s proof that simple, quality ingredients shine brightest.
Gathering Ingredients for Perfect Penuche Fudge
When making any fantastic candy, especially something as classic as Penuche Fudge, the quality of your starting ingredients matters. But luckily, this recipe doesn’t demand rare finds! We’re using pantry superstars to get that signature caramel flavor and wonderful texture. I always lay everything out before I start heating anything—it keeps me calm and prevents that “oops, I forgot the salt!” panic.
Here’s exactly what you’ll need. Measure that brown sugar accurately—pack it into the cup to make sure you get the true sweetness required for this Classic Brown Sugar Fudge.
- 2 cups light brown sugar, packed tightly
- 1 cup whole milk or heavy cream (your choice!)
- 1 tablespoon butter (unsalted is best, just for control)
- 1 teaspoon vanilla extract (pure extract, please!)
- Pinch of salt
That’s it! Just five things. I find having the butter diced up beforehand helps it melt faster when we get to the stovetop. Seriously, get these ready, and the rest of the process feels like a breeze.
Step-by-Step Instructions for Creamy Penuche Fudge Recipe
Okay, we have our gorgeous ingredients ready. This is where candy making shifts from measuring to watching the clock! Don’t panic about the heat settings; we’re going for steady comfort, not a raging inferno. This process needs your full attention for about 15 minutes on the stove, so put your phone down—you don’t want to scorch this beautiful brown sugar base! If you like quick treats, you might also want to check out my guide on making easy white chocolate fudge recipe later!
Preparing the Pan and Initial Heating
First things first: get your 8×8 inch pan ready. I always use parchment paper with an overhang; it makes lifting the whole slab out later simple, which is a huge time-saver. Next, grab a heavy-bottomed saucepan. Seriously, use heavy! That bottom structure helps distribute the heat evenly, which is crucial when you’re working with sugar and milk.
Toss in your brown sugar, milk (or cream!), and butter. Keep stirring it constantly over medium heat until that butter melts completely and you can no longer feel any gritty sugar hitting the bottom of the pan. Once it’s smooth, you are ready for the magic step!
The Critical Temperature Check for Penuche Fudge
If you own a candy thermometer, clip it on now! We need the mixture to hit exactly 110°F—this is the soft-ball stage, and it is the absolute non-negotiable secret to amazing Penuche Fudge that won’t turn into rock candy. When it hits that temperature, snatch that pot off the heat instantly. Be careful not to stir the mixture while it’s boiling, or you might wash sugar crystals down the side of the pan, which leads straight to graininess!
If you don’t have a thermometer, you’re going to have to test it the old-fashioned way. Make sure the mixture is boiling steadily, and then drop a tiny bit into a bowl of ice water. If it forms a soft, pliable ball that gently flattens when you squeeze it, you’re golden. If it’s too hard or shatters, it needs to cook a tiny bit longer. Don’t guess if you’re nervous; a reliable thermometer is your best friend for this Penuche Fudge Recipe.
Cooling and Beating to Achieve the Best Penuche Recipe
Once it’s off the heat at 110°F, stand back! Add your vanilla and salt, but do not stir them in yet. Now, the most important part of the entire process: let it cool down completely, undisturbed, until it’s back around 110°F again. This usually takes about 30 to 45 minutes just sitting on the counter. Patience, friends!
Once it’s cool, start beating it. I use a sturdy wooden spoon at first, or my electric mixer on low. You will see a dramatic physical change! The glossy shine vanishes, and the mixture thickens until it looks dull, stiff, and delightfully creamy. That’s the texture locking in! When you see that, dump it quickly into your prepared pan. You’re basically done with your classic Penuche Fudge!
Tips for Perfect Old Fashioned Penuche Fudge Every Time
Making candy can feel intimidating, but really, success with this Old Fashioned Penuche Fudge boils down to just a couple of non-negotiable rules. My mother always said that if you respect the sugar, it will reward you tenfold. Since this confection relies entirely on one temperature, getting that cooling and beating step right guarantees you’ll have the softest, best batch of fudge for your next gathering. Forget fancy gadgets; we just need focus for a few minutes!
Troubleshooting Grainy Fudge
If you bite into your fudge and it feels crunchy or sandy, there are usually two reasons why. The first is stirring the mixture while it’s boiling or cooling down after it reaches 110°F. Once you take it off the heat, you have to let the sugar molecules settle in complete peace. Hands off! The second reason is trying to beat the mixture before it’s cooled down enough. If you start beating it when it’s too hot, the crystals form too quickly and too large, making it grainy instead of smooth. Don’t rush that cooling period—it’s crucial for that true Classic Brown Sugar Fudge texture.
Ingredient Decisions for Richer Caramel Flavor Fudge
You might be wondering about the milk versus cream situation. The recipe calls for either whole milk or heavy cream, and honestly, both work beautifully for this Penuche Fudge. If you want a really decadent, richer, almost chewy texture—that deep, buttery pull you associate with the best butterscotch—using heavy cream is the way to go. The higher fat content results in an immediate richness.
However, if you use whole milk, you’ll get a slightly lighter, but still wonderfully soft candy. I often alternate depending on what I have on hand for my easy 5-minute chocolate frosting recipe, but for this candy, the cream just elevates that lovely Caramel Flavor Fudge we are looking for. Either way, use whole milk *or* cream; never use low-fat evaporated milk or anything watery, because that just messes with the final setting point!
Serving Suggestions for Your Homemade Candy Gifts
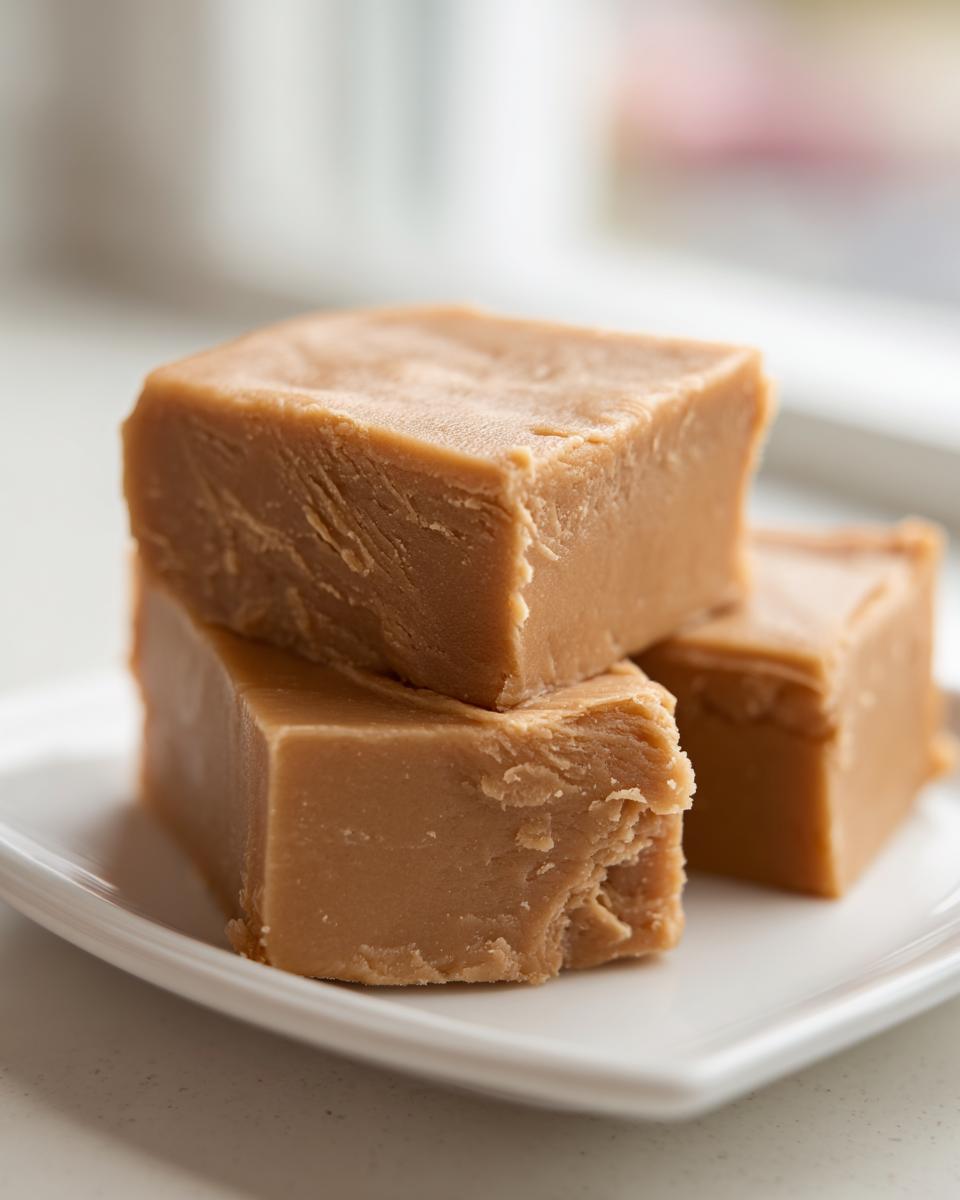
Once your wonderful Penuche Fudge has set up perfectly—it should be firm but yield gently when pressed—it’s time for the fun part: making it look as good as it tastes! This rich, caramel-flavored candy makes an incredible centerpiece for any dessert platter, but it truly shines when packaged up for gifting. Because baking is my love language, I always plan ahead for the holidays with these treats in mind.
This fudge is so simple, yet so elegant, that it easily fits into any collection of Holiday Fudge Ideas you might be planning. It pairs wonderfully next to something tart or something dark, like bittersweet chocolate items.
For gifting, presentation is everything! You don’t need a lot of bells and whistles to present these stellar squares. Since this is a Simple Sweet Treat, let the flavor speak for itself with thoughtful packaging.
- Simple Tins: Toss the squares into a festive tin lined with wax paper. Make sure you layer them with that helpful parchment paper overhang we used earlier so they don’t stick together as they sit.
- Cellophane Bags: Tie small stacks of three or four pieces together with a cute ribbon using clear cellophane bags. They look gorgeous stacked like little caramels. This is perfect for neighbor gifts or stocking stuffers.
- Cookie Boxes: If you’re making a mix, make sure the Penuche squares are at the bottom or separated by wax paper since they are dense. I love pairing them with my homemade easy hot cocoa mix recipe in a jar! Everyone loves edible gifts.
These Homemade Candy Gifts are deeply personal because they take time and care, even if the actual cooking time is short. Make a double batch next time you’re feeling stressed; I promise, wrapping up a box of this rich, creamy confection is the quickest way to feel restored!
Storage and Keeping Your Penuche Fresh
I always tell people that one of the best parts about making candy is that it usually lasts a while, which is perfect for us busy cooks! You make a big batch of this glorious Penuche Fudge, and you don’t have to worry about eating it all this afternoon. Because we made sure it’s perfectly creamy and has that high sugar content, it holds up really well!
The most important thing to remember for keeping that melt-in-your-mouth texture is air management. Sugar draws moisture from the air, and that’s what can eventually make your pretty squares turn dull or sticky.
For short-term storage—say, if you plan on snacking on these over the next week—your kitchen counter is totally fine. Just make sure you place your cut squares in a genuinely airtight container. I prefer glass containers with locking lids for the best seal, but any reliable container works. I use parchment or wax paper between the layers to keep them from sticking to each other, which is super important because this fudge is soft!
If you’re making this ahead of time for the holidays, or if your house is just too warm, you can absolutely pop it into the fridge. Cold temperatures firm it up nicely. If you chill it, just plan ahead! Take the container out about 20 minutes before you want to serve it. If you try to eat it rock hard straight from the fridge, it won’t have that lovely, yielding texture we worked so hard to achieve. Room temperature storage usually keeps this Brown Sugar Confection at its absolute peak flavor and texture for about ten days.
The freezer? You *can* freeze it, but honestly, I find the texture changes slightly when it thaws. If you absolutely must, cut the squares, wrap them tightly in plastic wrap first, then pop them in a freezer bag. But for the best results, keep these treats on the counter and enjoy them while they’re fresh!
Frequently Asked Questions About Brown Sugar Confection
I totally get it; when you commit to making traditional candy, you want to make sure you get it right! I compiled some of the most common sticking points people have when they attempt their first batch of Penuche Fudge. Having this little FAQ section is part of my promise to you—we address those tricky parts head-on so your experience is smooth sailing. If you’re looking for more tried-and-true recipes, you can always browse my collection of simple delicious desserts!
Can I use dark brown sugar instead of light brown sugar in this fudge?
This is such a good question, and it’s all about managing moisture and flavor! I really, really recommend sticking to light brown sugar for this recipe. Dark brown sugar has a much higher molasses content. While that might sound like an extra hint of caramel flavor, molasses actually holds more moisture, and that extra moisture can absolutely throw off the delicate 110°F setting point we need for this creamy confection. If you use dark brown sugar, you risk your Old Fashioned Penuche Fudge not setting up properly, or it might become sticky later on. For the best texture, stick with light brown, packed tightly!
What is the difference between Penuche and traditional chocolate fudge?
The main difference is flavor, obviously, but it trickles down into the process too! Traditional chocolate fudge leans on cocoa powder or melted chocolate for its deep color and flavor profile. Penuche, on the other hand, is all about that beautiful, caramelized richness that comes exclusively from the brown sugar and butter base. This gives us that wonderful, almost butterscotch or toffee-like flavor. Essentially, Penuche is a wonderful, sweet Vanilla Fudge that uses the milk cooking process to create depth without needing any cocoa. They are both delicious, but Penuche is pure, sweet, buttery nostalgia!
How long does the fudge need to cool before cutting?
This is where many people get impatient, and honestly, I’ve been tempted myself! Remember, the cooling process after you stop beating the mixture is what allows those microscopic sugar crystals to form in a way that makes the fudge smooth instead of grainy. You *must* let it cool completely before cutting. I usually give it a minimum of three to four hours at room temperature. If you try to cut it too soon, you’re going to end up with a sticky, messy goo that sticks to your knife and doesn’t hold its shape. If you’re in a real rush, chilling it in the fridge helps speed up the hardening process, but let it sit on the counter for 15 minutes before slicing for the cleanest cuts!
Nutritional Estimates for This Simple Sweet Treat
Look, I’m not going to stand here and tell you that our amazing Penuche Fudge is a health food—it’s candy, after all! But I do believe in transparency, especially when you’re making Homemade Candy Recipes for your family or planning out treats for the holidays. Getting an idea of what’s in what you’re eating is just part of being a good cook and knowing your ingredients.
Since this is an Easy Fudge Dessert that yields a pretty good amount, I calculated the averages based on the ingredients list. Now, remember this is just an estimate! The exact numbers can change based on the specific brand of milk or butter you use. But this gives you a solid ballpark figure for one of the 36 squares we get from the batch.
Here are the estimated nutritional details for one small square of this classic brown sugar confection:
- Serving Size: 1 square
- Calories: About 120
- Sugar: 20g (That’s where the joy comes from!)
- Fat: 4g
- Sodium: 25mg
- Protein: 1g
The good news is that since this Brown Sugar Fudge is so rich, a tiny square genuinely satisfies that craving! You don’t need much to feel satisfied, which is a win in my book. Enjoy every creamy, melt-in-your-mouth bite without the worry!
Share Your Penuche Fudge Success
Now that you’ve pulled off a batch of glorious, smooth Penuche Fudge, I need to hear all about it! Seriously, candy making can feel like black magic sometimes, so knowing you beat that sugar at its own game and achieved that perfect melt-in-your-mouth texture means the world to me. This is why I love sharing my recipe!
Please, please leave me a rating right here on the page. When you do, I especially want you to mention your results! Did you hit that 110°F marker perfectly? Did it come out flawlessly creamy? Your feedback lets me know I’m setting up all you busy cooks for success, and it really helps other folks who are nervous about tackling Homemade Candy Gifts see how achievable this is.
And if you snapped a picture of your finished squares—especially if they look glossy and perfect—tag me on social media! Nothing makes me happier than seeing your kitchen creations on my feed. I always try to feature your successes on my ‘About’ page over at Cooking by Felix. Happy making, and thank you for trusting this process!
PrintOld-Fashioned Penuche Fudge: Creamy Brown Sugar Candy Recipe
Make classic Penuche Fudge with rich caramel flavor and a smooth, melt-in-your-mouth texture. This old-fashioned brown sugar fudge recipe guarantees a creamy result.
- Prep Time: 15 min
- Cook Time: 15 min
- Total Time: 1 hour 10 min
- Yield: 36 squares 1x
- Category: Dessert
- Method: Stovetop Cooking
- Cuisine: American
- Diet: Vegetarian
Ingredients
- 2 cups light brown sugar, packed
- 1 cup whole milk or heavy cream
- 1 tablespoon butter
- 1 teaspoon vanilla extract
- Pinch of salt
Instructions
- Lightly grease an 8×8 inch baking pan and line it with parchment paper, leaving an overhang for easy removal.
- Combine the brown sugar, milk or cream, and butter in a heavy-bottomed saucepan over medium heat.
- Stir the mixture constantly until the butter melts and the sugar dissolves completely. Do not let it scorch.
- Attach a candy thermometer to the side of the pan, making sure the tip is submerged but not touching the bottom.
- Bring the mixture to a rolling boil without stirring the sides of the pan. Boil until the temperature reaches exactly 110°F (soft-ball stage). This step is crucial for non-grainy fudge.
- Remove the pan from the heat immediately once 110°F is reached. Do not stir the mixture while it cools.
- Let the mixture cool undisturbed until it reaches 110°F (this can take 30 to 45 minutes depending on room temperature). Do not rush this cooling process.
- Once cooled to 110°F, add the vanilla extract and salt.
- Begin beating the mixture vigorously with a wooden spoon or an electric mixer on low speed. Continue beating until the mixture loses its glossy shine and becomes thick, dull, and creamy. This change happens quickly when the fudge starts to set.
- Quickly pour the thickened Penuche Fudge into the prepared pan. Do not scrape the sides of the bowl.
- Let the fudge set completely at room temperature for several hours or chill briefly to speed up the process.
- Cut the firm Penuche Fudge into squares before serving.
Notes
- For the best, creamiest Penuche Fudge, you must cool the sugar mixture to 110°F before beating. If you beat it too hot, the fudge will be grainy.
- If you want a richer caramel flavor, use heavy cream instead of milk.
- This classic brown sugar confection is excellent for homemade candy gifts during the holidays.
Nutrition
- Serving Size: 1 square
- Calories: 120
- Sugar: 20g
- Sodium: 25mg
- Fat: 4g
- Saturated Fat: 2.5g
- Unsaturated Fat: 1.5g
- Trans Fat: 0g
- Carbohydrates: 21g
- Fiber: 0g
- Protein: 1g
- Cholesterol: 10mg